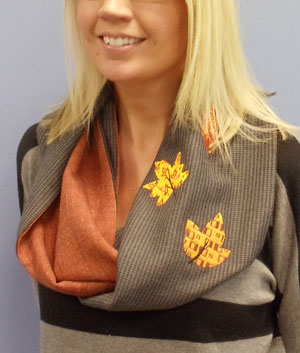
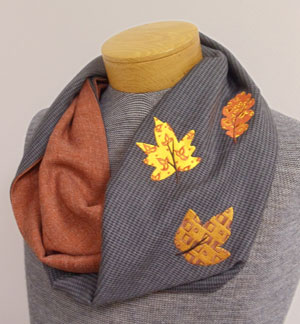
Accessorize an autumn outfit with a trendy new scarf. Designed as a continuous loop, this scarf lies perfectly in place, making it both functional and fashionable.
Wear it as a long draping scarf, or twist and loop it around twice to create a trendy, layered look. This fashion-forward scarf is also reversible, so mix and match fabrics, colors, and embroidery to create a one-of-a-kind autumn accessory.
Read below for these free project instructions!
Supplies
Supplies Needed:
**5/8 yard light-weight suiting fabric (for front)
**5/8 yard light-weight suiting fabric (for back)
**Medium-weight cutaway stabilizer
**Temporary spray adhesive
**Air-erase pen (or other dressmaker's pencil)
Designs used:
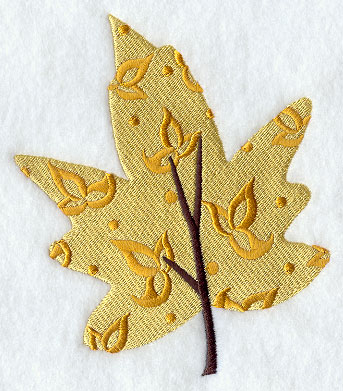
Kaleidoscope Maple Leaf (small)
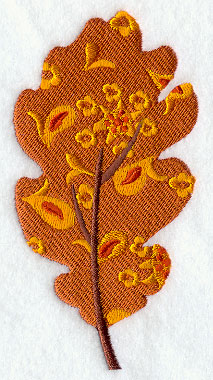
Kaleidoscope Oak Leaf (small)
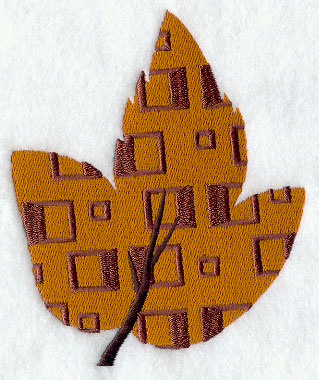
Kaleidoscope Sycamore Leaf (small)
These designs are also available in the following design packs:
A Naturally Autumn Design Pack - XL, Large, Medium, Small
Finished Size:
8 3/4 inches wide, 73 inches around (finished scarf forms a loop)
Designs Used
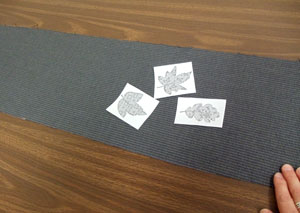
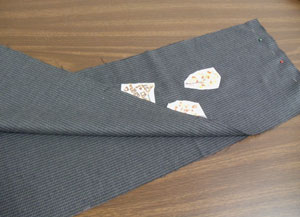
To begin, we will prepare the fabric for the embroidered front panel. Cut a piece of fabric (we used lightweight suiting) to 38 inches wide by 10 inches high. Create paper templates of the designs by printing them at full size using embroidery software. If you don't have embroidery software, you can cut a piece of paper the shape and dimensions of the design to help with placement and centering. If you'd like a recommendation for an embroidery program that can make templates, consider Embird from www.Embird.com.
Position the templates near the right short end of the fabric, about 7 inches from the edge of the short end, and about 2 inches from the top and bottom edges.

Using an air-erase pen (or dressmaker's pencil), poke a hole in the center of the templates and mark the fabric. Also, mark the horizontal and vertical axis points.

Remove the templates and draw lines to connect the marks -- these lines will be used for hooping.
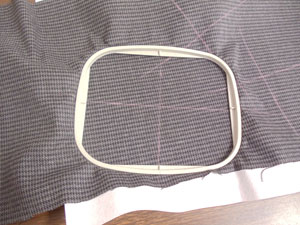
Spray a piece of medium-weight cutaway stabilizer with temporary adhesive and smooth the fabric on top. Hoop the fabric and stabilizer together by aligning the marks on the hoop with the lines on the fabric.
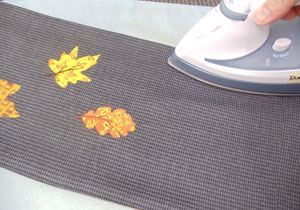
Attach the hoop to the machine and load the first design. Move the hoop so that the needle is directly over the center point on the fabric. Embroider the design.
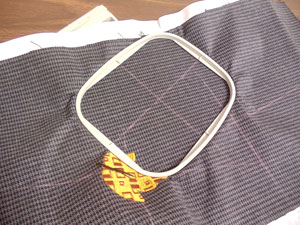
Rehoop the fabric for the second design just as you did for the first. The hoop may overlap onto the first design -- this is OK, the hoop will not damage the design. Attach the hoop to the machine, load the design, move the needle over the center point on the fabric, and embroider the design.
Repeat the hooping and embroidering process for the remaining design(s).
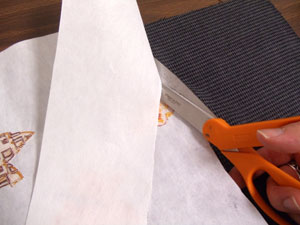
When all the designs have finished, trim away the excess stabilizer on the back of the embroidery.
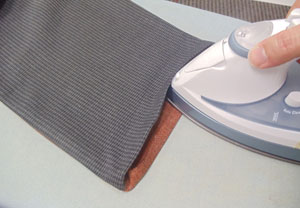
To prepare the fabric for the second half of the front panel, cut another piece of fabric 38 inches wide by 10 inches high, and align it on top of the embroidered panel, with right sides facing. Pin in place along one of the short ends and sew a 1/2 inch seam along the pinned edge only. Press the back seam open with an iron.
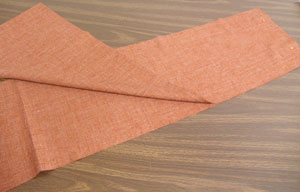
To prepare the fabric for the back panels, cut two pieces of fabric (we used light-weight suiting) to 38 inches wide by 10 inches high. Align the panels together, with right sides facing. Pin in place along one of the short ends, sew a 1/2 inch seam along the pinned edge, and press the seams.
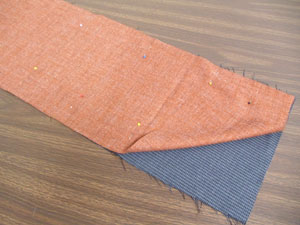
Lay the assembled front panel flat with the right side facing up. Align the back panels on top, with right sides facing, pin in place, and sew a 1/2 inch seam along the long edges only -- leave the short ends open for turning.
Turn the scarf right side out and press the seams.
Turn the fabric of one of the openings, on one of the short ends, in 1/2 inch and press.
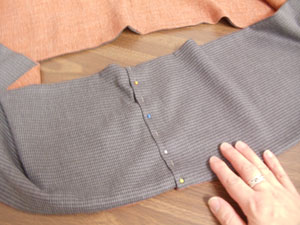
Form the scarf into a loop by inserting the raw short end 1/2 inch inside the pressed folded short end. Pin in place and sew a seam along the outer edge of the fold.
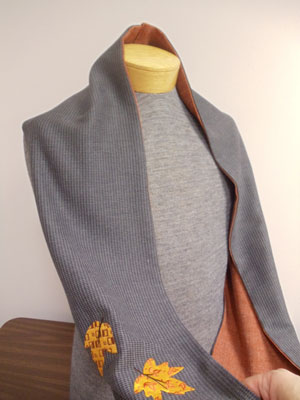
Your scarf is now complete!
To wear the scarf, loop the scarf around your neck by placing the seam (opposite to the embroidery) at the back of the neck, with the front panels facing out.
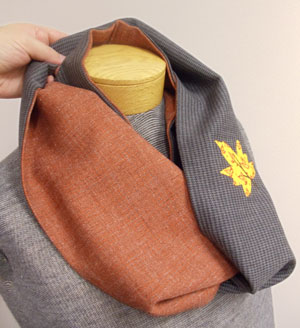
Then, gather the fabric at the seam closest to the embroidery, twist, and loop the scarf over your head again for a trendy, layered look.
Personalize your scarf by mixing and matching fabrics, colors, and embroidery designs!
Fall into autumn with this unique scarf that will rake in the compliments all season long.


