If you have any outdoor lovers in your life, this fleece headcover combo will make a wonderful gift!
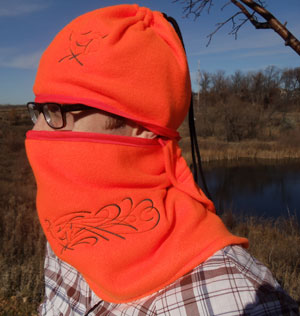
This unique 3-in-1 fleece headcover is a great way to stay warm and cozy even when the air is chilly. A combo headcover that can be worn as a scarf, as a hat and a scarf, or as a hat and a face cover, will be comfortable and stylish no matter how it's worn.
Read on for free project instructions!
Supplies
Supplies Needed:
**5/8 yard fleece
**Temporary spray adhesive
**Air-erase pen
**Medium weight cutaway stabilizer
**36" long drawstring
**One drawstring cord stop
**Three 4" lengths of sew-on Velcro (3/4" wide)
**Extra wide double fold bias tape
Special Project Notes: |
|
Designs Used

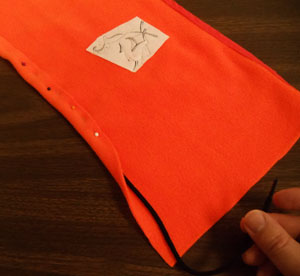
To prepare the fabric for the bottom section (scarf/face cover section), cut a piece of fleece using the size chart above. We are making an adult men's size, so we cut our fabric to 30" wide by 11" high.
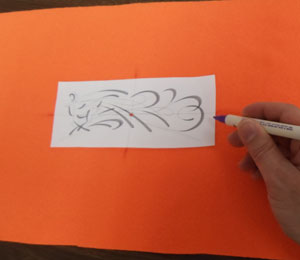
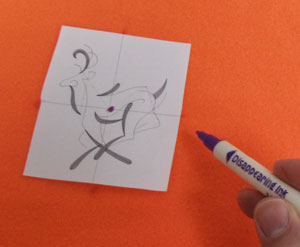
Create a paper template of the design by printing it at full size using embroidery software. Position the template on the fabric with the right side of the design about 7" from the right edge of the fabric. Center the template top to bottom by measuring equal distances between the top edge of the design and the top edge of the fabric and the bottom edge of the design and the bottom edge of the fabric.
Using an air-erase pen or other marking tool, poke a hole in the center of the template and mark the fabric. Mark the horizontal and vertical axis points.
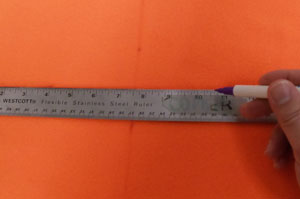
Remove the template and draw lines connecting the marks; these lines will be used for hooping.
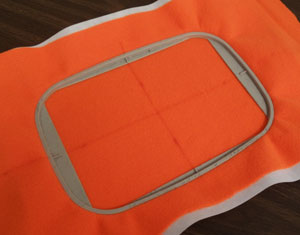
Spray a piece of medium weight cutaway stabilizer with temporary adhesive and smooth the fabric on top. Hoop the fabric and the stabilizer together by aligning the marks on the hoop with the lines on the fabric.
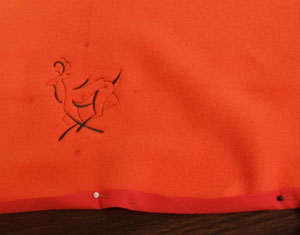
Attach the hoop to the machine, load the design, move the hoop so that the needle is directly over the center point on the fabric, and embroider the design.

When the design has finished, carefully trim the excess stabilizer on the backside of the embroidery.
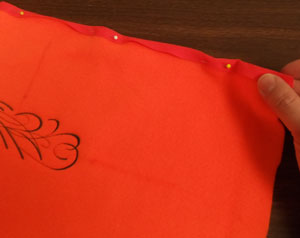
Wrap bias tape around the entire top edge of the fabric, pin in place, and sew a seam along the inner edge of the tape.

Fold the side edges over 1/2" to the wrong side and sew a 1/4" seam along the folds. Also, fold the bottom edge of the fabric in 1/2" to the wrong side and sew a 1/4" seam along the fold.
Cut three strips of Velcro to 4" long (a total of 6 strips, 3 of the hook side and 3 of the loop side).
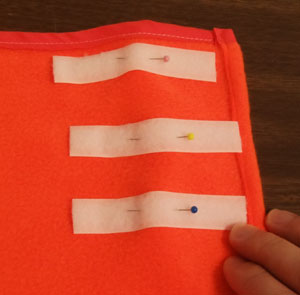
Lay the embroidered bottom section wrong side up and place the loop side of the Velcro strips horizontally along the upper right corner of the fabric, keeping the strips just inside the folds and with the strips about 1 1/4" apart. Pin in place and then sew a seam around the edges of each strip.
Flip the fabric over to the right side and add the hook side of the Velcro strips to the upper right corner of the fabric just as you did with the first set of strips.
To prepare the fabric for the top section (hat section), cut a piece of fleece according to the size chart above or by measuring the circumference of the head. The circumference will be the width of the fabric plus 1/2".
Refer to the size chart above for the height. We are making an adult men's size so, we are cutting our fabric to 23 1/2" by 9" high.
Create a paper template of the design and position the template with the right edge of the design about 7" from the right edge of the fabric. Also position the bottom edge of the design about 2" from the bottom edge of the fabric.
Mark the fabric, hoop the fabric, and embroider the design just as you did earlier.
Wrap bias tape around the entire bottom edge of the fabric, pin in place, and sew a seam along the inner edge of the tape.
Lay the fabric with the wrong side facing up. Lay the drawstring along the top edge of the fabric, fold the top edge of the fabric around the string 3/4" to the wrong side, and pin the fabric in place on the inner side of the fold. Sew a 1/4" seam along the inner edge of the fold being careful to not sew over the string.

Fold the fabric widthwise; right sides together, aligning the short ends. Pin in place and sew a 1/4" seam along the pinned edge only. Start sewing at the bottom edge and stop just underneath the drawstring folds. Do not sew over the folds or the drawstring.
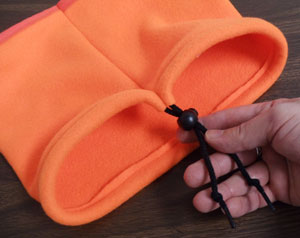
Turn the fabric right side out. Add the cord stop by threading the ends of the drawstring through hole. Tie a knot at the ends of the string to prevent them from sliding back through the hole.
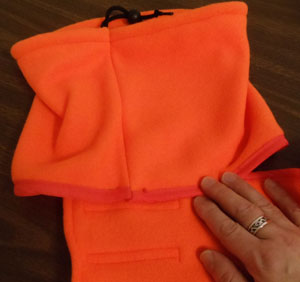
To attach the sections together, lay the bottom section flat with the right side facing up.
Place the top section on top of the bottom section (wrong side of the top section on top of the right side of the bottom section), aligning the back seam of the top section with the top edge of the seam of the top Velcro piece on the bottom section.
Pin in place and sew a 2" seam along the top edge of the bias tape on the top section.
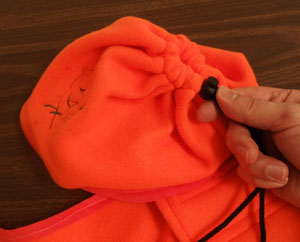
To create the hat shape on the top section, simply cinch the drawstring tight and secure the cord stop.
Your headcover is now complete!


