This dynamite table topper will instantly charm your family and friends with its unique shape and Amish styling. It's a great focal point for your table top, and will gracefully highlight any centerpiece or gourmet delight.
And, with designs that celebrate the four seasons, you can use it all the year through.
Supplies
Supplies needed:
-
1/2 yard of off-white fabric
-
1-1/2 yards of contrast/backing fabric (blue)
-
Four 3-inch tassels
-
2 packages of piping
(3-1/4 yards) -
1 yard of batting
Embroidery Designs from Embroidery Library:
Designs Used
Instructions:
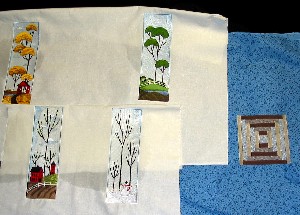
Sew out each of the seasons panels on the off-white fabric. Leave at least 3 inches between the embroideries on each side. Sew out the quilt square in one corner of the contrasting fabric. Leave at least 2 inches of fabric on each side of the quilt square.
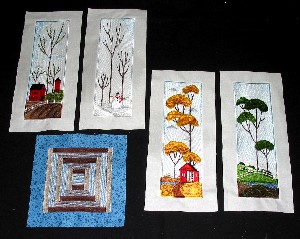
After you have finished the embroidery, trim the seasons panels to 5 inches wide by 11-1/4 inches tall. This will leave about a 1-inch border of fabric on each side of the panels.
Trim the quilt square in its backing to a 7-inch square. This will leave about a 1-inch border of fabric around the quilt block.
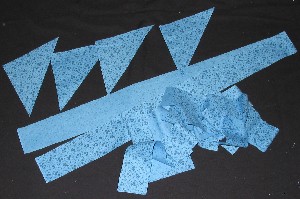
From the blue fabric, cut 3 strips that are 2 inches wide by 45 inches long.
Also from the blue fabric, cut 2 squares that are 5-1/2 inches by 5-1/2 inches. Cut the squares in half diagonally.
Assembling the top:
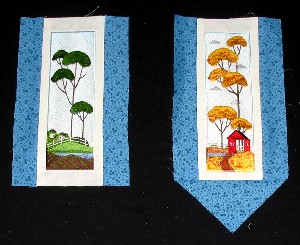
Cut the strips into 11-1/4 inch lengths, and sew the strips to each long side of the seasons panel pieces. Use a 1/2-inch seam allowance.
Stitch the long side of one triangle to the bottom of each assembled panel using a 1/2- inch seam allowance.
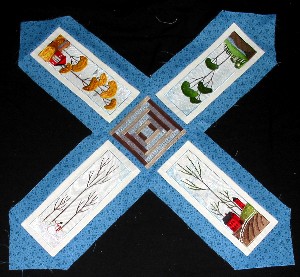
Using a 1/2-inch seam allowance, attach the top of each assembled panel to one side of the quilt square center piece.
Now the top piece is assembled!
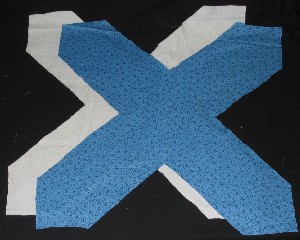
Use the assembled top piece as a pattern to cut out the batting and backing pieces.
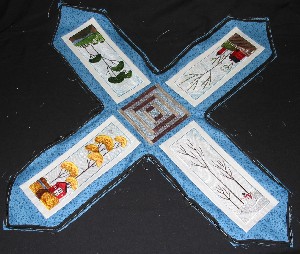
Use a zipper foot to attach the piping around all of the outer edges of the assembled top piece. The piping should be placed so that the sewing line is 1/2 inch from the edges.
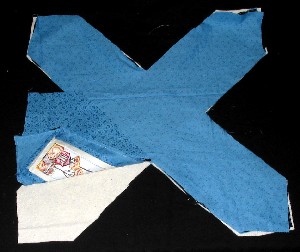
Lay out the batting piece first, then the assembled top, with the right side up. Then put the backing over the top, with the right side down. Line up the edges as closely as possible.
Use a zipper foot to sew the layers together as close to the piping as possible. Leave one 11 inch side open for turning, but do not turn the piece quite yet.
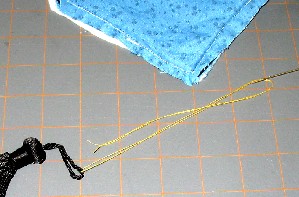
Adding the tassels
Cut an 18-inch piece of heavy carpet thread, and place the thread through the top loop of a tassel.
Bring the ends of the thread together and thread them into a large-eyed hand needle.
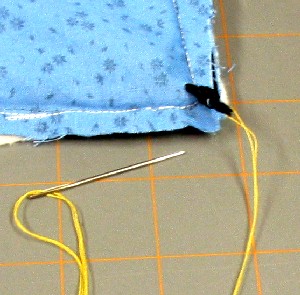
Bring the threaded needle inside, between the fabric layers.
Poke the needle through the backing, near one of the four points of the topper.
Pull the thread and tassel loop through the backing fabric.
Tie a knot in the loop to secure the tassel in place. The long thread will help to make the knot close to the fabric.
Repeat at all four of the points of the topper.
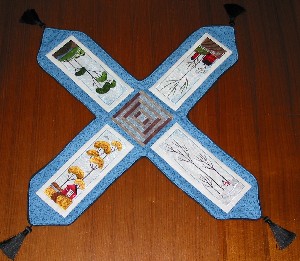
Turn the topper right side out and close up the opening that you used for turning.
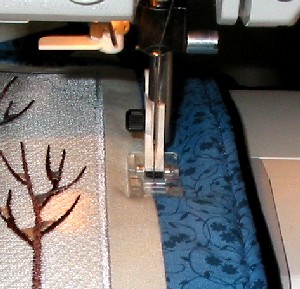
Now you are ready to quilt the topper. I topstitched along the outside edge and stitched in the ditch where the pieces join each other.
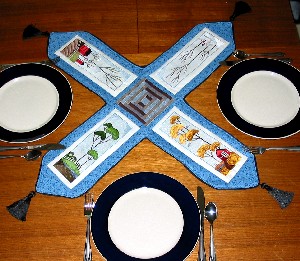
Place on the dining table for color and beauty, the whole year through.


