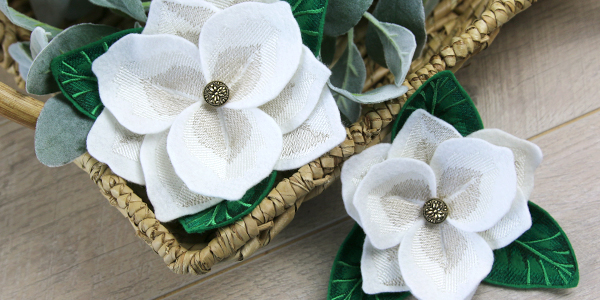
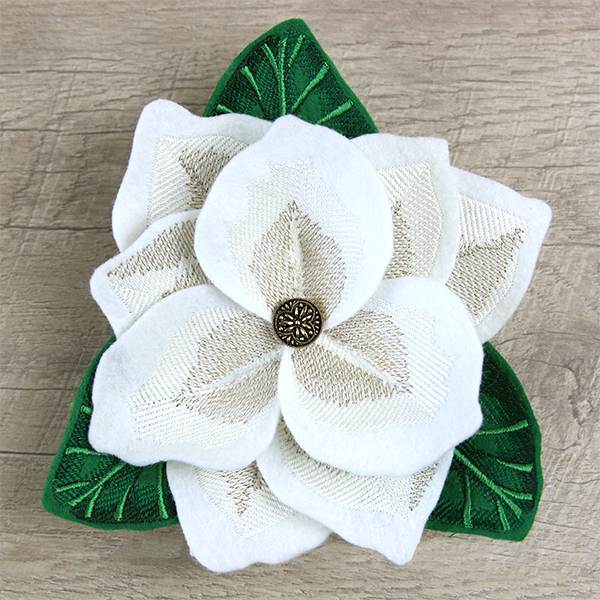
Craft a relaxed and sophisticated look with this unique magnolia design! Felt fabric petals and leaves are accented by embroidered detail to create a soft, realistic look. We'll show you step-by-step how to make this magnificent flower bloom!
Supplies
Project Needs & Notes:
- 1/2 yard of acrylic, polyester or wool felt (for petals)
- 1/2 yard of acrylic, polyester or wool felt (for leaves)
- Embroidery thread
- Scissors
- Button (1/2" or larger)
- Hand-sewing needle
- Sewing threads matching the felt colors
Design featured in this tutorial is:
- X14671, Freestanding Fabric Magnolia (In-the-Hoop)
Special Note: To make a full magnolia, embroider a total of 3 copies of the pieces labeled with an "c" and "d". Embroider only one of the pieces "a" and "b".
Designs Used
Freestanding fabric designs have been specially digitized to sew on only a hooped piece of felt, so there is no stabilizer used of any kind.
After the pieces are embroidered and cut out, only the embroidery and felt remains, allowing for the pieces to look pretty on both sides. When you download the design, you will find multiple embroidery files containing all the pieces.
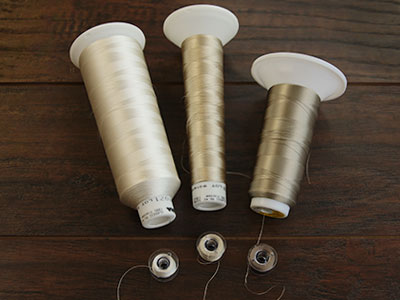
As the freestanding fabric pieces will be seen from both sides, wind a bobbin to match every thread color used in the design.
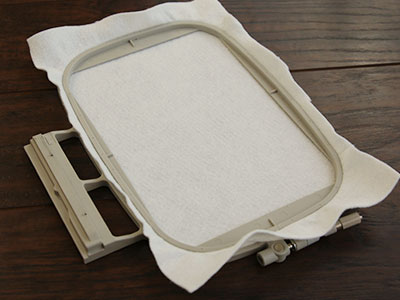
Hoop the piece of felt firmly. Make sure it is nice and tight with no wrinkles.

Attach the hoop to the machine and load file "a". Embroider the design.
The first thing to embroider will be the "cut line". This marks the area on the felt where the piece will be cut out later.
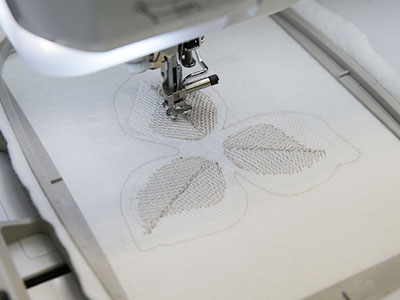
Follow the color change sheet, and embroider the rest of the design, changing out the bobbins to match every thread color.
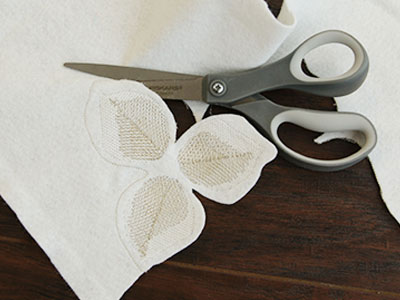
After the embroidery has finished, unhoop the felt. Then, using a scissors, carefully cut along the inner edge of the "cut line".
Cutting right along the inner edge will remove the cut line from the edge of the felt piece, leaving a clean felt edge after the piece is cut out.
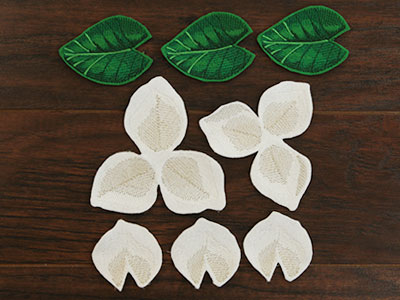
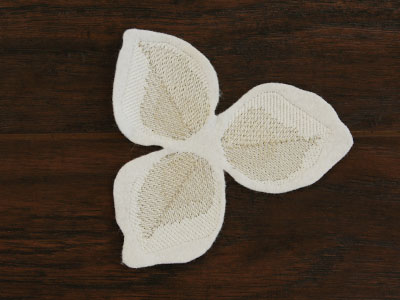
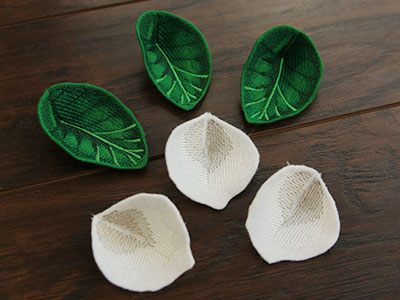
Repeat the steps above to embroider and cut the rest of the felt pieces. To make a complete magnolia, make sure to embroider three copies of the single petal (file "c") and leaf (file "d") pieces.
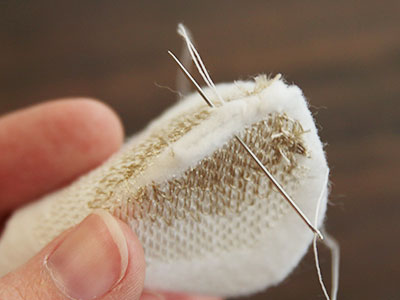
The single petal (file "c") and leaf (file "d") pieces have darts on them.
The dart is the triangular cut out at the bottom of the each piece. To sew the dart, match up the two edges with right sides together, and hand-sew the edges together using matching thread.
Repeat to sew all the darts on the six felt pieces.

Take the smaller triple petal piece (file "b"), and lay it on top of the larger triple petal piece (file "a") with the right sides facing up. Hand-stitch through the center to adhere the two pieces together.
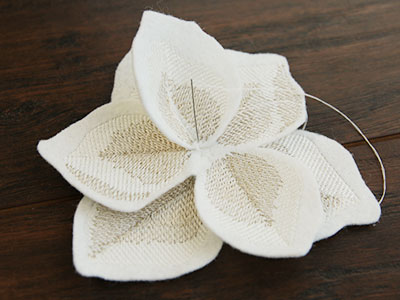
Then take one of the single petals (file "c") and arrange it on top of the triple petal pieces. Hand-sew it in place.
Repeat to arrange and sew all of the single petals on top of the triple petal pieces. Overlap them slightly for a more realistic effect.
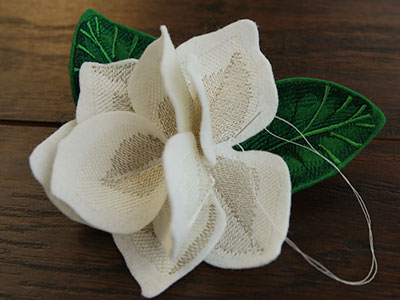
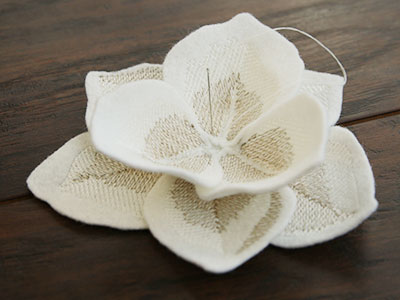
Take a leaf, and arrange it onto the back of the larger petal piece. Hand-sew it in place using thread matching the petal.
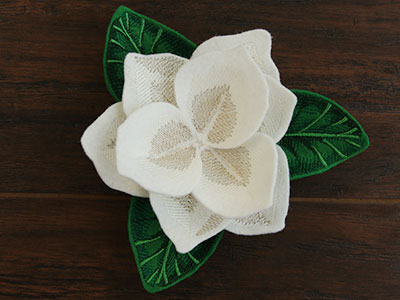
Repeat to sew the other two petals onto the back of the magnolia.
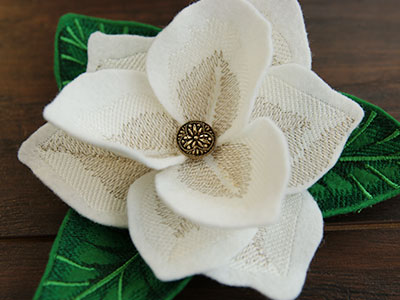
Finally, hand-sew a button onto the center of the magnolia.


