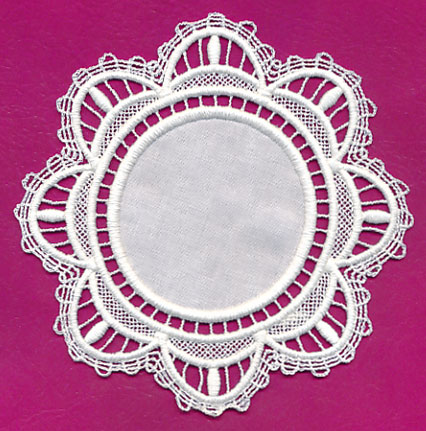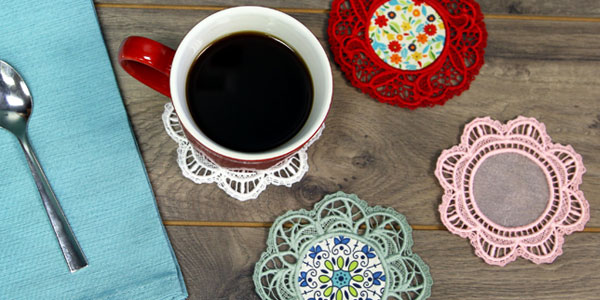
Add lovely style to your home with freestanding lace doilies! A delicate fabric center creates a unique and eye-catching appeal. Great for using as coasters or displaying in your home.
Supplies
- 1/4 yard cotton, twill, or organza
- Water-soluble stabilizer (like Vilene or Sulky Ultra Solvy)
Tools
- Temporary spray adhesive (such as Gunold's KK100)
- Hand sewing needle or fabric glue
Designs Used
Finished size for multi-piece doilies:
Large: 8 1/2" diameter
Medium: 7" diameter
Small: 5 3/4" diameter
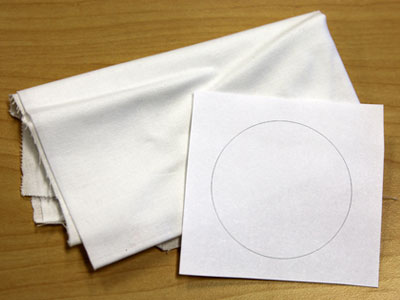
When you download the freestanding lace and fabric doily design, you will find multiple files. One is the embroidery file, and the others are dieline files marked with the letters "DL". Dielines are used to cut the fabric to the correct shape and size. Open and print each dieline file using an embroidery software. If you do not have an embroidery software, take a look at our helpful video on using dielines.
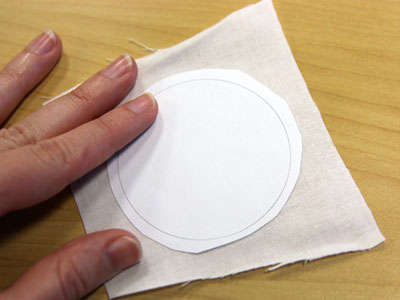
Spray the backside of the dieline printout with temporary adhesive and smooth it on top of the fabric.
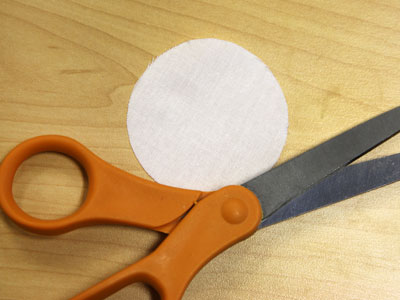
Cut out the shapes, and remove the paper dieline from the fabric.
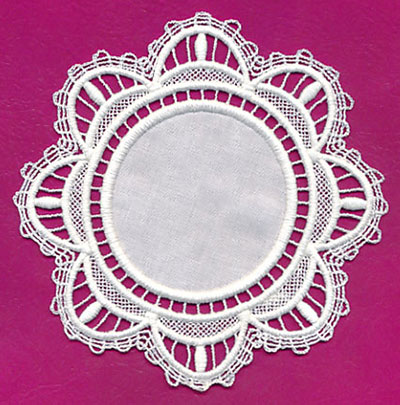
Freestanding lace designs have been specially digitized for water-soluble stabilizer. After the stabilizer is removed, beautiful lace remains behind.
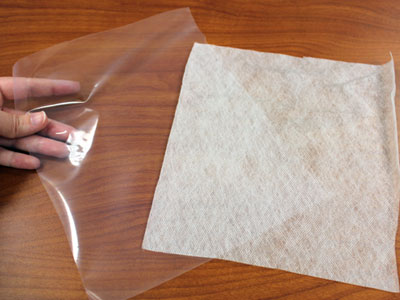
There are a couple of different kinds of water-soluble stabilizer.
One is clear and plastic, and that brand is Sulky Ultra Solvy. The other is soft and fibrous, called Vilene. Both will work very well. Vilene is used in this demonstration.
Use a size 11 or 75/11 sharp sewing needle. A sharp sewing needle has a smaller, finer point than an embroidery needle. That means it will make smaller holes in the stabilizer.
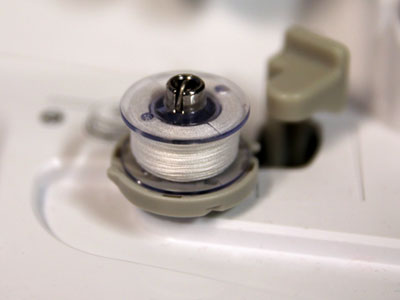
Freestanding lace is seen from both sides, so wind a bobbin with the same thread that you're using in the needle.
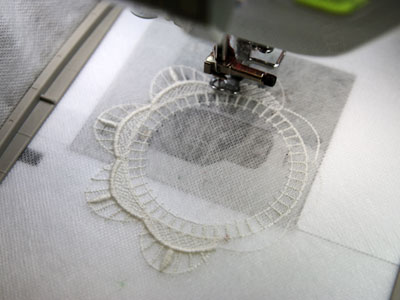
Hoop the stabilizer firmly. Make sure it is nice and tight with no wrinkles.

Load the file onto your machine.
In this tutorial we are using cotton thread. You can also use 40 weight rayon or polyester thread for most freestanding lace designs.
Embroider the design.
Some lace and fabric doilies have two color lace. Follow the color change sheet and change both the upper thread and the bobbin thread to match the second color if needed.
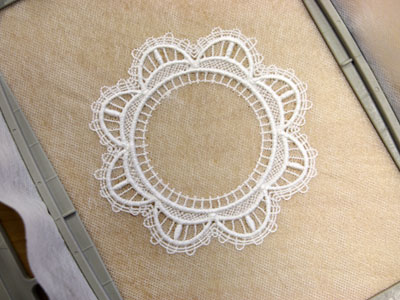
After the dieline sews, stop the machine, and remove the hoop, but do not unhoop the stabilizer.
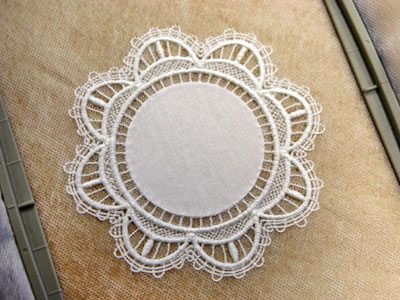
Spray the back of the fabric with temporary adhesive.
Next, place the fabric into the stitched dieline.
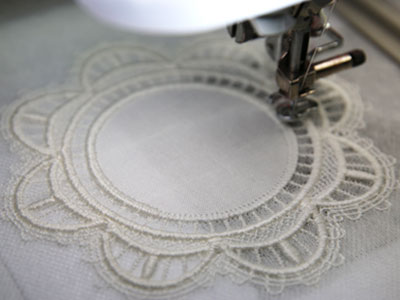
Attach the hoop back onto the machine, and continue with the design.
A tack down stitch will bind the fabric to the lace.
If the doily has inner embroidered details, those will sew next.
Then a satin border will finish the edges of the fabric center.
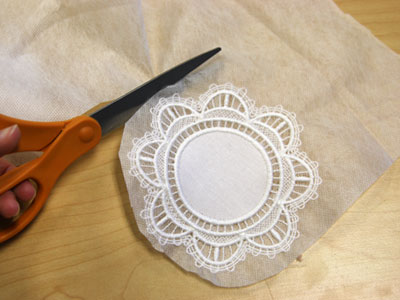
After embroidering, cut the excess stabilizer away.
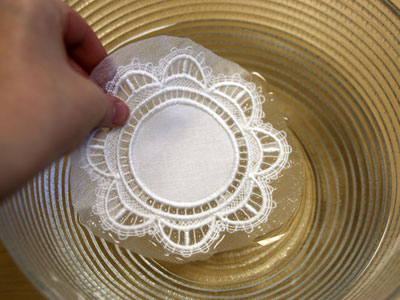
The stabilizer's packaging should give instructions for removing the excess.
For Vilene, soak the lace pieces for a few moments.
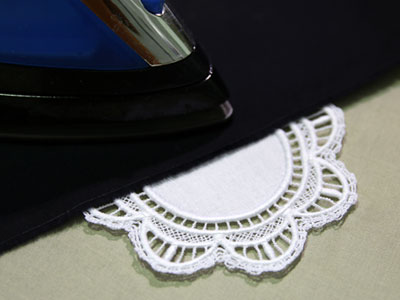
Air dry, then press using a pressing cloth.
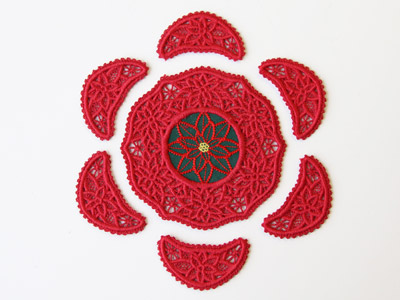
Some freestanding lace and fabric doilies have an additional lace embroidery file included (labeled with a "b"). This lace piece can be used as a border around the edges of the first lace piece to make an even bigger scalloped doily.
To do this, embroider six of the additional file. Then soak and press the pieces.
Once all six of the pieces are sewn out, match them up with the curved sections of the first lace piece. Once matched up, use a hand sewing needle or fabric glue to attach the additional lace pieces to the center piece. For a strong hold, sew a few stictches (or glue) at each of the corners of the small pieces and at the center of the cured side.
For best results, layer the additional pieces sligthly under the larger center piece to help them seamlessly match up with the edge.
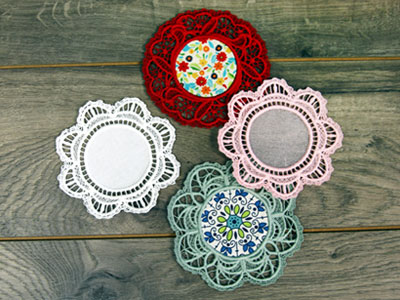
Used colored thread or fabric to add your personal style to these delightful and dainty doilies.
Or, stitch in traditional white for a classic look.
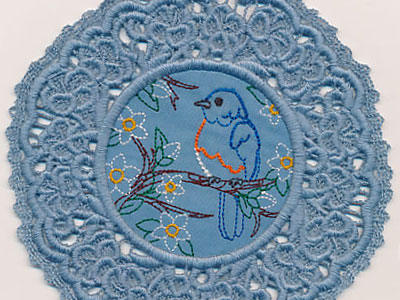
A bluebird sits pretty on a blooming branch in this fabric doily design. Stitching on the fabric adds an extra layer of interest to the design.
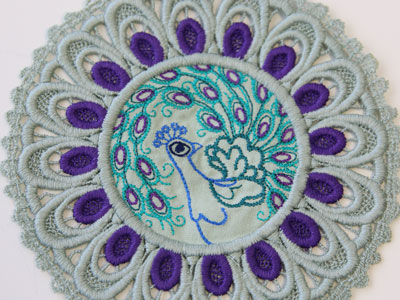
Some fabric doilies have been specially digitized to stitch with two colors of lace for a unique style. This beautiful peacock design evokes the feathers of the bird in its coloring.
This project is featured on the Embroidery Library Pinterest page.
Pin it yourself using the "Pin It" button on this page.
