The combination of freestanding machine embroidered lace and faux leather stitched with delicate details is a crafty and modern wardrobe accessory that is sure to be a hit at craft fairs and for gifts. Project instructions below will show you how to make your own.
Supplies
- Embroidery thread
- Tearaway stabilizer
- Water soluble stabilizer
- Earring hooks
- 6mm jump rings
Tools
- Temporary spray adhesive
- Iron and pressing cloth
- Scissors
- Awl
- Needle nose pliers
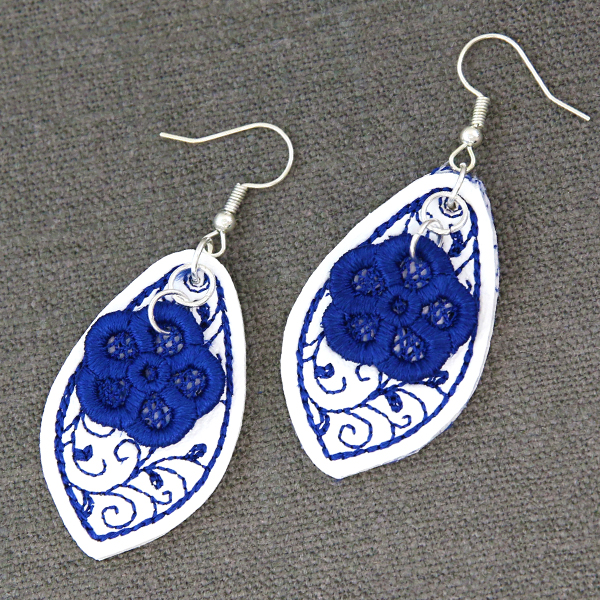
The faux leather portion of this design is specially digitized to sew on a hooped piece of tearaway stabilizer. The freestanding lace portion is stitched on water-soluble stabilizer. Once finished and the stabilizer is removed, these become cute trendy earrings for your wardrobe.

Before embroidering, cut out four squares of faux leather in your color of choice, making sure that each piece is bigger than the finished embroidery area for each file. You can find the size of the individual embroidery files by opening them in embroidery software or on your machine. We cut each fabric piece into a 3" square. Two fabric squares will be the front and back fabric pieces of file "A". The other two fabric squares will be used for the front and back of file "B".
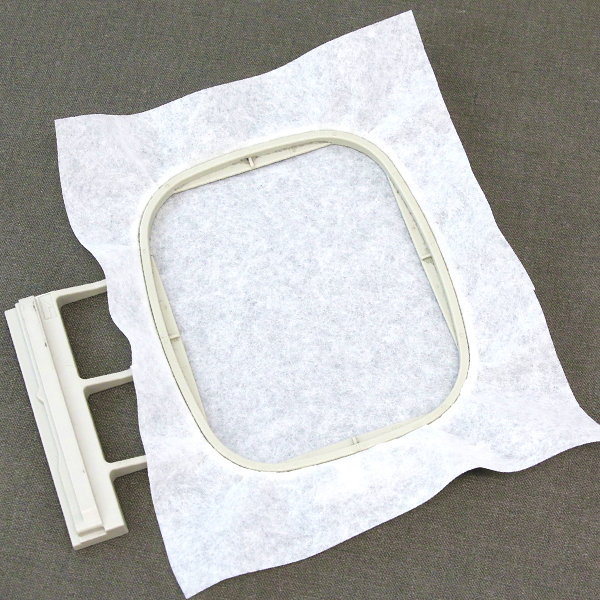
Once all the fabric pieces are cut out to the correct size, it is time to embroider the design. Hoop a piece of tearaway stabilizer. Madeira E-Zee 1.5 oz. or Floriani Tearaway Medium are good choices. Those brands are more fibrous, less like paper, and will tear more cleanly.
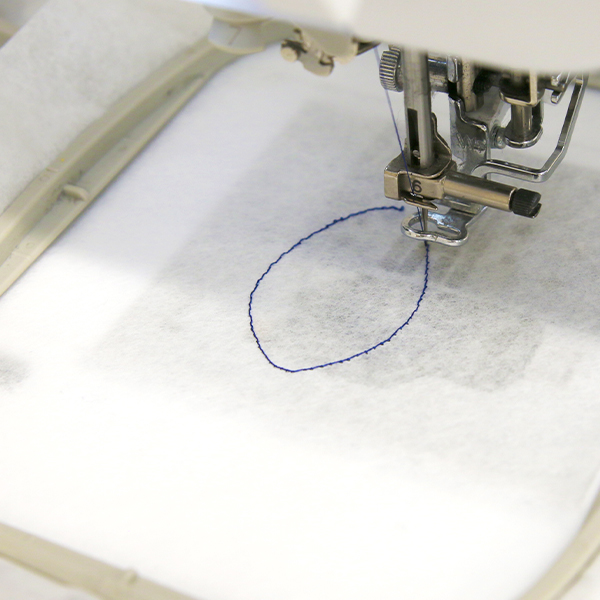
Attach the hoop to the machine and load embroidery file "A". Use a 75/11 sharp sewing needle instead of an embroidery needle. The sharp sewing needle has a finer point and it will make smaller perforations in the stabilizer. The first thing to embroider will be a "fabric dieline" (or outline stitch). This marks the area on the stabilizer where the fabric piece will be placed.
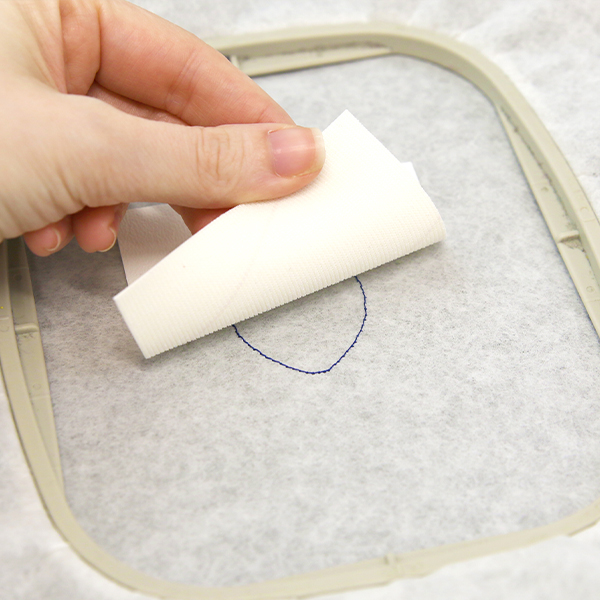
After the fabric dieline has sewn, remove the hoop from the machine but do not unhoop the stabilizer. Spray the wrong side of the front fabric piece with temporary spray adhesive. Place the fabric on the stabilizer over the sewn fabric dieline.
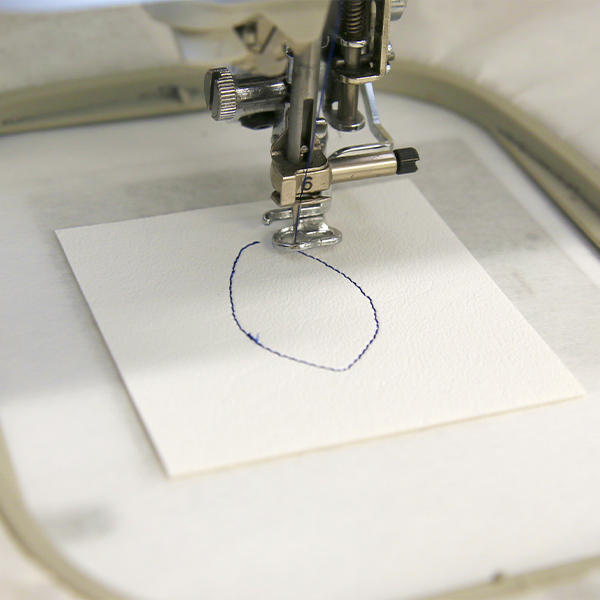
Next, place the hoop back onto the machine and embroider the "front piece tackdown." A tackdown holds the fabric piece in place for the remainder of the design.
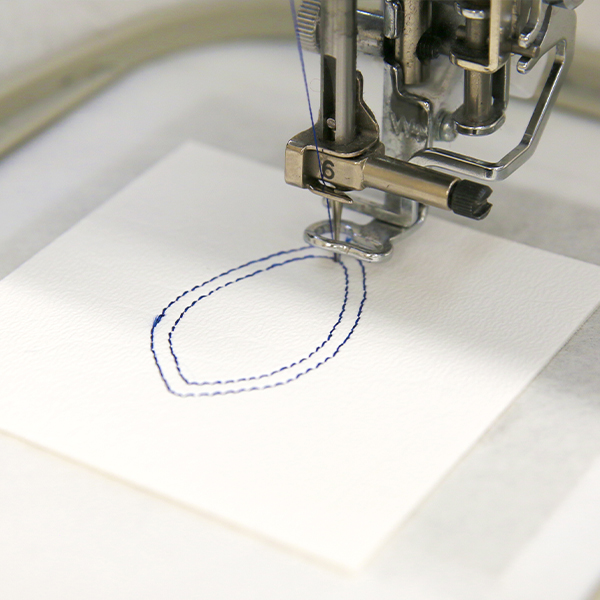
The next step to embroider will be the "cut line." This marks the area on the leather where the finished design will later be cut out.
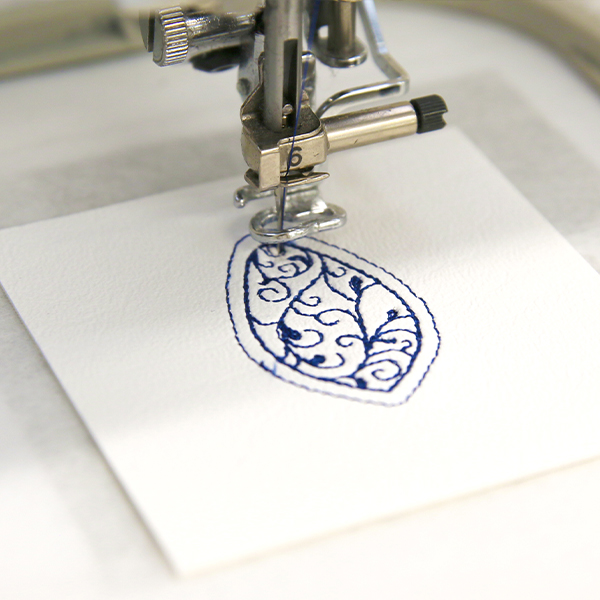
Follow the color change sheet to embroider the inner details of the design.
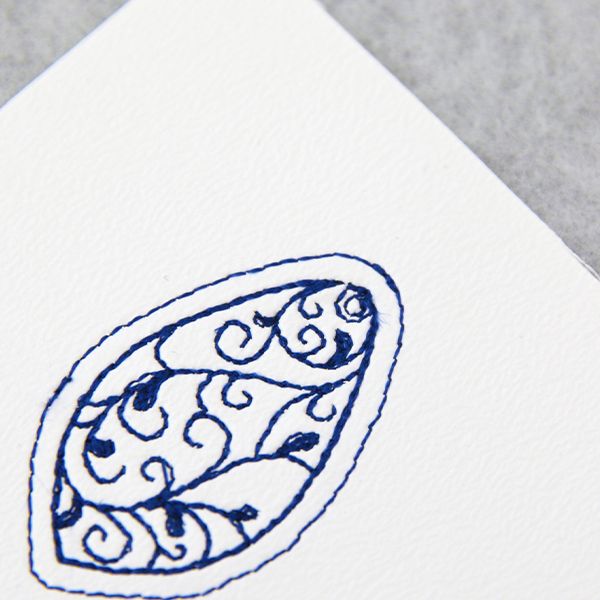
A small circle near the top of the design will also embroider. This circle is the "hole punch guide." It marks where a hole will be punched later for a jump ring.
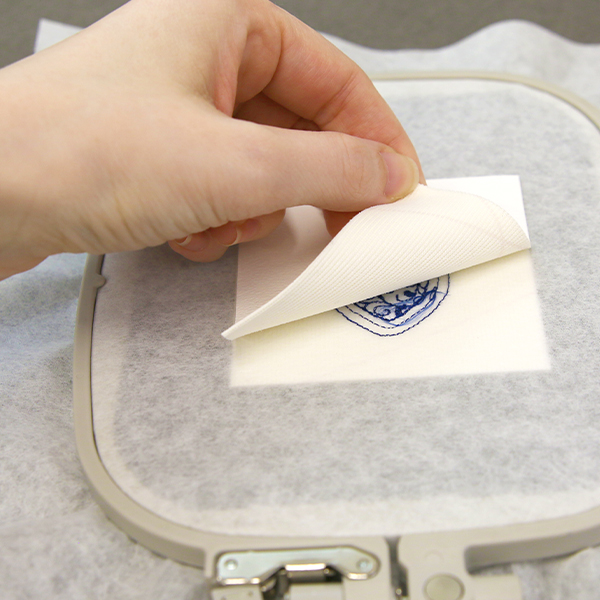
Before sewing the "back piece tackdown," remove the hoop from the machine. Do not unhoop the stabilizer. Turn the hoop over so the back side is facing up. Spray the back fabric piece with temporary spray adhesive. Then, smooth the back fabric piece over the shape on the back side of the hoop.
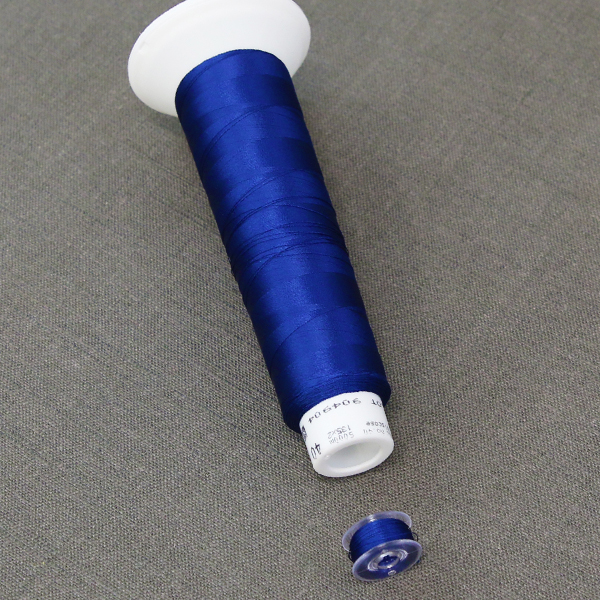
As all the bobbin stitching from here on out will be seen from both sides, wind a bobbin with the same thread that is being used in the top needle.
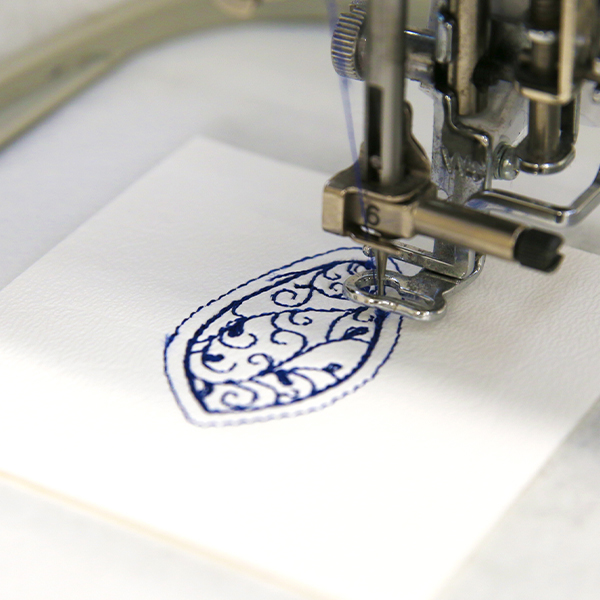
Reattach the hoop and embroider the "back piece tackdown."
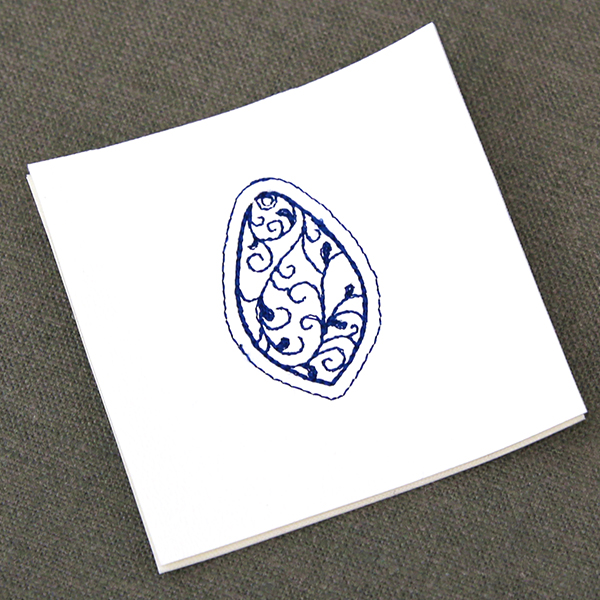
Once the embroidery is finished, carefully tear the excess stabilizer away from between the two leather pieces.
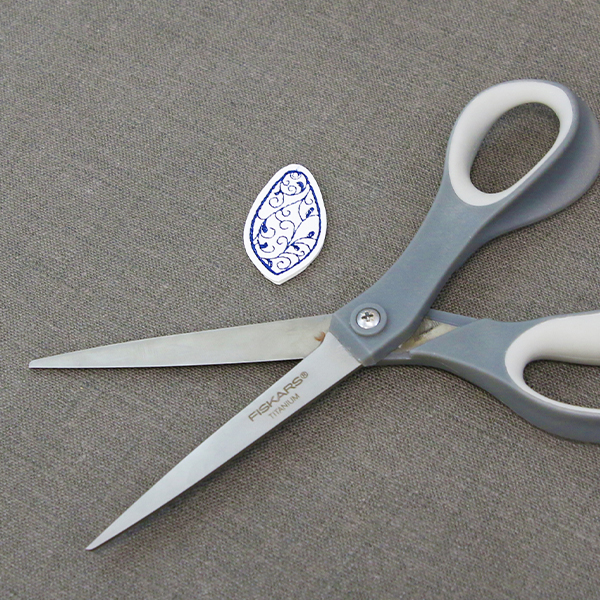
Then, using scissors, carefully cut along the inner edge of the "cut line." Cutting along the inside of the cut line will remove those stitches from the leather piece, leaving a clean and smooth fabric edge. Once you've trimmed away the excess fabric, repeat the above steps to finish the other faux leather portion of your earring set.
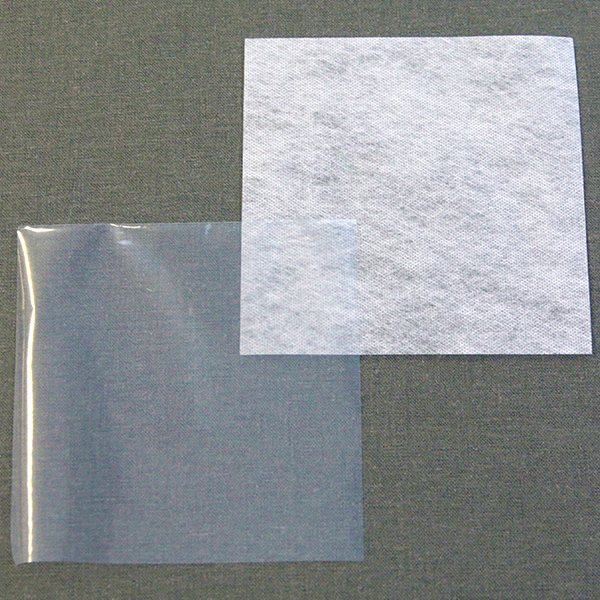
Next we will sew the freestanding lace portion of the earrings. For this you will need water-soluble stabilizer.
There are different kinds of water-soluble stabilizer: one is soft and fibrous this is vilene. The other is more plastic-like, called Sulky ultra solvy. In this demonstration we used the vilene.
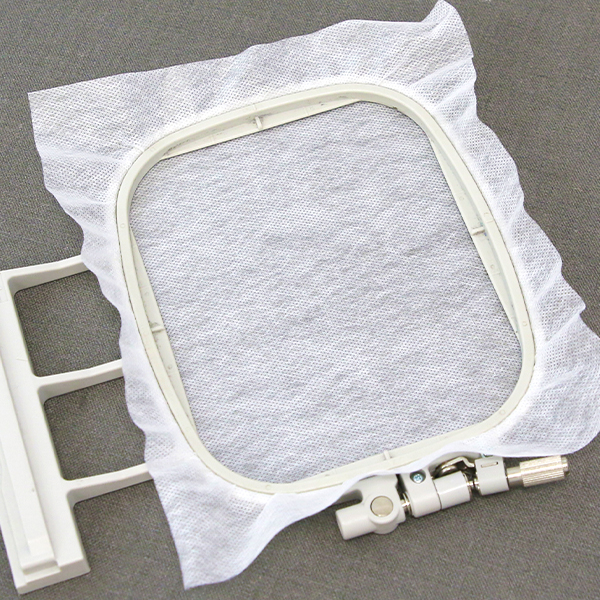
To start the lace, hoop a piece of water-soluble stabilizer.
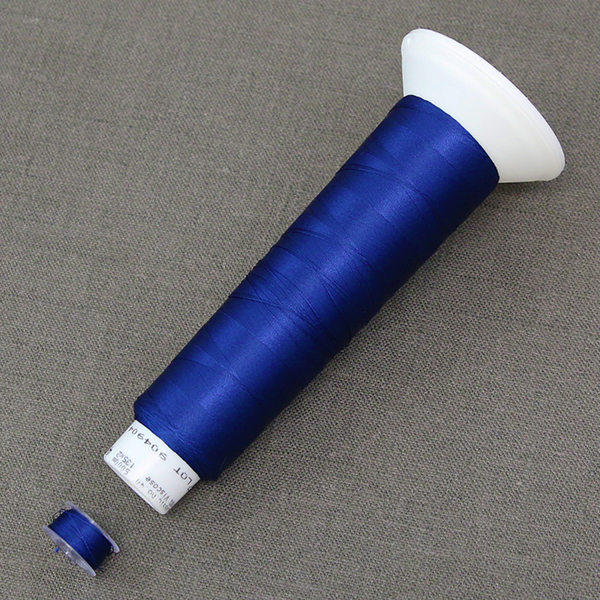
Match the bobbin as stitching will be seen from both sides.
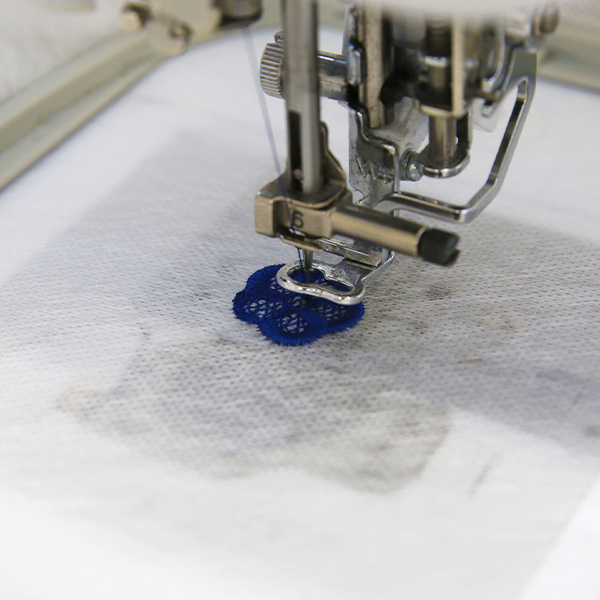
Attach the hoop to the machine and sew out the lace part of the design.
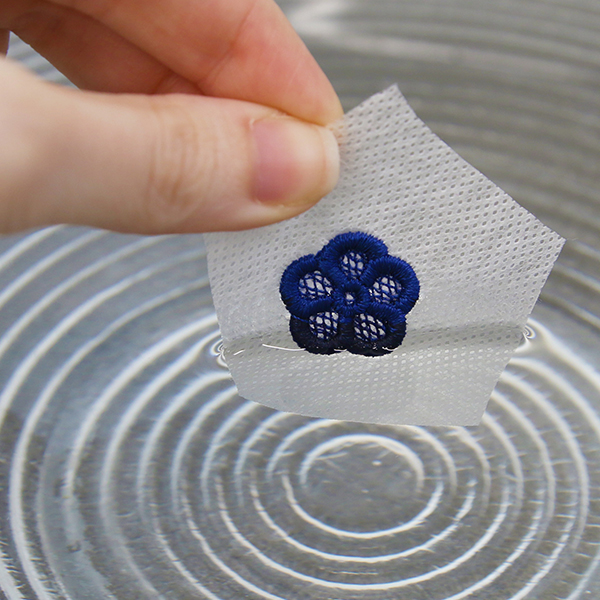
Trim away the extra stabilizer, then soak the lace.
Air dry and then press the lace with press cloth.
Repeat the above steps to make a second freestanding lace piece.
Next, using an awl, punch a hole in the center of embroidered "hole punch guide" on the faux leather pieces. Be careful not to rip or tear any of the embroidery.
Using a needle nose pliers, open a jump ring and loop it through the hole made by the awl and add the earring hook. Use the needle nose pliers to close the link.
Now use needle nose pliers to loop one jump ring through each of the two freestanding lace flowers.
To finish, use a final jump ring to attach the flower to the ring holding the earring hook. Do this for both earrings.

