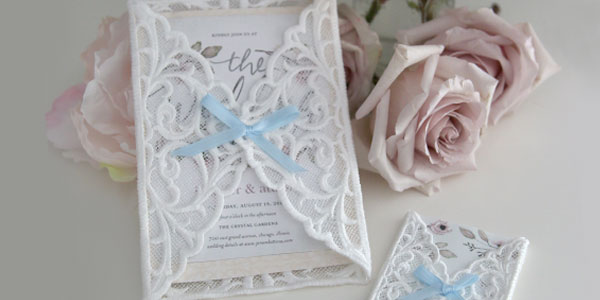
Display your wedding invitation, Christmas card, or a special photograph with this stunning freestanding lace envelope. Perfect as a decoration for any special event!
Finished Sizes: Large: 4 1/4" x 6 1/2" Small: 2 1/2" x 3 3/4"
Supplies
- Water-soluble stabilizer
- Thin decorative ribbon
Designs Used
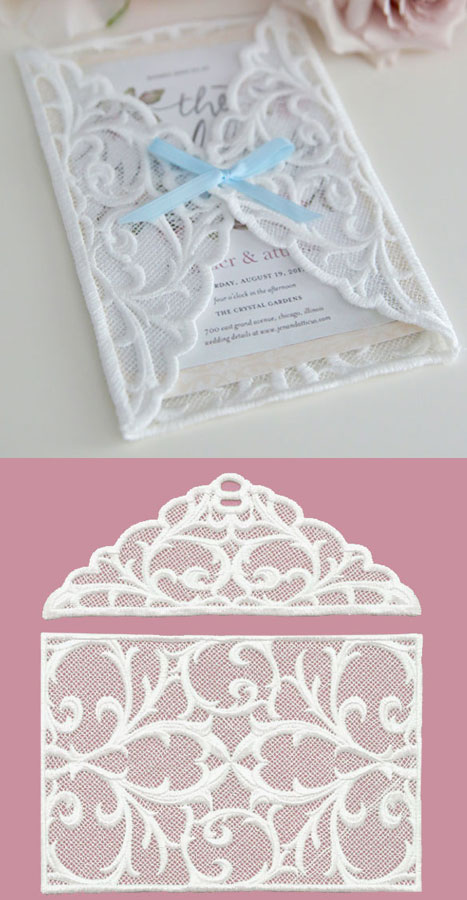

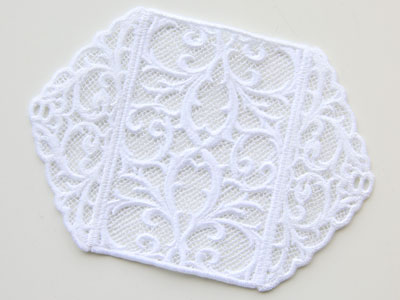
Freestanding lace designs have been specially digitized for watersoluble stabilizer. After the stabilizer is removed, beautiful lace remains behind. When you download the design, you will find a total of two files. The file labeled with an "a" is the back of the envelope, and the file labeled with a "b" is the flap.
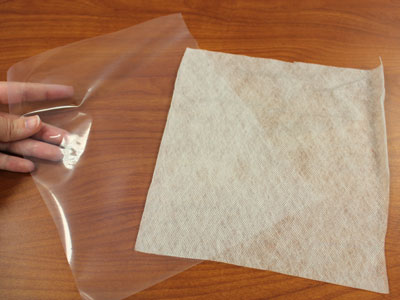
There are a couple of different kinds of water-soluble stabilizer. One is clear and plastic, and that brand is Sulky Ultra Solvy. The other is soft and fibrous, called Vilene. Both will work very well. Vilene is used in this demonstration. Use a size 11 or 75/11 sharp sewing needle. A sharp sewing needle has a smaller, finer point than an embroidery needle. That means it will make smaller holes in the stabilizer.
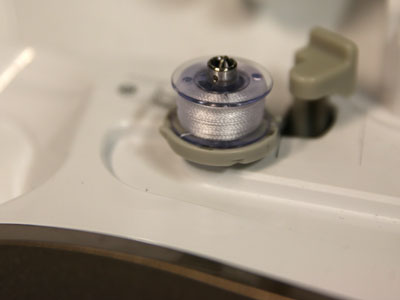
Freestanding lace is seen from both sides, so wind a bobbin with the same thread that you're using in the needle.
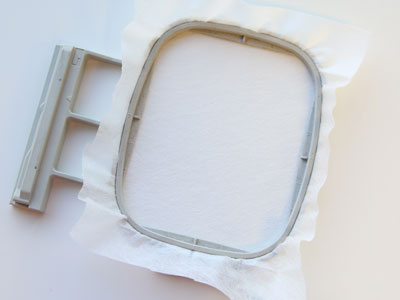
Hoop the stabilizer firmly. Make sure it is nice and tight with no wrinkles.
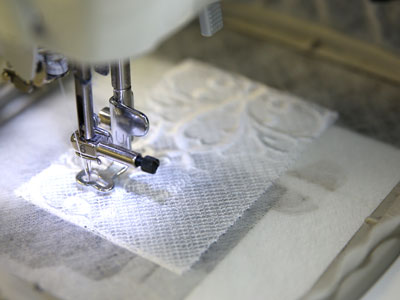
Load the first file (piece "a") onto your machine. Use 40 weight rayon or polyester thread. You can also use 30 weight cotton or metallic thread for most freestanding lace designs. Embroider the design.
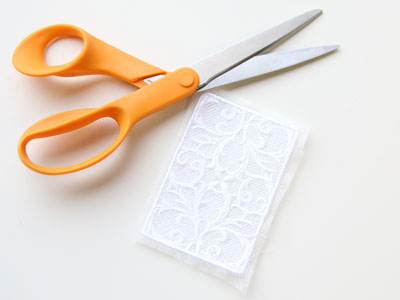
After embroidering, trim away the excess stabilizer.
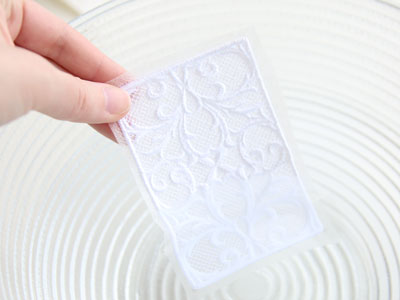
The stabilizer's packaging should give instructions for removing the excess. For Vilene, soak the lace pieces for a few moments.
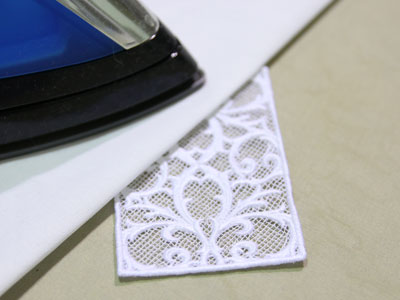
Allow the lace to air dry, then press with a pressing cloth on top.
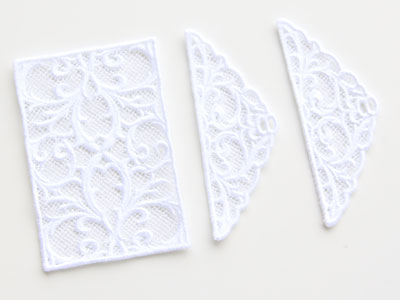
Repeat the steps above to embroider file "b" twice to make two identical lace flaps.
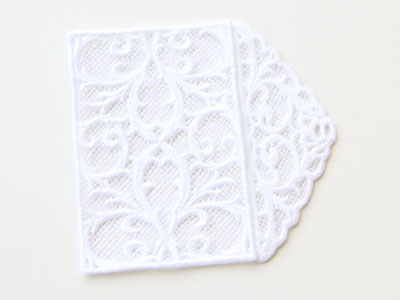
Lay the back of the envelope (piece "a") on the table with the right side of the lace facing up. Then lay one the flaps (piece "b") next to it with the wrong side of the lace facing up. Match up the edges.
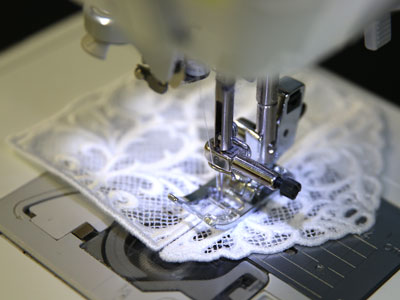
Using the same thread as used in the embroidery and a matching bobbin, zigzag stitch the two pieces together side by side.
Repeat to add the other flap, making sure the wrong side of the lace is facing the same direction as the other flap.
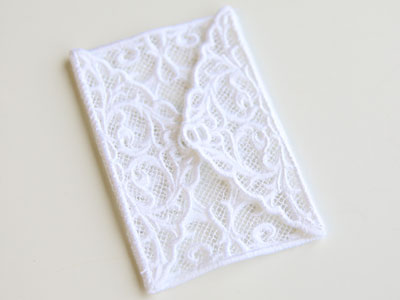
Fold the flaps in and over the back pieces so that they slightly overlap. Now all the right sides of the lace pieces should be facing up.
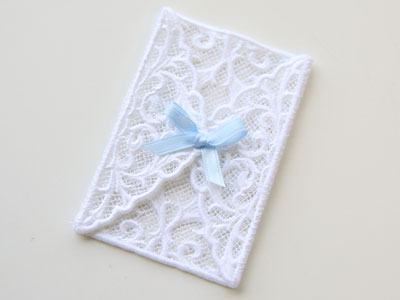
Cut a 7-9" piece of ribbon, thread it through the ribbon hole in the lace, and tie a bow.
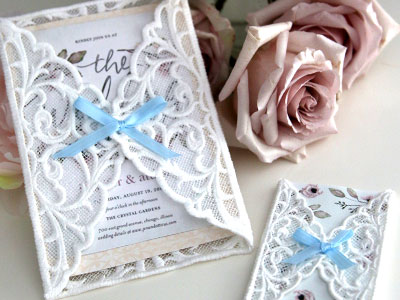
Add beautiful stationary or wedding invitations to create an elegant touch to any occasion. Perfect for weddings, bridal and baby showers, and more!


