Turn an ordinary Christmas bulb ornament into a unique and custom creation when you dress each bauble in an elegant freestanding organza ornament cover. Project instructions will show you how to stitch this type of machine embroidery design in-the-hoop.
Supplies
- 1/4 yard organza
- Embroidery thread
- Scissors
- Temporary spray adhesive (such as Gunold KK100)
- Water-soluble stabilizer (Like Vilene or Sulky ultra solvy)
- 1/8" wide ribbon
Tools
- Tapestry needle
- Hand sewing needle and thread
- Awl
- Christmas bulb ornaments
Designs featured in this tutorial include:
- ESP81862-1, Decadent Christmas Dreams Ornament Cover (Organza)
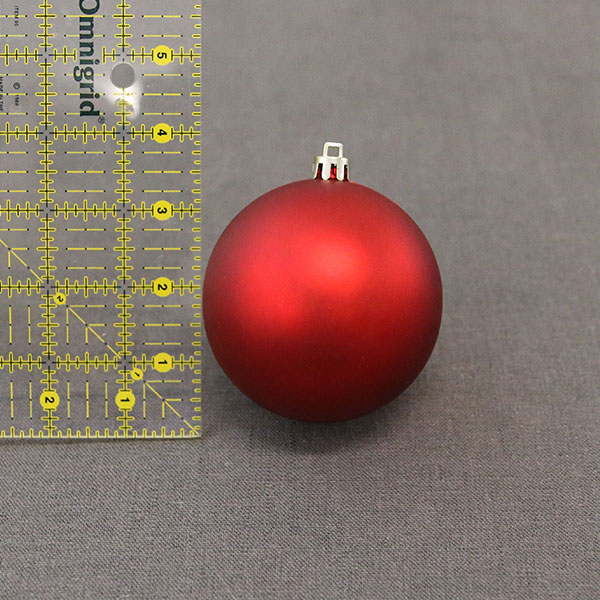
There are different sizes of ornament covers available. Look closely at the dimensions of your embroidery file. The largest size will be about 6" - 6.5" wide by 5" - 5.5" tall, and the largest size will fit ornament bulbs that are 4" tall and have a 12.5" diameter (measure the height of just the sphere itself. Not including the cap or hanger). The smaller size will be about 4.5" - 5" wide by 3.5" - 4" tall, and the smaller size will fit ornament bulbs that are 3" tall and have a 9.5" - 10" diameter (measure the height of just the sphere itself. Not including the cap or hanger).
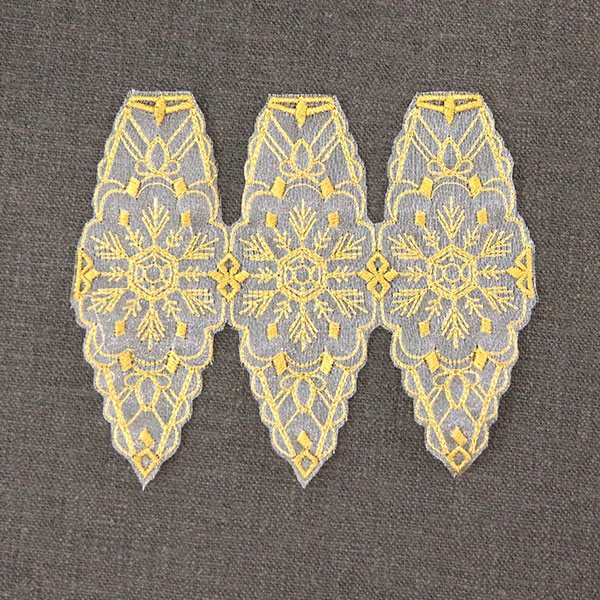
These designs have been digitized to sew on organza hooped with a piece of water-soluble stabilizer. After the excess organza is cut away and the stabilizer is removed, beautiful embroidery and organza remains.
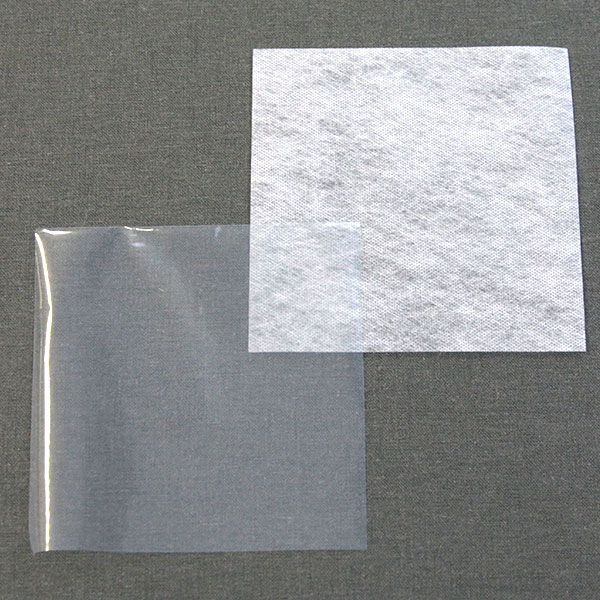
There are a couple different kind of water-soluble stabilizer. One is clear and plastic, called Sulky Ultra Solvy. The other is soft and fibrous, called Vilene. Both work well. Vilene is used in this demonstration. Use a size 11 or a 75/11 sharp sewing needle. A sharp sewing needle has a smaller, finer point than an embroidery needle. That means it will make smaller holes in the stabilizer.
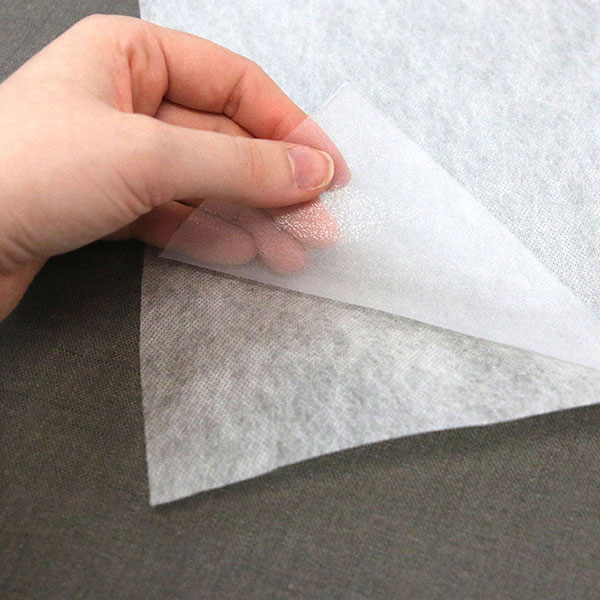
Cut a piece of both organza and water-soluble stabilizer that are larger than the embroidery hoop. Spray the water-soluble stabilizer with temporary adhesive and smooth the piece of organza on top of it.
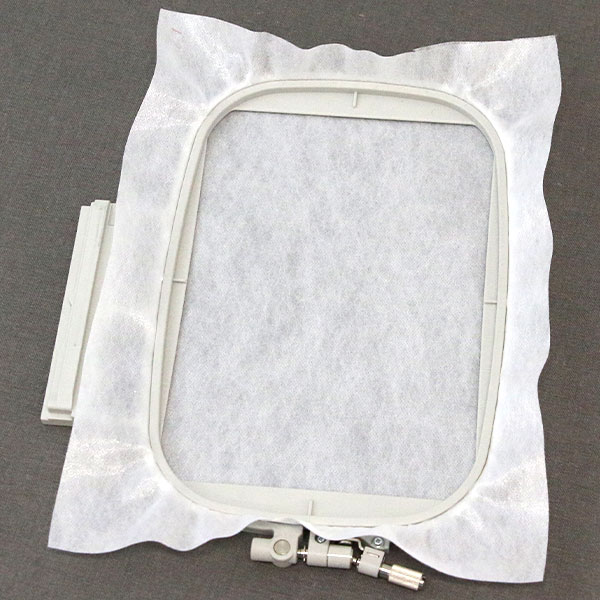
Hoop the organza and water-soluble stabilizer together firmly. Make sure it is nice and tight with no wrinkles.
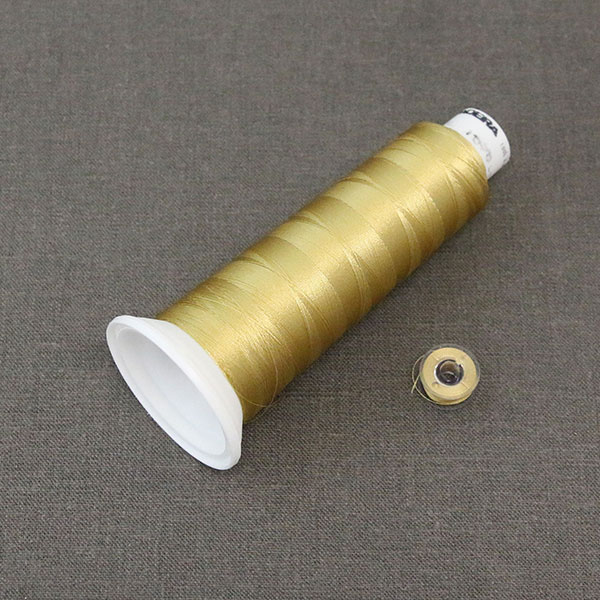
As this design will be seen from both sides, wind a bobbin to match every thread color used in the design.
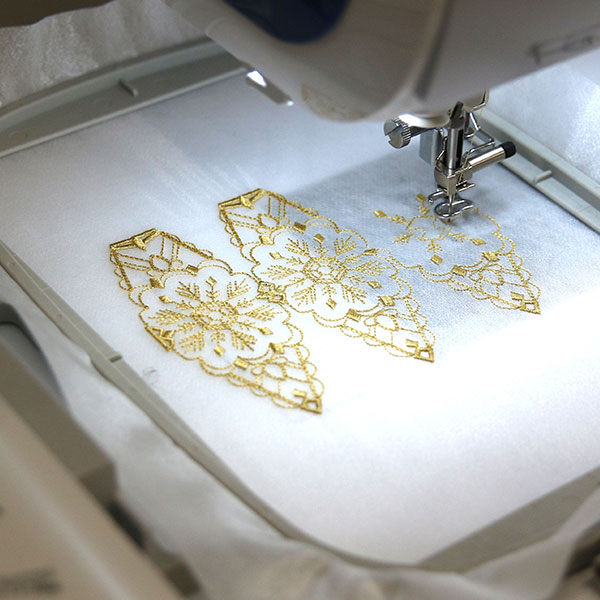
Follow the color change sheet to embroider all of the designs. If the design has more than one color, continue to match all bobbins, and embroider the remaining details.
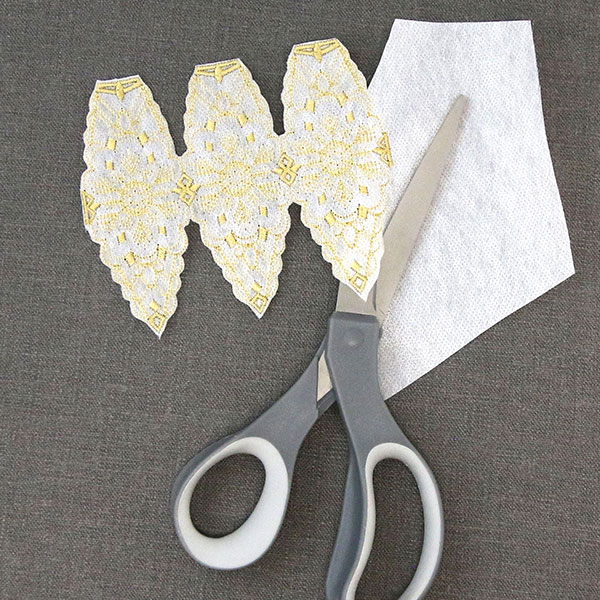
Once all the embroidery is finished, unhoop the layered organza design and carefully cut around the outer edges of the design. Cut as close to the embroidery as you are comfortable, but make sure not to cut into the embroidery. If you accidentally cut the embroidery, using a small amount of clear fabric glue can help adhere the stitching in place so it does not unravel.
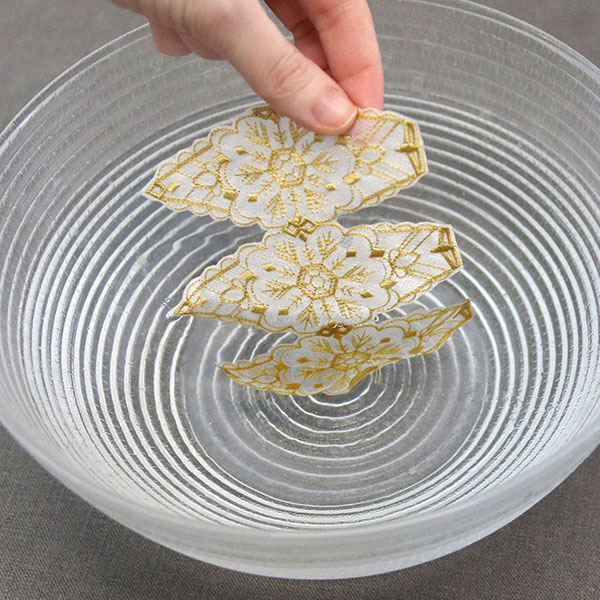
The stabilizer's packaging should give instructions for removing the remaining water-soluble stabilizer. For Vilene, soak the embroidered design in water for a few hours.
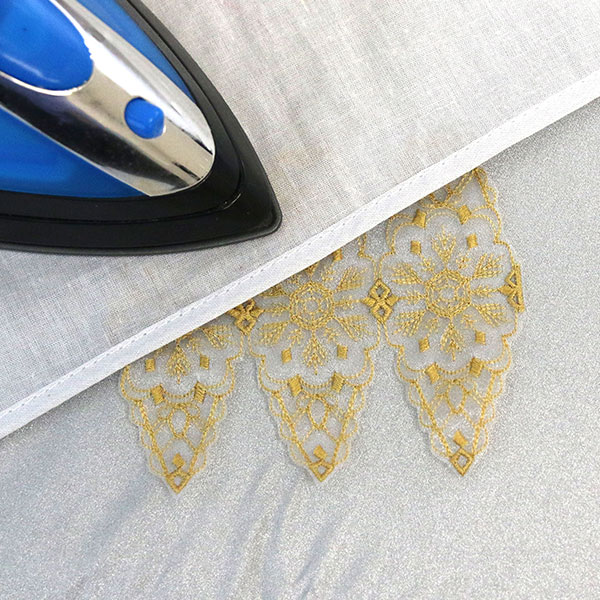
Allow the design to air dry. If needed, press the design with a pressing cloth on top to remove any wrinkles in the organza.
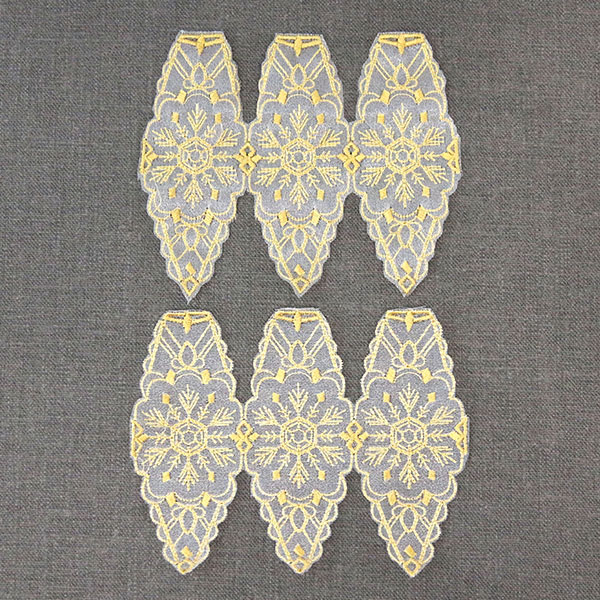
You will need two sew outs of the ornament covers to fit around the bulb ornament. Repeat the previous steps and embroider a second piece on another piece of hooped organza and Vilene. Then cut the design out, soak it to remove the excess stabilizer, allow it to air dry, and press it if needed.
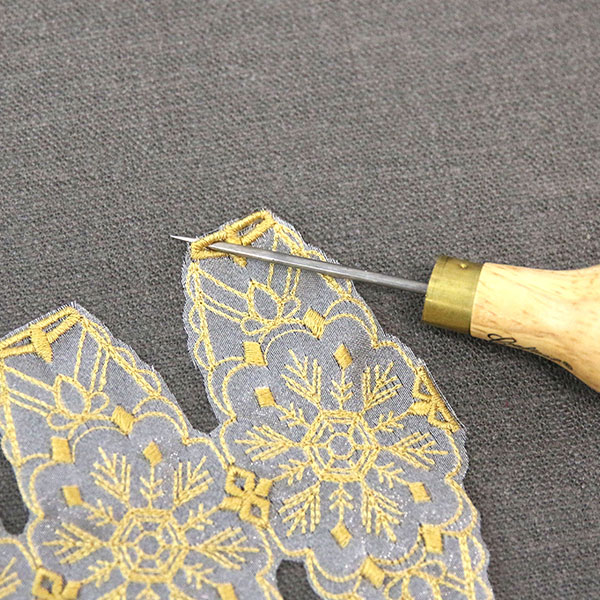
Each ornament cover has embroidered holes for the ribbon to thread through the top and bottom. To help the ribbon slide through more easily, poke an awl (or a thick needle) through these openings to make a hole through the organza. Repeat for both pieces.
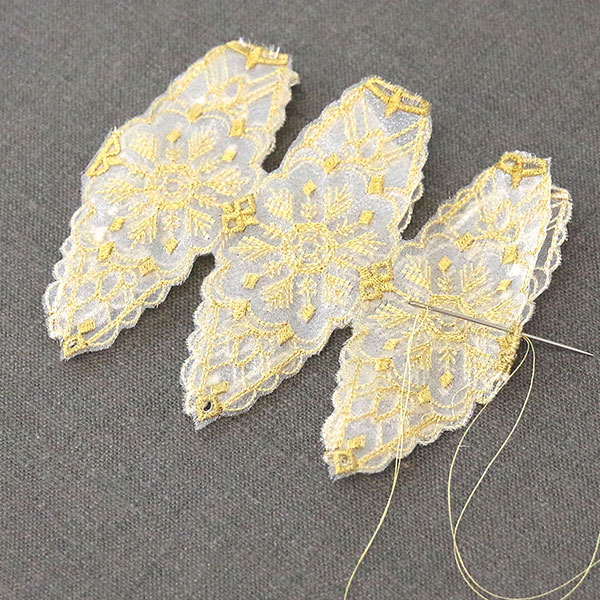
Then lay the two ornament cover pieces on top of each other with wrong sides together. Locate the widest point on both sides of the ornament cover pieces. Hand sew the two cover pieces together along one side at the widest point. Make sure you are sewing them together very close to the edge of the design, but be sure to sew through the embroidery itself and not just the organza which is too delicate to support the hand sewing. For best results, use a thread color that matches the embroidery.
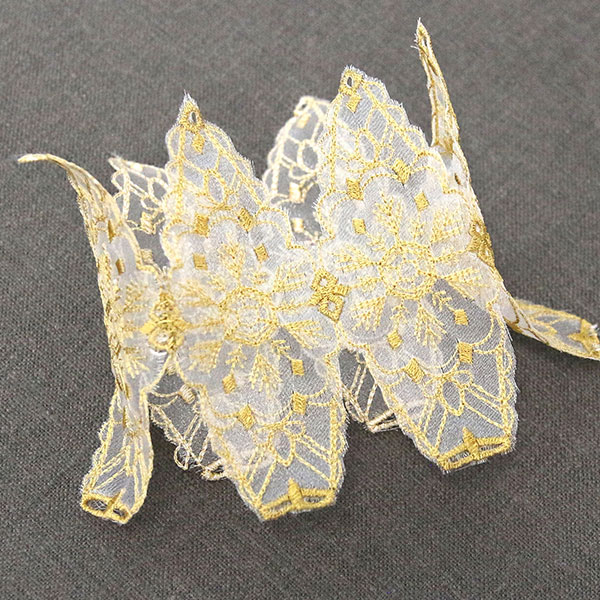
Then repeat to sew the two pieces together on the other side at the widest point. This will make the two ornament covers into a full loop or circle. Make sure you are sewing them together very close to the edge of the design, but be sure to sew through the embroidery itself and not just the organza which is too delicate to support the hand sewing. For best results, use a thread color that matches the embroidery.
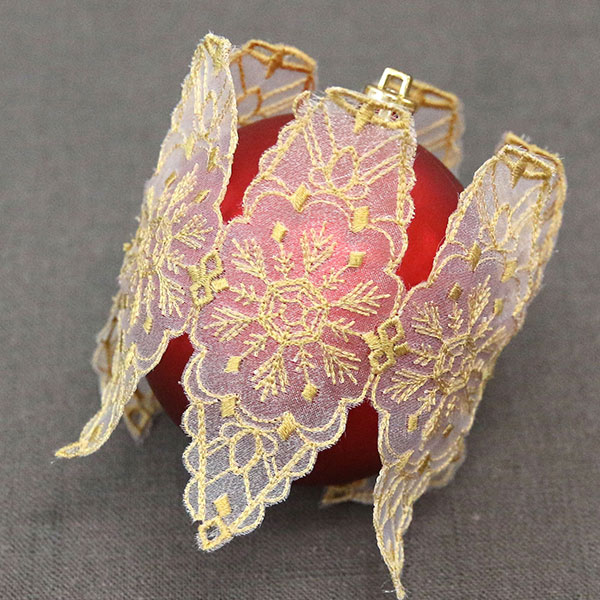
Slide the ornament cover onto the bulb ornament.
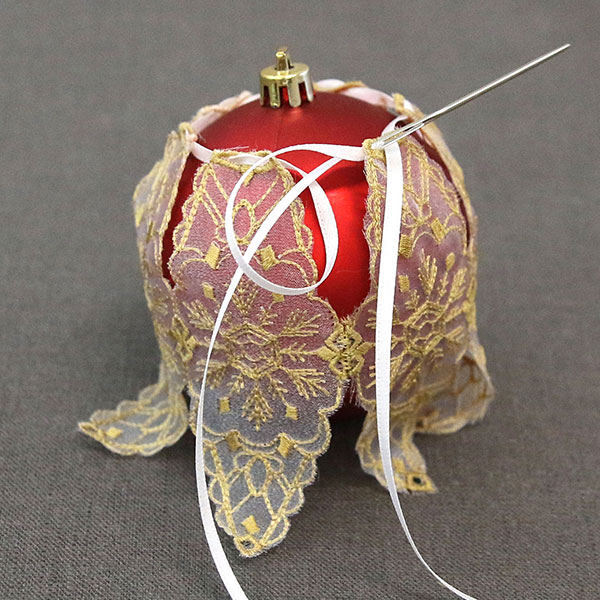
Cut a piece of ribbon that is 12" long and thread it through a tapestry needle (or another needle with a wide eye). Use the tapestry needle to guide the ribbon through the holes around the top of the ornament cover. Thread the needle in and out of the holes, weaving it though all the top pieces of the ornament cover until you get to the hole next to where you started.
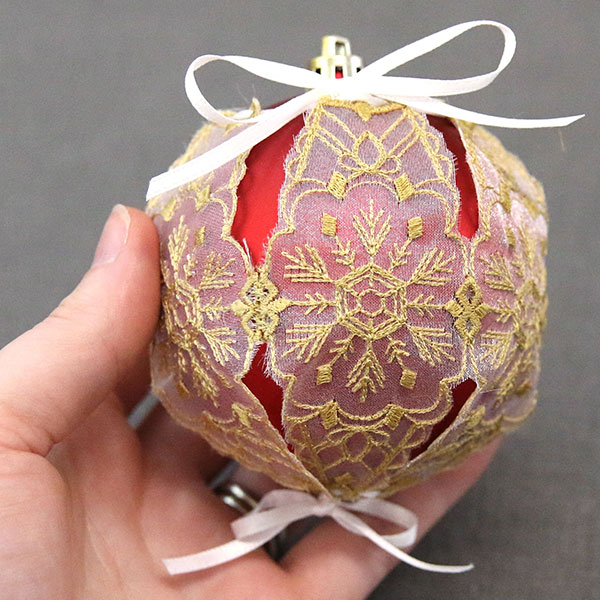
Once the ribbon is threaded all the way around the top, pull the ribbon tight so the top of the ornament cover sits nicely along the top of the bulb and tie the two ends in a bow. Trim the ribbon as desired, but make sure not to cut it too short or else it will come unthreaded when you untie the bow and open up the ornament cover to take it off. Then repeat to thread the needle through all the holes on the bottom of the ornament cover, and tie it into a bow.
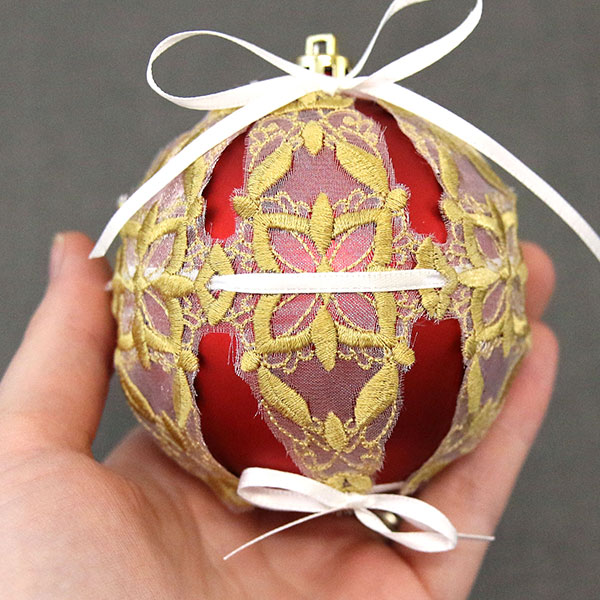
Some ornament covers have additional openings at the widest point that accent ribbons can be threaded through. This is totally optional, and can be added for extra detail, or skipped to let the embroidery shine. If desired, cut another piece of ribbon, and thread it through those holes as well. Tie it in a bow, and trim the ribbon as needed.


