Treat yourself to 70% off Storewide! Click the deals tab for details.
 Treat yourself to 70% off Storewide! Click the deals tab for details.
The winter blues won't have a chance when you are working on this project! The vivid color foretells the spring that's bound to be on its way, along with warmer, longer days.
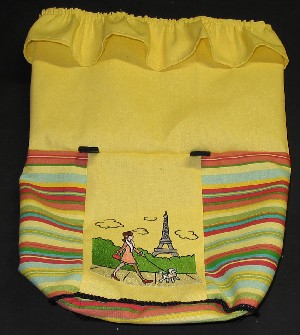
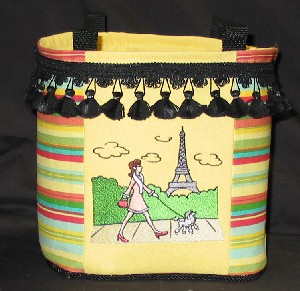
This sassy little bag was made with just a few of the Purse Set designs--new at Embroidery Library!
On the front, Suzette strolls along the avenue on her way to the shops, with her loyal poodle, Fifi, at her side. The view of the Eiffel tower takes us to spring in Paris.
Supplies
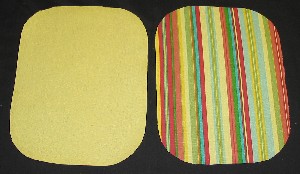
- 1 yard of fabric in a solid color
-
1 yard of striped fabric
-
1 yard of fringe or tassel trim
-
1 yard of piping or welting
-
1 set of purse handles
-
1 yard of semi-rigid interfacing
-
12" of 1-inch wide webbing
-
Purse-bottom pattern piece
Designs Used

Measure and cut 2 panels from the striped fabric that are 10 1/2" tall by 9 3/4" wide. In our example, the stripes will be running horizontally.
On the solid fabric, mark 2 rectangles that are 7" wide by 10 1/2" tall. Place and sew out the embroidery slightly below center to accommodate the length of the fringe trim, so that the fringe doesn't cover up the embroidery. Cut out the embroidered rectangles when you are finished embroidering.
Using the purse bottom pattern piece that can be downloaded from the link above, mark and cut one each from the solid and striped fabrics. Transfer the arrows to the striped piece, which you will use to match the seams in the side piece so that the panels are in the right positon.
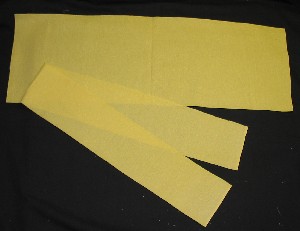
From the solid fabric, cut a rectangle 30 1/2" wide by 10 1/2" high for the purse lining, and another rectangle 44" or 45" wide by 4 1/2" tall for the pocket.
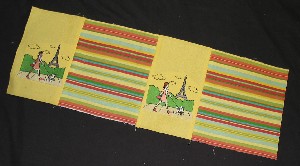
Join the side panels together, on the 10 1/2" sides, using a 1/2" seam allowance. Alternate the solid and striped fabrics, starting with a solid panel.
On the striped purse bottom piece, sew the welting along the edge of the piece, with the decorative edge to the inside of the piece. Use a zipper foot to get as close to the welting as possible.
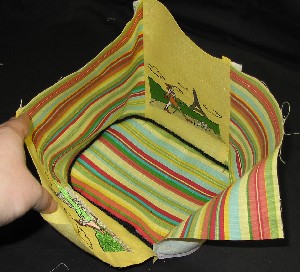
Match the solid panels between the markings on the long sides of the purse bottom that are 6" apart. This will center the embroidered panels on the front and back of the purse. Use a zipper foot to join the side piece to the bottom of the purse. As you start sewing at a matching point, make sure to leave a 1/2" overlap that is unsewn, so that you can sew up the side seam when you complete sewing around the bottom. Then, sew up the side seam.
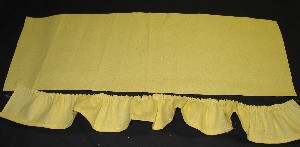
For pockets inside your bag, make a hem on one long side of your 44"-45" rectangle, and run 2 lines of basting stitches so that you can gather the other long side. Gather it to measure 30 1/2"

With the right side out, sew the gathered edge to one long side of the 30 1/2" lining rectangle. Stitch up the short ends, and stitch at intervals to create a number of pockets along the width of the rectangle.
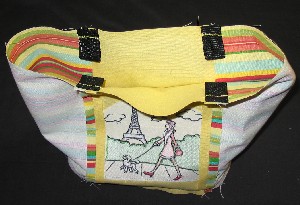
Cut the webbing into four 3-inch pieces. Fold the pieces in half, and pin them to the right side of the fabric along the top of the purse according to the width of your purse handles. This example was 6" wide on center, which corresponded nicely with the width of the front panels. Stitch the webbing pieces in place.
Join the short ends of the lining piece with right sides together. Then, matching the top cut edges of the lining and purse sides, stitch the lining to the purse sides with right sides together.
Cut a piece of semi-rigid interfacing that is 29 1/2" wide by 9 1/2" tall. Insert the piece of interfacing into the purse to add body to the side walls.
Fold the lining down into the inside of the purse, so that the pockets are on the inside bottom of the purse. Tack the lining to the seam allowances at the bottom of the purse.

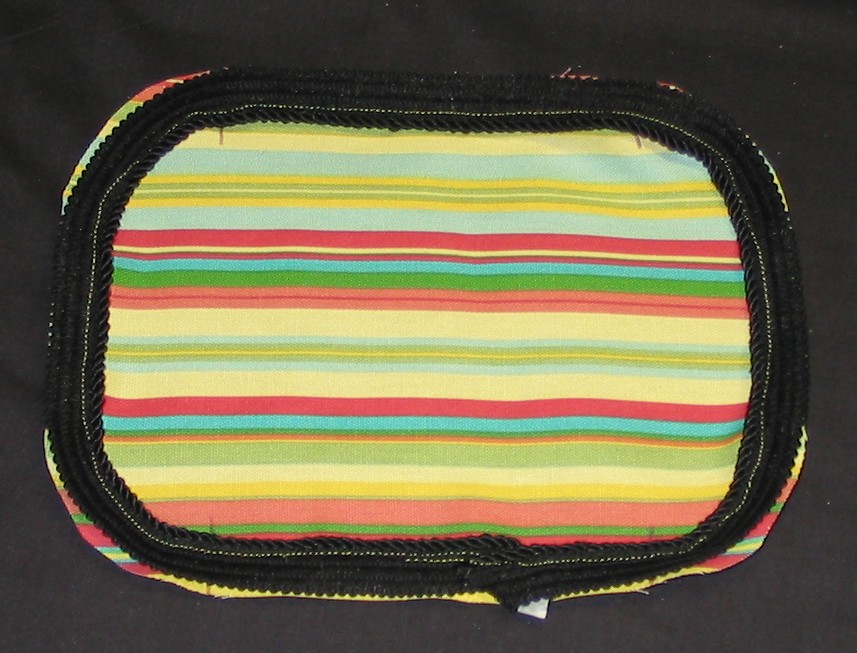
Cut a piece of semi-rigid stabilizer that is the size of the purse-bottom pattern piece, minus the seam allowance. Use washable fabric glue to glue the edges of the purse bottom piece around and over the interfacing, creating a covered bottom piece for the inside of the purse.
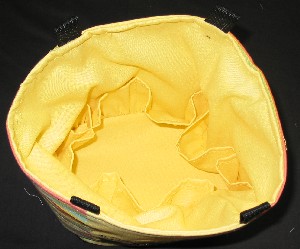
Insert the covered bottom piece into the bottom of the purse with the right side up. Use the fabric glue to glue the bottom into the purse, if desired.
Attach the fringe / tassel trim to the top edge of the purse with a running stitch.
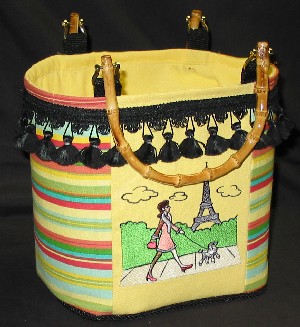
Attach the purse handles to the webbing loops at the top of the purse.
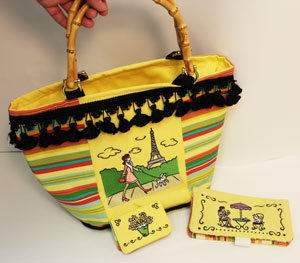
Use all the designs in the purse set to make yourself a matching checkbook cover and credit card holder.
I just love it when everything goes together!


