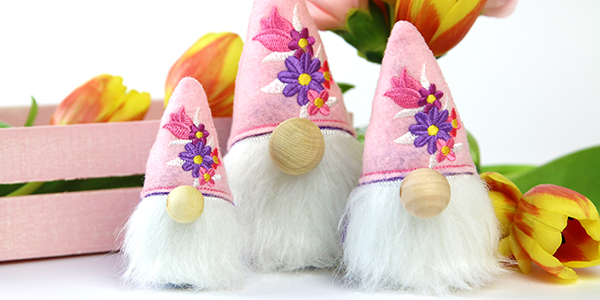
Bring whimsy and cheer to your decor with this adorable plush gnome! Floral embroidery and a faux fur beard bring a bright and playful look to this charming in-the-hoop design. Stitch just one gnome, or craft a whole family of these cute characters!
Supplies
Project Needs & Notes:
- Piece of pink felt (for hat)
- Piece of purple felt (for body)
- Piece of faux fur (for beard)
- Small piece of felt (if there are felt accents, like bunny ears)
- Fabric or hot glue (if there are felt accents, like bunny ears)
- Scissors
- Masking tape
- Temporary spray adhesive (such as Gunold KK100)
- Tear-away stabilizer
- Light-weight water soluble stabilizer (such as Sulky Solvy)
- Embroidery thread
- Polyester fiberfill
- Wooden knob or bead
Designs featured in this tutorial include:
- X14602, Garden Gnome Plushie (In-the-Hoop)
- EMP80300-1, Easter Bunny Gnome Plushie (In-the-Hoop)
Special Note: Because the last color stop of file "b" sews the "a" and "b" pieces together, make sure to completely embroider file "a" before embroidering file "b".
Finishes Sizes:
Large: 3 3/4" wide x 6" tall x 1 3/4" deep
Medium: 2 1/2" wide x 4 1/4" tall x 1 1/2" deep
Small: 1 3/4" wide x 3" tall x 1" deep
Designs Used
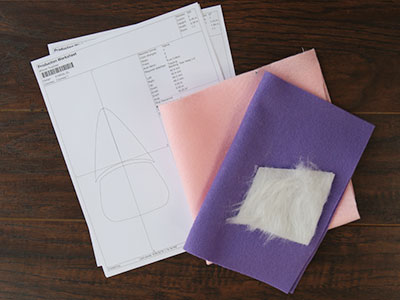
When you download the In-the-hoop gnome plushie design, you will find multiple files. Some are the embroidery files, and the others are dieline files marked with the letters "DL". Dielines are used to cut the fabric to the correct shape and size.
Open and print each dieline file using embroidery software. If you do not have embroidery software, check out our helpful video on using dielines.
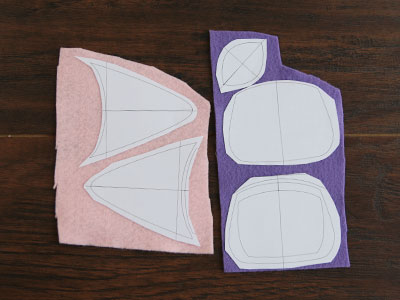
Spray the back side of the printed dielines with temporary adhesive, and smooth them onto the right side of the appropriate fabrics
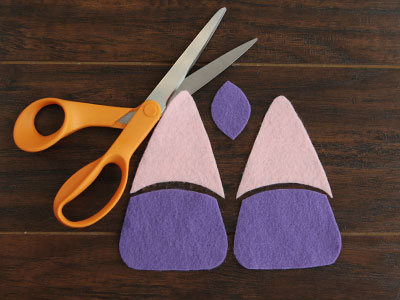
Cut the dieline shapes out of the adhered fabric, and remove the paper dielines.
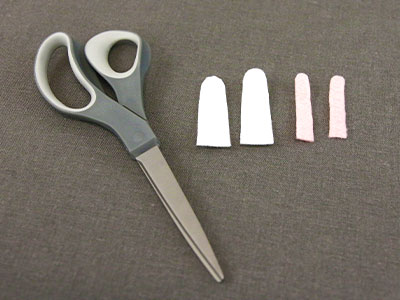
If the chosen gnome plush has felt accents, use the included dieline files to cut them out of felt.
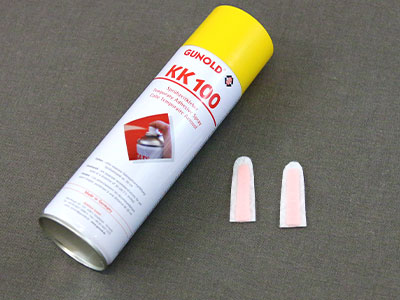
If the felt accents are meant to be layered, use spray adhesive to glue them together for now. This will hold them in place during the embroidery steps. The accents can be glued permanently together at the end. Waiting until the end will prevent glue from negatively affecting the embroidery machine or needle.
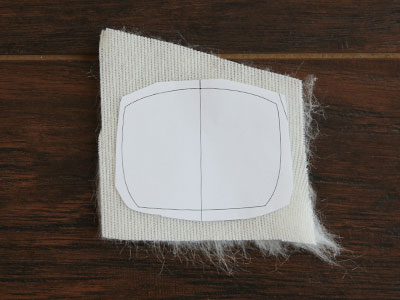
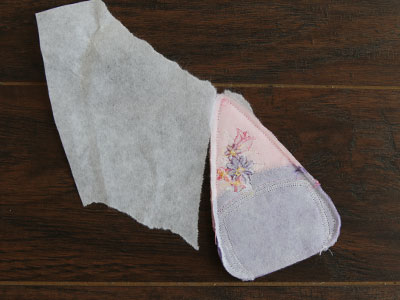
For the beard, spray and place the printed dieline on the wrong side of the faux fur.
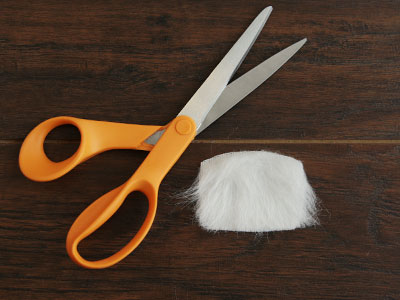
Then cut out the shape, and gently pull or wipe away the loose faux fur that has been cut loose.
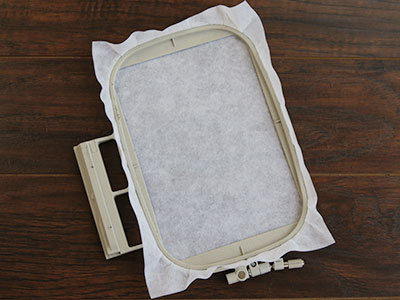
Now that the fabric pieces are ready, hoop a piece of tear-away stabilizer tightly. Madeira E-Zee Tear 1.5 oz. or Floriani Tearaway Medium are good choices. Those brands are more fibrous, less paper-like, and will tear more cleanly.
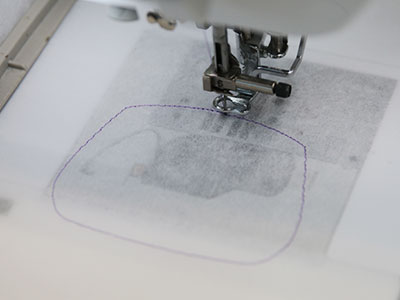
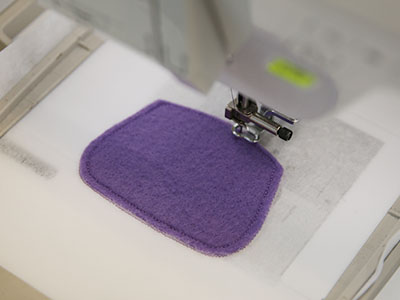
Load the back embroidery file (file "a") onto the machine, and begin to embroider the design. The first thing to sew will be the "body dieline". This marks the area on the stabilizer where the fabric piece will be placed.
Remove the hoop from the machine, but do not unhoop the stabilizer.
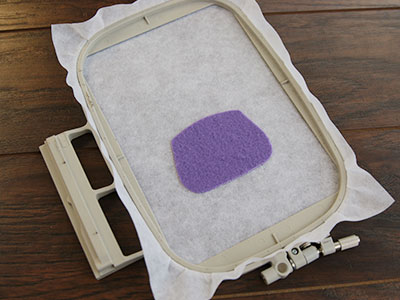
Spray the back of the body piece with temporary adhesive, and smooth it in place right inside the sewn dieline.
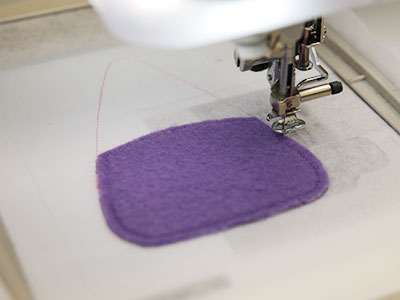
Reattach the hoop on the machine, and continue embroidering the design.
A tackdown stitch will sew next. This binds the fabric piece to the stabilizer for the remainder of the design.
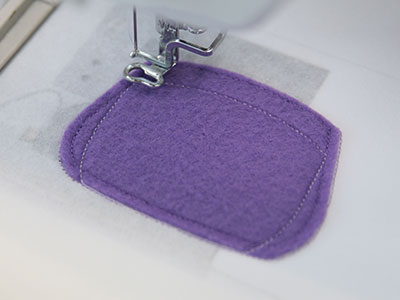
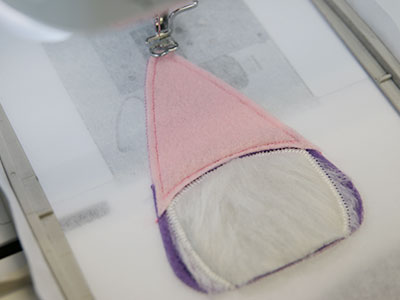
Then embroider the "hat dieline" step, and stop before embroidering the "hat tackdown".
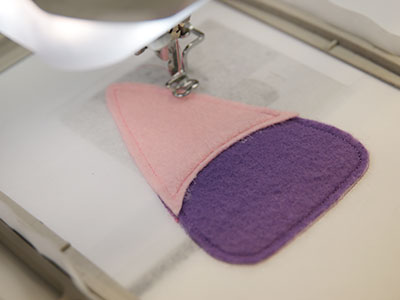
Remove the hoop from the machine again, spray the wrong side of the hat with temporary adhesive, and smooth the hat piece into place inside of the sewn dieline. Then embroider the "hat tackdown".
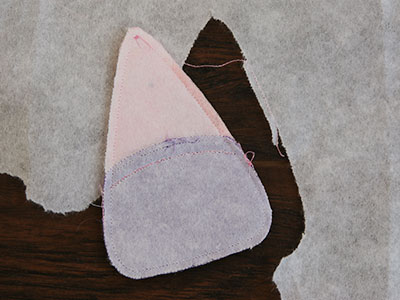
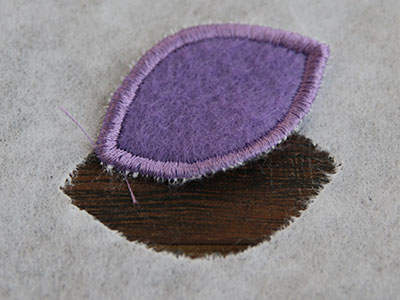
Once the embroidery is finished sewing, trim or tear away the excess stabilizer from around the back piece.
Once the back (file "a") is completed, hoop another piece of tear-away stabilizer, and load the front (file "b") onto the machine.
The first thing to sew will be the "body dieline". Spray and place the body inside the sewn dieline, and embroider the "body tackdown" as well as the "beard dieline".
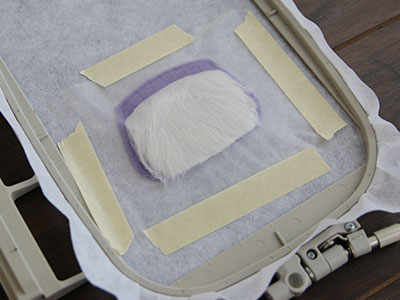
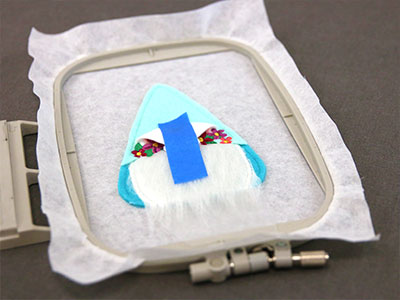
Before sewing the "beard tackdown, spray the back side of the beard with temporary adhesive and smooth it into place.
Then cut a piece of light-weight water soluble stabilizer, and tape it in place over the beard piece.
This stabilizer helps the stitching sit on top of the faux fur and prevents the embroidery foot from being caught in the fabric.
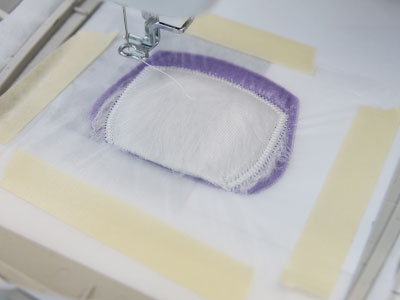
Then place the hoop back on the machine, and embroider the "beard tackdown".
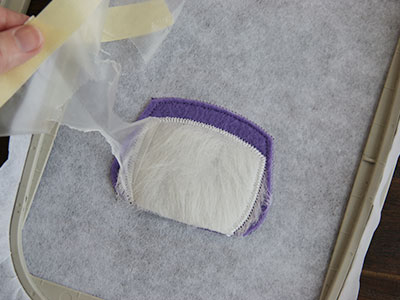
As no other details will be sewing on the faux fur, remove the tape and water soluble stabilizer by gently tearing it away.
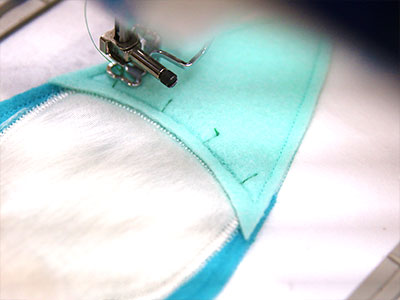
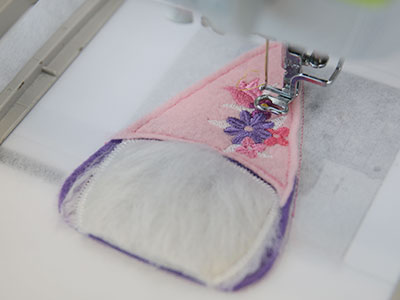
Continue the design, and embroider the "hat dieline". Spray and place the fabric over the top edge of the body and beard. Then embroider the "hat tackdown" step.
If the Gnome Plush design has any felt accent pieces, placement lines for those pieces will embroider next. Some designs do not have any felt accents. If that is the case, skip this step as well as the next two steps.
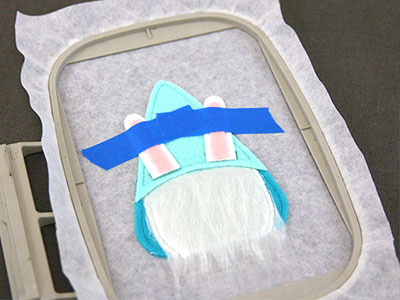
If the design has felt accents, place the back of each accent with temporary adhesive. Then position it using the placement lines and smooth it very firmly into place. To help prevent shifting, also tape the accents in place where the tape will not get embroidered over by the other inner details of the design.
Once the felt accents are securely in place, embroider the tackdown for those pieces. Be careful to watch the machine as it sews this step, because the felt accents are thick enough that occasionally the embroidery foot can push them or pick them up. Stop the machine and reposition the felt accents if necessary.
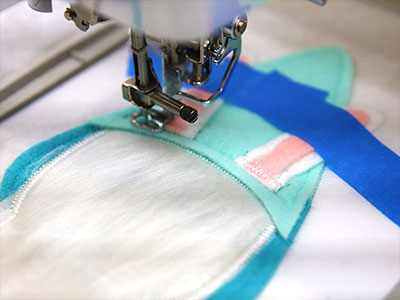
Now that all the fabric pieces are in place, follow the color change sheet, and embroider the inner details of the design. Stop before sewing the "finishing seam".
If the gnome plush has felt accents, they will need to be repositioned before placing the back piece so they do not get sewn into the finishing seam. For example, the Easter Bunny Gnome Plushie has ears; we folded them down over the center of the beard where they were far away from the outer border. Use tape to secure them in place.
Before sewing the "finishing seam" step, remove the hoop from the machine, but do not unhoop the stabilizer.
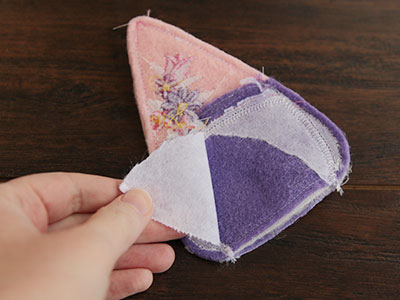
Spray the right side of the back of the gnome (file "a") with temporary adhesive, and smooth it into place on top of the front side (file "b") with right sides together.
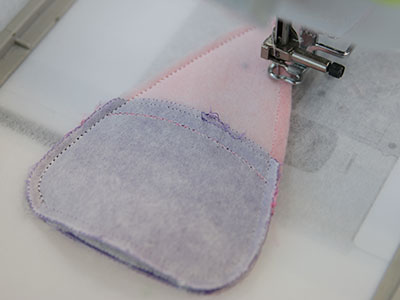
Smooth the back piece firmly into place, and then embroider the "finishing seam"
Once the design is finished sewing, tear away the excess stabilizer from around the design.
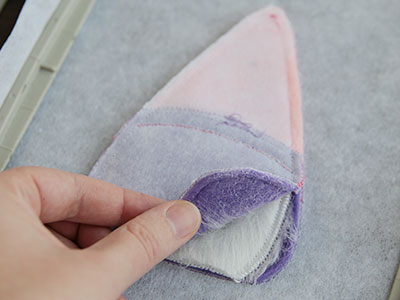
Then carefully remove the stabilizer from the back side of the front piece of the design to give it more flexibility.
Using the point of a seam ripper can help to pull up the pieces of stabilizer.
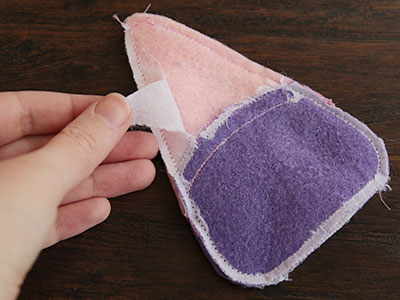
Then repeat to remove the stabilizer from the back side of the back piece as well.

After the stabilizer is removed, turn the gnome right side out. Trimming notches or slits into the seam allowance along the curves can help with turning.
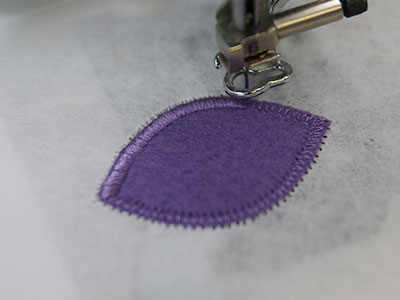
To embroider the bottom piece (file "c"). Hoop another piece of Tearaway stabilizer, and embroider the "bottom piece dieline".
Spray and place the bottom fabric piece, and embroider the "bottom piece tackdown" to adhere it to the stabilizer. Then embroider the "finishing border".
Once the embroidery is finished sewing, trim or tear away the excess stabilizer from around the bottom piece.
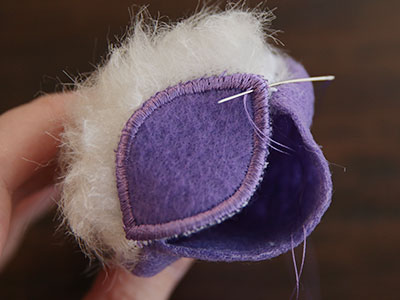
Take the bottom piece (file "c"), and match up the two points to the side seams on the gnome's body.
Fold the raw edges of the gnome's body in 1/4", and hand sew the bottom piece to the body along the front half of the gnome.
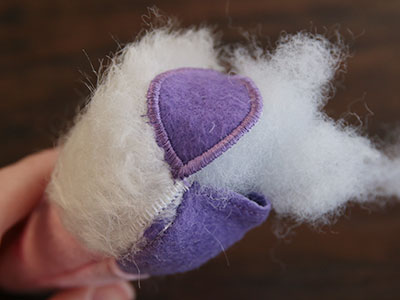
Then stuff the gnome firmly with polyester fiber fill. A weighted substance can also be added near the base of the gnome to help the plush stand more easily.
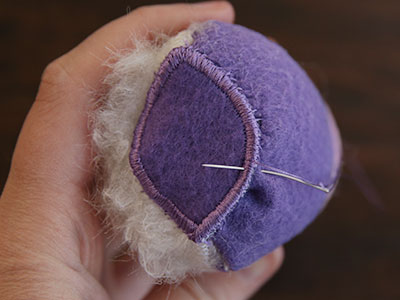
Then fold the remaining raw edges in 1/4", and hand sew the rest of the bottom piece onto the back side of the gnome.
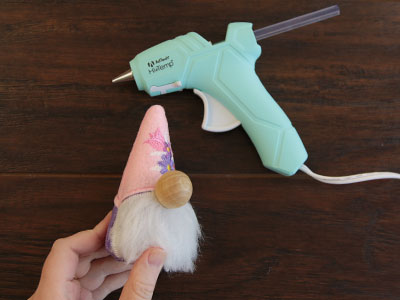
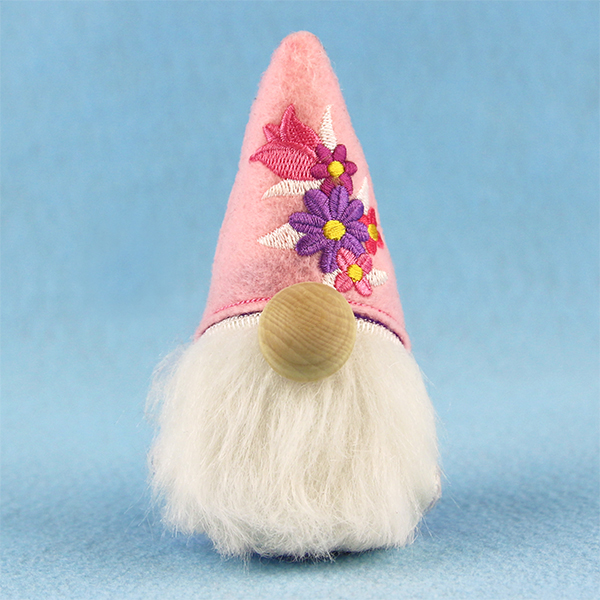
Finally, take a wooden knob or bead, and hot glue it on the front of the gnome plush to create the nose.
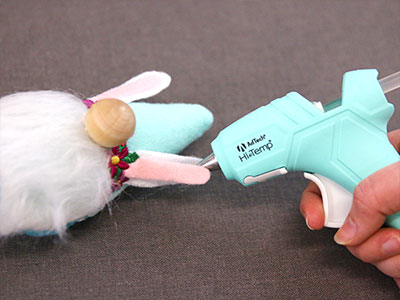
If needed, permanently glue the layers of the felt accents together with either a fabric glue or hot glue gun.


