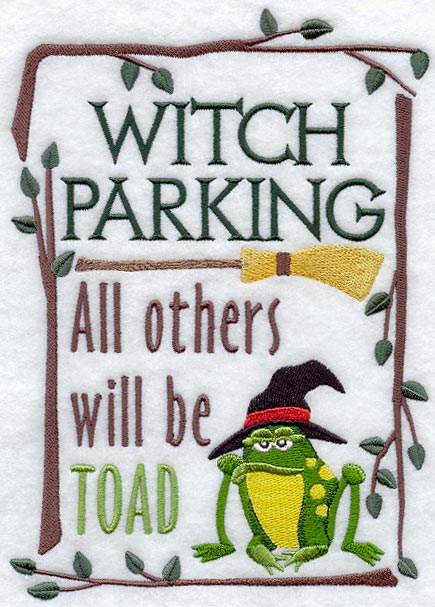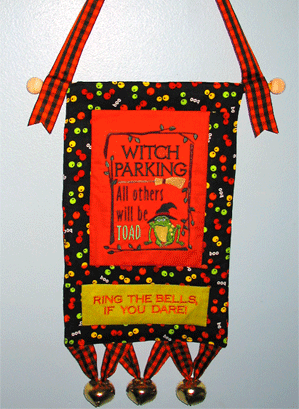
She's a sassy little witch, and she's at your front door!
On Halloween night, all the ghosts and goblins who come to your door will love to ring the bells, just to see if they'll really be turned into toads. It's all part of the fun of Halloween to give the little tricksters a little atmosphere with their treats.
We all know that the only toads to be seen will be the candy variety! But, I think that I shall invest in a dozen or so rubber toads to place on the front step...just to keep the older kids guessing!
Supplies
Supplies needed:
1/3 yard of solid orange fabric
1/4 yard of solid green fabric
3/4 yard of coordinating Halloween print fabric
2 yards of ribbon --
1-1/2 inches wideBatting
3 Jingle bells -- 2 inch
1/2 inch diameter dowel -- 15 inches long
Beads to fit over the ends of the dowel
Small amount of white glue
Embroidery Designs from Embroidery Library:
Witch Parking - large size
Designs Used
Instructions:
On the orange fabric, sew out the sampler. On the green fabric, sew out the saying "Ring the bells, if you dare!"
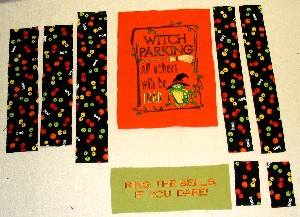
Trim the orange piece to 7-1/2 inches wide by 10-1/2 inches high. Trim the green fabric to 8-1/2 inches wide by 3 inches high. The embroidery should be centered in each piece.
From the print fabric, cut 2-1/2 inch wide strips -- two that are 10-1/2 inches long and one that is 11 1/2 inches long. Also from the print, cut strips that are 2 inches wide -- two that are 11 1/2 inches long, and two that are 3-1/4 inches long.

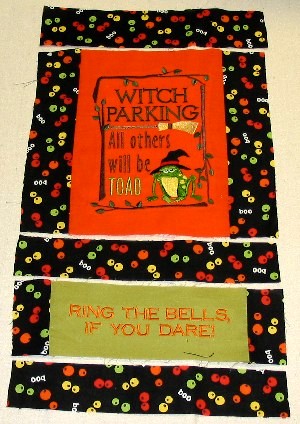
Lay out the cut pieces as shown with the 2-1/2 by 11 1/2 inch strip at the top.
Below that make a row that consists of two 10-inch by 2-1/2 inch strips and the orange piece.
Next lay out one of the 2-inch by 11 1/2 - inch strips.
Then make a row with the 2- inch by 3-1/4 inch strips and the green piece.
Last is a 11 1/2 inch by 2-inch strip.
Using a 1/4 inch seam allowance, join the strips on the vertical sides of the orange fabric panel to the orange fabric. And, join the strips to the vertical sides of the green fabric panel to the green fabric..
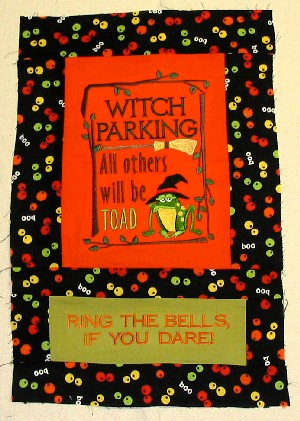
Use a 1/4 inch seam allowance to stitch the rows together with the horizontal pieces.

Use the assembled front piece as a pattern to cut out a piece of batting and the backing piece.
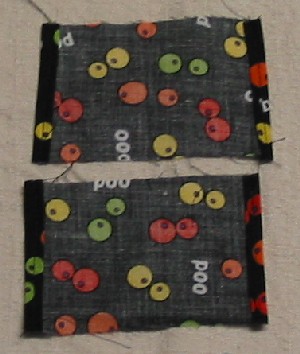
Cut out two rectangles that are 2 inches wide by 4 inches long. Hem the short ends of each rectangle.
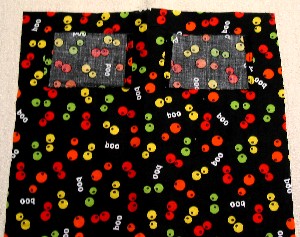
Sew the rectangles to the backing piece with the unhemmed edges to the top and bottom. They should be about 1 inch from the sides and 1 inch from the top with the right sides together. Use a 1/2 inch seam allowance (from the top of the small rectangle) to stitch the rectangle to the backing piece.
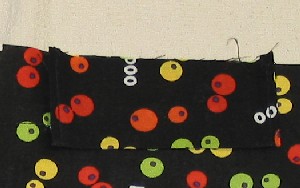
Fold the small rectangles up, meeting the unhemmed edge to the top edge of the backing piece, and press into place.
This forms the dowel pockets after the project is stitched together.
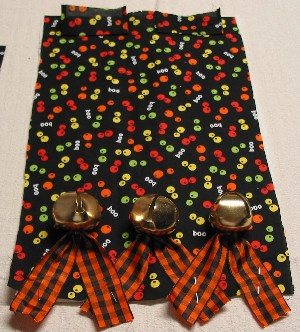
Cut three 9-inch pieces of the ribbon, and thread one ribbon through each bell.
Pin the ribbons in place along the bottom of the backing piece. Make sure that the ribbons are at least 1/2 inch away from the sides of the backing piece.
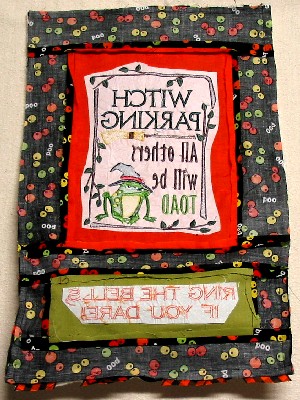
Lay the backing piece on top of the batting piece, and then place the front piece on top of the backing piece, with right sides together.
Use a 1/4 inch seam allowance to stitch a seam all the way around the perimeter of the large rectangle. Leave a 5-inch opening for turning.
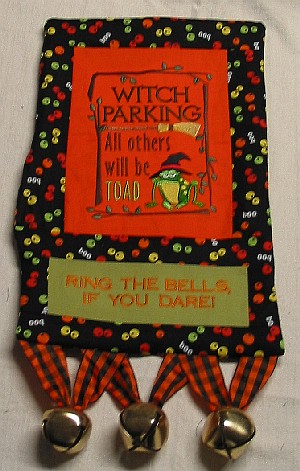
Trim the corners, turn right side out, and press.
Close the opening.

Thread the dowel through the dowel pockets, and glue the beads to the end of the dowel. Allow to dry completely.
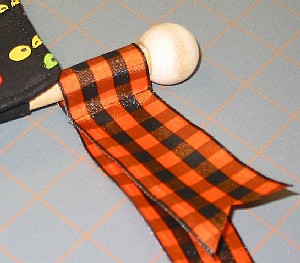
Loop the ends of the ribbon around the dowel, at each end. Stitch the ribbon to secure.

Go hang it up on your front door. It's a little spooky, and a whole lot of fun!
And, it's bound to produce just as many smiles on Halloween night as there are trick-or-treaters and candy treats!!
