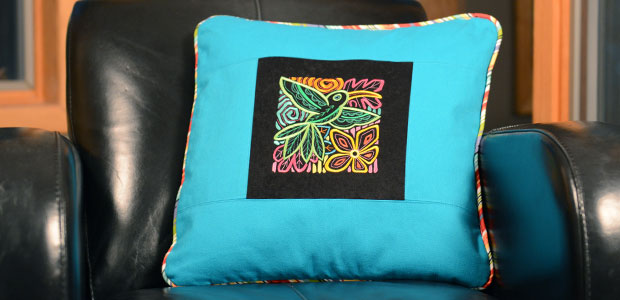
Add a pop of color to your home decor with a bright and vibrant pillow. Eye-catching color choices and designs bring exciting appeal to your decorating scheme. Handmade piping made from patterned fabric gives the pillow a colorful and unique look.
Supplies
Project Needs & Notes
- 18" x 18" pillow form
- 3/8 yard black suede cloth
- 1/2 yard colored denim
- 1 yard print canvas
- Medium-weight (2.5 ounce) cutaway stabilizer
- Temporary spray adhesive (like Gunold's KK100)
- Dressmaker's marking pencil or masking tape
- 4 1/2" to 5" in diameter circular object for tracing (like a roll of masking tape)
- 75" length of piping cord, 1/8" thick
For this tutorial, I used the F4091, the 5.90" x 5.86" size of the Mola Hummingbird Square. Find even more bright and colorful square designs in the Mola department here.
Finished Size: 18" x 18"
This project was featured in the following:
Pillow Party Lookbook
Pillow Party Trunk Show 3 Video
Designs Used
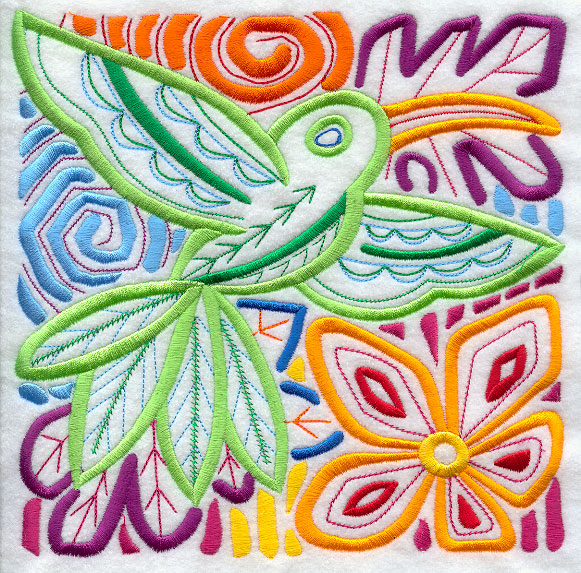
Dark suede cloth is an excellent canvas for bright Mola designs.
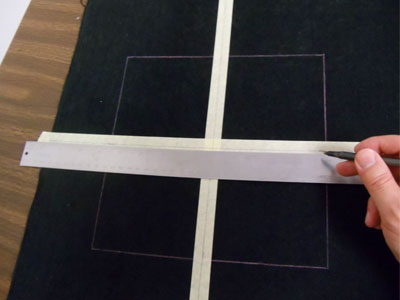
Draw a 9 1/2" x 9 1/2" square onto the suede cloth. A dressmaker's pencil, or masking tape, can be used if your normal marking tool doesn't show up on the dark fabric.
Mark the center point of the square, and the center point of each side. These marks will help to position the design and hoop the fabric straight.
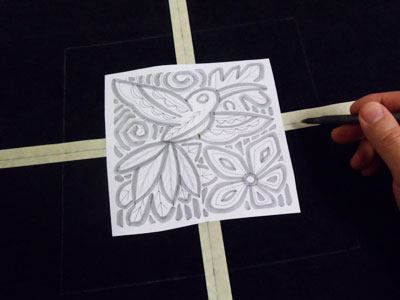
Print a template of the design from embroidery software.
If you don't have software, Wilcom's TrueSizer is a free program that can print templates.
Place the template so that the center of the design is over the center of the square.
Make sure the design fits well within the shape. There should be at least 1 1/2" of space between the edges of the design and the edges of the square.
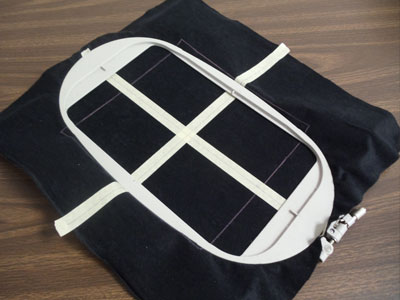
Spray the cutaway stabilizer with temporary adhesive. Smooth the fabric on top.
Hoop the fabric and stabilizer together and embroider the design.
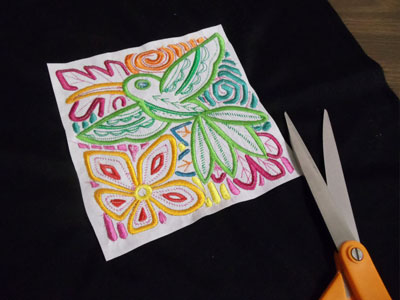
After embroidering, trim the excess stabilizer away from the back and cut out the shape.
Next, add fabric to the sides.
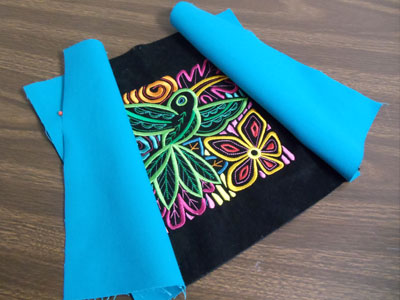
Cut two pieces of denim 5 3/4" x 9 1/2". Align the border fabric with the side edges of the embroidered square (right sides facing together).
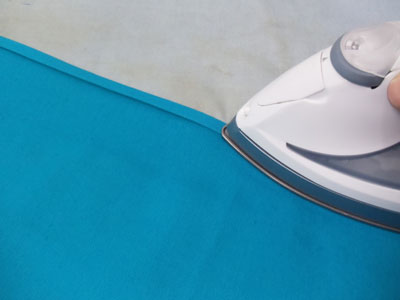
Pin in place. Sew a 1/2" seam along each pinned edge and press the back seams open with an iron.
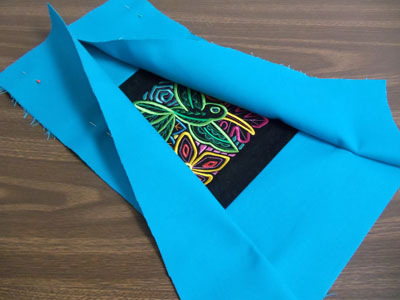
Add fabric to the top and bottom. Cut two pieces of denim 19" x 5 3/4". Align the fabric with the top and bottom edges of the embroidered fabric and border fabric (right sides facing together).
Pin in place. Sew a 1/2" seam along each pinned edge. Press the back seams open and top stitch a 1/8" seam along the edges of each seam within the border fabric.
Next, add the back fabric.
Cut two pieces of fabric 11 1/2" x 19". Lay the pieces flat, right sides facing up. Fold the inner side edges of each piece over to the wrong side 3/8" and press.
Fold the fabric another 3/8" and press. Sew a 1/4" seam along the inner edges of the folds.
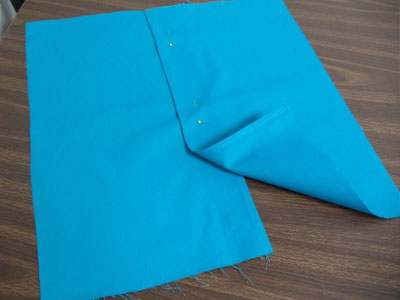
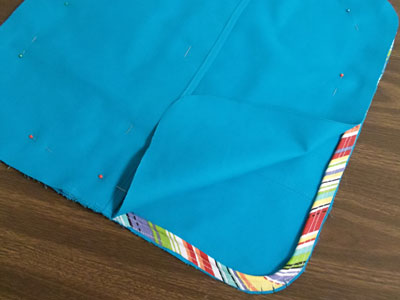
Overlap one of the pieces on top of the other, folded edges facing in, with the wrong side of the top piece covering the right side of the bottom piece.
Overlap the pieces 2 1/2" so that the total back piece measures 19" x 19".
Pin in place and tack the pieces together with a 1/4" seam along the overlaps at the top and bottom of the fabric.
Align the front panel on top of the back panel. Pin in place.
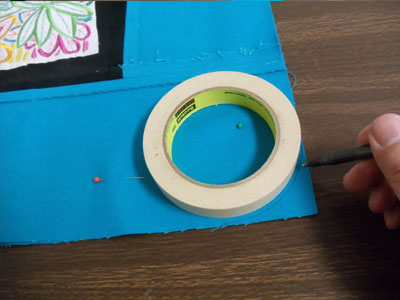
Draw a 4 1/2" to 5" circle at each corner. In this example, a roll of masking tape was the perfect object to trace.
Trim off the corners along the lines you just drew. Cut through both layers of fabric.
Use store-bought piping, or make your own. Colorful canvas was used to make the piping.
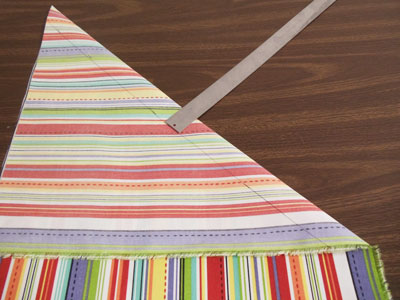
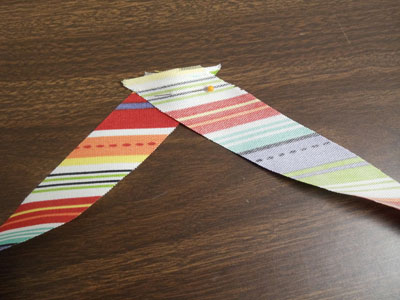
Lay the canvas flat. Fold the top edge of the fabric, right sides together, to meet the left edge of the fabric.
Press the fold. Follow the angle of the fold, and measure and mark 1 1/2" in. Draw lines to connect the marks. Cut the fabric on the line. Create two strips by cutting the fabric along the fold.
Align the ends of the fabric strips together with right sides facing. Leave about 1/4" of excess extending out past the outer side edges.
Pin in place and sew a 1/4" seam along the pinned edge. Press the back seam and trim off the corners extending past the outer side edges.
Cut a piece of piping cord (1/8" thick) 75 inches long.
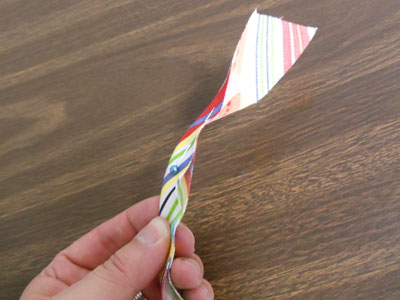
Wrap the fabric around the cord, aligning the raw edges together. Leave a couple of inches of excess fabric at the end. Pin in place.
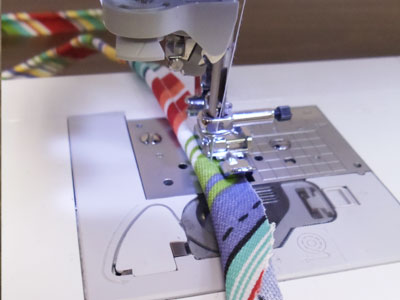
Use a zipper foot and start sewing 1/2" from the end of the cord.
Sew a seam as close to the cord as possible. Stop sewing 1/2" from the opposite end of the cord.
Place the front panel flat and align the raw edges of the piping with the edges of the fabric.
Pin in place and tack the piping in place by sewing a seam along the middle of the flat area of the piping.
Right before reaching the end, trim the piping fabric. Leave about 1/4" of excess past the ends of the cords.
Align the ends of the cords together (trim the cord to match it up), fold the piping fabric back 1/4" on the end, and then wrap the fabric around the piping where you started.
Finish tacking the piping in place.
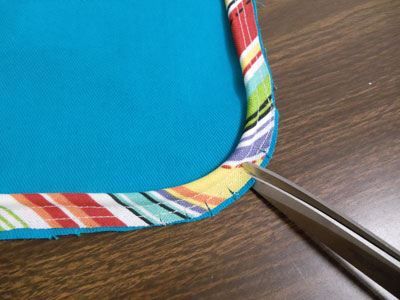
Cut small notches around each rounded corner, being careful not to cut through the cord of the piping.
Align the back panel on top of the front panel with right sides facing, and pin in place.
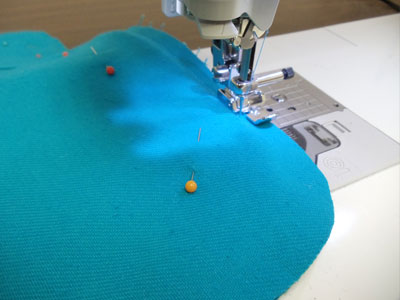
Sew a 1/2" seam around the entire outer edge of the fabric. Use a zipper foot and sew as close to the cord as possible.
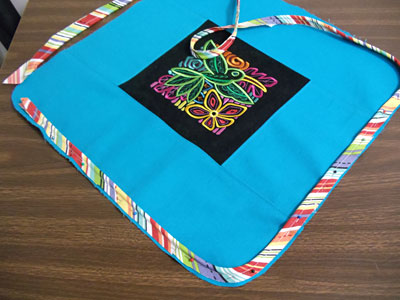
Turn the fabric right side out through the back flap, and insert the pillow form.
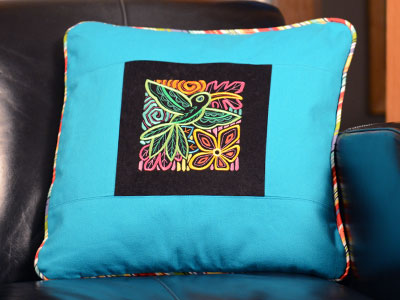
The bright colors of the Mola design really stand out on the dark fabric! Choose your favorite designs from Embroidery Library and add a vibrant look to your home decor.


