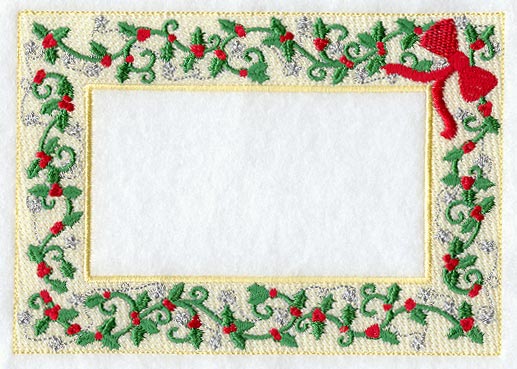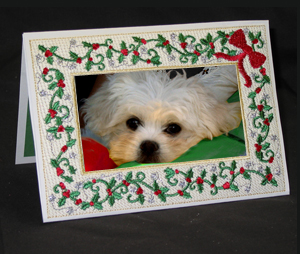
I just love to receive photo cards at Christmas time. It is always great to see how much the children have grown, and how each family has changed throughout the year.
This year, impress your family and friends with embroidered photo cards. The richly embroidered frame will make that precious family photo even more special.
Supplies
Supplies needed:
A piece of cardstock that is at least 7" wide by 15" long. We used paper from a watercolor artist's pad.
Scrap of colored cardstock
Assorted rubber stamps and ink pads
Photo corners
Hobby knife and ruler
Embroidery Designs from Embroidery Library:
Holly and Bow Photo Frame - Cardstock
Designs Used
Instructions:
Note: Our paper was 11" wide by 15" tall. You want the paper to be at least 7" wide so that the embroidering doesn't distort the edge of the paper.
Mark the center point of the cardstock lightly with a pencil.
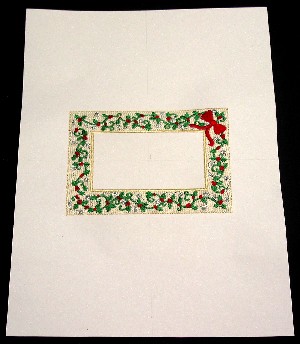
Hoop a piece of cut-away stabilizer tightly in your hoop, and lightly coat the stabilizer with spray adhesive. Lay the cardstock over the sticky area, and press it to the stabilizer without creasing the paper, but so the area to be embroidered is laying flat on the stabilizer. Embroider the frame design.
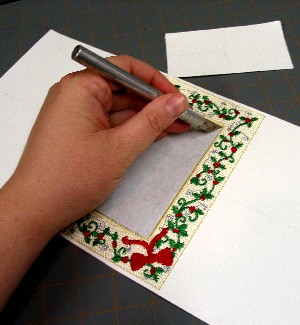
Remove the embroidery from the hoop.
Trim the long sides of the cardstock so that there is a 1/8" margin at each short side of the embroidery. Carefully remove the cardstock from the center area of the frame and set aside. Use a hobby knife to carefully cut away the stabilizer from the center of the frame.
Trim the excess stabilizer from the back of the embroidery.
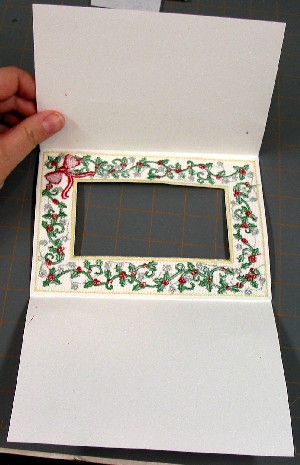
Fold the cardstock into thirds, with the folds being 1/8" from the longer edges of the embroidered frame.
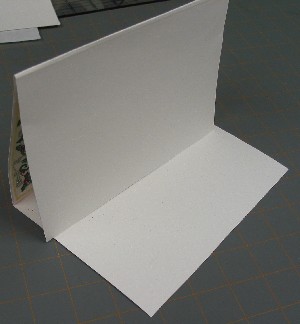
Fold the top third over the back of the embroidery. The two blank sides that you see are the inside of the card, where the decoration and message will be.
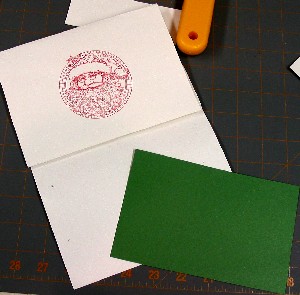
Unfold the top third, and decorate it as you desire. Make sure that the design is oriented correctly.
Cut a piece of colored cardstock that is 6 1/2" wide by 4" tall.
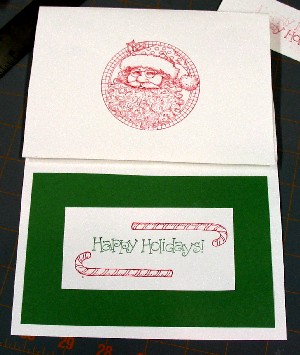
Glue the colored cardstock down, centered on the bottom third of the larger cardstock.
Trim the perforated edges from the cardstock that you removed from the center of the embroidery.
Stamp a message in the center of the small cardstock, and glue it in the center of the colored cardstock.
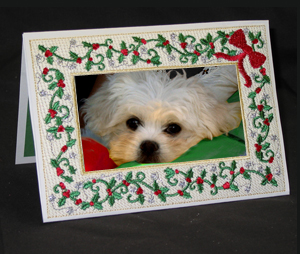
Insert a photo behind the embroidered front of the card. To secure the photo in place, glue photo corners to the back of the embroidery.
