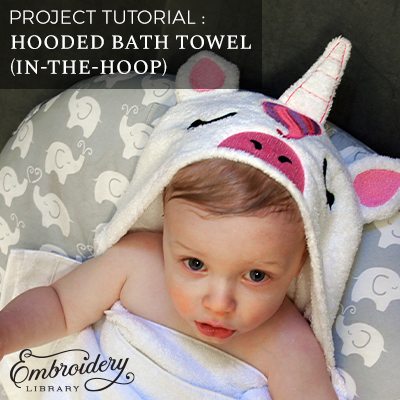
Make bath time even more fun with an in-the-hoop hooded towel! It features a fun unicorn face - complete with a stitch-and-turn horn and ears. Project instructions will show you how to stitch and assemble this type of machine embroidery design.
Supplies
- Masking tape or painter's tape (if sewing on fuzzy/plush fabric)
- Scissors
- Ruler
- Hand sewing needles and matching thread
- PDF template for the hood pieces
Tools
- Towels
- Embroidery thread
- Temporary spray adhesive (such as Gunold KK100)
- Tear-away stabilizer -Light weight water-soluble stabilizer (if sewing on fuzzy/plush fabric)
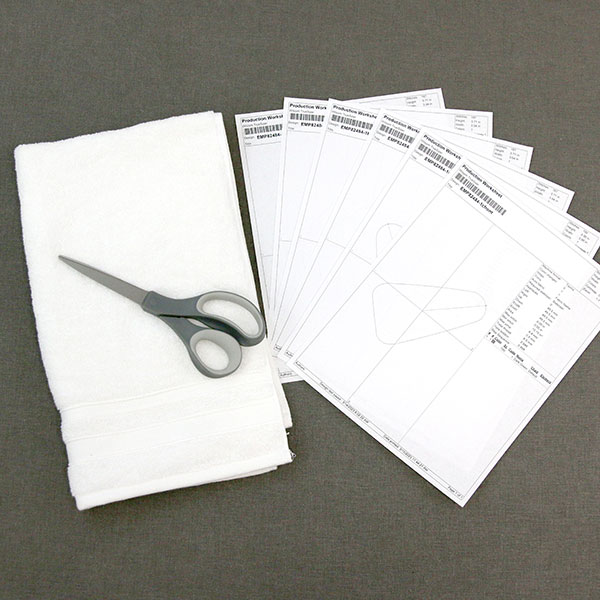
When you download an in-the-hoop hooded towel design, you will find multiple files. Some are the embroidery files, and the others are dieline files marked with the letters "DL". Dielines are used to cut the fabric to the correct shape and size. You will also need to download a PDF template for the hood pieces by clicking here.
Open and print each dieline file using embroidery software. If you do not have embroidery software, take a look at our helpful video on using dielines
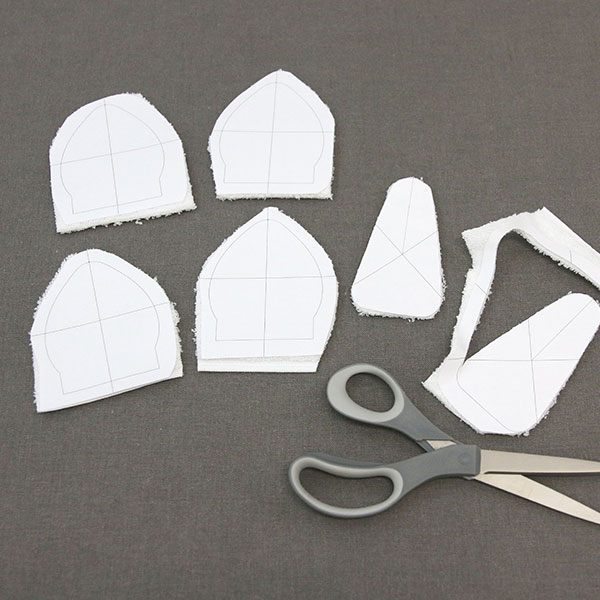
First, spray the backside of each dieline with temporary spray adhesive and smooth them onto the right-side of your fabric.
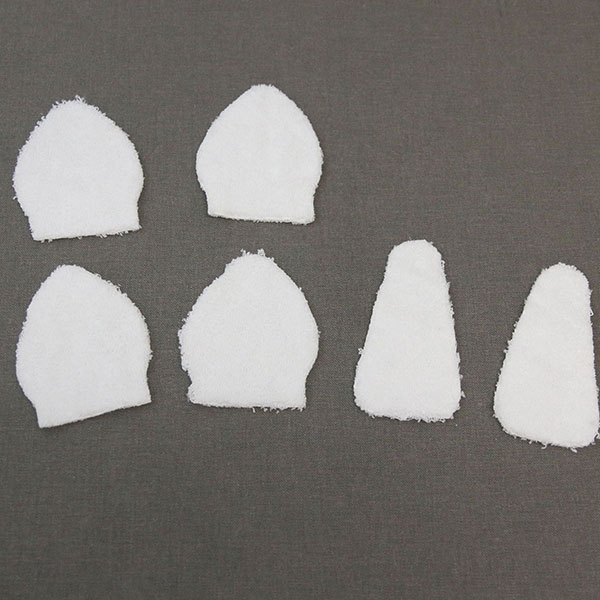
Cut out each shape using the printed and adhered dieline as a guide. Once your fabric pieces have been cut out, remove the paper dieline.
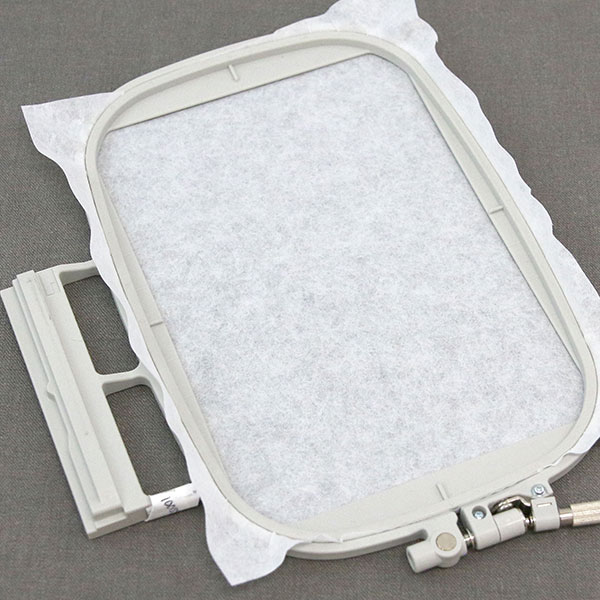
Hoop a piece of tearaway stabilizer so that it is drum-tight with no wrinkles
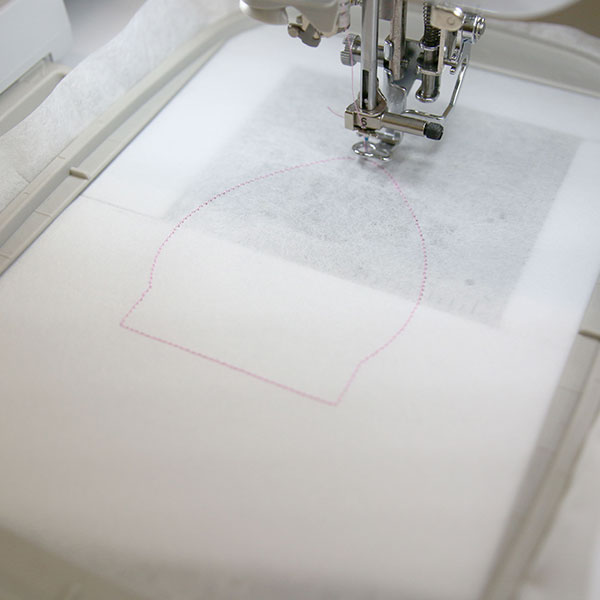
Attach the hoop onto the machine and load the first embroidery file (not the dieline files). Use a 75/11 sharp sewing needle instead of an embroidery needle. The sharp sewing needle has a finer point, and it will make smaller perforations in the stabilizer. Embroider the design. The first thing to embroider will be the "front piece dieline" (or outline stitch). This marks the area on the stabilizer where the fabric piece will be placed.
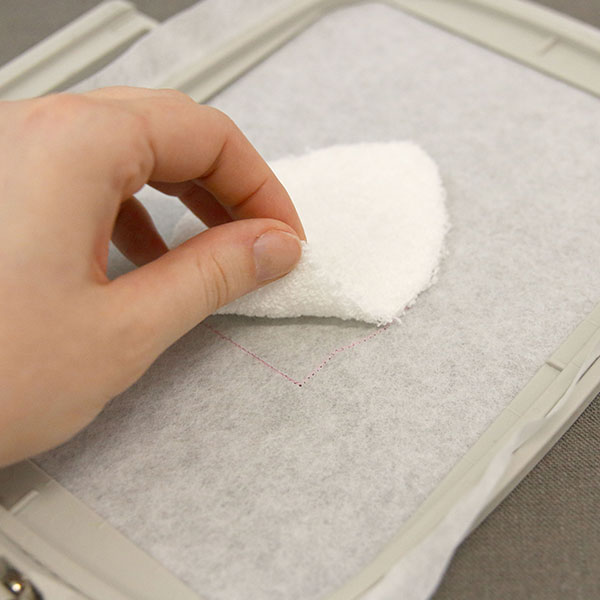
Once your placement dieline has sewn, place your first fabric piece into the center, being careful to line up the edges of your fabric piece with the edges of the stitched dieline.
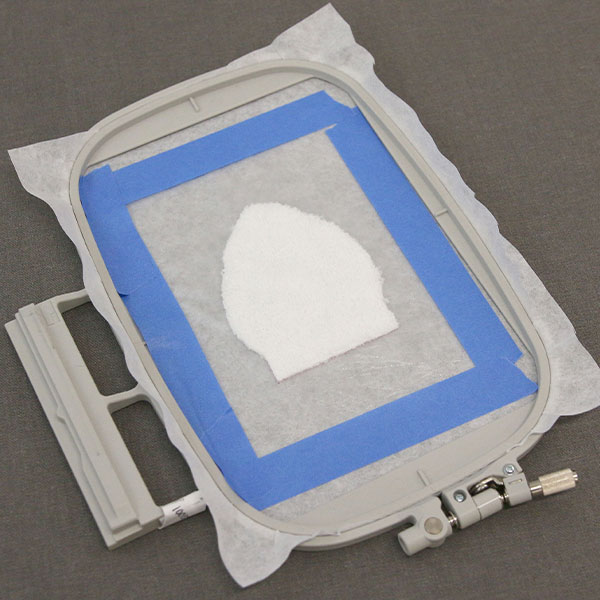
If using a high-pile terrycloth towel, place a piece of water-soluble stabilizer on top of your fabric, using painter's tape to secure the stabilizer to your hoop. Using water-soluble stabilizer on top of a high-pile fabric will keep the stitching from sinking into the fabric too deeply.
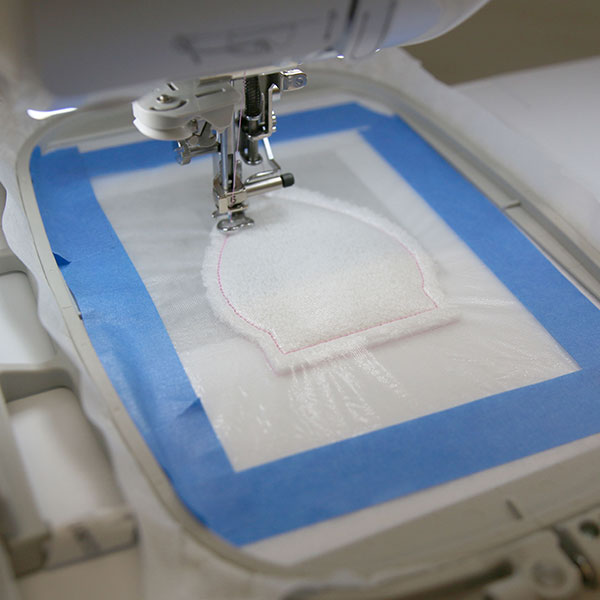
Once you've placed your water-soluble topper, the color change to sew out will be the fabric tackdown. This step holds your fabric piece in place for the remainder of the embroidery process.
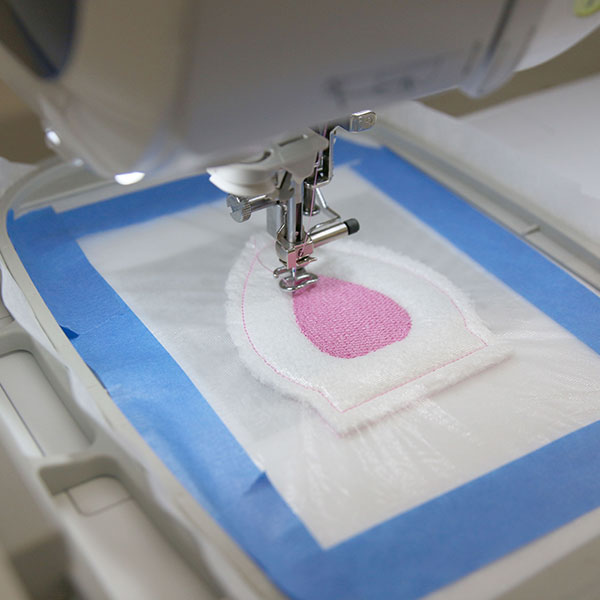
The inner details of your piece will be the next to sew out. Once these are done, stop your machine before proceeding to the "back piece tackdown" step.
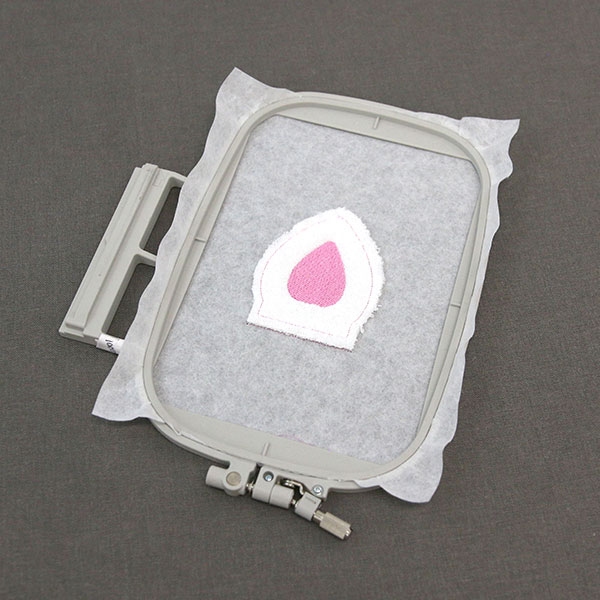
Once again, remove your hoop from your machine but do not unhoop the stabilizer. If using a water-soluble topper, remove as much of this as possible at this time.
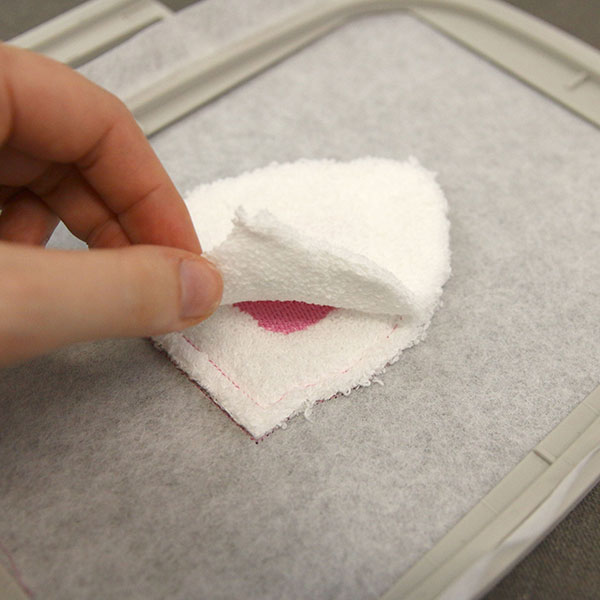
Next, lightly spray the right-side of your back fabric piece with temporary spray adhesive, and gently smooth it on top of the front fabric piece that is already in the hoop. Be careful to line up the edges with right-sides together.
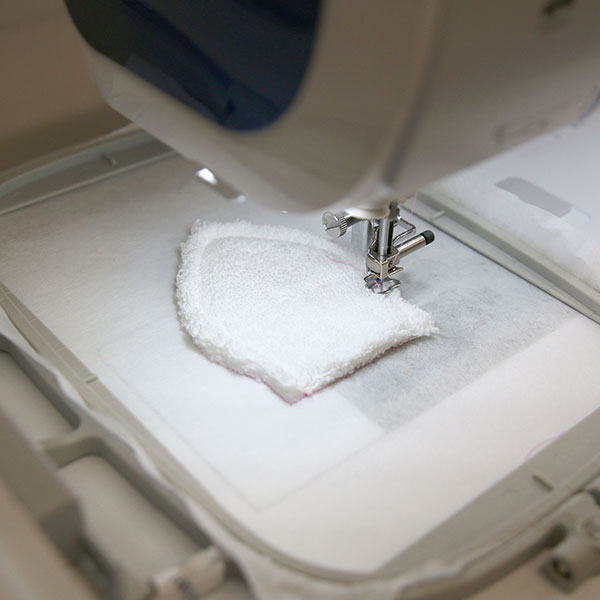
Then place the hoop back onto the machine and embroider the "back piece tackdown". This will adhere the back piece in place on the back side of the hooped stabilizer. A small opening will be left at the bottom for turning the design right-side out.
For this design, you only need to match bobbins if desired. The bobbin sides of the pieces will not be easily visible once they are assembled.
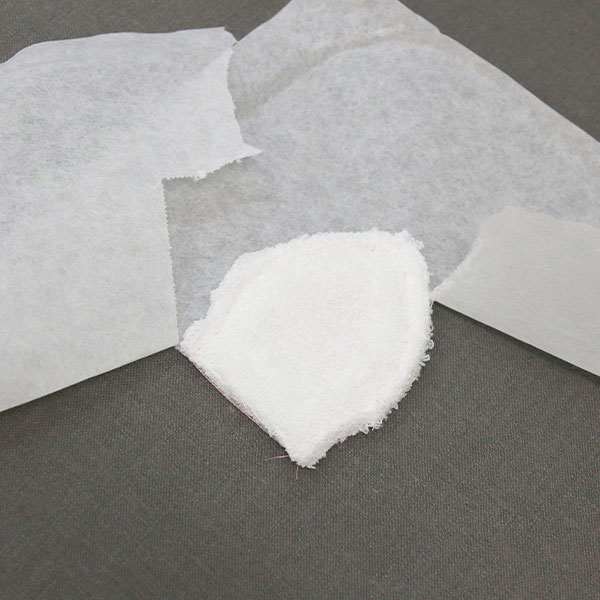
Remove the design from the hoop and tear away the excess stabilizer from around the edges. If desired you can also remove the excess stabilizer from the wrong side of the front piece where it is not sewn down by embroidery. Removing the excess stabilizer can help with turning your piece.
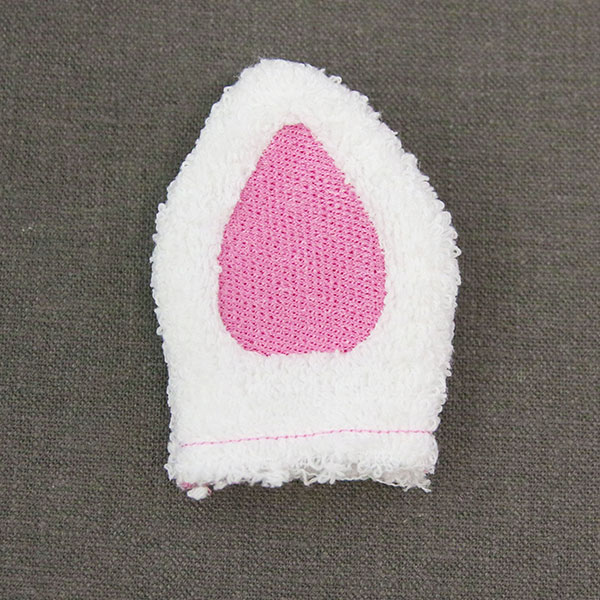
Now you can flip your piece right-side out using the opening at the bottom!
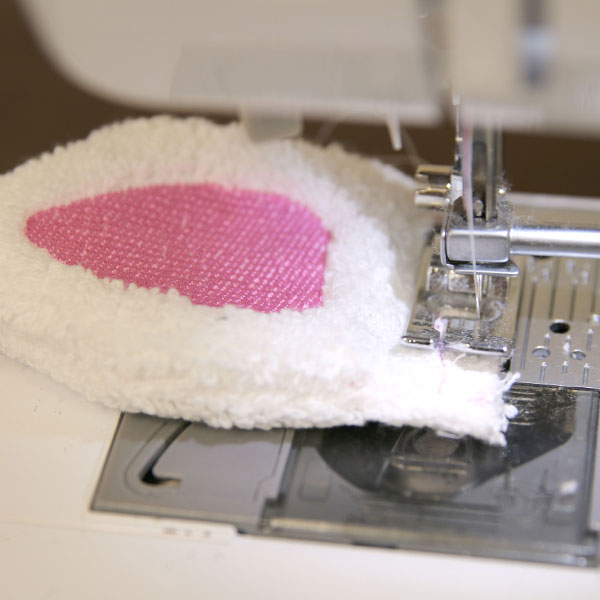
Once turned, stitch along the bottom opening leaving a 1/4" seam to sew the piece closed.
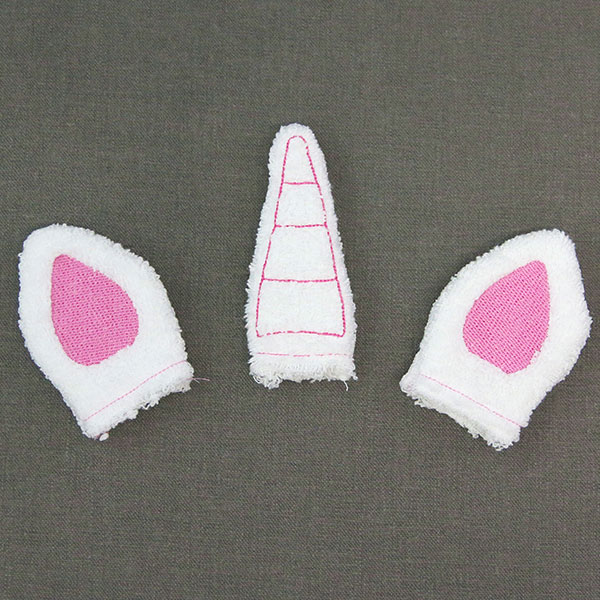
Repeat the above steps for the remainder of the stitch-and-turn files included with your design. For the unicorn, the stitch-and-turn files will be the ears and the horn.
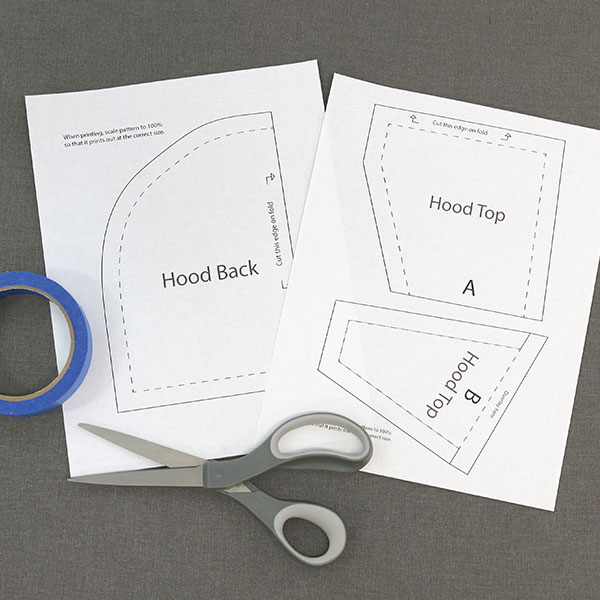
Your in-the-hoop hooded towel design also comes with a helpful PDF fabric pattern for the towel hood. These patterns should be printed at 100%.
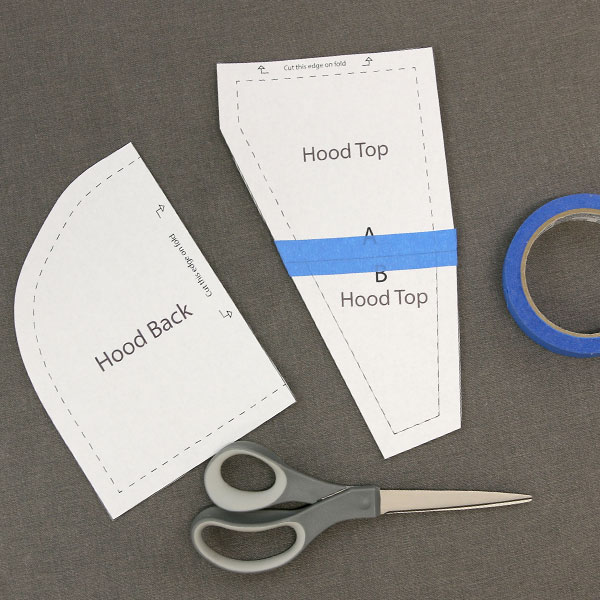
The pattern pieces labeled "Hood Top A" and "Hood Top B" should be taped together using painter's tape. The edges closest to the letters should be the edges that are taped together to create a larger pattern.
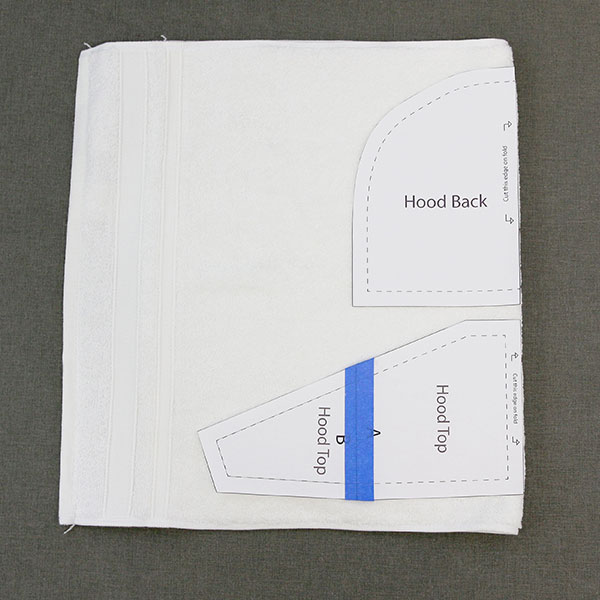
Fold your towel in half and place your pattern pieces along the folded edge as shown in the image to the left. Use temporary spray adhesive or pins to keep the patterns in place.
Note: There are arrows and markings on your pattern that show which edge of your pattern should be placed along the fold.
Once you're confident that your pattern's on the fold correctly, cut out each piece.
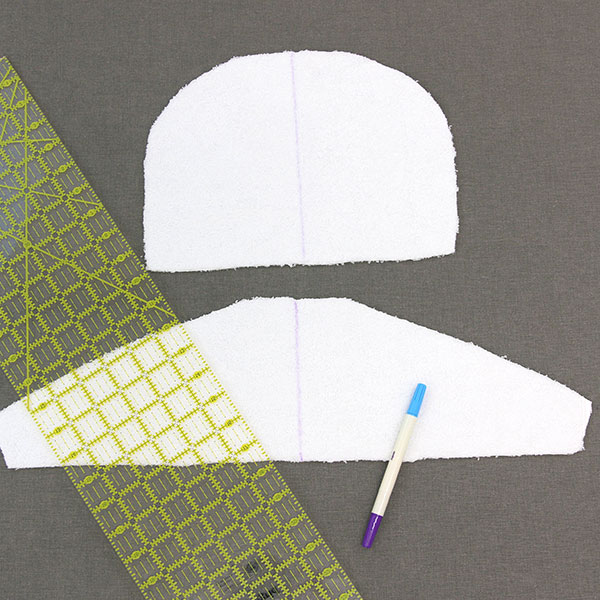
Once your pieces are cut, mark the center of both the hood top piece and the hood back piece using a ruler and air erase pen. Doing this will help you line up the embroidery and sew things together in a later step.
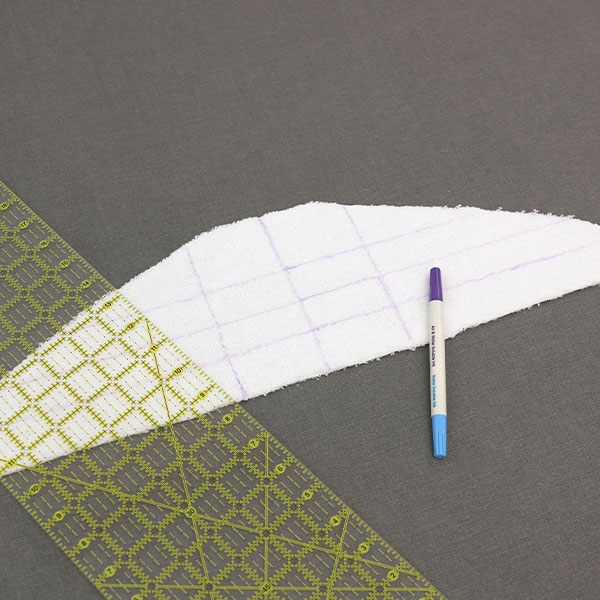
Since the hood top piece will be re-hooped for each embroidery portion, use your ruler and air erase pen to mark out placement for each embroidered element. For the unicorn, this will be the eyes, the hair, and the nose.
Note: For this example, the nose is centered 1" from the bottom, the hair is centered 4" from the bottom, and the eyes are 2.5" from the bottom and 2" from the center in each direction. These lines will also help you place your ears in a later step.
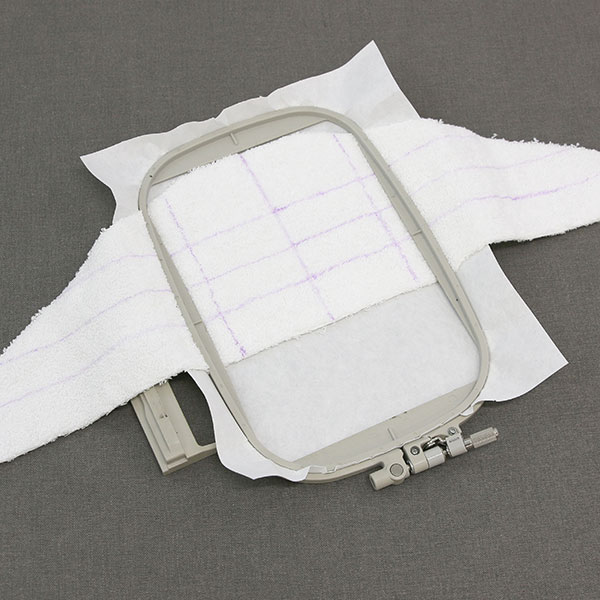
Place your hood top fabric piece into the hoop with tearaway stabilizer so that the intersecting lines you drew for the nose are in the center of your hoop. Your fabric and stabilizer should be drum-tight.
Note in the picture on the left how it is the bottom horizontal line that intersects with your hoop's horizontal center markings.
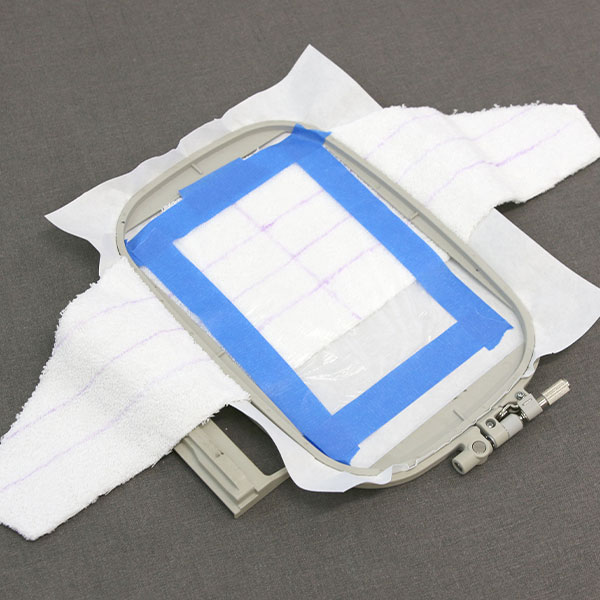
Once hooped securely, place a piece of water-soluble topping over your fabric, using painter's tape to secure it to your hoop.
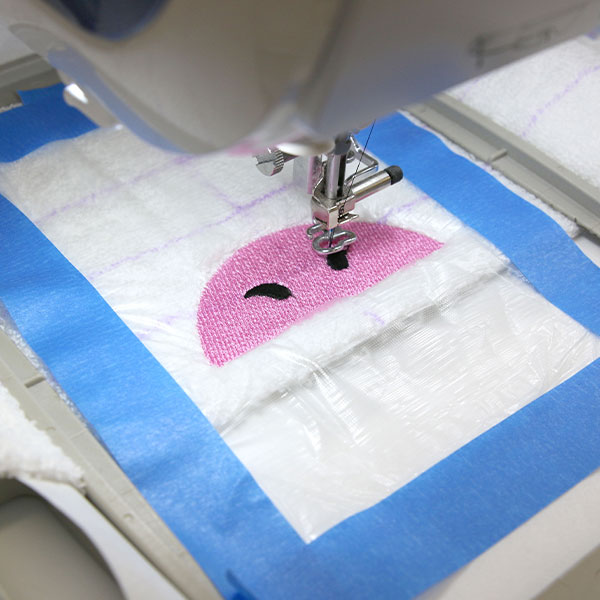
Now you can start embroidering! As stated above, we recommend starting with the nose details of the unicorn. Doing so will help you keep your elements aligned.
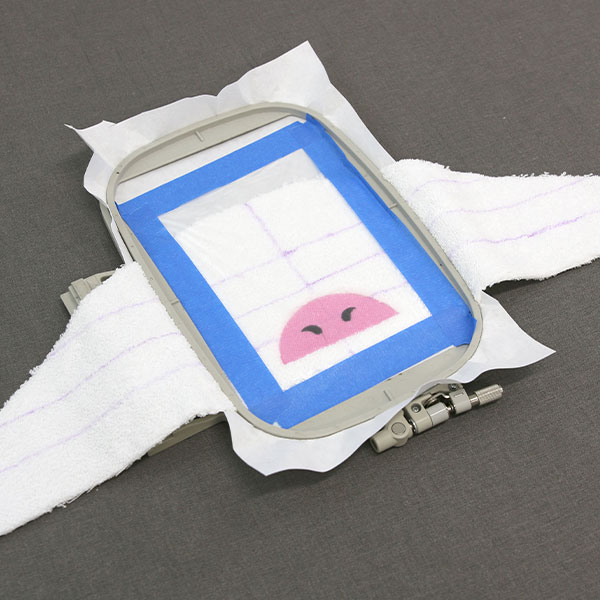
Once the nose has stitched, re-hoop your fabric, matching up the top horizontal line that you drew with the horizontal center markings on your hoop. The vertical center line of your fabric should still be centered with the vertical center markings of your hoop. Once your hooping is secure, begin embroidering the file for the unicorns hair.
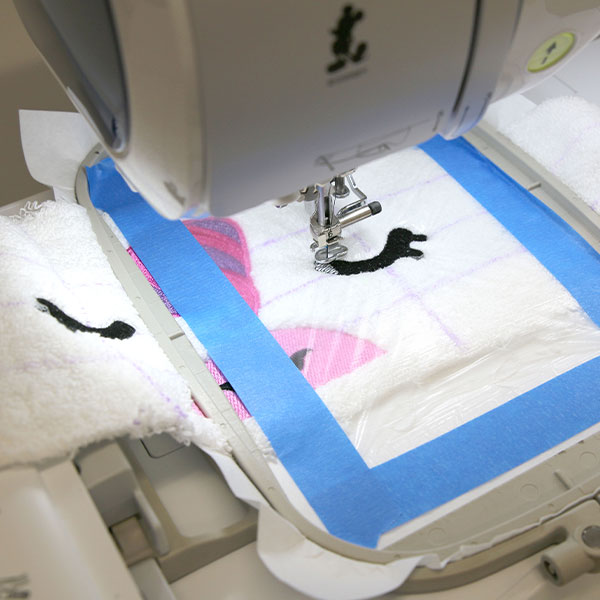
Next, hoop your hood top piece using one of the axis lines created for the eyes (each eye will be stitched separately). Then embroider the eye detail. Repeat this step for both eyes.
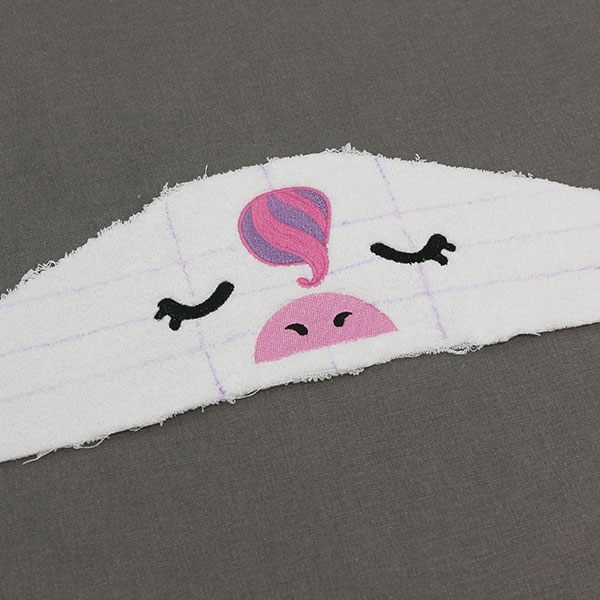
Once your embroidered details have finished stitching, unhoop your fabric and remove any excess stabilizer.
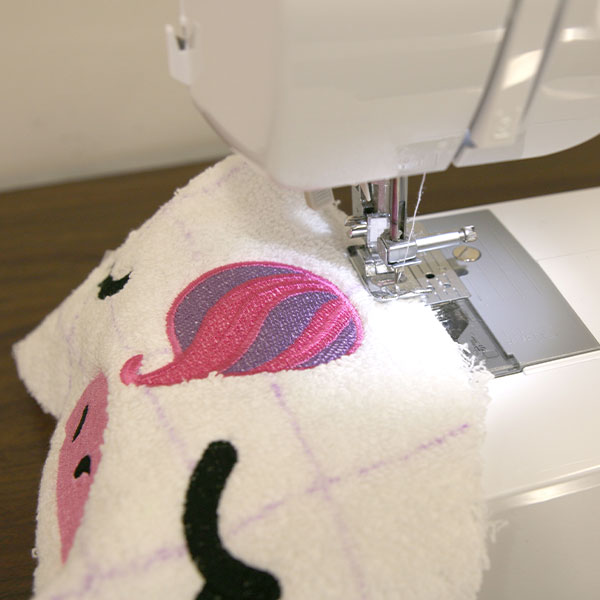
Before attaching the horn and ears, hem the bottom line of the hood top piece that will frame the front of the hood. Fold the seam so that raw edge just meets the bottom edge of the nose embroidery.
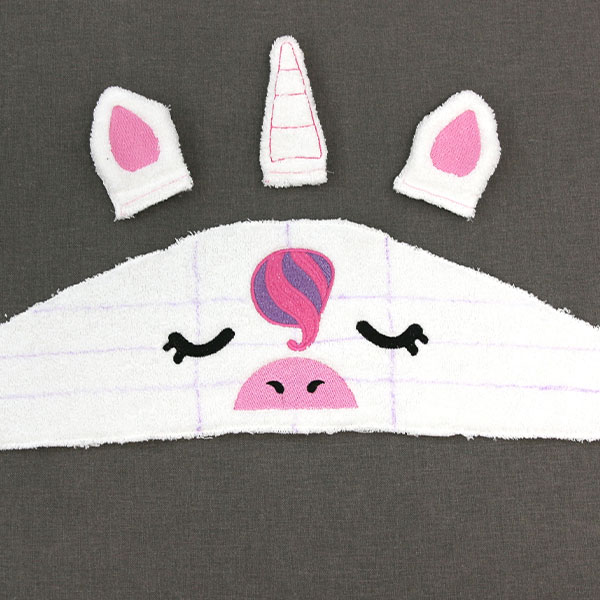
Next, lay out your hoop top piece with the horn and ears, roughly placing the stitch-and-turn elements where you want them to be attached. For this example, we placed the horn on the center vertical axis. The ears were placed at the edge of the previously drawn outer vertical lines.
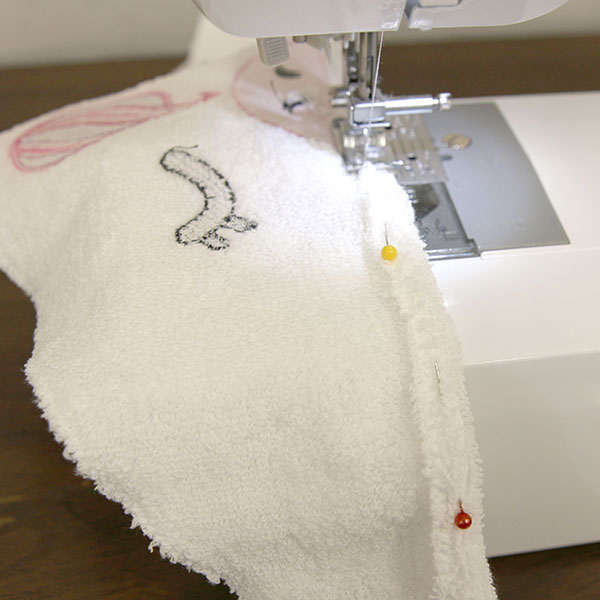
Lay your finished stitch-and-turn elements along the upper unfinished edge of the hood top piece. The unfinished edge of the hood top piece should be lined up with the unfinished edges of the pieces. The right-sides of your pieces should be together.
Now, using a hand sewing needle and thread, lightly secure the pieces to the hood top piece.
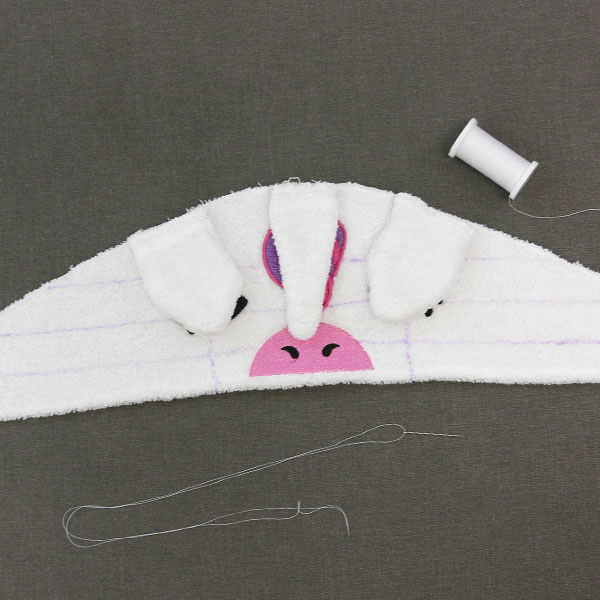
After you've attached the stitch-and-turn elements to the hood front piece, take the hood back piece and pin it to the hood top piece along the curved edge. The wrong side of the embroidery and the stitch-and-turn elements should be sandwiched between the hood back piece and the hood top piece.
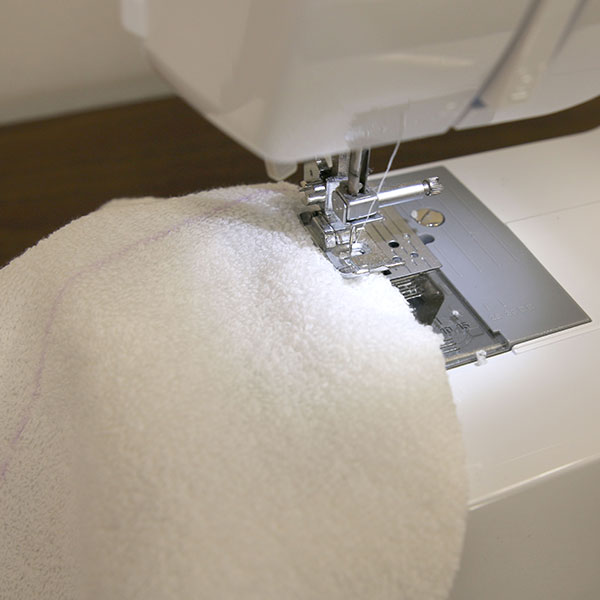
Now, using a 1/4" seam, secure the stitch-and-turn details to both the hood back piece and the hood top piece, being sure that the unfinished edge of all three elements are caught within your seam.
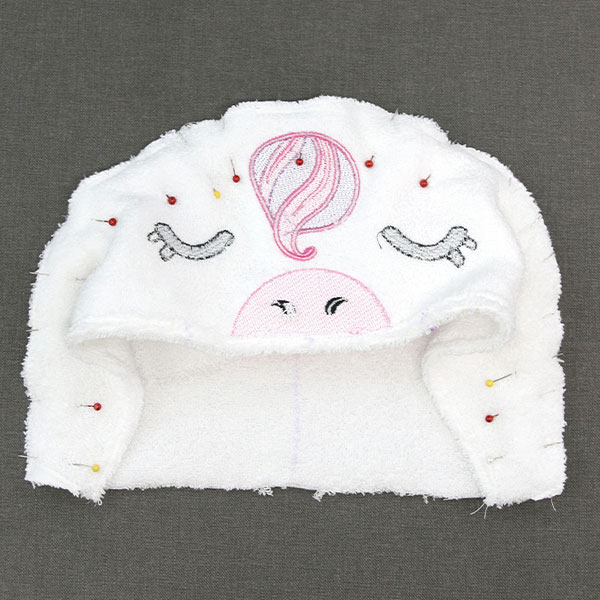
Once your three elements are secured together along the top of the arch with your 1/4" seam, create a 1/2" seam from one corner of the hood back piece arch to the other. The flat unfinished edge of the arch should remain open.
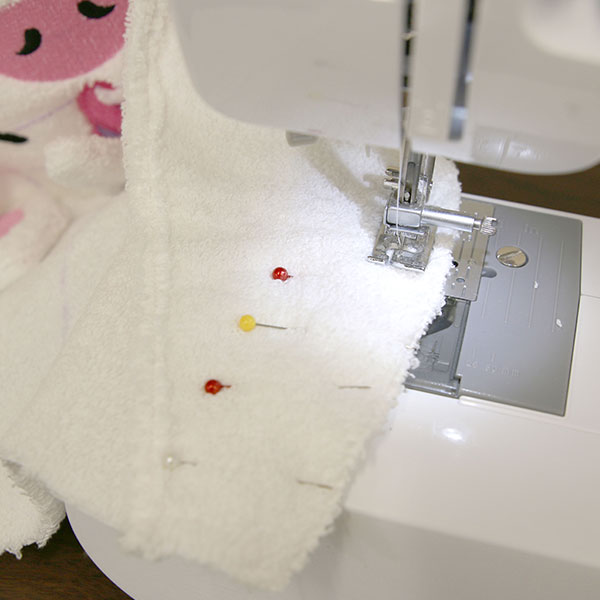
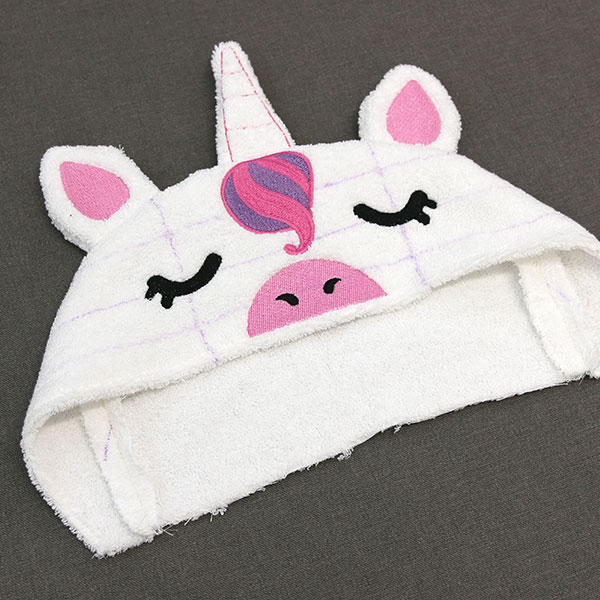
Once your seam is finished, turn the hood right-side out. If done correctly, the stitch-and-turn pieces (the ears and horn if creating the unicorn) should be upright as pictured on the left.
Next, take a full bath towel and find the center point along the long edge. Mark this with a ruler and an air erase pen.
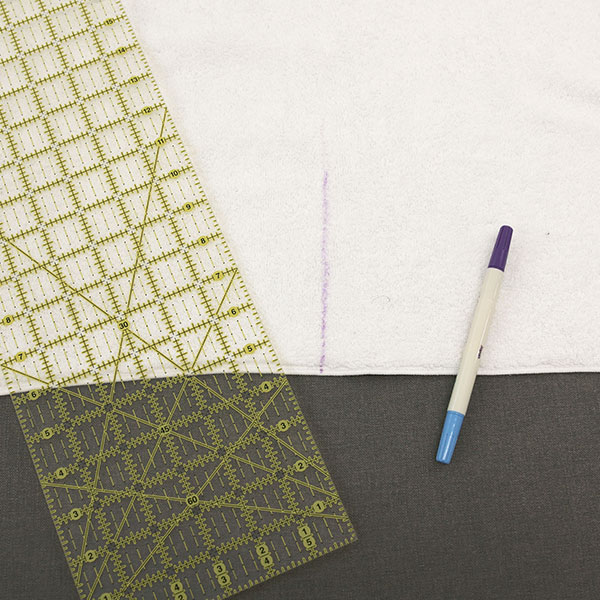
Match up the previously drawn center line on the hood with the drawn center line on the full towel.
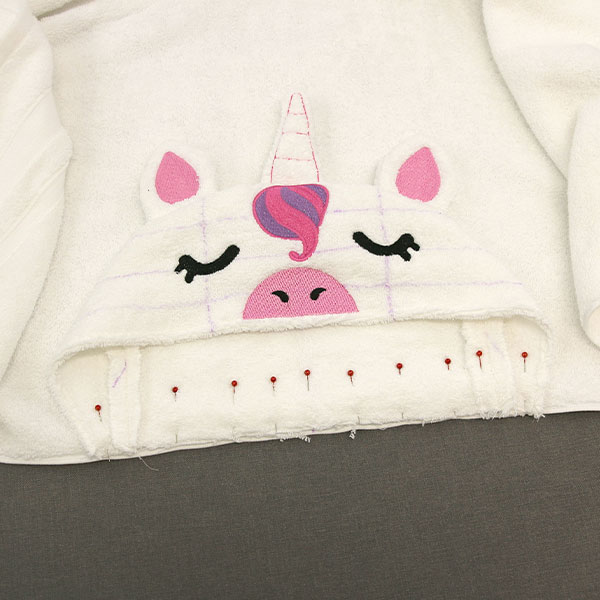
Pin the pieces together. If using a towel that has a distinct front and back, the front of the towel and the front of the hood should be facing up. Once secure, stitch a 1/8" seam to hold the pieces together.
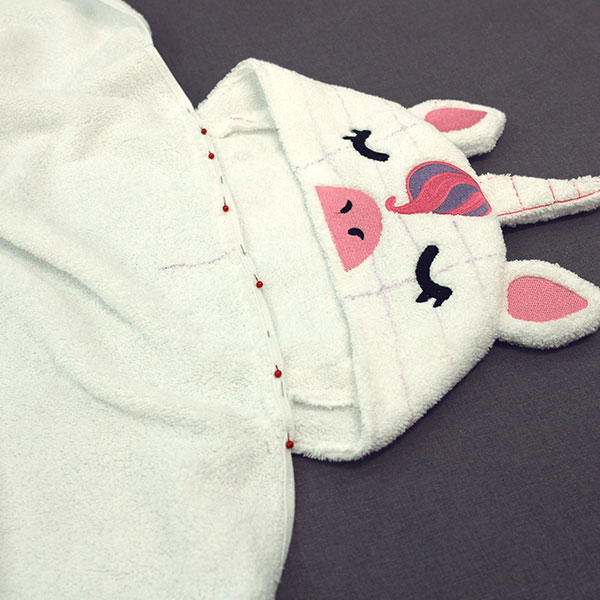
Next, flip the towel and hood over. The hood should be lying flat and not under the towel.
To hide the raw edge of the hood, fold down and pin the finished edge of the towel to the hood. The raw edge should be sandwiched between the towel and the hood back piece.
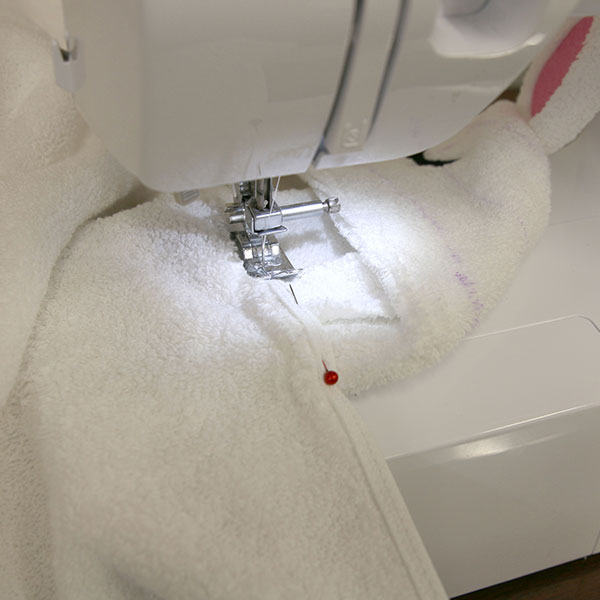
Stitch an 1/4" seam to finish.
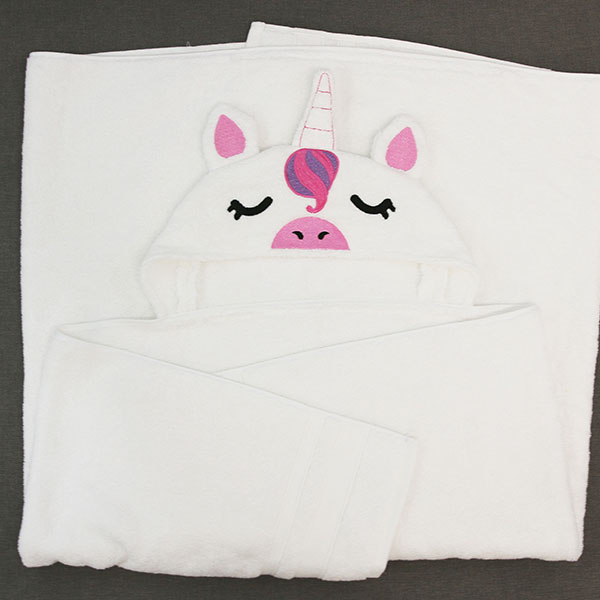
Your in-the-hoop hooded bath towel is now complete and ready to bring a stitch of magic to bath time! Give this towel as a gift or use it for your own children.


