Craft worldly decor with this pretty, antique-style globe! It's specially designed to stitch on translucent organza, creating an ethereal effect. It's quick and easy -- we'll show you how!
Supplies
Project Needs & Notes:
- 1/4 yard organza
- Heavy-wright water-soluble stabilizer (such as Vilene or Sulky Ultra - Solvy)
- Temporary spray adhesive (such as Gunold's KK100)
- 4", 5", or 6" wooden hand embroidery hoop (depending on size of design)
- Ribbon, cord, or yarn for hanger
- Scissors
Designs featured in this tutorial include:
- M17373, Antique Globe - Western Hemisphere (Organza)
Special Notes:
For hooped embroidery, a take the widest measurement (either the height or width) of the design, and round it up to the nearest whole number. That whole number will be the hoop size you need for that design. For example, in this tutorial we used the 4x4 design, which measures at 3.88" x 3.86", so we used a 4" hoop.
Designs Used
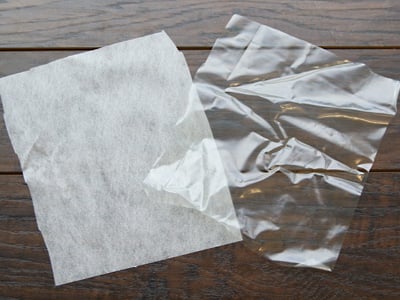
There are a couple of different kinds of heavy-weight, water-soluble stabilizer. One is clear and plastic, and that brand is Sulky Ultra Solvy. The other is soft and fibrous, called Vilene. Both will work very well. Sulky Ultra Solvy is used in this demonstration.
Use a size 11 or 75/11 sharp sewing needle. A sharp sewing needle has a smaller, finer point than an embroidery needle. That means it will make smaller holes in the stabilizer.
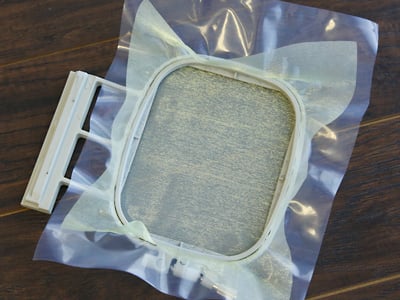
Cut a piece of water-soluble slightly bigger than the organza, and spray it with temporary adhesive. Then smooth the stabilizer onto the backside of the organza, making sure they are well adhered together. Hoop the fabric and stabilizer together, making sure it is nice and tight and has no wrinkles.
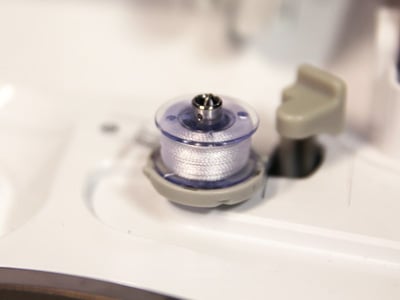
If placing the hoop in a window, or hanging it in a way that both sides will be seen, matching bobbins can be used. Wind a bobbin to match every thread color used in the top thread.
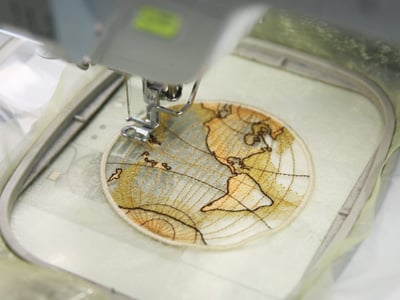
Load the design onto the machine, and embroider the globe. Remember to change out the bobbin at every color stop if you would like it to be seen from both sides.
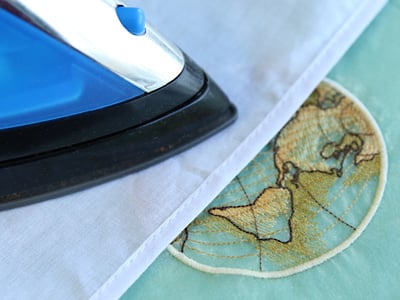
Once the embroidery is finished, trim away the excess stabilizer. Follow the packaging's instructions for removing the rest of the stabilizer. For Sulky Ultra Solvy, soak the embroidery in water until the stabilizer dissolves. Then allow it to air dry, and press the embroidery with a pressing cloth.
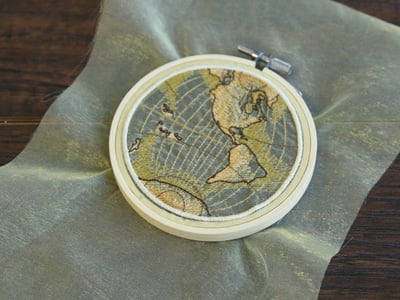
Next, lay the embroidery over the inner hoop of the hand embroidery hoop. Line up the top screw of the hoop with the top of the design. Press firmly, and hoop the fabric, making sure the fabric lays smooth and taught in the hoop. Tighten the screw.
Once the fabric is in place and the hoop is completely tight, flip the hoop over so the back is facing up. It is important to leave about an 1/8" of organza sticking out the back, and do not trim the organza right to the back of the hoop. This will prevent the fabric from slipping out of the hoop over time. Carefully trim away the excess organza, leaving about 1/8" of fabric extending off the back of the hoop.
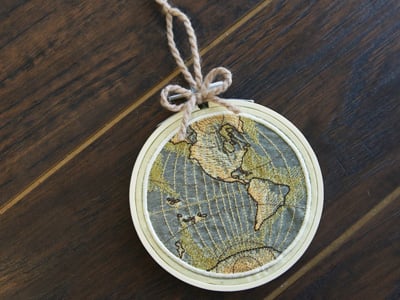
Finally cut a 7" length of string, and thread it underneath the hand screw on the hoop. Tie it into a loop to create the hanger. If desired, cut a 10" length of string, and use it to tie a bow around the hand screw to hide it.
