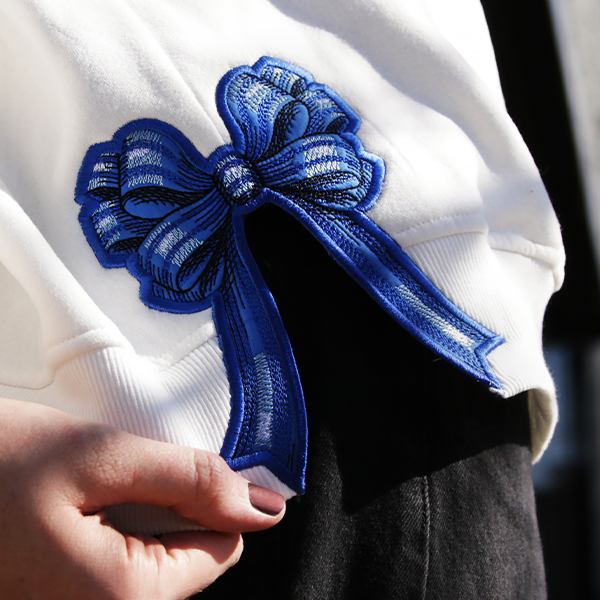
Learn how to create split seam machine embroidery on your garments with this helpful tutorial.
Supplies
Note: The links below are affiliate links. We may earn a small commission if you make a purchase using these links.
- Temporary spray adhesive
- Embroidery thread
- Sweater or other garment, you can find the one we used here
- Split seam embroidery design
- Cotton or similar fabric for applique
- 40wt. rayon thread
- Medium to heavy weight water-soluble stabilizer (such as Vilene)
- Medium weight cutaway stabilizer
- Scissors
- Fabric marking tool (optional)
- Claw hair clips (optional)
- Hand sewing needle & thread (optional)
Designs Used

When you download the design, you will find multiple files. Some are embroidery files, and others are dieline files marked with the letters "DL". Dielines are used to cut the fabric to the correct shape and size. Open and print each dieline file using an embroidery software. If you do not have an embroidery software, take a look at our helpful video on using dielines.
We also recommend Wilcom's Hatch software which comes in different levels depending on what you'd like to use the software for. Hatch Organizer works well to view your designs, print dielines and templates, change design colors, and create basic design layouts. (This is an affiliate link. We may earn commission on purchases made with this link.)
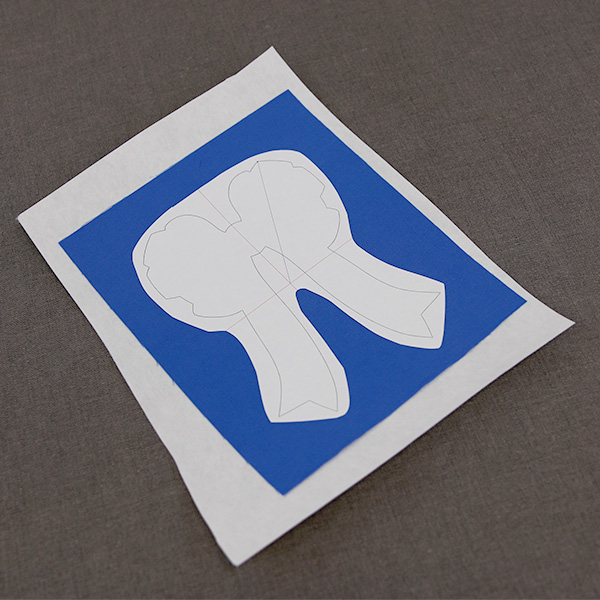
To make the applique piece, spray a piece of cutaway stabilizer with temporary spray adhesive. Then smooth the stabilizer onto the wrong side of the fabric piece. Also spray the wrong side of the paper dieline with temporary spray adhesive, and smooth it onto the right side of the fabric.
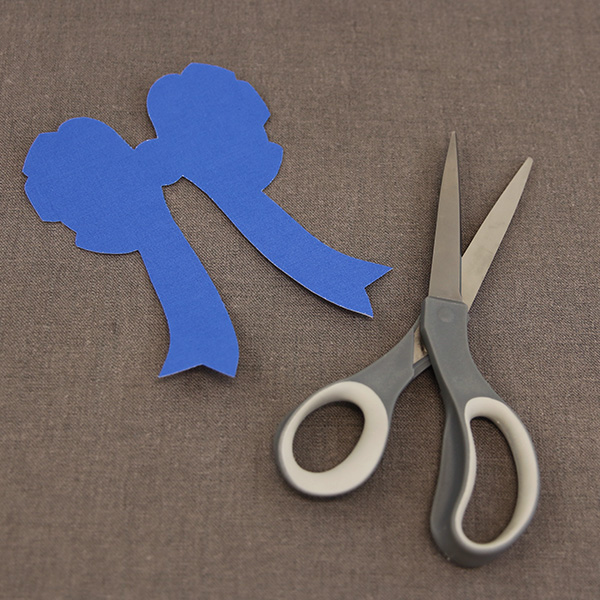
Cut the dieline shape out of the layered cotton and stabilizer. Then remove the paper dielines.
Now that the applique piece is ready, you will need to prepare your water-soluble stabilizer. There are different kinds of water-soluble stabilizer. Some are clear and plastic like Sulky Ultra Solvy. Others are soft and fibrous like Vilene. Both types work well as long as they are medium to heavy weight. In this example, we used Vilene.
Hoop the water-soluble stabilizer firmly. Make sure it is hooped tightly with no wrinkles.
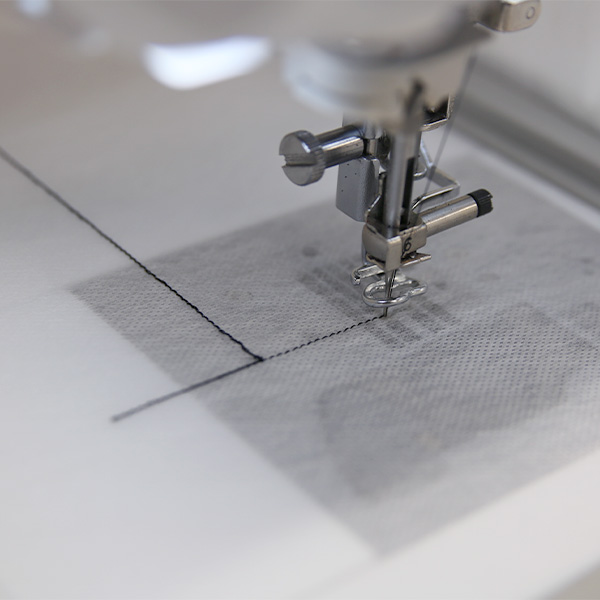
Attach the hoop onto the machine, and load the embroidery file (not the dieline file). If your chosen Split Seam Design has multiple embroidery files (not including the dieline files), load and sew the "a" file first. The "a" file will be the actual Split Seam Design. Begin to embroider the design. For best results, use a size 11 or 75/11 sharp sewing needle. This needle has a smaller point, and it will make smaller perforations in the stabilizer which helps prevent shifting and tearing.
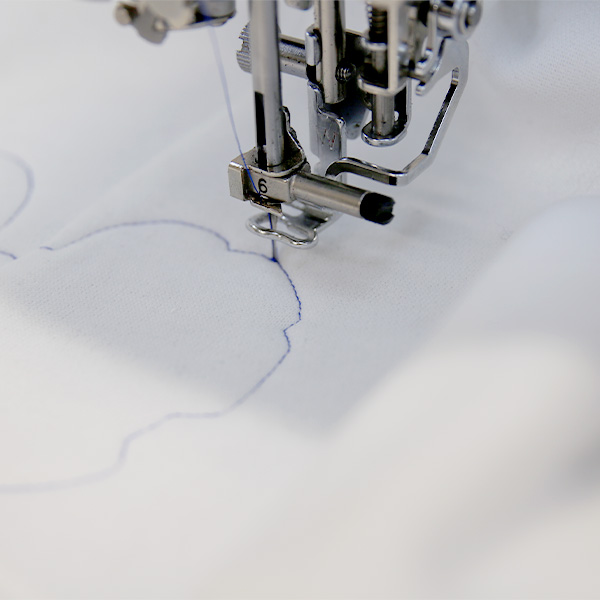
The first thing to sew out will be the "edge and seam placement lines". These placement guide will sew a vertical line that will show you how to line up the seam of your garment, and a horizontal line that will show you how to line up the bottom edge of your garment.
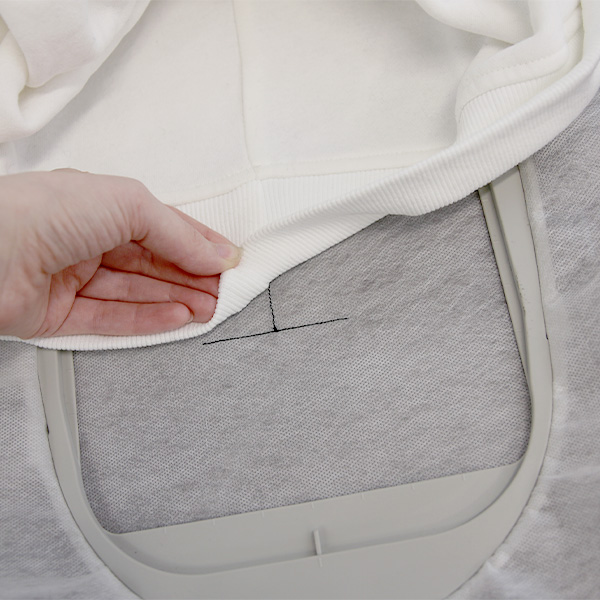
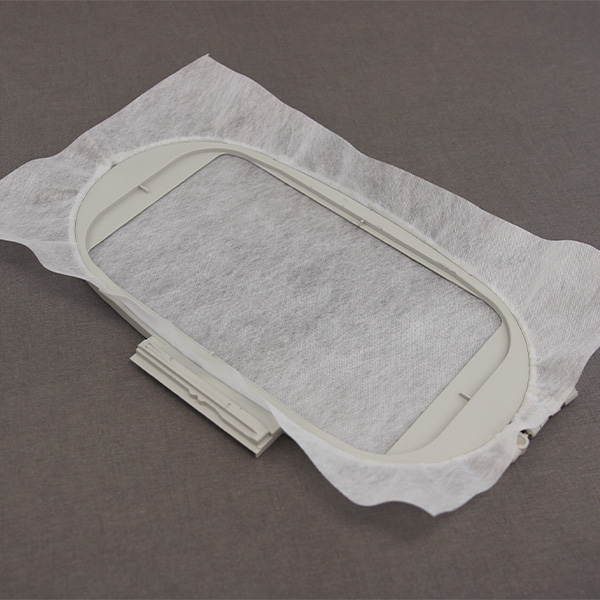
After sewing the "edge and seam placement lines", remove the hoop from the machine, but do not unhoop the stabilizer. Spray the wrong side of your garment with temporary adhesive, and smooth it into place on top of the placement lines.
The center seam should match up with the vertical placement line. Then bottom edge of your garment should sit right on top of or just above the bottom, horizontal placement line.
For extra security, you can hand sew the garment onto the stabilizer around the edges of the hoop with basting stitch to help it stay in place for the rest of the embroidery. If using a large garment like a sweatshirt, you can also roll the excess fabric out of the way and secure it with hair clips, so it cannot shift into the embroidery area.

Once the garment is in place, place the hoop back onto the machine. Embroidery the "cutline". This will secure the garment to the stabilizer, and will also show you where you need to cut in the next step.
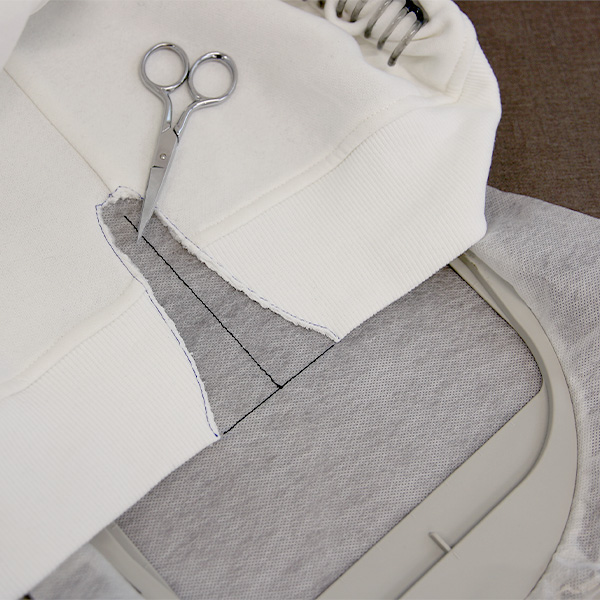
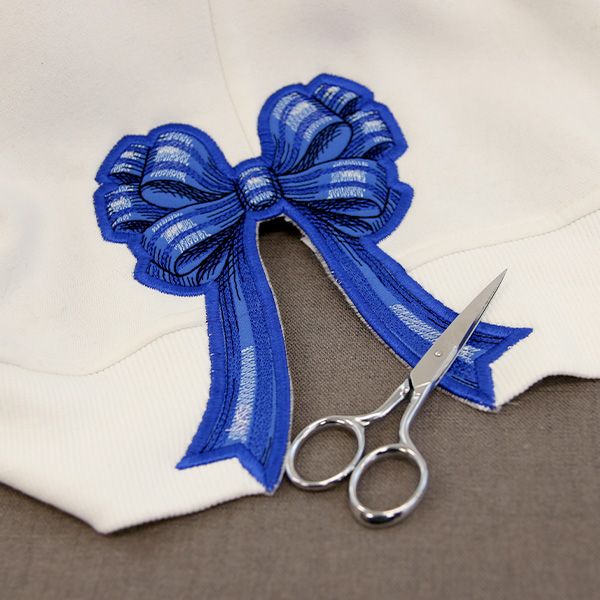
Remove the hoop from the machine, but do not unhoop the stabilizer. With a scissors, carefully cut along the inner edge of the sewn "cutline" to make the opening for the split seam. Make sure to leave no more than a 1/8in along the inner edge.
Using a small sharp scissor works best for this step, and be careful not to cut the stabilizer.
After cutting, place the hoop back onto the machine, and continue to embroider the design until the step with "dieline" in the text has sewn out. The dieline (or outline step) marks the area where the applique piece will be placed. Some designs will have the dieline will sew right away, and other designs will have some details that sew before the dieline.
After the dieline has sewn, remove the hoop from the machine, but do not unhoop the stabilizer. Spray the wrong side of the applique piece with temporary adhesive. Place the applique on top of the garment and inside of the sewn dieline shape.
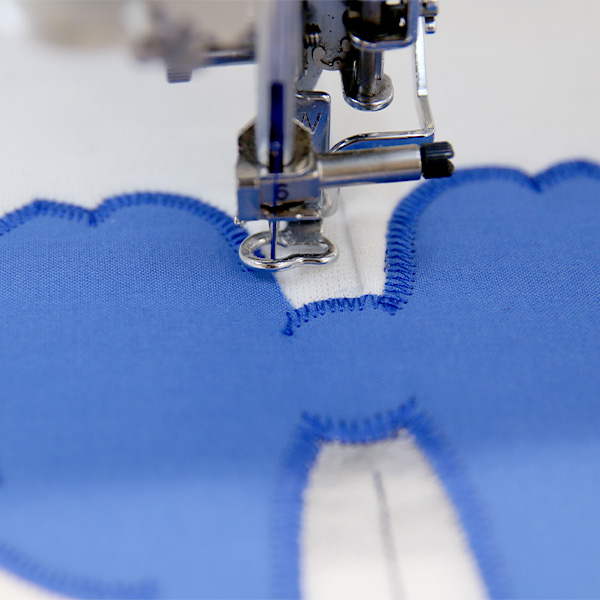
Then place the hoop back onto the machine, and embroider the tackdown for the applique piece that was just placed. A tackdown holds the fabric piece in place for the remainder of the design.
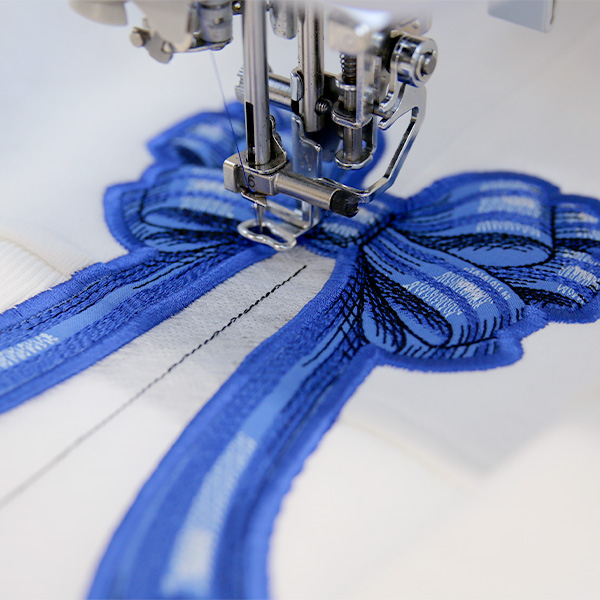
Follow the color change sheet closely to embroider the rest of the design.
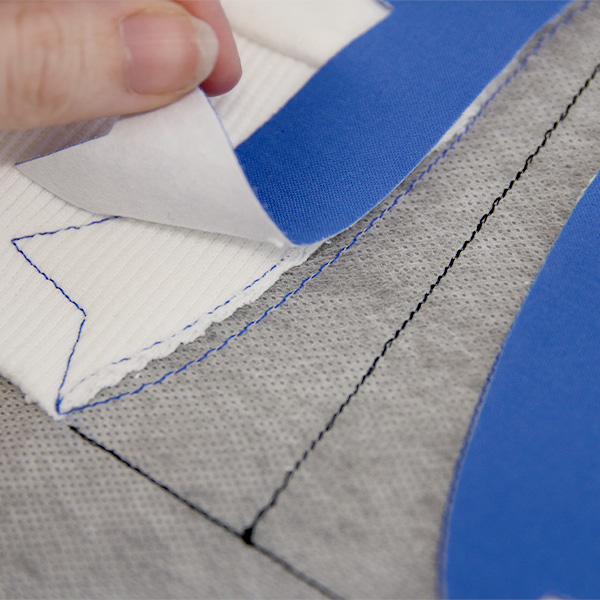
Once the embroidery is complete, trim away all the excess water-soluble stabilizer. Be careful not to cut the embroidery or fabric of the garment.
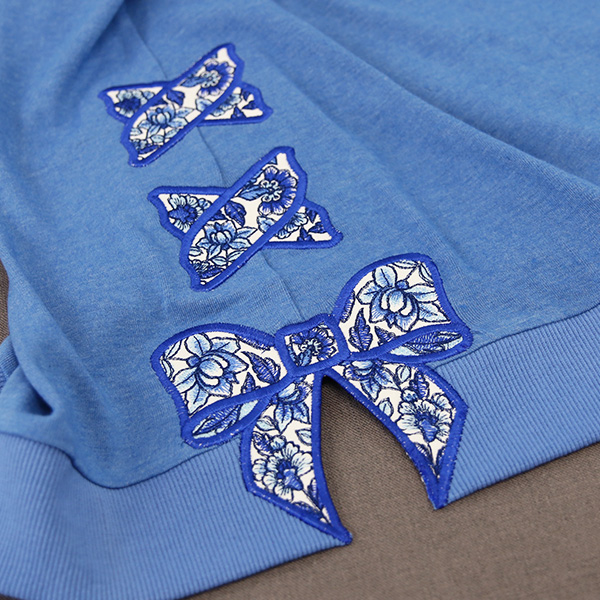
Some Split Seam Designs have additional embroidery files (not including the dielines) that are additional designs meant to sew above the main Split Seam Design. These will be labeled with a letter like "b" or "c". To embroider these designs and learn how to position them on your project, reference our applique tutorial. These designs can be positioned above the split seam design however you like, and can be sewn once or multiple times to complete your project.
If your design only has one embroidery file, skip this step.
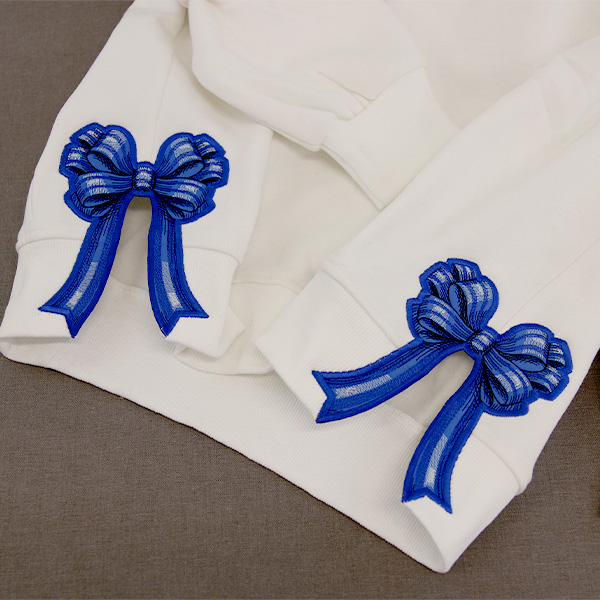
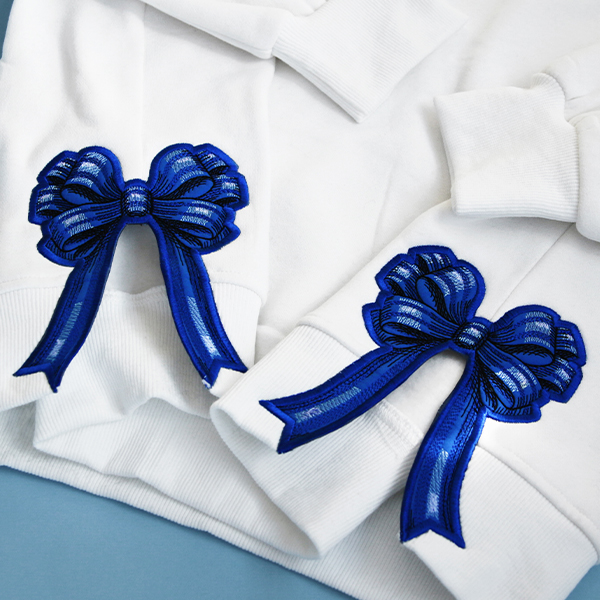
This completes your split seam design. Use these embroidery designs to add fun touches to the seams of sweaters, clothing, and other sewn projects.


