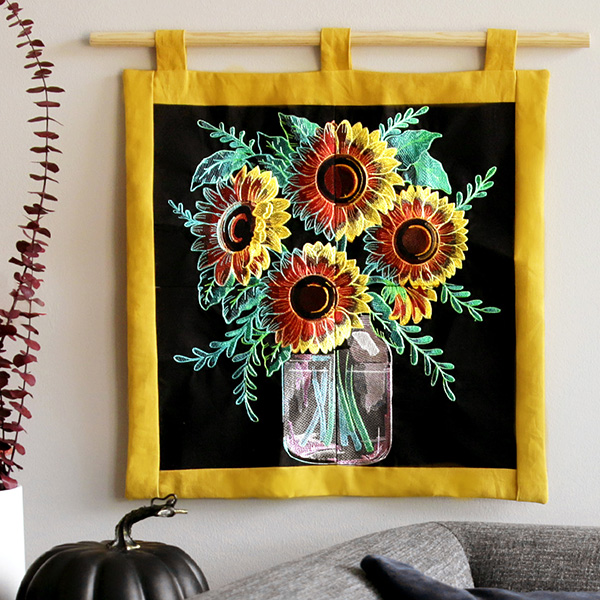
Create your own paneled wall hanging with these helpful instructions.
Supplies
- Cotton fabric for Embroidery
- Alternate fabric for borders and hangers
- Embroidery thread
- Temporary spray adhesive
- Cut away stabilizer
Tools
- Scissors
- Sewing Pins or Quilters Clips
- Rotary cutter
- Quilting ruler
- Cutting mat
- Fabric marking tool
- Sewing machine
- Iron
- Ironing board
- Pressing Cloth
Designs Used
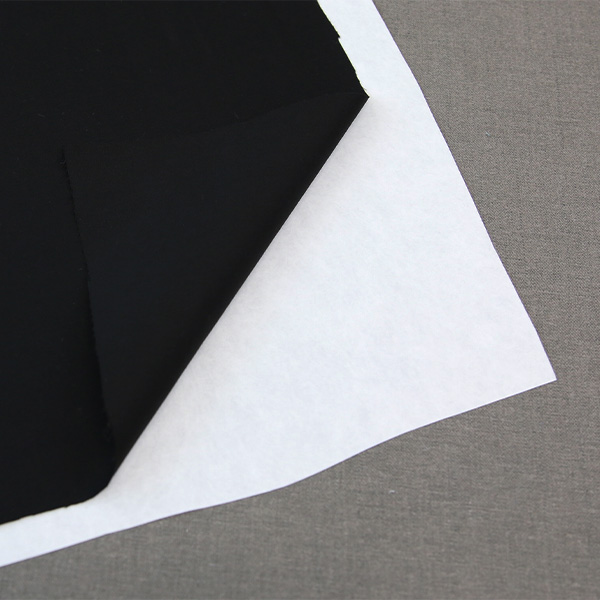
Cut a piece of cotton fabric and cut away stabilizer that are larger than the embroidery hoop you will be using. Spray the cut away stabilizer with temporary spray adhesive and smooth the piece of cotton fabric on top.
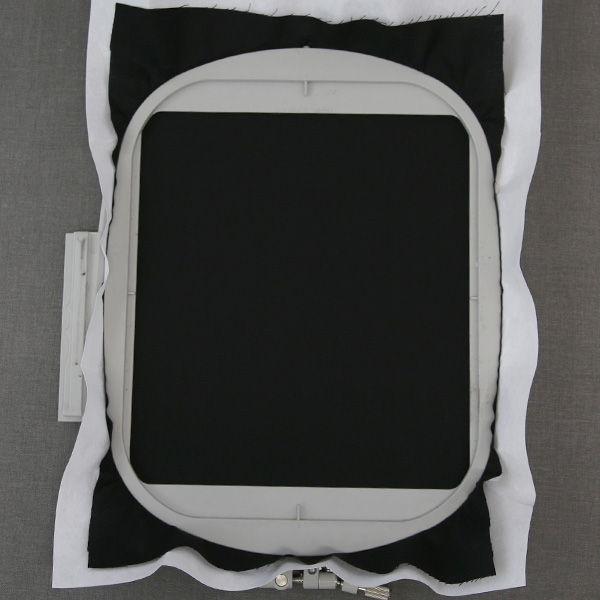
Hoop the cotton and stabilizer together firmly so they are drum tight. There should be no wrinkles.
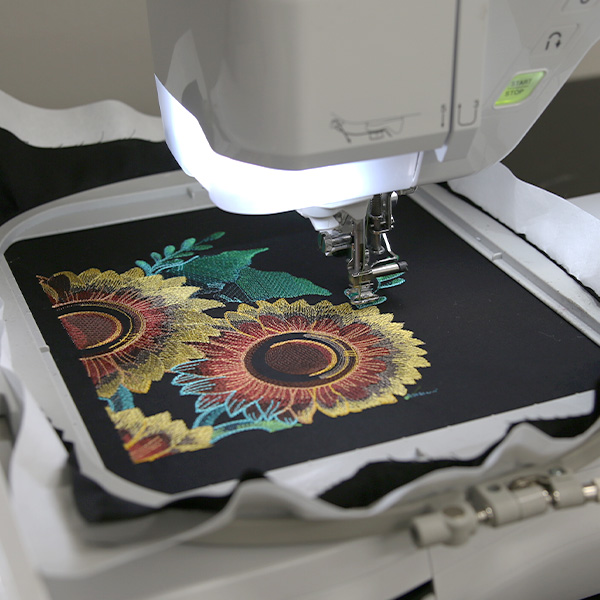
Put the hoop on the machine. Follow the color change sheet to embroider the first panel of the sign.
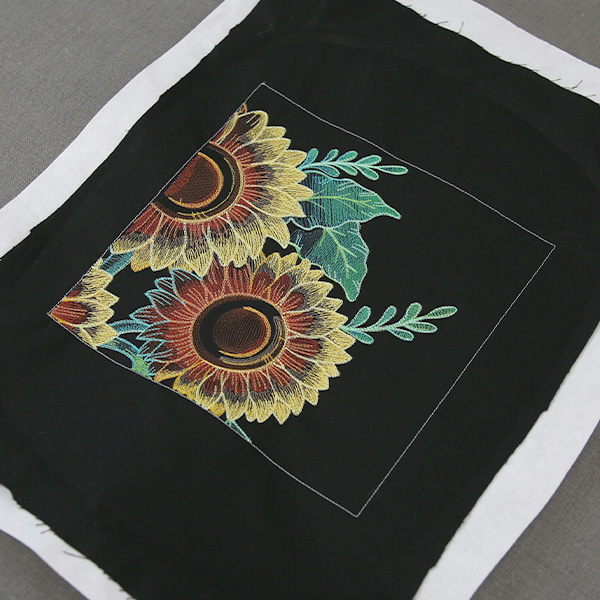
Once all the embroidery has finished, unhoop the embroidered design and stabilizer, set it aside. Do not trim the excess fabric and stabilizer yet.
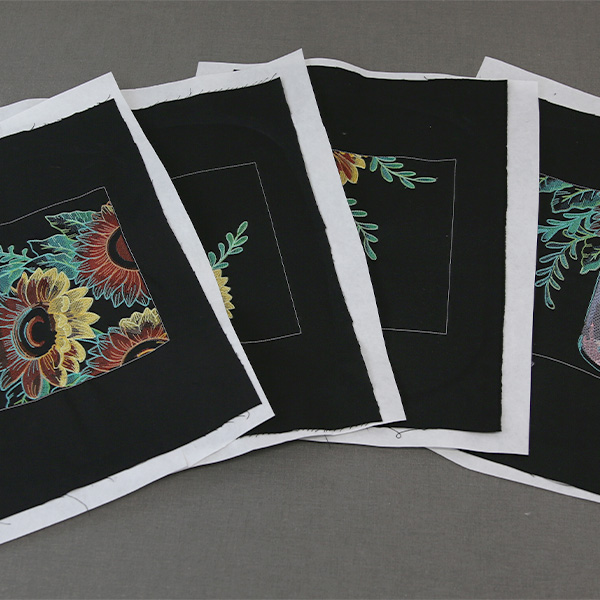
Repeat the previous steps to embroider all of the designs you will be using.
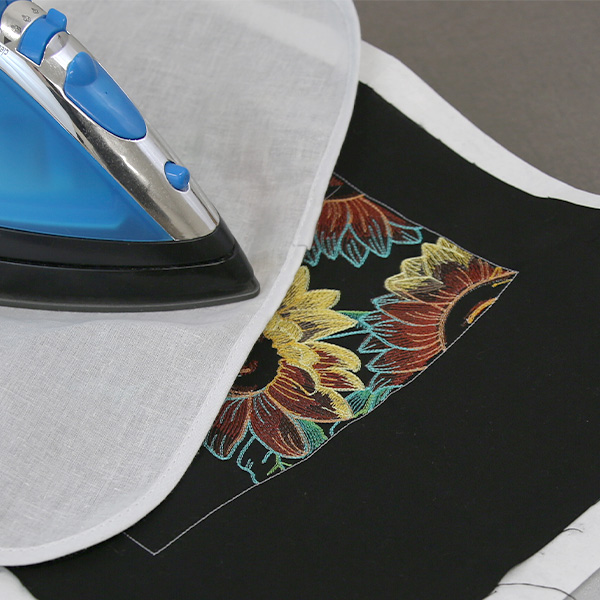
Before beginning assembly, press all of the embroidered designs with a pressing cloth on top. Try to remove any wrinkles and make the square shape as straight and flat as possible.
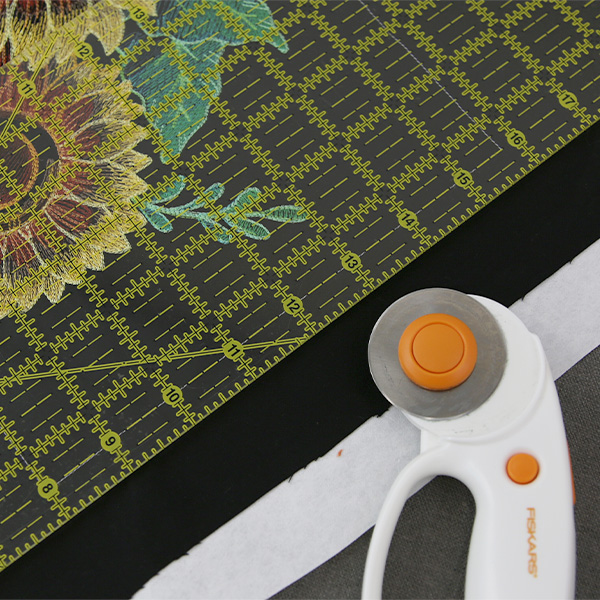
From the edge of the design's outline, measure out your preferred seam allowance, we're using 1/2" for the tutorial. The easiest way to do this is with a quilting ruler and rotary blade. However if preferred, you can measure and draw the 1/2" seam allowance around the square with a marking tool and cut it out with scissors instead.
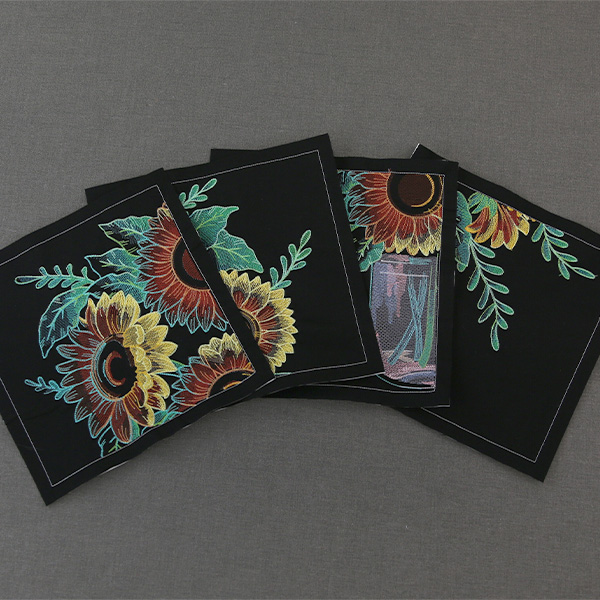
Repeat this process, pressing all of the embroidery designs so they are square and flat. Then trim the fabric, leaving the 1/2" seam allowance around all the panel scenes.
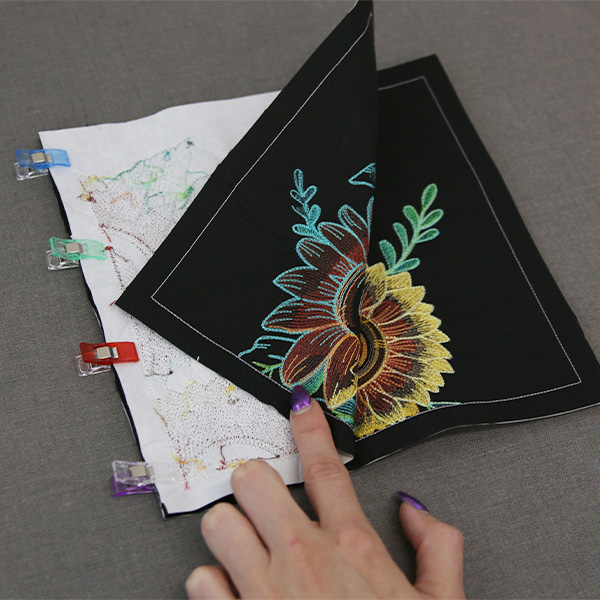
These designs are meant to be continuous with no sashing between them, lining up the design is important. To do this, lay the top two panels on top of each other right sides together. This way they will line up horizontally once stitched. To be sure they don't shift, Pin or use quilters clips to hold the panels in place.
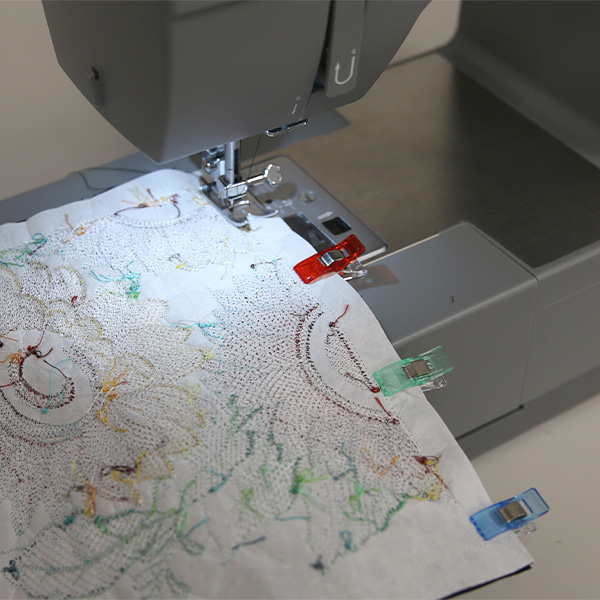
Carefully stitch the panels together along the stitched border lines of the design.
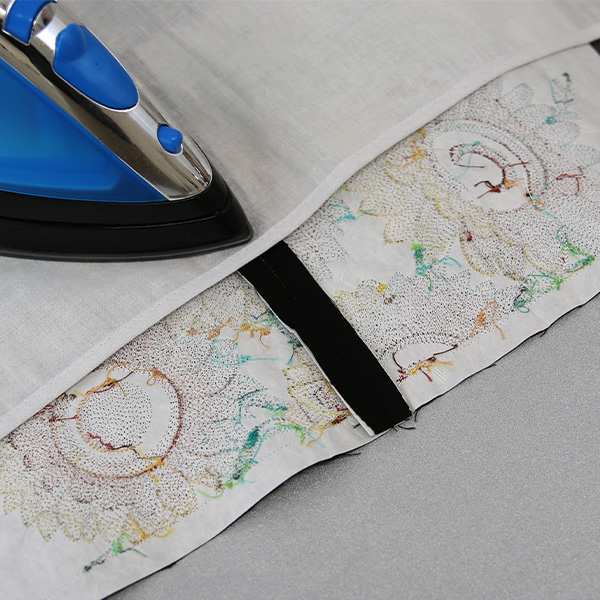
Press the panels flat.
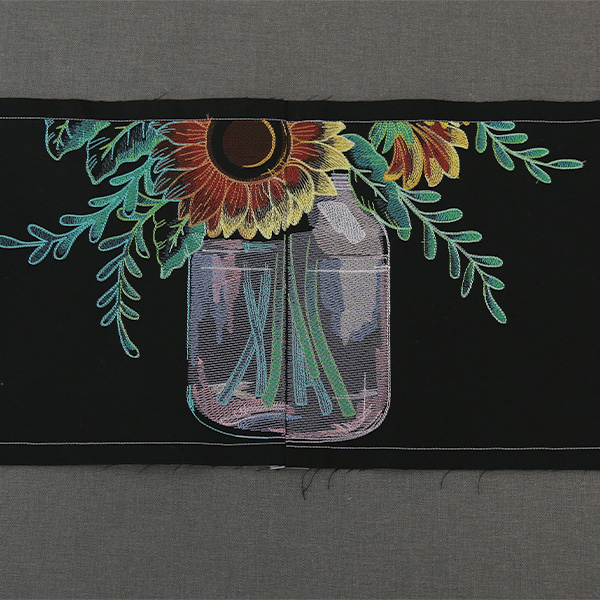
Repeat this process, stitching together the bottom two panels, then press.
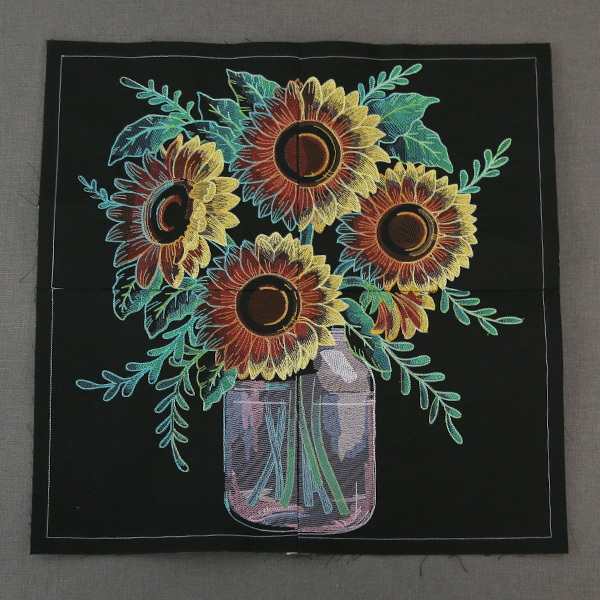
Then, align and stitch the two rows together, completing the scene, then press.
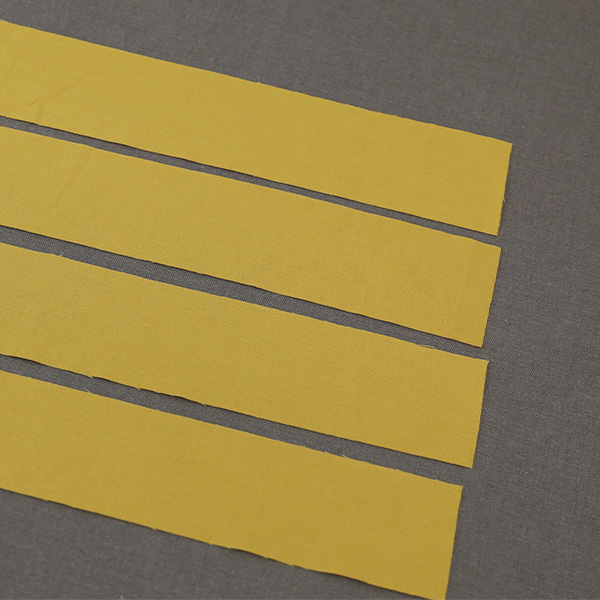
To finish the front of the wall hanging, we'll need to make the borders. For the borders measure the width and length of the scene. Using the largest size of these designs, our finished scene is 16.5" x 16.5" including the .5" seam allowance around the edges.
You can make the borders as thick or thin as you would like, for this example we cut them at 2.5" wide. Add at least 2" to each end of your border sashing to ensure that there is enough fabric to over lap the perpendicular sashing once all is assembled. We cut 4 pieces of sashing for the borders measuring 2.5" wide by 20.5" long.
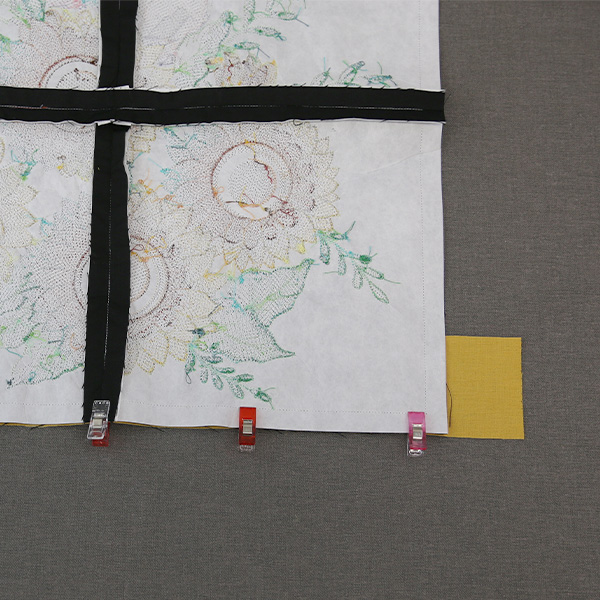
Take one of the borders and line it up along the top edge of the sign and pin. Sew the border and press with the seam allowance facing inward.
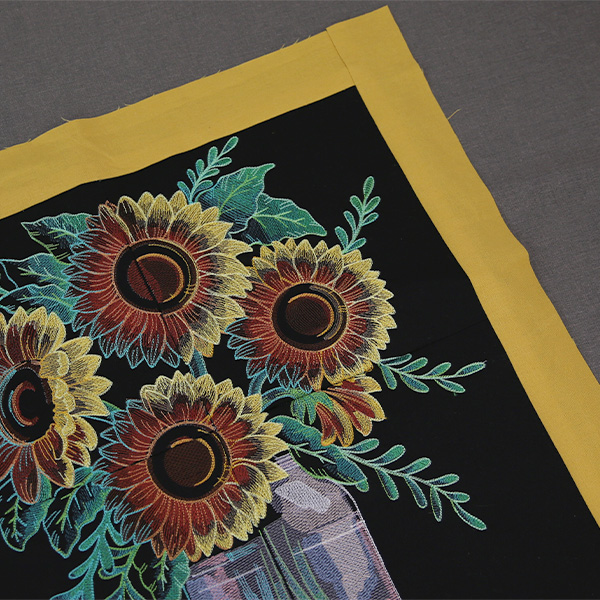
Repeat to attach all borders around the edges.
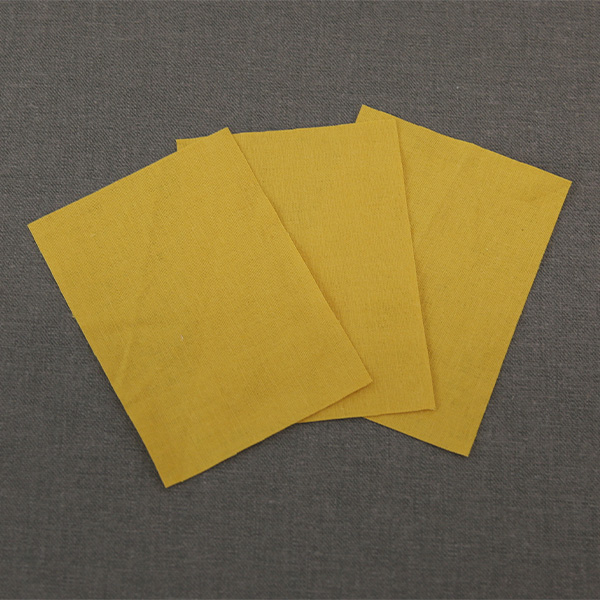
For the hanger loops, cut three pieces of fabric 4 3/4" X 3 1/2".
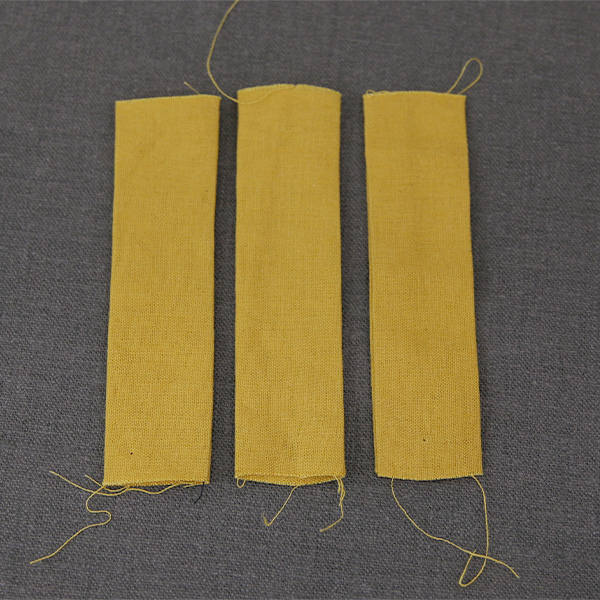
Fold the pieces of fabric in half width wise, sew a 1/2" seam allowance. Turn right side out, and press the hangers flat.
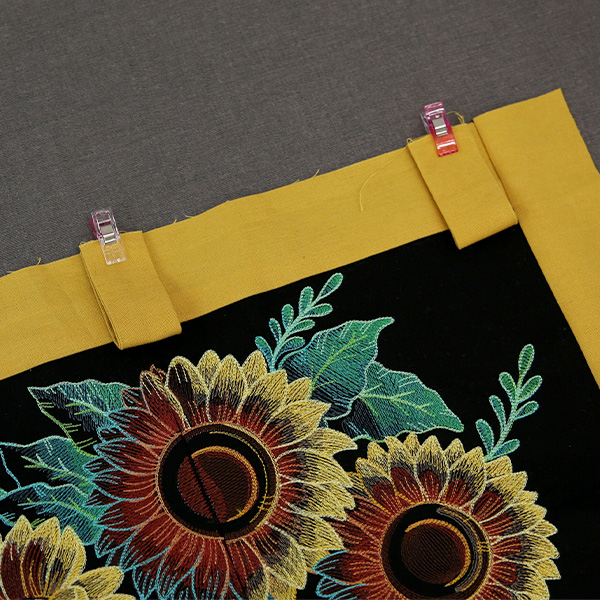
Fold the hangers in half and line them up along the top edge of the panel sign. Keep the ones on the outside edges at least 3/4" inward from the edges, so they don't get stuck when sewing the front to the back. Pin or clip in place.
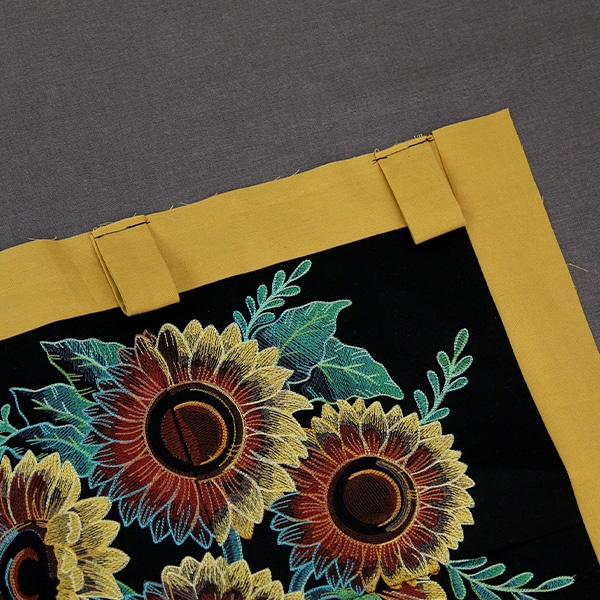
Sew a 1/4" seam to hold the hangers in place.
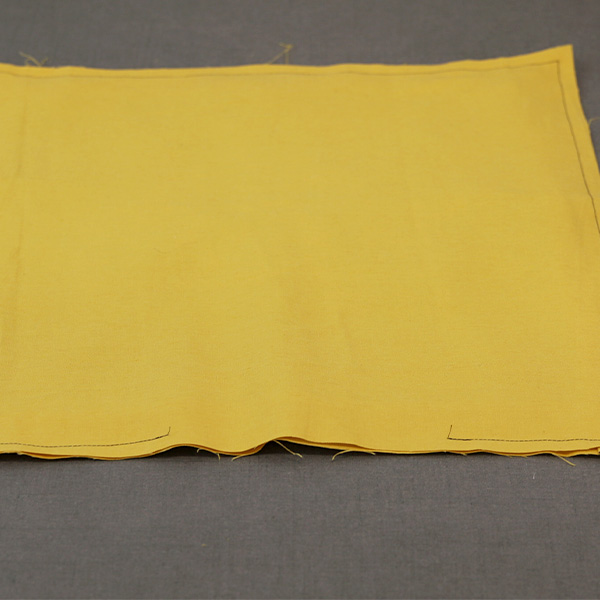
Measure the front panel now with border. Use these measurements to draw the back piece of the sign on your back fabric, then cut out. Place the front and back with right sides together, then pin or clip the back piece into place. Sew around the edges, leave an opening at the bottom.
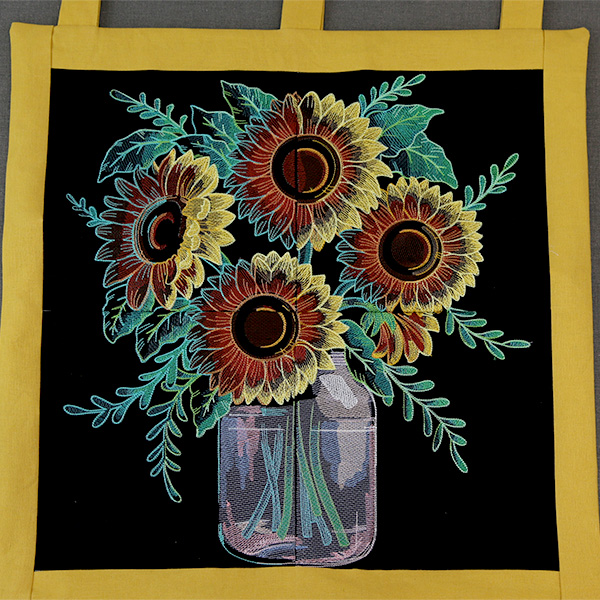
Turn right side out and press the design flat.
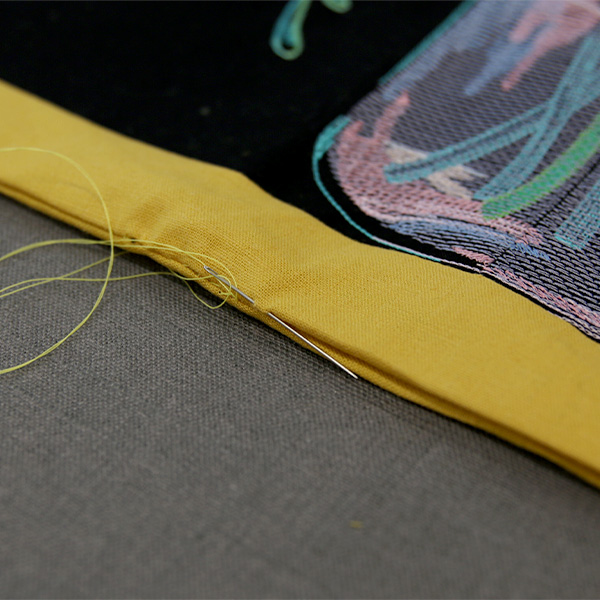
Hand sew the bottom of the sign together.

Then you're finished!


