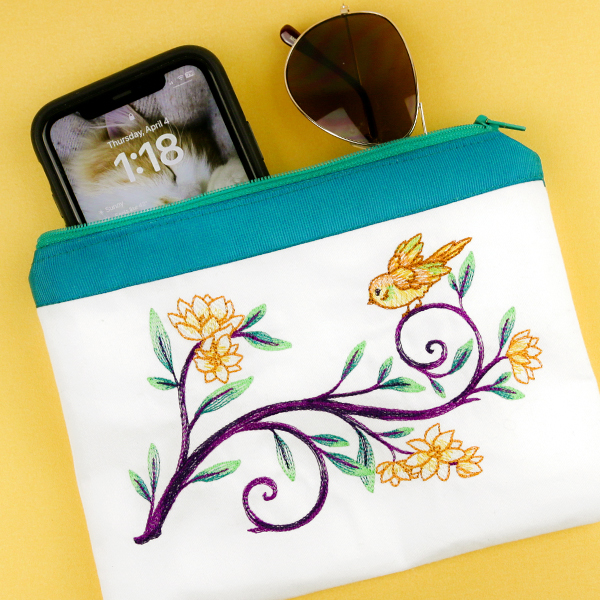
Making your own machine embroidered zipper ouch is easy with help from our step-by-step tutorial. So pick a design and grab your materials for a project that is both functional and fun!
Supplies
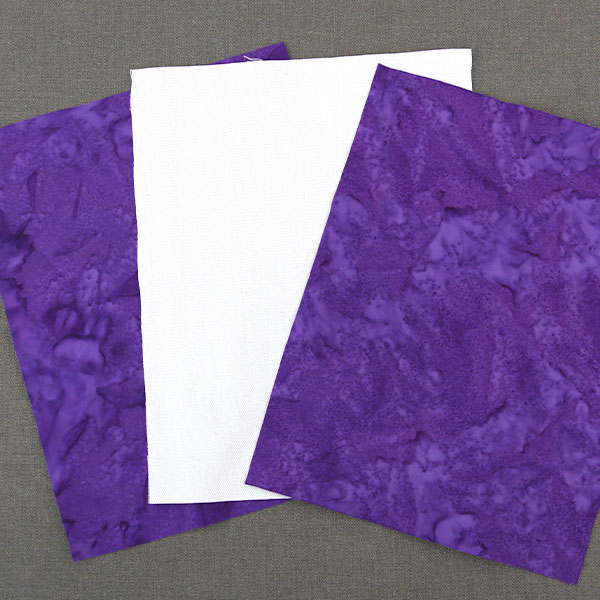
- One piece of outer fabric (front): 12" x 12"
- One piece of outer fabric (back): 7" x 9"
- Two pieces of lining fabric (front and back): 7" x 9"
- 9" Zipper
- Medium Weight Cutaway Stabilizer
- Temporary Spray Adhesive
- Thread and Needle for Hand Stitching, if desired
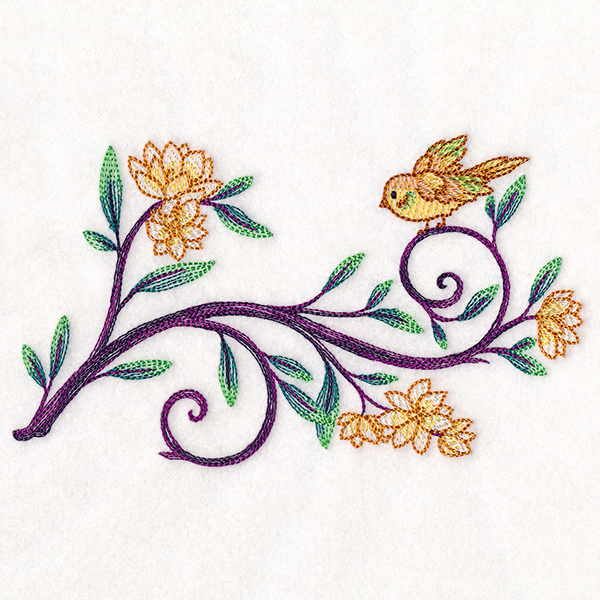
Designs Used

Cut one piece of the exterior fabric and two pieces of lining fabric, all 7" x 9" in size. Put these pieces to the side.
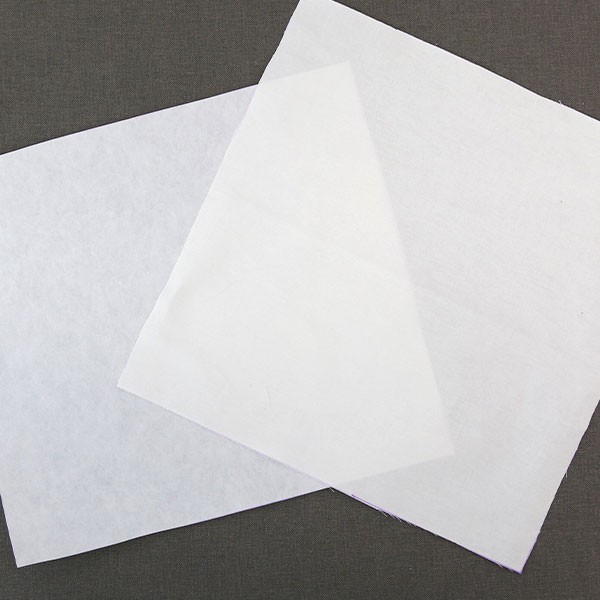
Cut out one 12" x 12" piece of exterior fabric for the front of the pouch and one piece of 12" x 12" cutaway stabilizer. A larger piece of front exterior fabric can be used if desired. We recommend this size because it is typically large enough to fit a 5" x 7" hoop comfortably and will be trimmed down after embroidering the design.
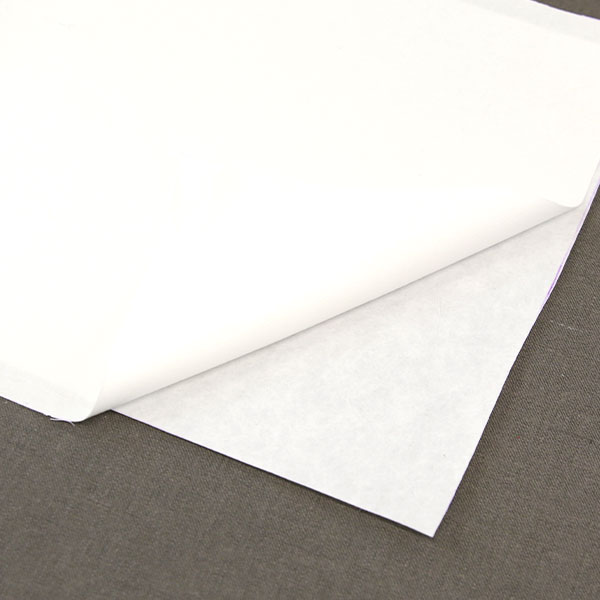
Spray one side of a piece of cutaway stabilizer with temporary adhesive. Smooth the stabilizer onto the wrong side of the front exterior fabric piece.
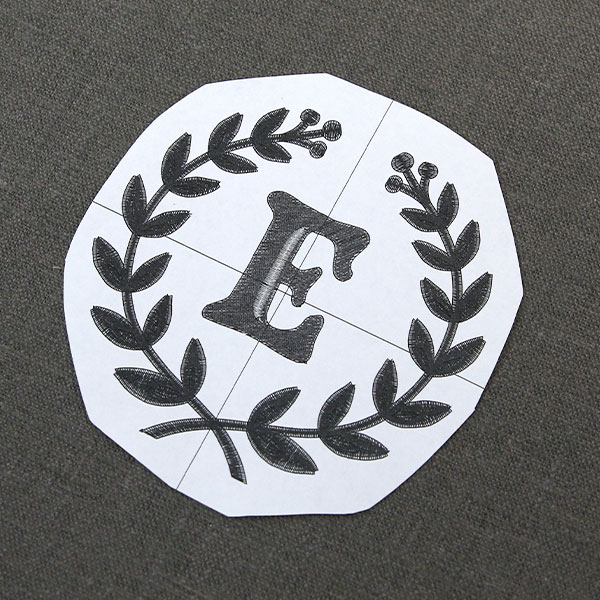
Print a template of the design using embroidery software. If you do not have embroidery software, you can also cut a piece of plain paper to the dimensions of your design, then draw a vertical and horizontal line through the center point.
We also recommend Wilcom's Hatch software which comes in different levels depending on what you'd like to use the software for. Hatch Organizer works well to view your designs, print dielines and templates, change design colors, and create basic design layouts. (This is an affiliate link, learn more about affiliate links here)
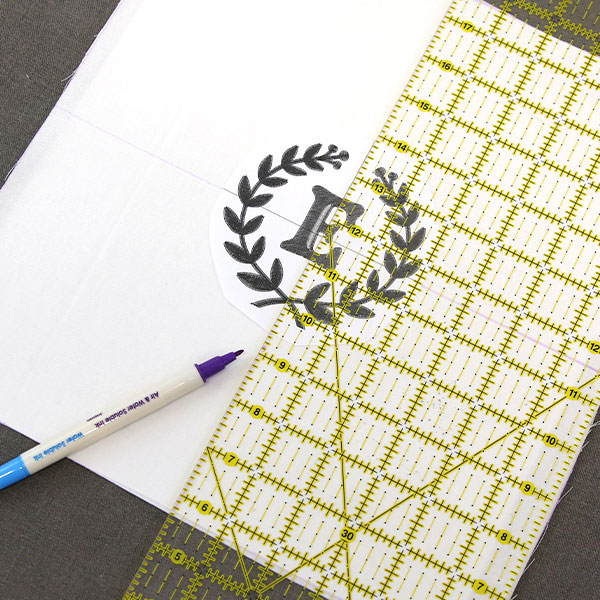
Extend the axis lines using a ruler and air-erase pen to make it easier to hoop accurately.
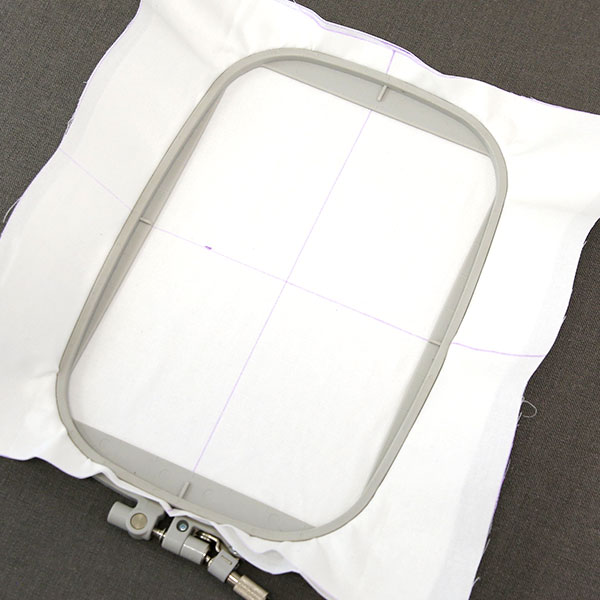
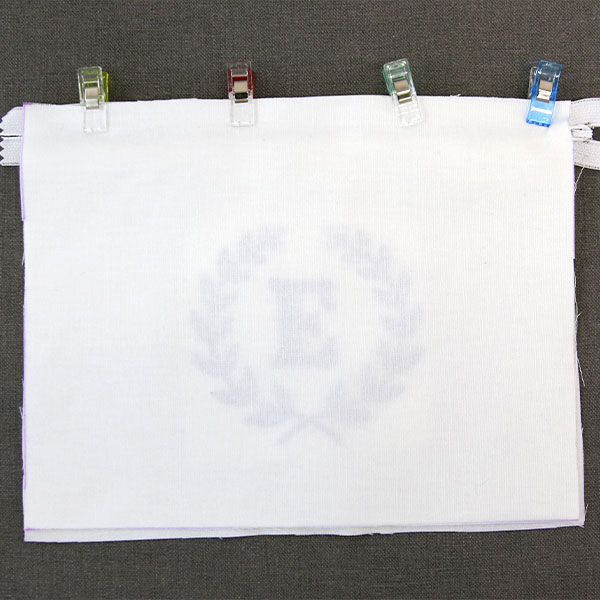
Then hoop the fabric and stabilizer together tightly, lining up the drawn axis lines with the marks on the hoop.

Load the embroidery file onto the machine and secure the hoop in place. Then move the needle directly over the marked center point on the fabric. Follow the color change sheet and embroider the design.
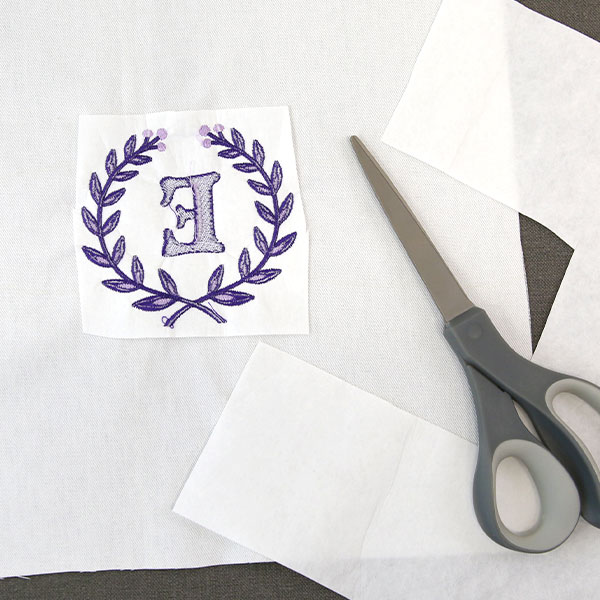
Once the embroidery has finished sewing, unhoop the design, and trim away the excess stabilizer from around the design.
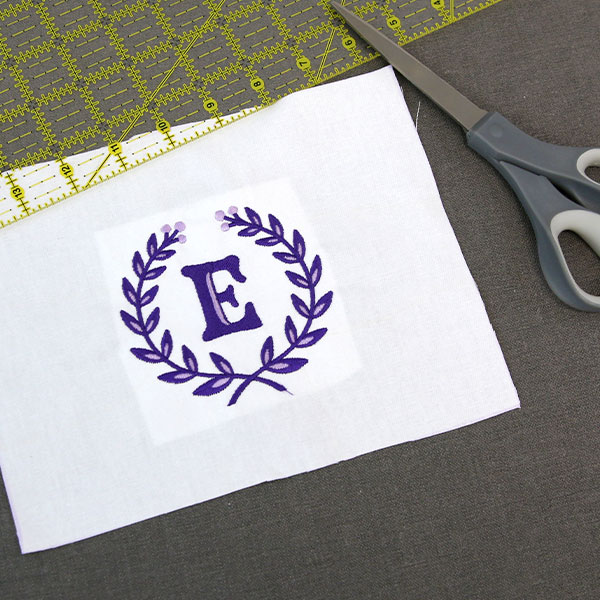
Trim the front exterior fabric piece to 7" x 9".
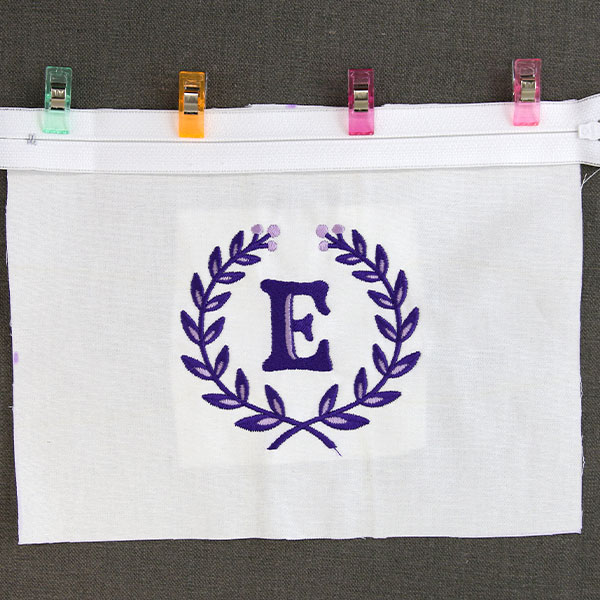
Now you will put your zipper pouch together. Start by taking the front piece of outer fabric. Line up the top long edge with one edge of the zipper. Make sure the right side of the fabric and the right side of the zipper are together.
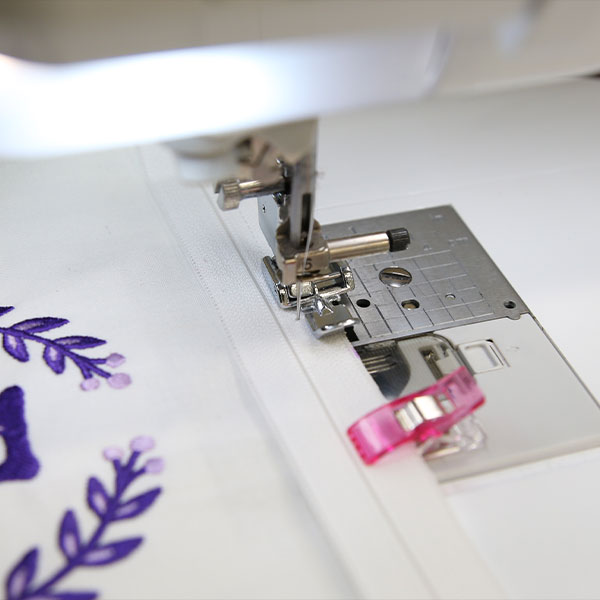
Stitch the fabric and zipper together using a zipper foot leaving about 1/4" seam allowance.
Repeat this step with the back outer fabric. Place right sides together and stitch the top long edge of the back fabric to the edge of the zipper.

Next, add the lining pieces. On the back side of the zipper, line up the edge of the zipper with the long edge of one of your lining fabric pieces. The right side of your lining fabric will be against the wrong side of the zipper. Stitch this fabric to the zipper using the zipper foot. Repeat this process, lining up the right side of the other lining piece of fabric with the wrong side of the zipper.
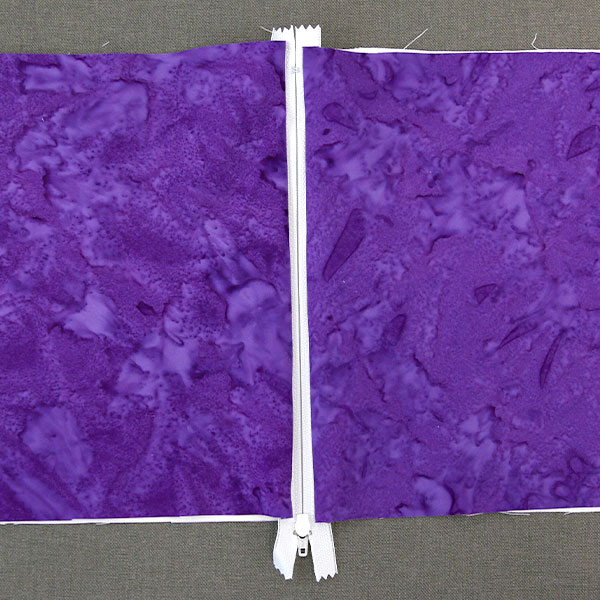
When laid open, you should have the outer fabric, zipper, and lining fabric layered together in that order.
Topstitch along both sides of the zipper, getting close to the edge of the fabric.
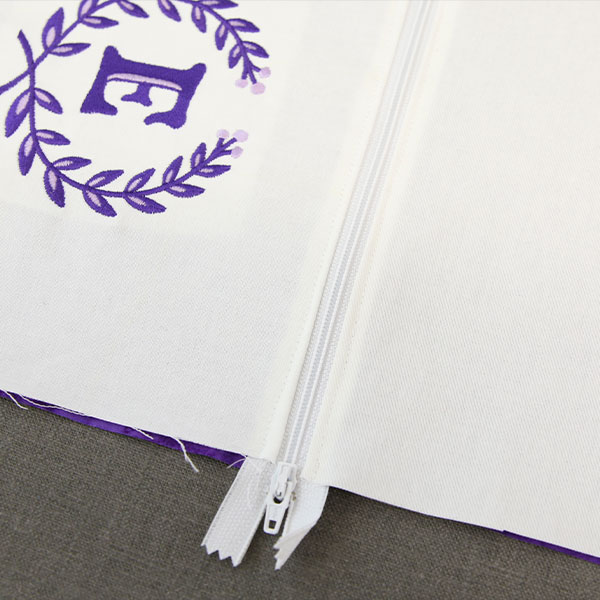
Unzip your zipper about halfway open. Then fold your pouch with your outer fabric right sides together and lining fabric right sides together. The teeth of your zipper should be facing your lining fabric.
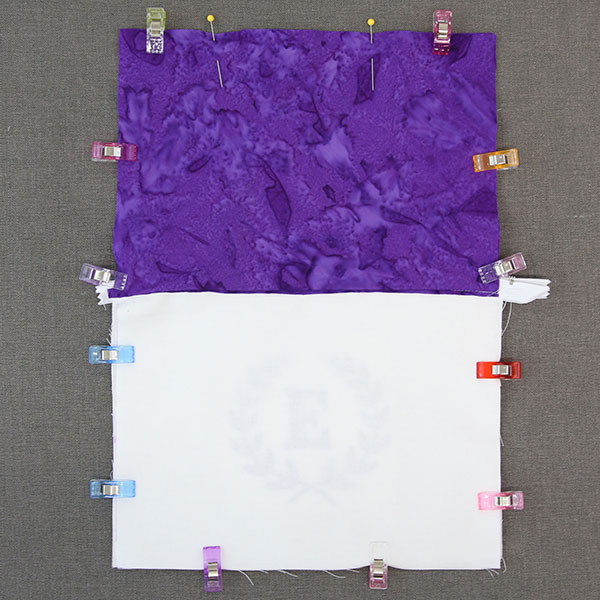
Pin or use craft clips along the entire outside edge. Stitch around the pinned area with 1/2" seam allowance, leaving about a 4" opening on the bottom edge of the lining fabric. The opening we are leaving is between the two pins in our photo. This will leave a hole that will allow the fabrics to be pulled through to the right side.

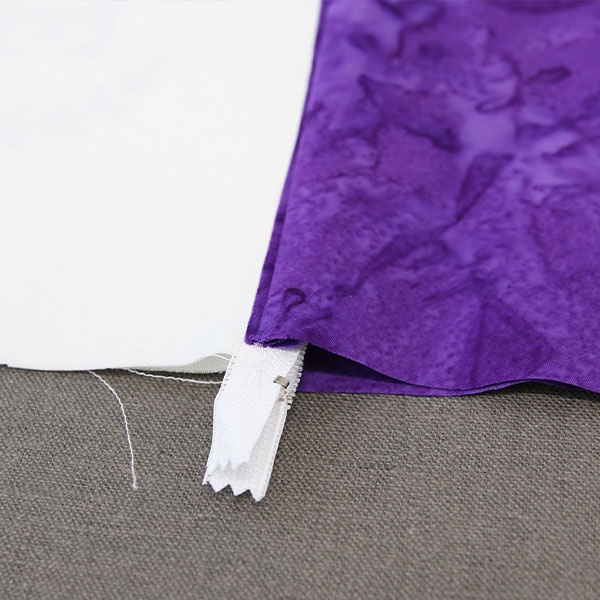
Clip the corners of the fabrics as well as any excess ends of the zipper that are hanging past the edge of the fabric. Make sure not to cut the stitching.
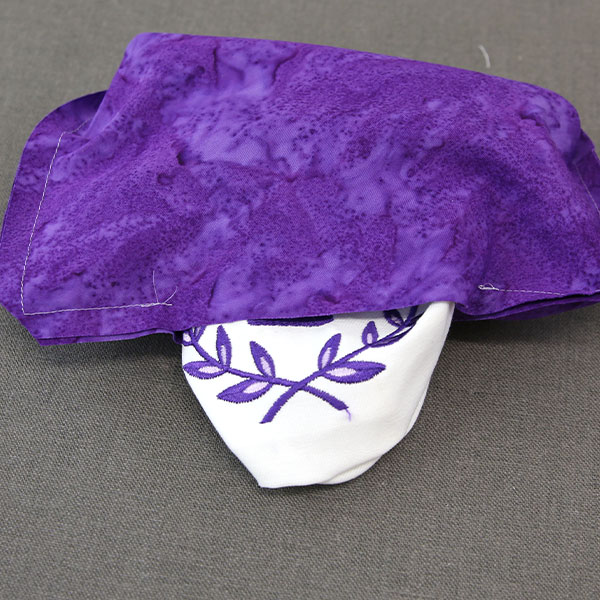
Pull the fabric through the hole in the bottom of the lining.
Once the fabric has been turned to the right side, push the corners out so they are as sharp as possible.

Machine sew or hand stitch the hole in the bottom of the lining closed, turning the raw edges inward.

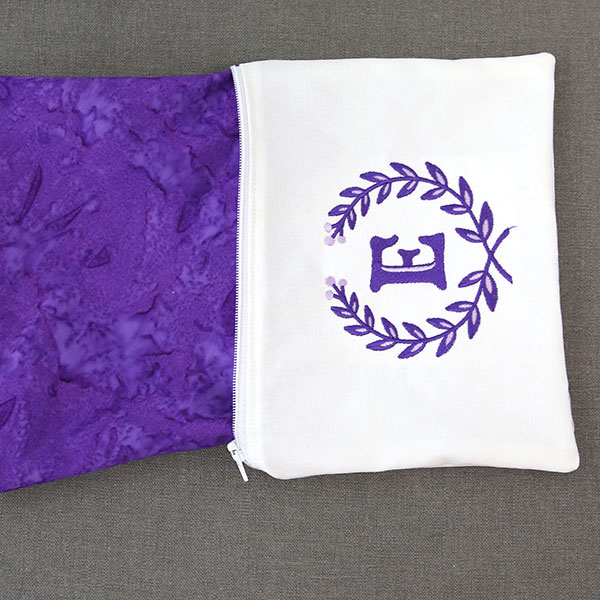
From there you will push the lining fabric through the zipper opening and have your finished pouch!

Use your finished zipper pouch to hold makeup, store craft supplies, and more.


