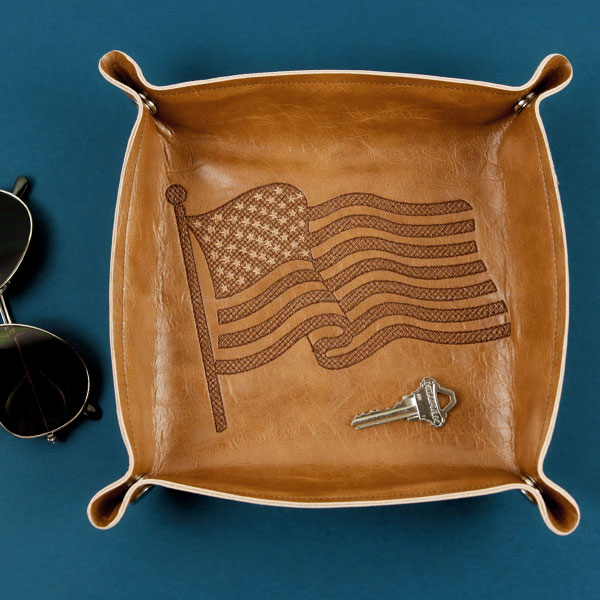
This pattern for a machine embroidered faux leather catch-all tray is easy to construct, and perfect for a variety of functions around the house. Use it as a dice tray for your favorite role playing game, or place it on an entry table to catch wallets, keys, and more. Follow along with the tutorial below and learn how to make your own.
Supplies
- Faux leather fabric
- Medium cut away stabilizer
- Temporary spray adhesive
- Embroidery thread
- 5/8" heavy duty snaps
Tools
- Air erase or leather marking pen
- Ruler or straight edge
- Scissors
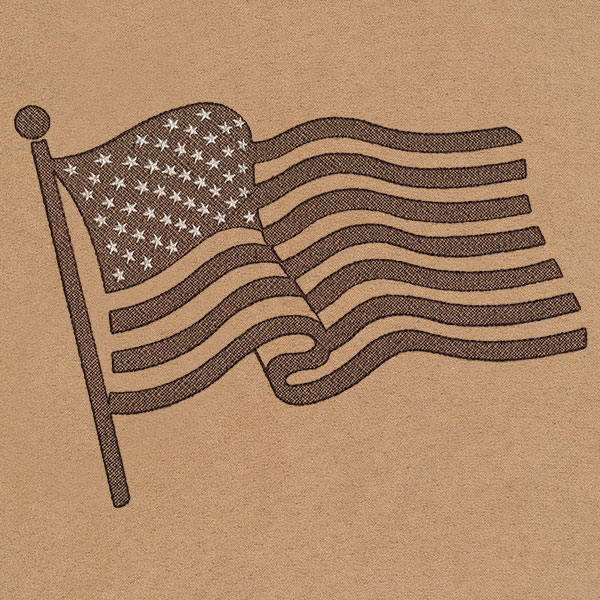
Designs Used

Print a pattern using the downloadable PDF for the size of tray you want. If the pattern is larger than a piece of printer paper, line up the pattern pieces using the registration marks and secure the pieces together with a piece of tape.

After joining the pattern pieces, trace the pattern with an air erase pen on the wrong side of your material. We are using faux leather in this tutorial. Repeat this twice. One piece will be the top of the catch-all tray; the other will be the bottom layer of the catch-all.

Cut the two pieces of your material for the tray.

Use the air-erase or leather marking pen to transfer the snap placement dots from the pattern to one of the tray pieces.

Print a template of the design using embroidery software. If you do not have embroidery software, you can also cut a piece of plain paper to the dimensions of your design, then draw a vertical and horizontal line through the center point.
We also recommend Wilcom's Hatch software which comes in different levels depending on what you'd like to use the software for. Hatch Organizer works well to view your designs, print dielines and templates, change design colors, and create basic design layouts. (This is an affiliate link, learn more about affiliate links here)

Repeat the previous step (or your previous measurements) and your template to draw crosshairs on the stabilizer using a ruler and an air-erase pen.

Hoop the stabilizer with the crosshairs centered.

Use temporary spray adhesive to adhere the faux leather to the hooped stabilizer. Be sure that your crosshairs are lined up.

Center the needle on the crosshairs and begin to sew out the design.

If using multiple colors, continue to follow the color change sheet to embroider the rest of the design.

After sewing, remove from the hoop and cut away the stabilizer from the bottom of the tray.

Use temporary spray adhesive to adhere the front and back tray pieces together.

Use a straight stitch and thread matching your material along all four edges of the tray to join the back and front tray pieces.

Trim the edges of the catch-all tray so that they lay evenly together.

Install the snaps on each of the four corners of the tray. Follow instructions specific to the manufacturer that you choose for your hardware. For this project, we use Dritz 5/8" heavy duty snaps.

Snap the edges together and your catch-all tray is complete.
Make multiple catch-all trays for yourself, or even prepare them as gifts! It's a quick and simple project that is sure to delight.


