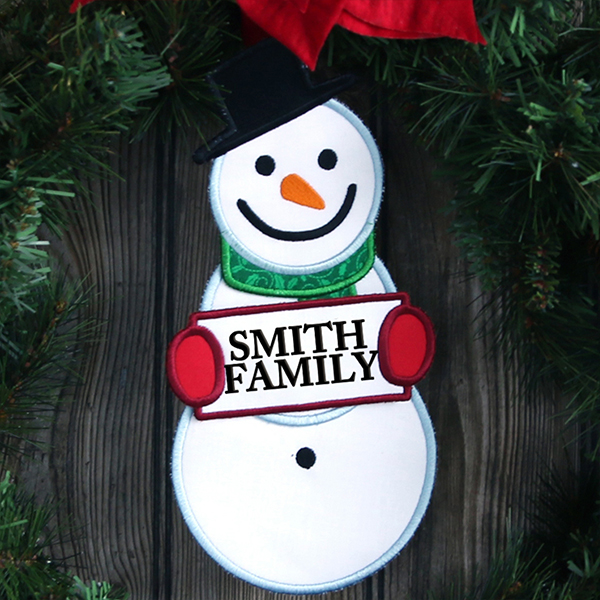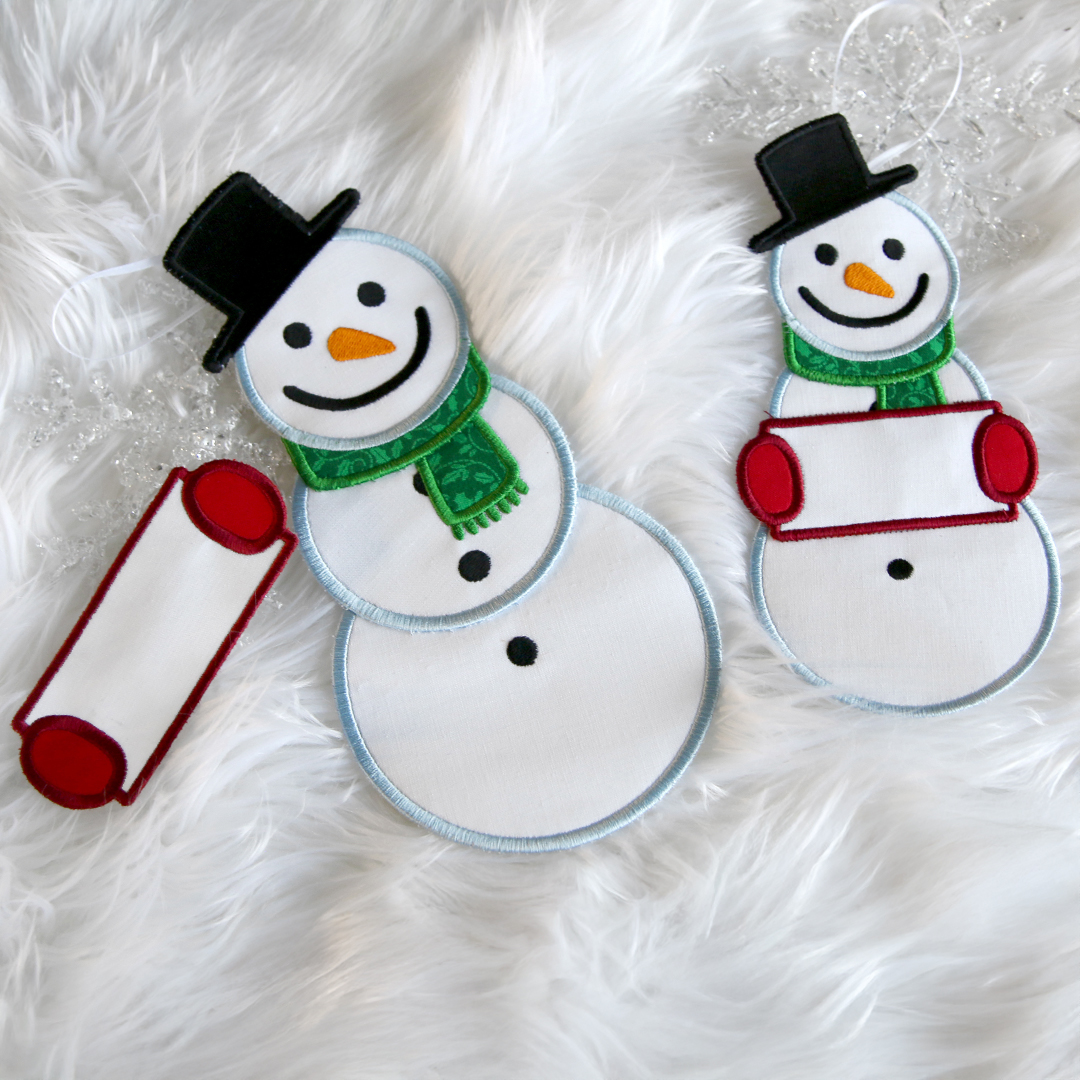
Learn how to make an in-the-hoop multi-piece door hanger with this helpful tutorial!
Supplies
- 1/4 yard of cotton, felt, or flannel (for main fabric)
- Small pieces of cotton, felt, or flannel (for scarf)
- Small pieces of cotton, felt, or flannel (for mittens)
- Hanger cord or ribbon
- Temporary spray adhesive (such as Gunold KK100)
- Tear-away stabilizer
- Medium weight cutaway stabilizer
- Embroidery thread
Tools
- Scissors
- Ruler
- Hot Glue gun and glue sticks
- Hand sewing needle and thread
Designs Used
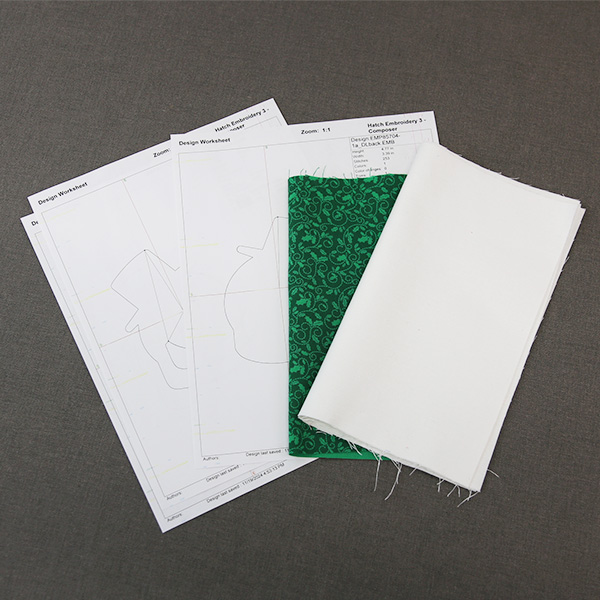
When you download the in-the-hoop design, you will find multiple files. One is an embroidery file and the others are dieline files marked with the letters "DL". Dielines are used to cut the fabric to the correct shape and size.
Open and print each dieline file using an embroidery software. If you do not have an embroidery software, take a look at our helpful video on using dielines.
We also recommend Wilcom's Hatch software which comes in different levels depending on what you'd like to use the software for. Hatch Organizer works well to view your designs, print dielines and templates, change design colors, and create basic design layouts. (This is an affiliate link. We may earn commission on purchases made with this link.)
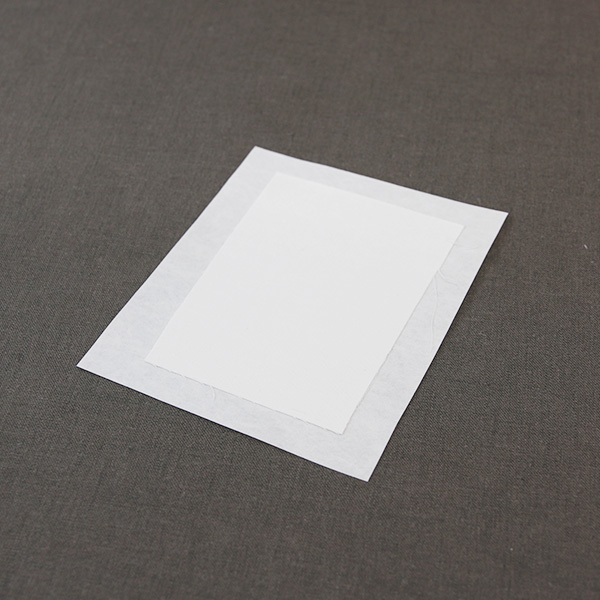
For the fabric pieces, spray the wrong side of the fabric with temporary adhesive. Then smooth it onto a piece of cutaway stabilizer, so the stabilizer ends up glued to the wrong side of the fabric.
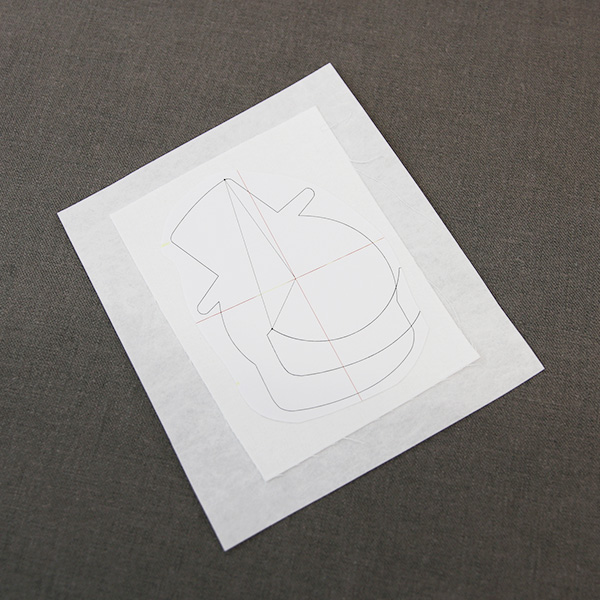
Spray the wrong side of the front piece dieline with temporary adhesive, and smooth it on top of the fabric.
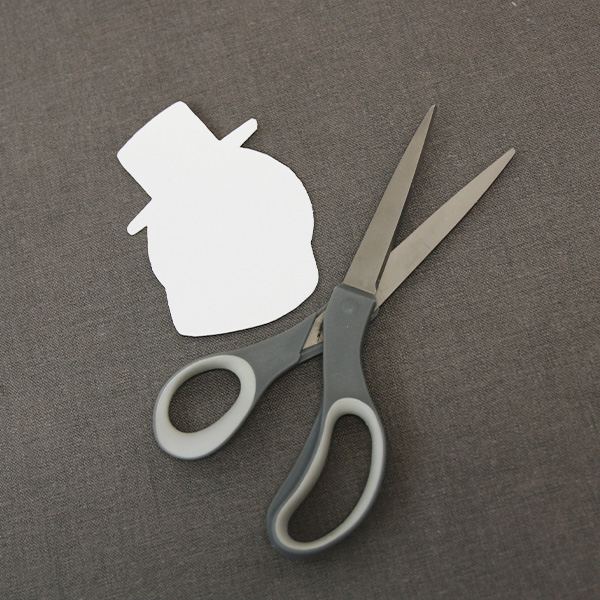
Cut out the fabric shape, and remove the paper dieline.
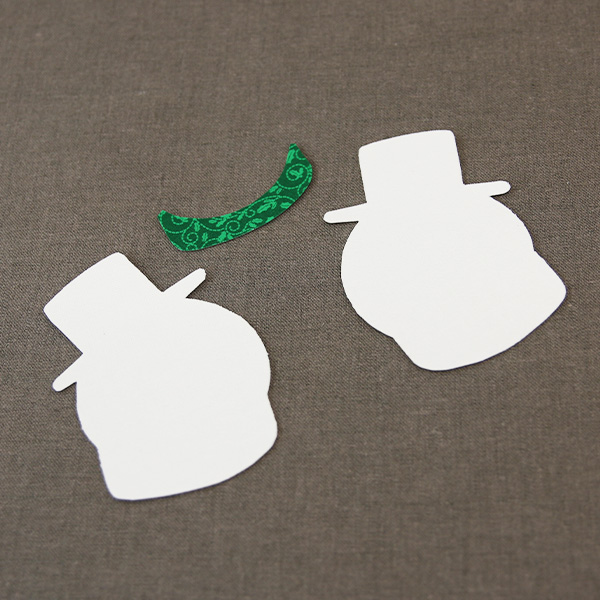
Repeat these steps to cut the back piece out of adhered fabric and cutaway stabilizer as well. If the design has any applique pieces, also cut these out of fabric with cutaway stabilizer on the back side. Remove the paper dielines.
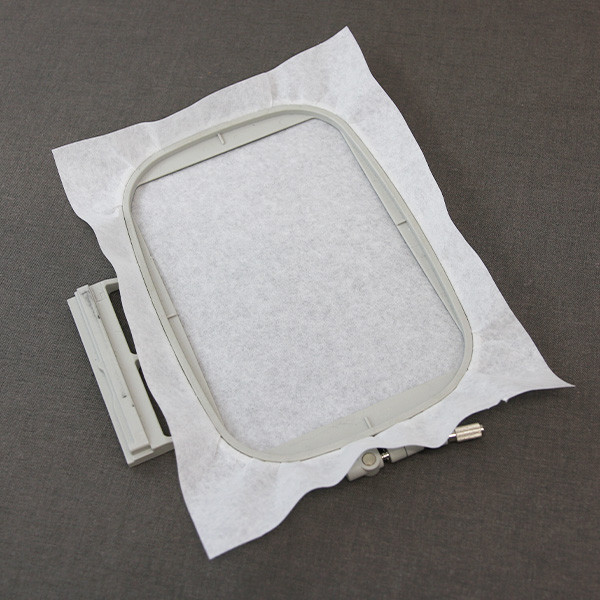
After all the fabric pieces are ready, its time to embroider the design. Hoop a piece of stabilizer firmly. Make sure it is hooped tightly and has no wrinkles.
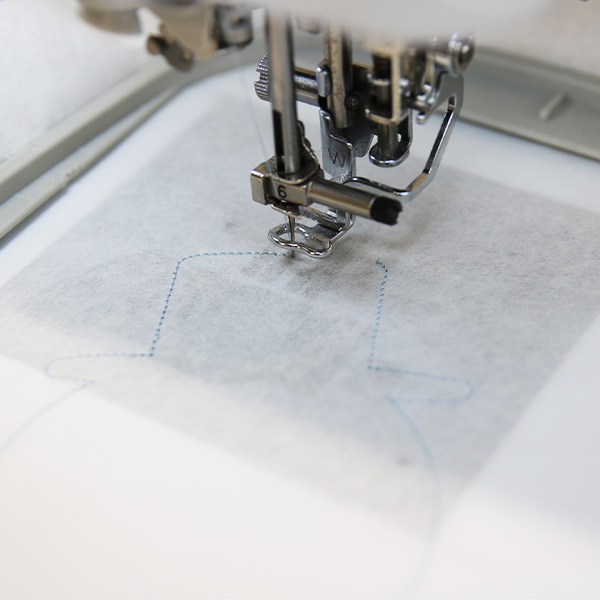
Attach the hoop onto the machine and load the first embroidery file (not the dieline files). Use a 75/11 sharp sewing needle instead of an embroidery needle. The sharp sewing needle has a finer point and will make smaller perforations in the stabilizer.
Embroider the design. The first thing to embroider will be the dieline (or outline stitch) for the front fabric piece. This marks on the stabilizer where the fabric piece will be placed.
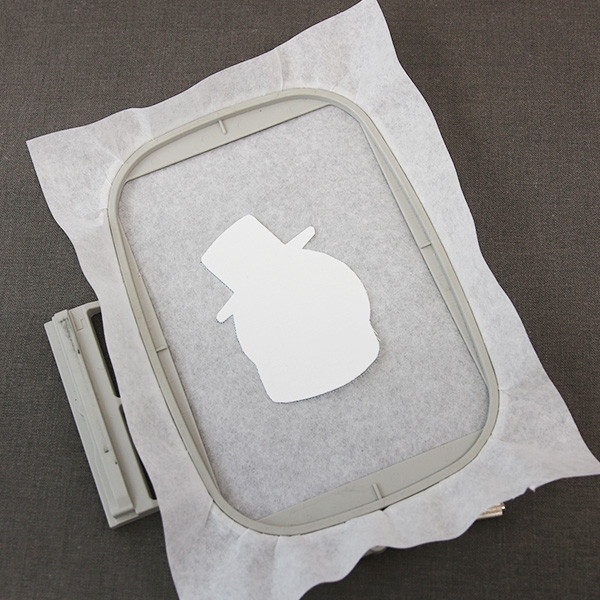
After the dieline has sewn, remove the hoop from the machine but do not unhoop the stabilizer. Spray the stabilizer side of the front fabric piece with temporary adhesive. Smooth the fabric piece onto the stabilizer inside of the sewn dieline.
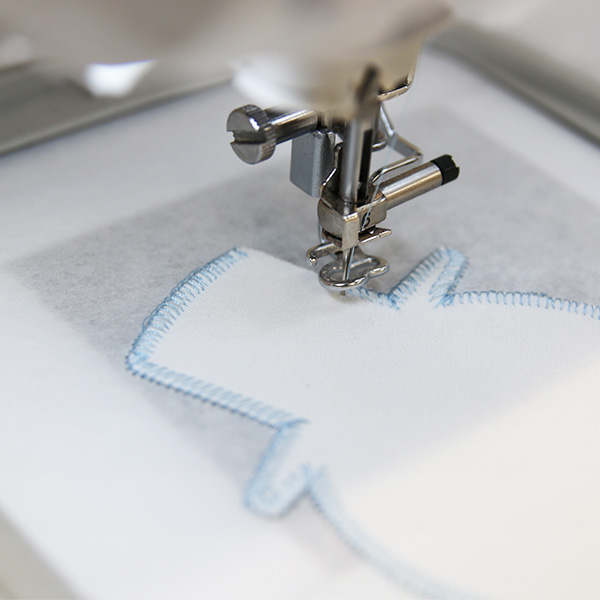
Then place the hoop back onto the machine and embroider the tackdown for the front fabric piece. The tackdown will hold the fabric piece in place for the remainder of the design.
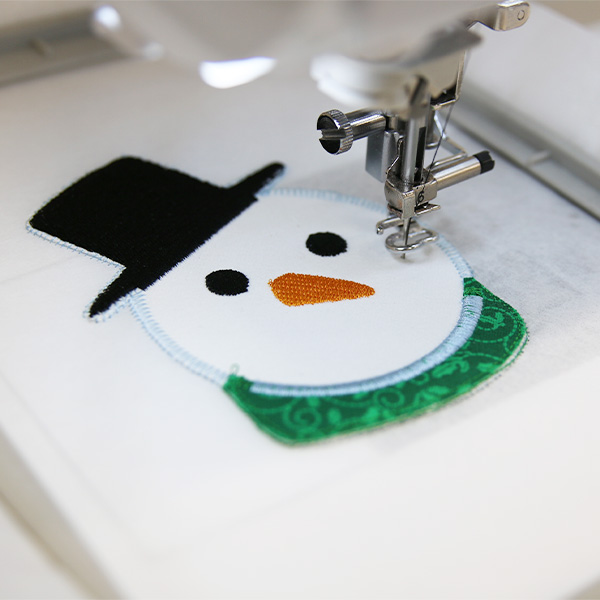
Continue to embroider the design. Some designs have applique pieces. If there are applique pieces in the design, watch the color change sheet closely, and repeat the previous steps to embroidery each dieline, place the fabric pieces, and embroider the tackdowns. Repeat this until you get to the back piece tackdown.
If the design does not have any applique pieces, skip this step and embroider the design until you get to the back piece tackdown.
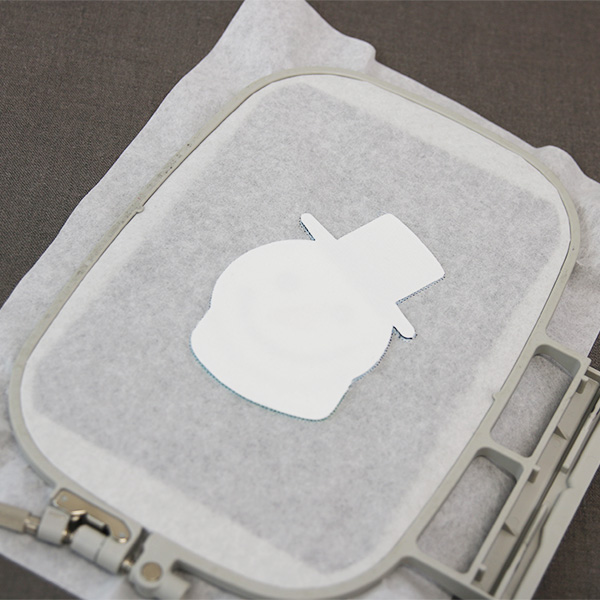
Before sewing the "back piece tackdown" step. Remove the hoop from the machine, but do not unhoop the stabilizer. Turn the hoop over so the back side of the embroidery is facing up. Spray the stabilizer side of the back piece with temporary adhesive, and smooth it into place on the back side of the embroidery.
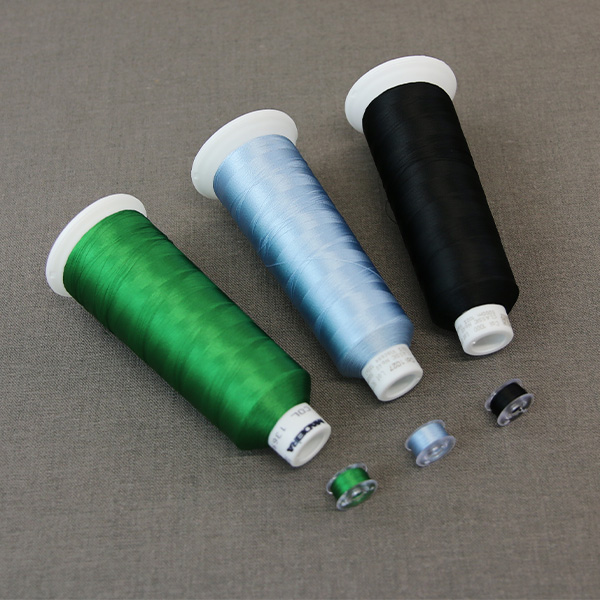
As all the embroidery from this step on will be seen on the back of the final door hanger, wind a bobbin to match every thread color used in the last steps of the design.
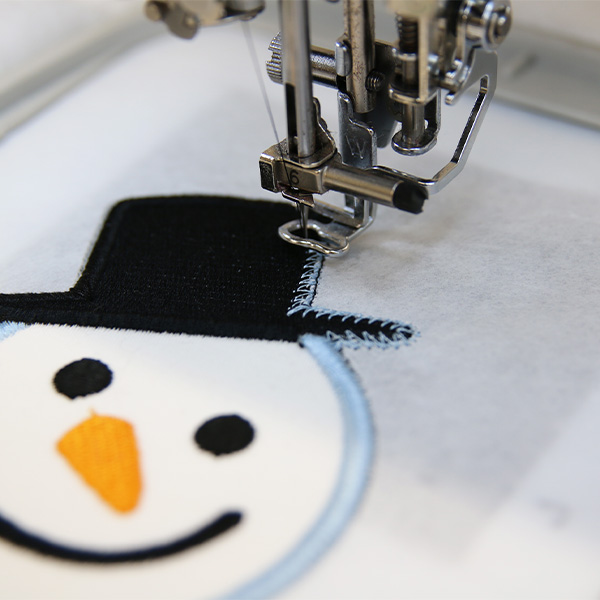
Place the hoop back onto the machine, load a matching bobbin into the machine, and embroider the back piece tackdown. The tackdown will hold the back fabric piece in place. Then embroider the rest of the design while always using a matching bobbin.
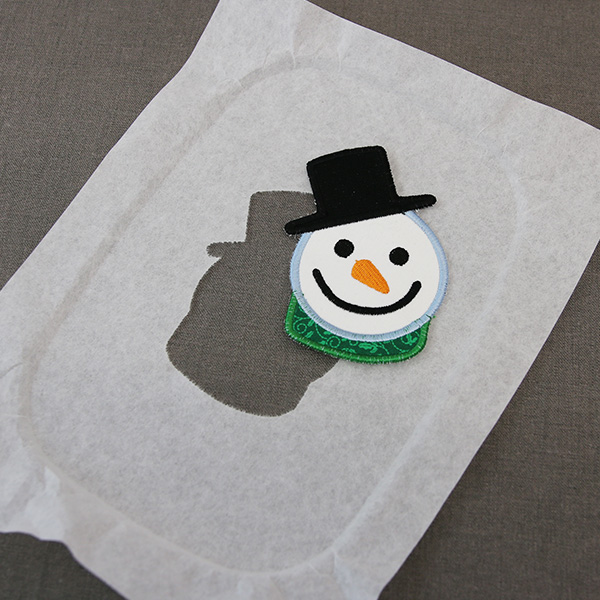
Once the embroidery is complete, unhoop the stabilizer and tear away the excess from around the embroidered piece.
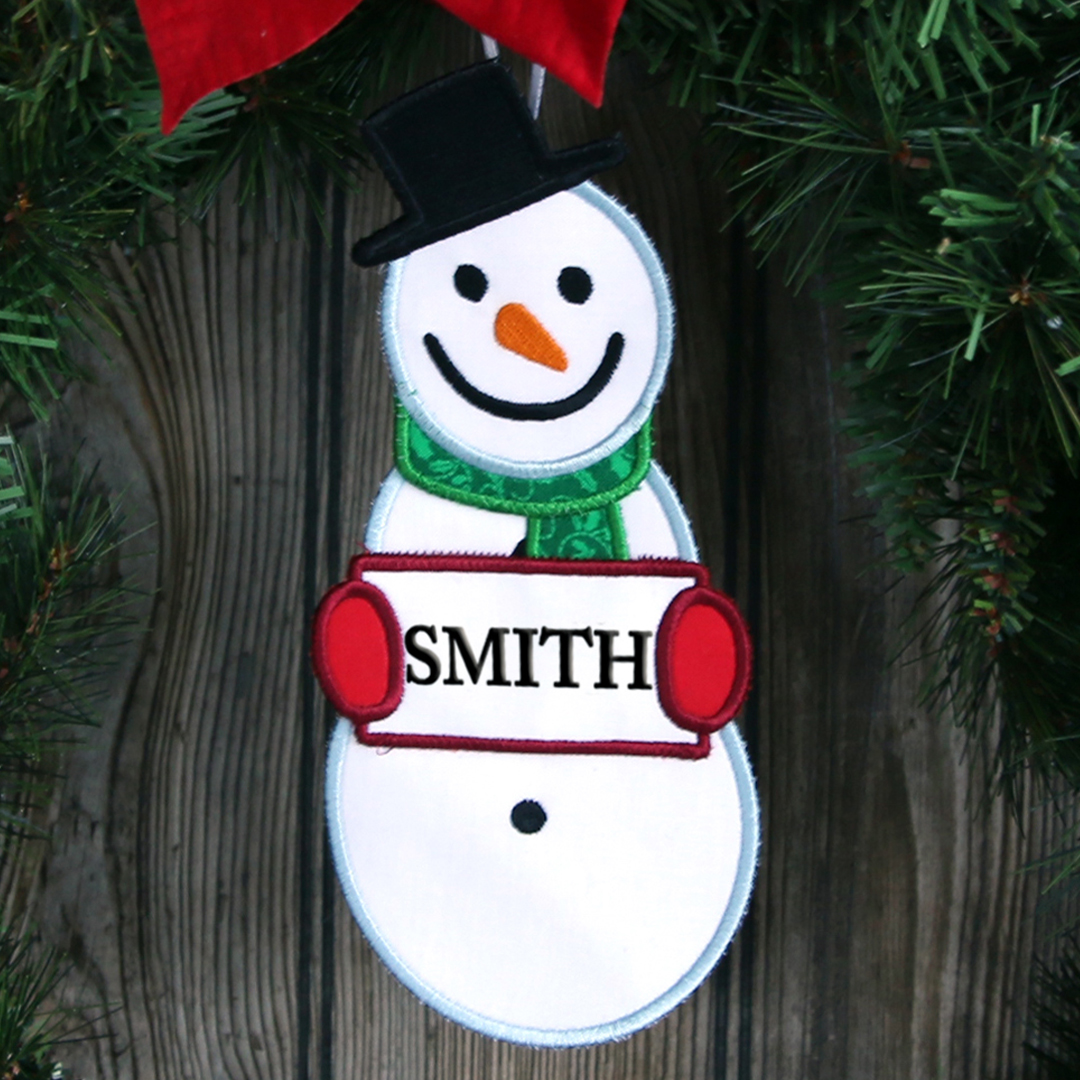
Door hangers can also be personalized. Embroider text onto any of the pieces using one of Embroidery Library's alphabets or using a pre-set alphabets found on your embroidery machine. You can either add text to the piece after it is done sewing, or you can add the text to the piece's file before embroidering so it sews out with the rest of the design. Here is a helpful tutorial on adding personalization to a design.
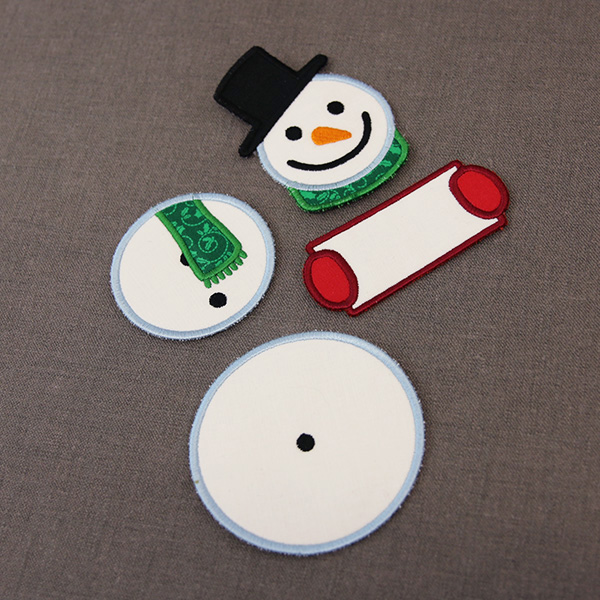
Repeat these steps to embroider all of the pieces of the door hanger. Make sure to place cutaway on the back of every single fabric piece as it makes the door hanger sturdier.
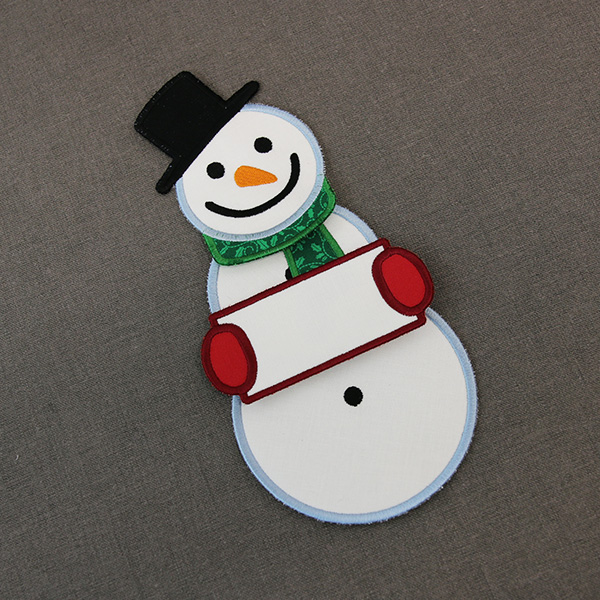
Before assembly, arrange all of the door hanger pieces on the workspace to show which pieces go next to each other and how they need to layer. Looking at them like this first will help show where all of the pieces need to be attached to each other.
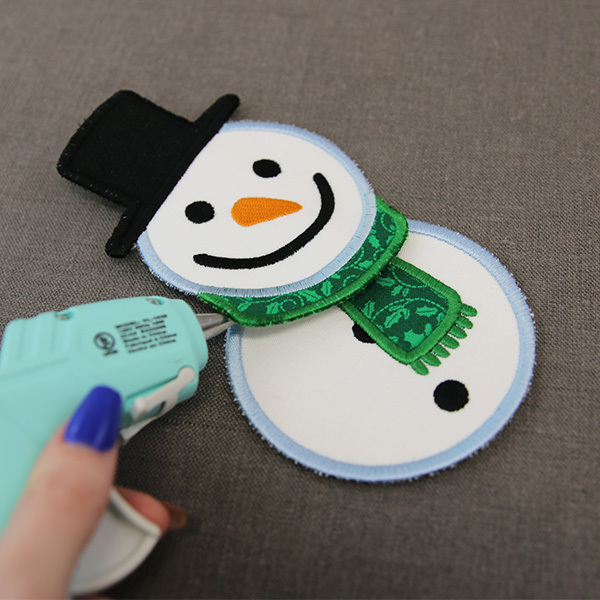
In this tutorial we are hand sewing the pieces of the door hanger together, but if preferred, all door hangers can be assembled using glue instead.
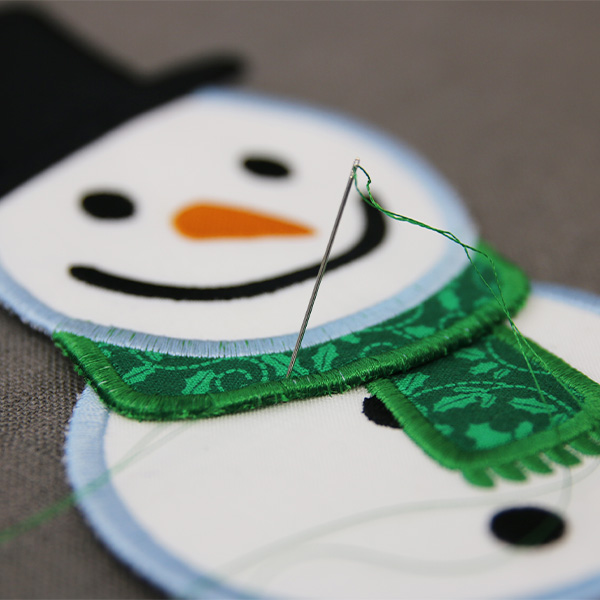
Start assembling the door hanger by attaching the top two pieces. Use either a hand sewing needle and thread or glue. Make sure to attach them to help the door hanger to be sturdy and hang well.
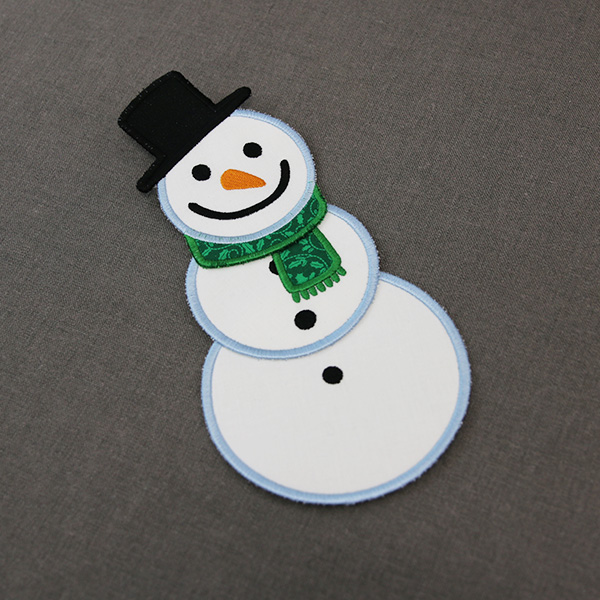
Then repeat to attach the next pieces onto the door hanger.
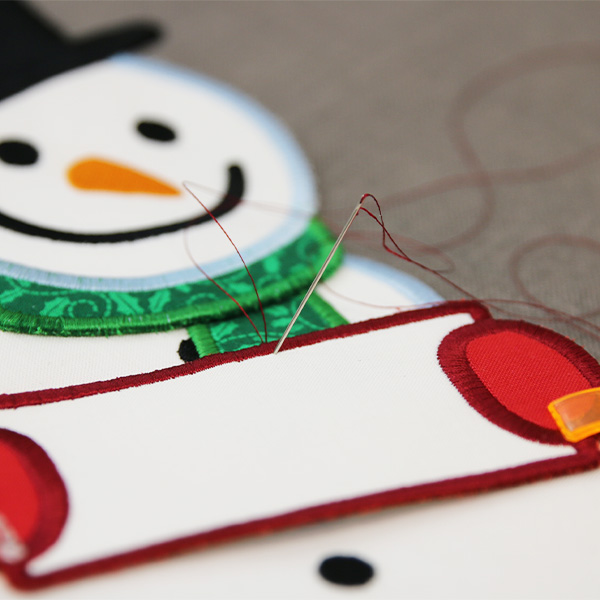
If there are any pieces that layer on top of others, it is easiest to add those last after all the main pieces of the door hanger are attached.
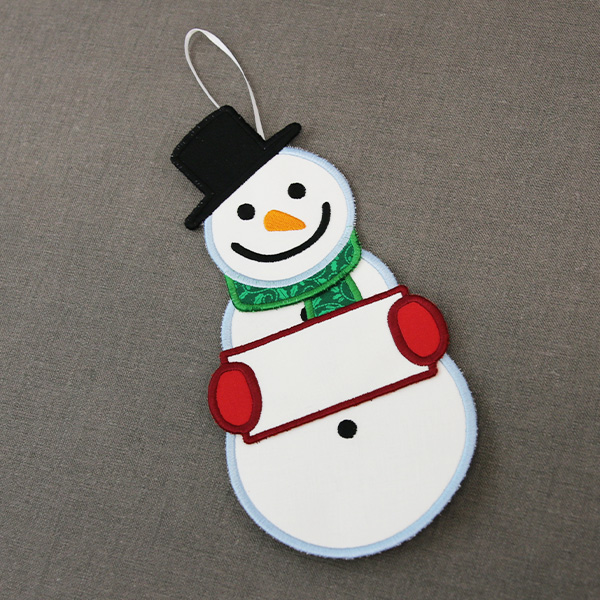
After all of the pieces are attached, cut a length of ribbon or cord to make a hanger. Sew or glue the hanger onto the back side of the door hanger along the top edge. Make sure to attach it well so it can handle the weight of the door hanger.
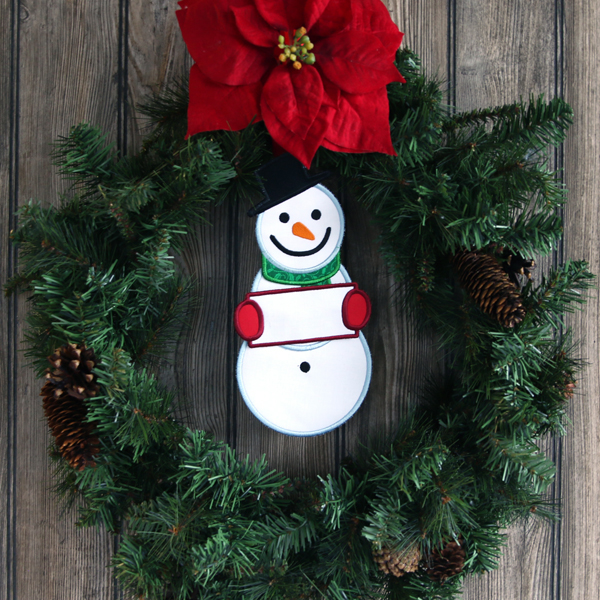
Now that the door hanger is completed, display it in your home, or personalize the sign and give it as nice gift.
