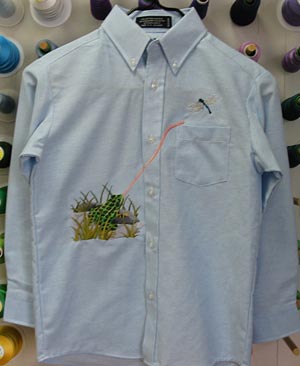
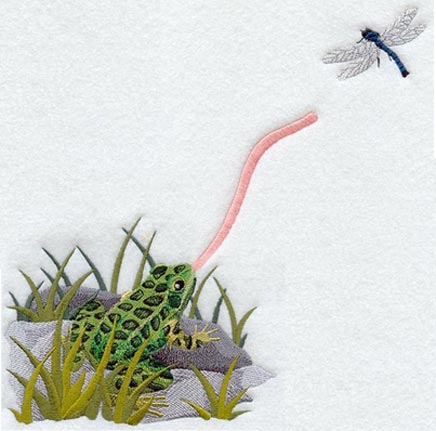
Ribbit! Ribbit! Says the frog, as he lounges in his pond. A dragonfly buzzes by, and zip, out shoots the frog's tongue to catch himself a snack.
Its just the perfect image for anyone who loves frogs, and with some careful placement, you can line up the tongue to span the placket of a shirt, or across any large surface
Designs Used
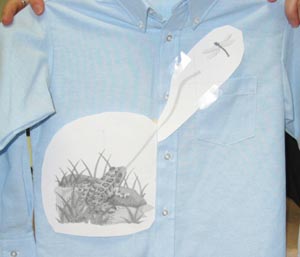
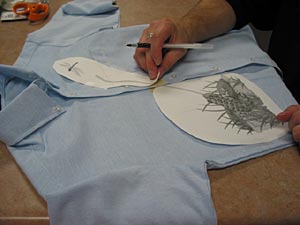
First, print templates for the Hungry Frog design from your software at actual size, and then cut around the shapes. Button the shirt, then arrange the templates until you have the placement the way that you would like. Tape gently into place.
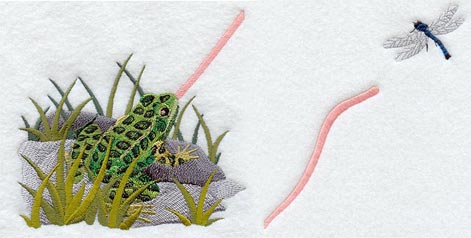
We did not want the tongue and dragonfly to sew over the pocket, so we adjusted the frog piece until we were satisfied with the arrangement.
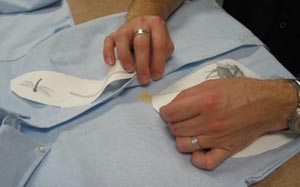
Both pieces are 'auto-start ended' (meaning they both have center points in embroidery software). To make sure that the design sews where you want it to sew, common start points have been inserted. The first stitch for the left piece is at the tip of the frog's tongue, and the first stitch for the right piece is at the bottom of the tongue. Mark both points with masking tape and a pen dot, or another form of marking tool.
Unbutton the shirt, and hoop one side with the appropriate stabilizer. For cotton and cotton-blend shirts, we used one layer of medium-weight cutaway.
Load one piece of the design into the machine and forward to the first stitch. Move the hoop so the needle is directly over the dot on the masking tape, and begin sewing the design. (Remove the masking tape before you begin to sew).

Repeat for the second section.
At the end, you will have a fun and fashionable shirt!


