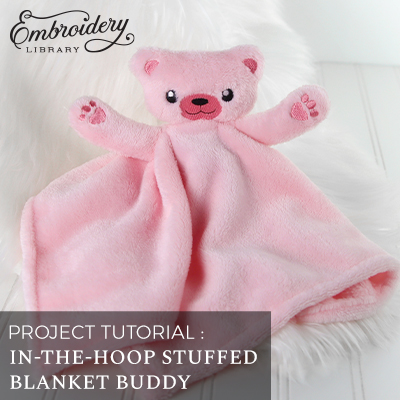
Create cuddly new projects for babies and kids with an in-the-hoop blanket buddy! Our step-by-step project instructions will walk you through the process of re-creating your own using pattern dielines for cutting out your fabric pieces.
Supplies
- Small pieces of your chosen fabric
- Embroidery Thread
- Tearaway stabilizer
- Lightweight water-soluble stabilizer (if sewing on fuzzy/plush fabric)
Tools
- Masking or painter's tape
- Scissors
- Polyester fiber fill
- Hand sewing needle & thread
- Temporary spray adhesive (such as Gunold KK100)
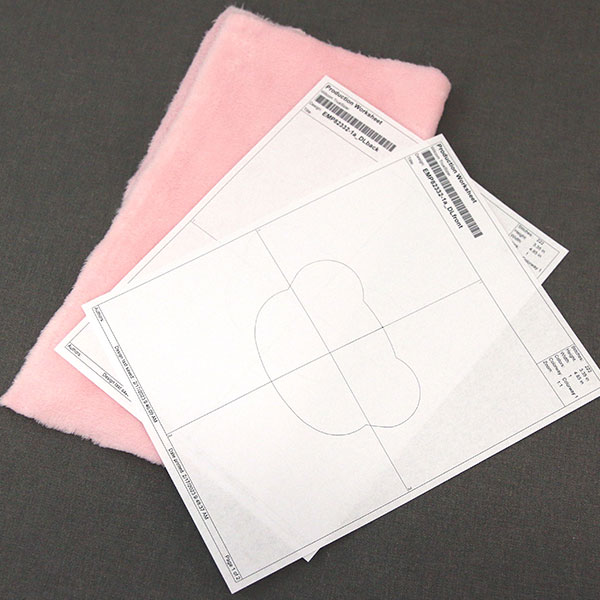
When you download the design, you will find multiple files. Some are the embroidery files, and the others are dieline files marked with the letters "DL".
Dielines are used to cut the fabric to the correct shape and size. Open and print each dieline file using an embroidery software. If you do not have an embroidery software, look at our helpful video on using dielines.
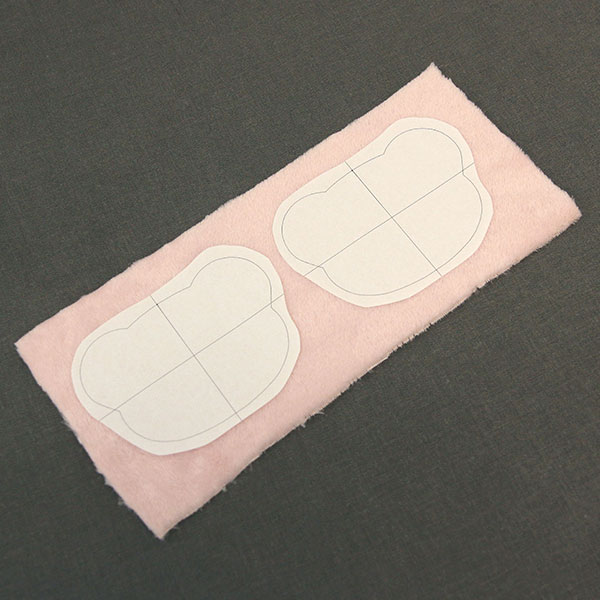
Spray the backside of the printed dieline pieces with temporary adhesive and smooth them onto the right side of the fabric.
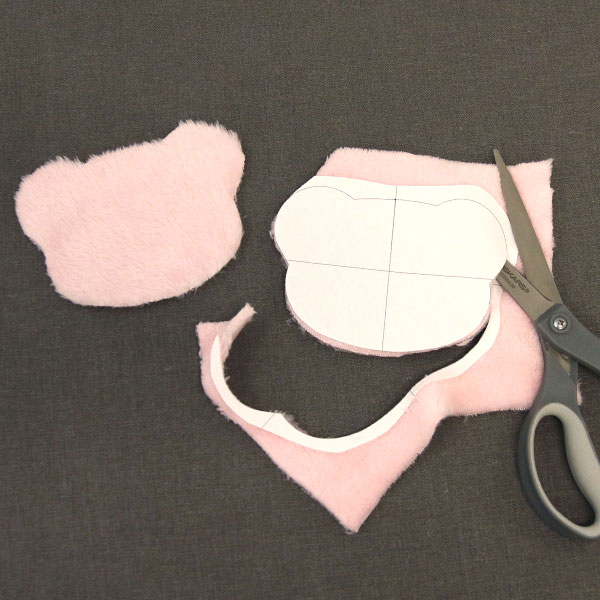
Cut the dieline shapes out of the fabric and remove the paper.

Hoop a piece of tear-away stabilizer firmly. Make sure it is nice and tight with no wrinkles.
Attach the hoop to the machine and load the embroidery file (not the dieline files).
Use a 75/11 sharp sewing needle instead of an embroidery needle. The sharp sewing needle has a finer point, and it will make smaller perforations in the stabilizer.
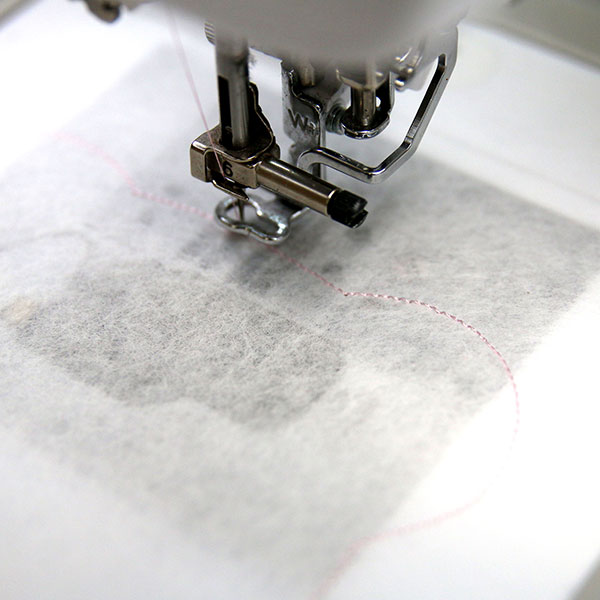
Embroider the design. The first thing to embroider will be the dieline (or outline stitch) for the front fabric piece. This marks the area on the stabilizer where the fabric piece will be placed.
After the dieline has sewn, remove the hoop from the machine, but do not unhoop the stabilizer.
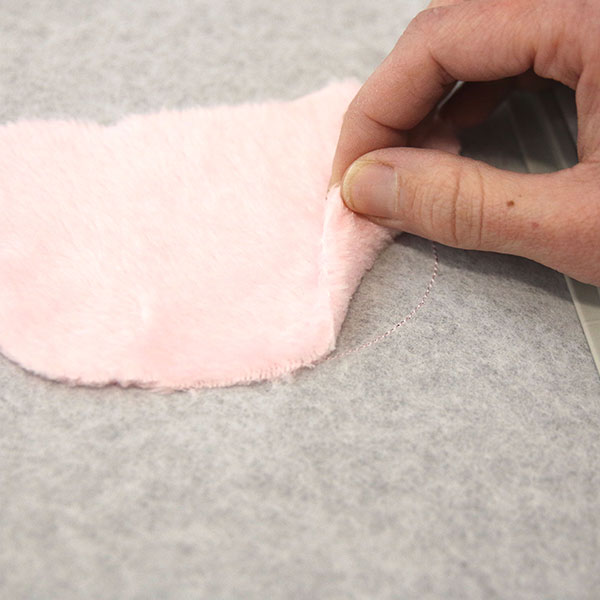
Spray the wrong side of the front fabric piece with temporary adhesive.
Smooth the front fabric piece onto the stabilizer inside of the sewn dieline.
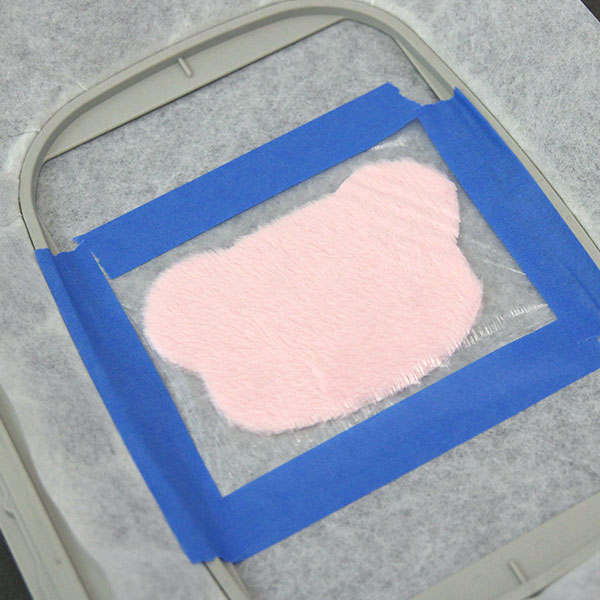
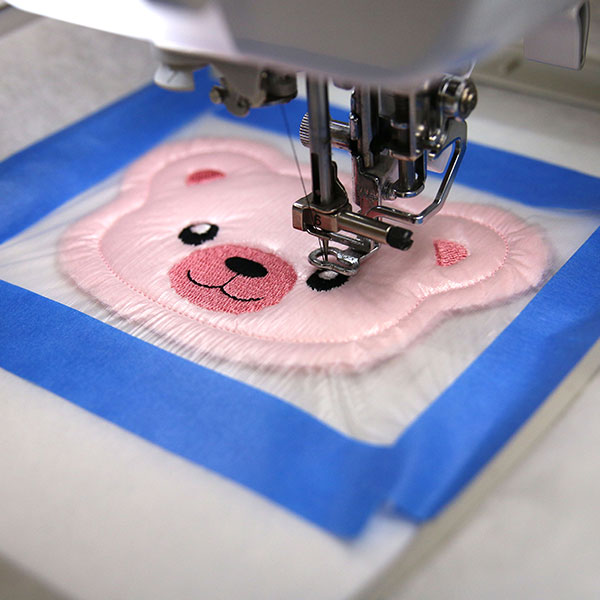
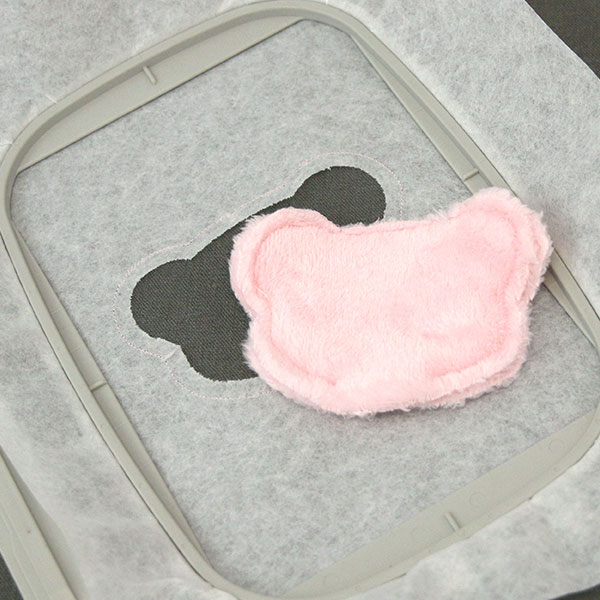
To prevent the embroidery from sinking into the fluffy fabric, cut out a piece of light weight water-soluble stabilizer that is larger than the design (we used Sulky Solvy).
Lay it over the front fabric piece and tape the edges down onto the hoop or stabilizer around the design.
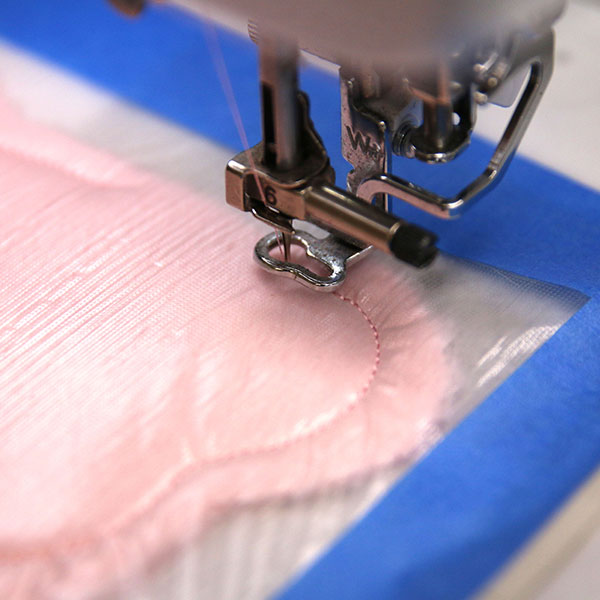
Place the hoop back onto the machine and embroider the tackdown for the front fabric piece. The tackdown will hold the fabric piece in place for the remainder of the design.
The inner details of the design will stitch next. Stop stitching before the back fabric piece tackdown step.
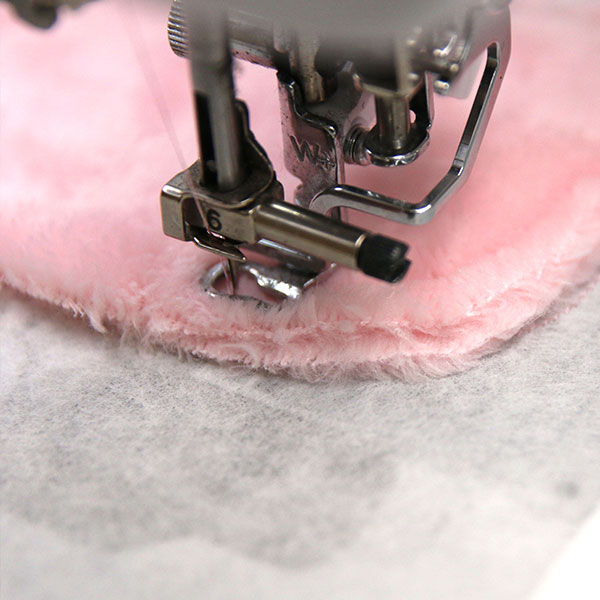
Once the inner details have sewn, remove the hoop from the machine, but do not unhoop the stabilizer. If you are using a high pile fabric with water-soluble stabilizer, remove as much as possible by tearing it away.
Next, spray the right side of the back fabric piece with temporary spray adhesive and smooth it in place so that all edges match up with the piece currently in the hoop.
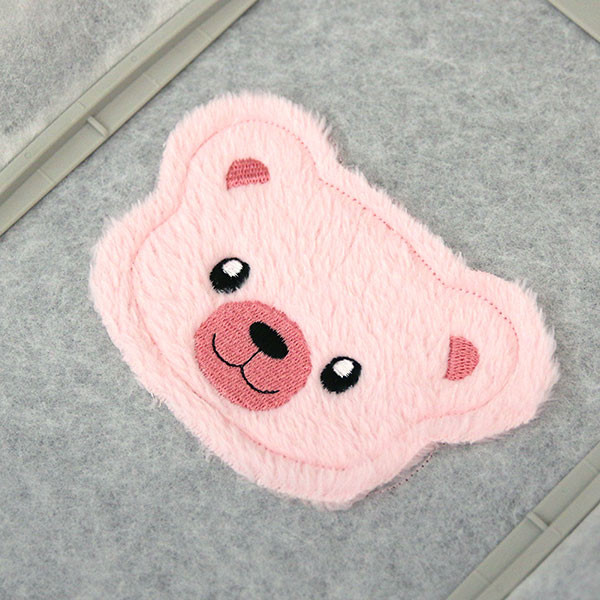
Return your hoop to the machine and embroider the back piece tackdown step. This step attaches the front and back pieces together. A small opening at the bottom of the embroidery will be left for turning and stuffing.
After you've finished embroidering, tear away the excess stabilizer from the outer edge. If desired, you can also remove the stabilizer from the center portion of the design that does not contain any stitching.
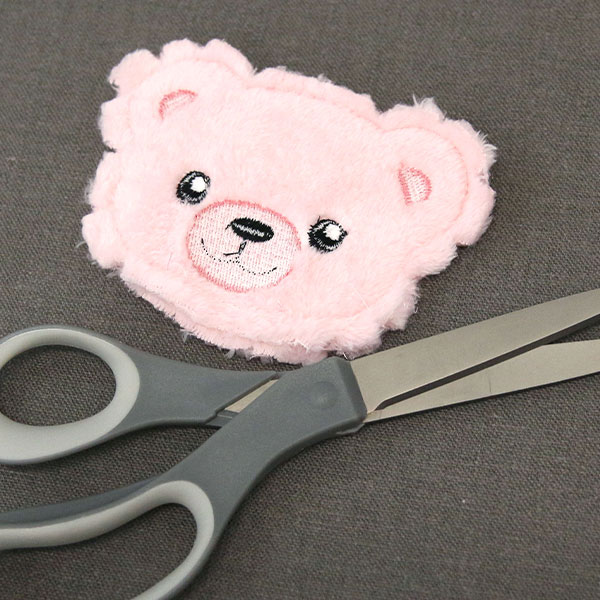
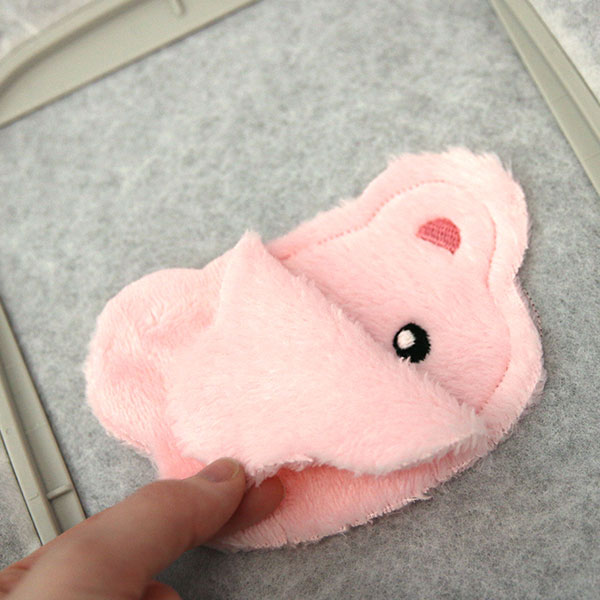
To help with turning the design and ensuring that it lays nicely, clip notches into the seam allowance around each curve, being careful not to clip the seam itself.
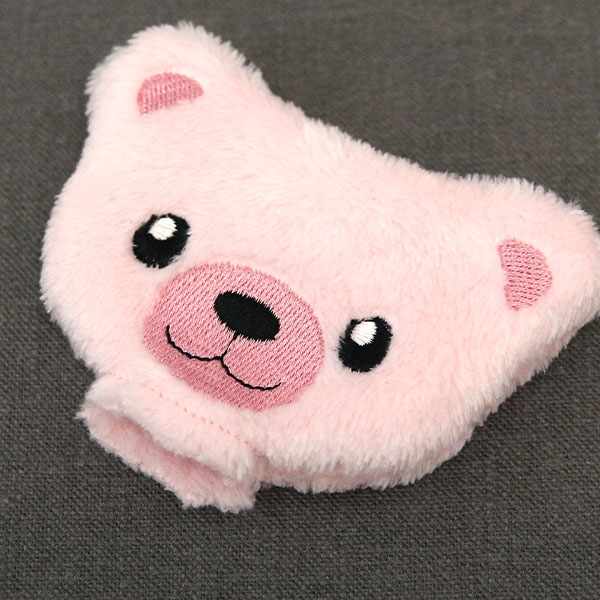
Next, turn the finished piece right-side out and set it aside for later.
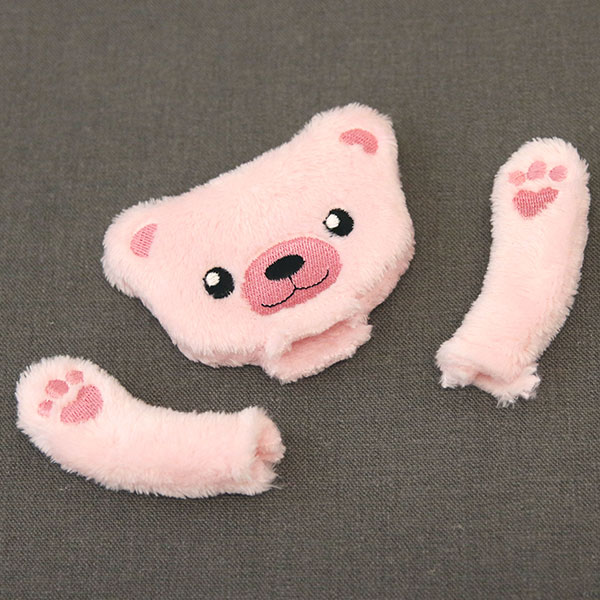
Repeat the previous steps until you have embroidered all remaining pieces. For the bear blanket buddy, there are three separate pieces that will need to be stitched in-the-hoop prior to final assembly.
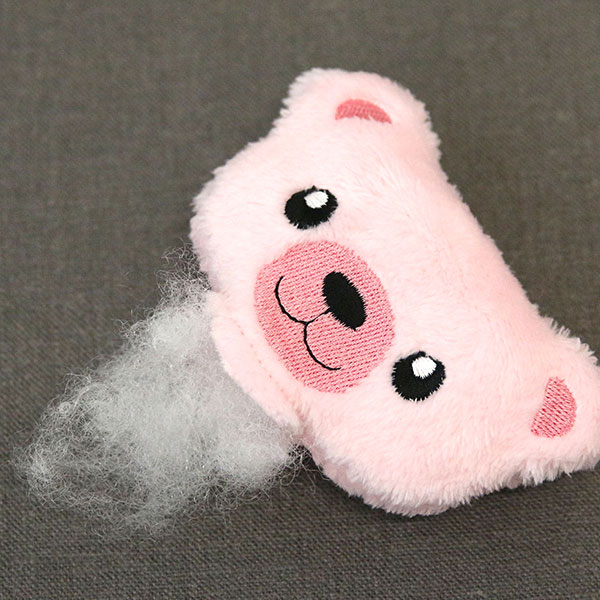
Once your pieces are finished being embroidered, lightly stuff each piece with your choice of fiber fill (we used polyester fiber fill). Be sure to not over stuff, as you will need room to sew the piece closed along the bottom of the design.
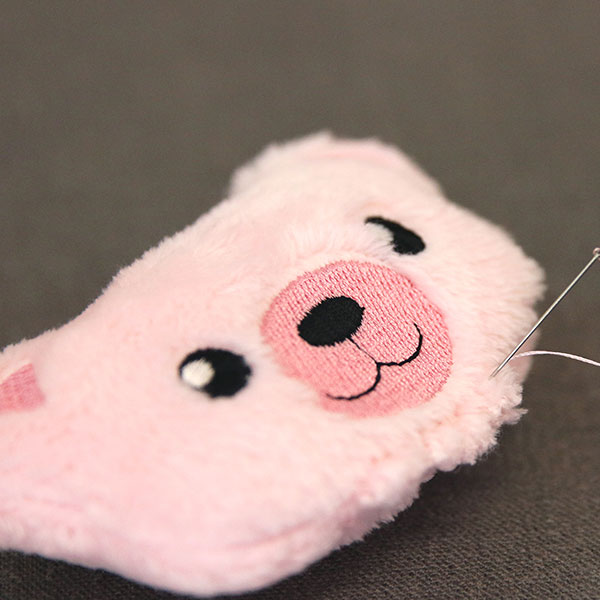
Once stuffed, use a hand sewing needle and thread matching your fabric to close up each piece.

When done, this is how your three pieces should look.
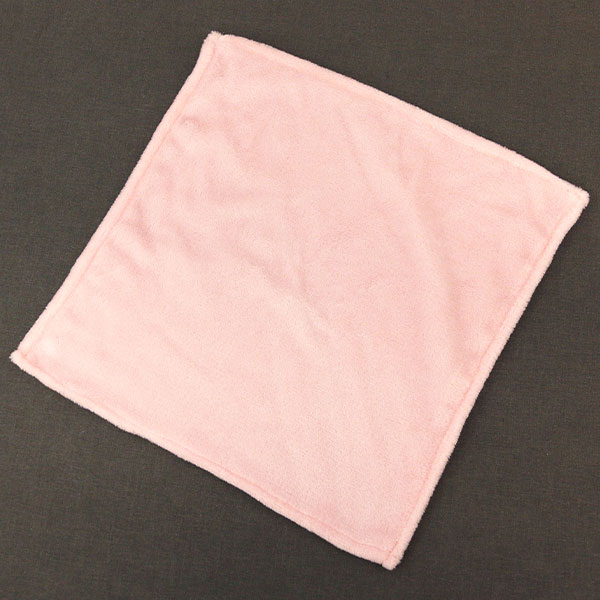
For the blanket portion of this project, you can use a store-bought blanket and attach the pieces, or you can cut and stitch your own. In this tutorial we made a blanket measuring 15" x 15" and finished it with a 1/2" seam so that the blanket fabric matched the fabric used for the embroidered pieces.

Using the blanket corners as a guide, find and mark the center of the blanket using an air erase pen, then draw a 3" line away from the center point toward two of the opposite corners. The finished line should be six inches long, divided by the center mark.
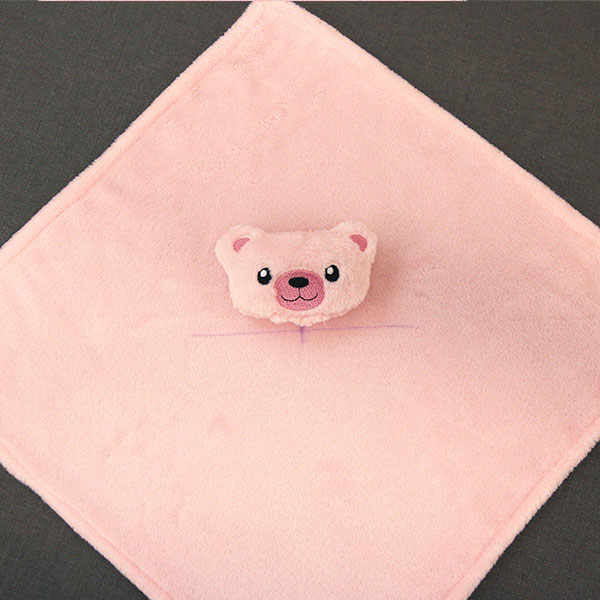
Next, place the first piece roughly at the center of the blanket. For this demonstration, we are placing the bear's head at the center.
Then, place the other pieces (the bear's two arms) on either side of the center piece. The outer edges of the side pieces will just reach the line drawn in the earlier step.
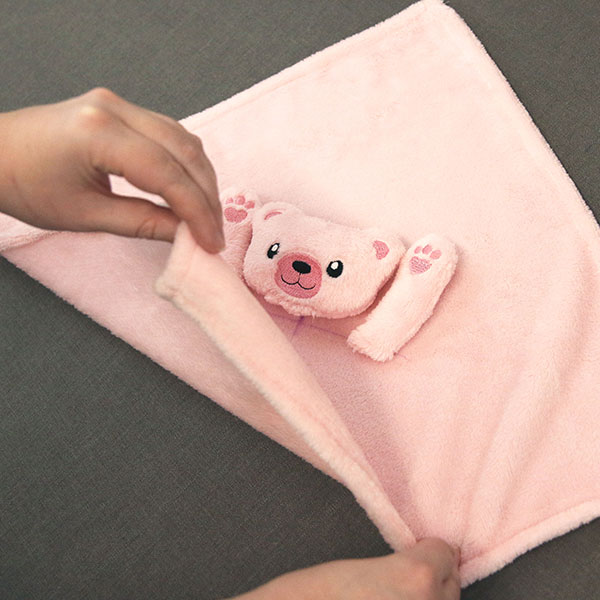
Now carefully fold up the bottom corner of the blanket to the top corner, being careful to leave the arms and head in place on the center line.
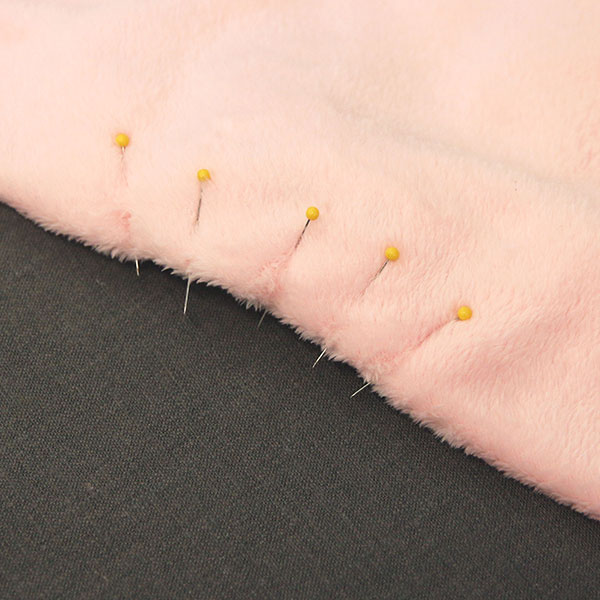
After folding, pin the blanket to the pieces to hold them in place.
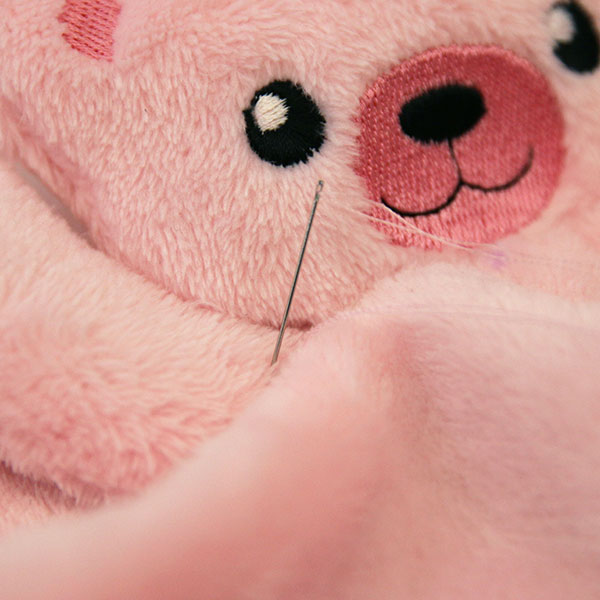
Secure the stuffed pieces to the blanket, either using a hand sewing needle and thread or, for a more secure stitch, a sewing machine. Double-check that your seams are secure.
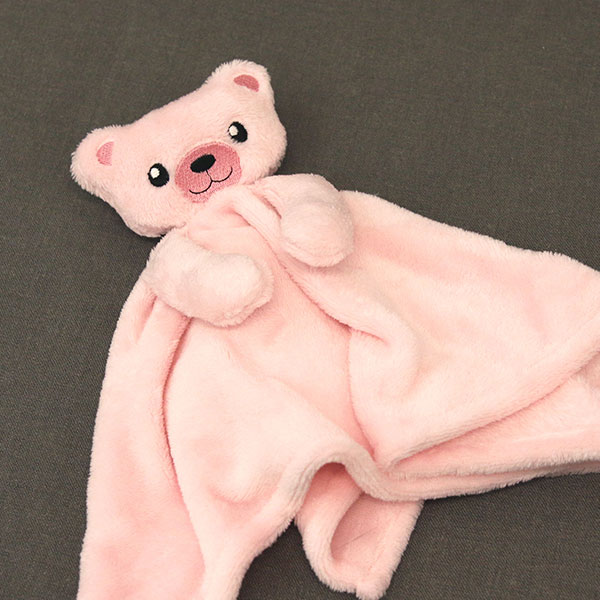
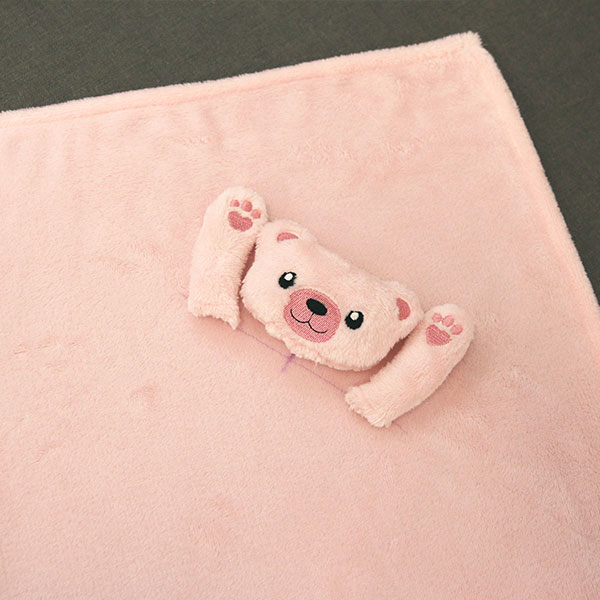
Your finished blanket buddy is now complete! At this point you can snip any loose threads and tidy things up. If giving this project to a baby, we recommend washing it first, following the manufacturer's instructions for the specific fabric that you chose.


