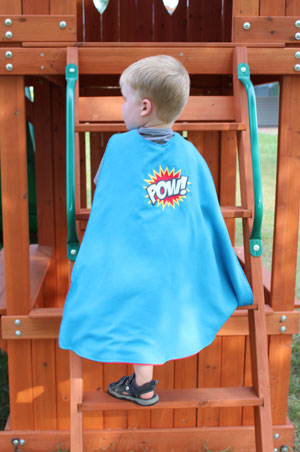
Lots of little boys and girls dream of having superhero powers. And while they probably won't ever be able to fly or become invisible (thank heavens!), they can still look like a superhero with this adorable cape.
Embroidered with a bright comic book style design, and lined with colorful satiny fabric, this cape makes a POW!-erful impression both coming and going.
Read on for instructions to cloak your favorite defender of justice with his or her own superhero cape!
Supplies
Supplies Needed:
**1 yard cotton fabric (for outer shell -- I used linen)
**1 yard fabric (for lining -- I used crepe backed satin)
**Medium weight cutaway stabilizer
**Temporary spray adhesive
**Air-erase pen
**7" diameter round object (for tracing -- I used a metal ring)
**3 1/4" diameter round object (for tracing -- I used a ribbon spool)
**3/4" wide Velcro
Special Project Notes:
Finished Size: 32" wide by 29" high
Designs Used:
I used the 5.59"x4.85" size of the Superhero Pow design. Any of the designs from the Superhero Power Design Pack would also be a great choice. Designs from the Kooky Monsters Design Pack would be cute, too!
Designs Used

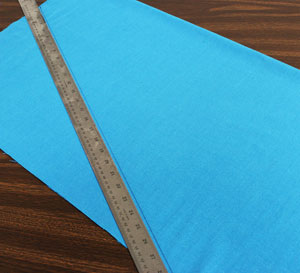
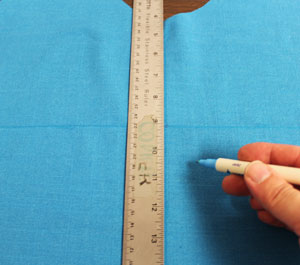
First, prepare the fabric for the outer shell. Cut a piece of the cotton fabric (I used linen) to 30" wide by 34" high. Fold the fabric widthwise (long sides aligned) and position the fabric with the fold on the right side.
Measure and mark 5" up from the bottom left corner along the left side. Measure and mark 12" in from the upper left corner along the top edge. Draw a line connecting the marks and then cut through both layers of fabric along the line.
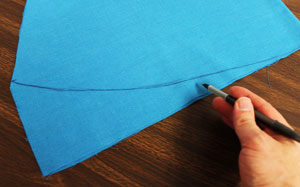
Draw a curved line from the bottom mark to the bottom right corner and cut through both layers of fabric along the line.
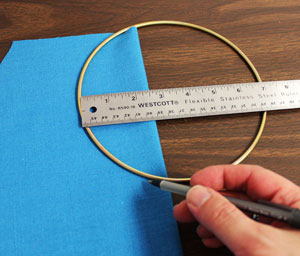
Measure and mark the fabric 6 1/2" down from the upper right corner along the right folded edge. Align the bottom of the 7" diameter round object (I used a metal ring) with the mark. Allow the object to extend onto the fabric 2 1/2". Trace the shape onto the fabric and cut through both layers of the fabric along the line.
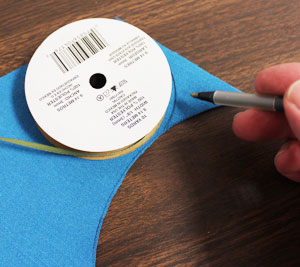
Align the 3 1/4" round object (I used a ribbon spoon) with the top edges of the fabric and trace the shape along the top edges of the object only.
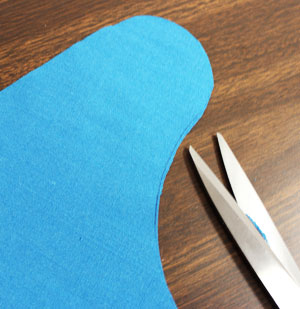
Cut along the line through both layers of the fabric as you did earlier.
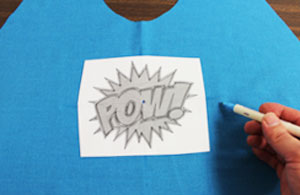
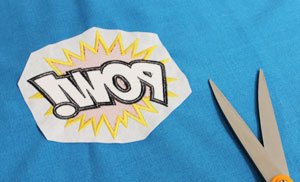
Unfold the fabric and lay it flat with the right side facing up. Create a paper template of the design by printing it at full size using embroidery software. Position the template on the fabric how you want them; I positioned the template with about 3" between the top edge of the design and the top edge of the fabric.
I also centered the template side to side by measuring equal distances between the center point of the design and the side edges of the fabric. Using an air-erase pen or other marking tool, poke a hole in the center of the template and mark the fabric. Also mark the horizontal and vertical axis points.
Remove the templates and draw lines connecting the marks.

Spray a piece of medium weight cutaway stabilizer with temporary adhesive and smooth the fabric on top. Hoop the fabric and stabilizer together by aligning the marks on the hoop with the lines on the fabric.
Attach the hoop to the machine and load the design. Move the hoop so that the needle is directly over the center point on the fabric and embroider the design.
When the design has finished, trim away the excess stabilizer on the backside of the embroidery.
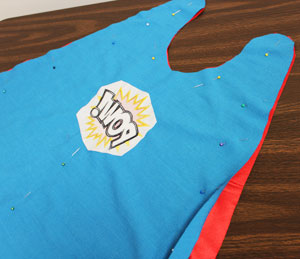
Lay the embroidered outer shell on top of the lining fabric (I used crepe backed satin), right sides together, pin in place, and cut out the shape.
Sew a 1/4" seam along the outer edges leaving about 5" open for turning. Turn the cape right side out and press the seams on the cotton side (ironing on the satin side could cause the fabric to melt).
Also, fold the fabric of the opening in 1/4" and press. Then, top stitch along the entire outer edge with a 1/8" seam.
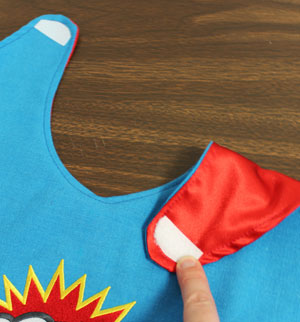
To add the closure, cut a 1 1/2" strip of Velcro. Round off the corners by trimming the Velcro along one of the long sides.
Lay the cape flat with the right side up and pin the hook side in place at the top of the left strap on the right side (outer shell side) of the cape about 1/4" from the edge with the rounded edge facing out.
Sew in place by sewing a seam around the outer edge. Add the loop side to the top edge of the right strap 1/4" from the edge on the back side (lining side) of the cape. Pin in place and sew a seam around the outer edge.
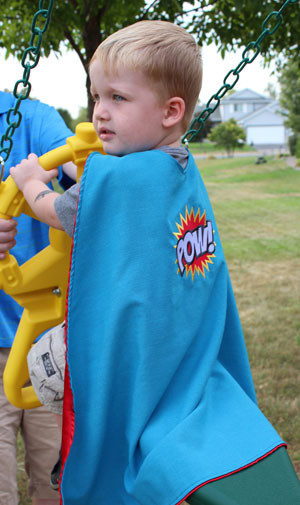
And your favorite superhero is ready for takeoff! Able to leap tall buildings in a single bound ... and look great doing it.
Boys and girls alike will enjoy pretending to fly and do battle against evil villains with this noble and striking cape.


