Add a rich and elegant look to your Christmas tree with a beautiful freestanding lace angel! Feathers, crystals, and other luxurious embellishments add a stylish and sophisticated appeal to the stunning Christmas tree decoration.
Supplies
- Heat-set crystals
- Feathers or beads for embellishing
Tools
- Heavy-weight water-soluble stabilizer (either Sulky Ultra Solvy or Vilene)
- Fabric glue
- Spray starch
- Heat tool
Designs Used
Finished size:
Large: 5.5" x 7.25"
Small: 3.75" x 4.75"
The lace angel designs consist of five pieces:
2 wings
1 head / torso
2 sides of the skirt
The instructions below show how to embroider the pieces and assemble into a tree topper.
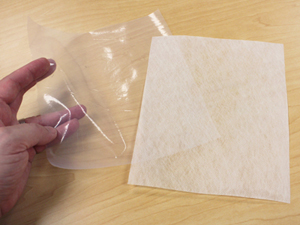
There are a couple of different kinds of water-soluble stabilizer. One is clear and plastic, and that brand is Sulky Ultra Solvy. The other is soft and fibrous, called Vilene.
Both will work very well. Sulky Ultra Solvy is used in this demonstration.

Use a size 11 or 75/11 sharp sewing needle. A sharp sewing needle has a smaller, finer point than an embroidery needle. That means it will make smaller holes in the stabilizer.

Freestanding lace is seen from both sides, so wind a bobbin with the same thread that you're using in the needle.
Wind a bobbin for both colors that you'll use when stitching the lace design.
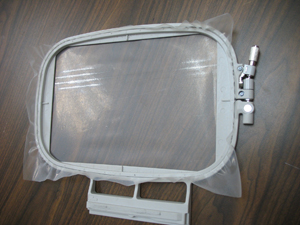
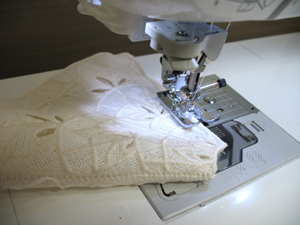
Hoop the water-soluble stabilizer firmly.
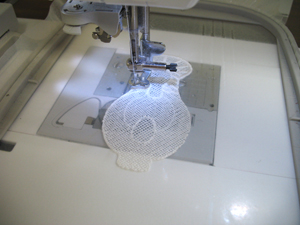
Embroider each piece, using a size 11 or 75/11 sharp sewing needle.
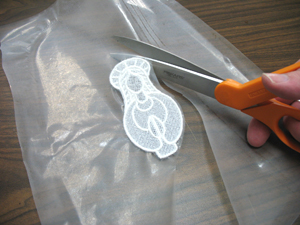
After embroidering each piece, cut the excess water-soluble stabilizer away.
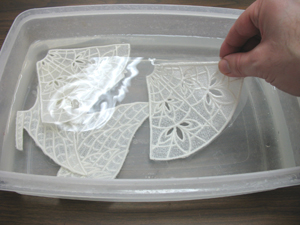
Soak the designs to remove the excess stabilizer according to packaging instructions.
If using Sulky Ultra Solvy, soak in water hot from the tap for 15 minutes.
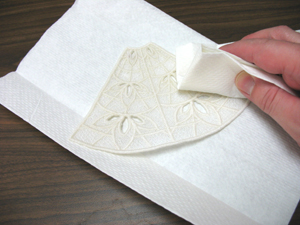
Blot the lace with paper towels. Then, allow the lace to dry completely.
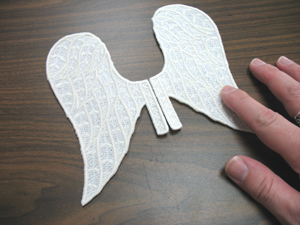
After the pieces are dry, lay the wings right side up. Align the inner tabs together as shown.
The inner edges of the tabs should line up against each other, but not overlap.
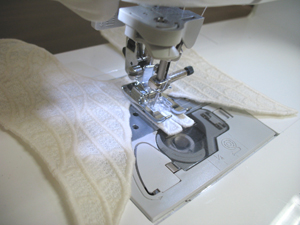
Zigzag stitch the wings together by sewing along the inner sides of the tabs.
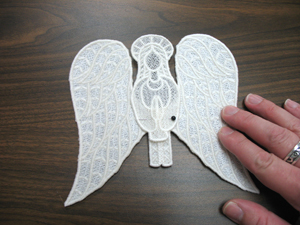
Lay the head and torso section on top of the tabs of the wings.
Align the top of the halo with the top of the wings. Align the bottom tab of the body with the tabs of the wings.
Pin in place.
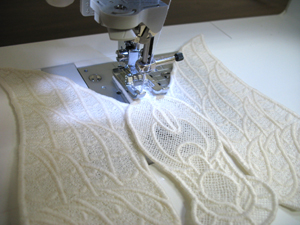
Zigzag stitch the body in place by sewing from the center bottom of the tab up to the bottom of the hands.
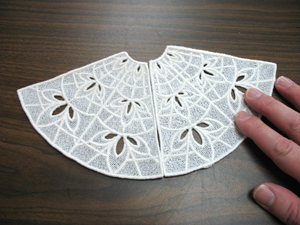
Lay the skirts sections right side up. Align the straight edges together as shown.
Zigzag stitch the pieces together.
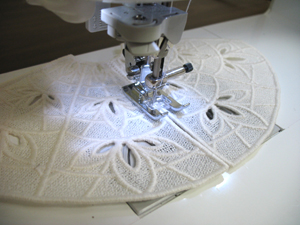
Fold the pieces together, right sides facing, and align the remaining straight edges.
Zigzag stitch along the straight edges.
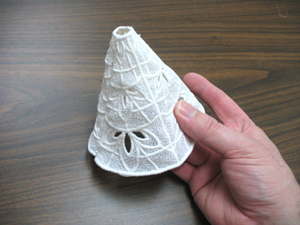
Turn the dress right side out.
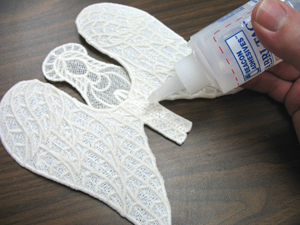
Lay the assembled wing/body section with the wrong side up and add fabric glue along the tabs.
Insert the wing/body section inside the opening at the top of the dress.
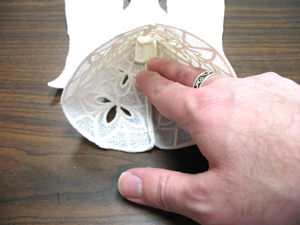
Lay the angel on its side and press the tab in place inside the dress until the glue holds.
Allow the glue to dry.
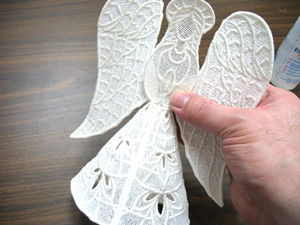
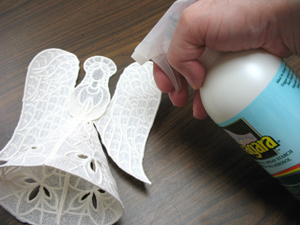
To give the angel more support, spray the lace with heavy starch. Be sure to completely saturate the lace.
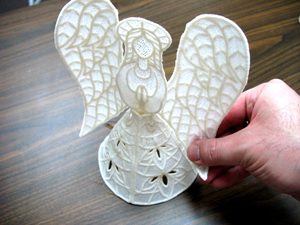
While the lace is still wet, mold it with your hands. In this example, the wings are molded to have a slight curve.
Allow the lace to dry completely
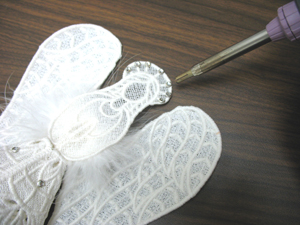
Add embellishments like feathers and heat set crystals to give the angel extra sparkle and shine.
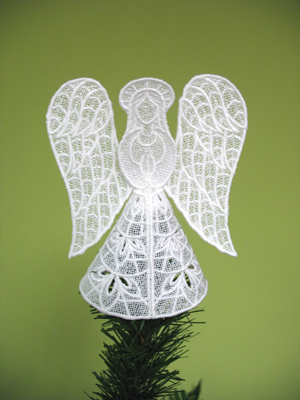
Not only is this gorgeous lace angel a fabulous way to top your tree, but it's also terrific on tabletops, mantels, or as a centerpiece, too.


