Treat yourself to 70% off Storewide! Click the deals tab for details.
 Treat yourself to 70% off Storewide! Click the deals tab for details.
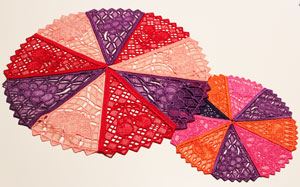
Brighten your table with a lace fruit doily! Colorful lace fruit wedges add a lively look to kitchen and dining room tables, and coffee tables, too!
Under a vase, holding the napkins and salt and pepper, or just decorating the center of a table, a lace fruit doily adds a lovely look to your decor.
Read on for project instructions for creating a fresh lace fruit doily for your home!
Supplies
Supplies Needed:
**Water soluble stabilizer (WSS -- I prefer Sulky Ultra Solvy)
**Paper towels
**Fabric glue
Designs Used:
I used designs from the large and small sizes of the Fruit Wedge & Coaster Design Pack.
Special Project Notes:
You can use either 40 weight rayon thread or 30 � 35 weight cotton thread.
I use Coats and Clark 30 and 35 weight cotton thread. It's labeled as Mercerized ELS Cotton for Machine Quilting & Crafts; Machine Quilting; or All Purpose. I find Coats and Clark cotton thread at JoAnn's. I've also used Madeira Cotona, which is a 30 weight cotton thread.
I use the 30 - 35 weight cotton thread both in the bobbin (I wind my own bobbins) and in the top (needle).
A note about water-soluble stabilizers and needles:
There are many, many different brands of water-soluble stabilizer available. Some are thin and light, some are fibrous, and some are thick and heavy. It can be confusing to pick the right one for your lace project.
We've digitized and stitched thousands of freestanding lace designs, and have consistently excellent results with Sulky Ultra Solvy (the heavy weight water-soluble stabilizer by Sulky) and Vilene, a fibrous water-soluble stabilizer. We order Vilene from www.pointetopointe.com.
Use a sharp needle (as opposed to an embroidery needle) when embroidering onto water-soluble stabilizer - especially if using the "plastic-looking" kind (such as Sulky Ultra Solvy). An embroidery needle has a larger point, which makes larger holes in the water-soluble stabilizer, leading to tearing and misalignment.
Finished Size:
5x7 sizes -- 13 1/2" in diameter
4x4 sizes -- 7 3/4" in diameter
Designs Used
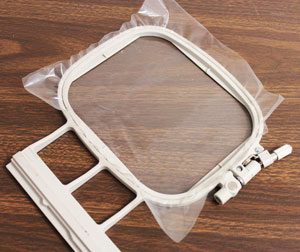
I embroidered the lace wedges by first hooping a piece of heavy weight water soluble stabilizer (I prefer Sulky Ultra Solvy). Click here to see how to embroider the lace.
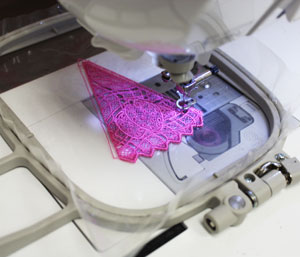
Embroider a total of nine wedges.
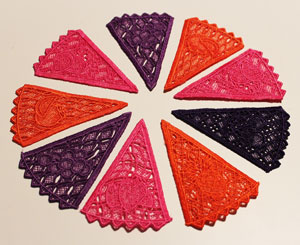
After the lace has been soaked and dried, arrange the lace how you want it.
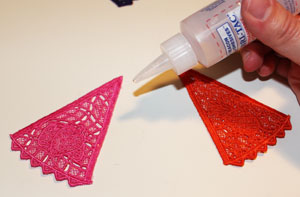
Next, add fabric glue along the right side of the first wedge.
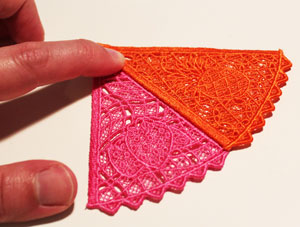
Overlap the left side of the second wedge over the right side of the first wedge (the width of the side border) and press in place.
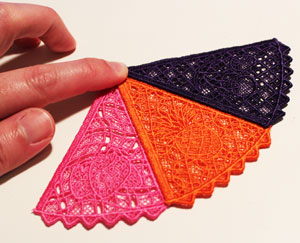
Add glue along the right side of the second wedge, overlap the left side of the third wedge over the second wedge, and press in place.
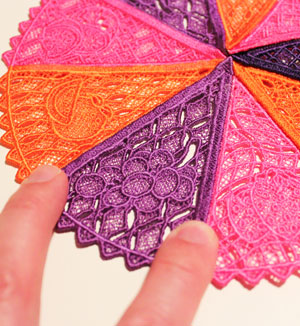
Repeat this process for the next five wedges. To add the ninth and final wedge, add glue to the open sides of the end wedges, overlap the last wedge on top of them, and press in place.
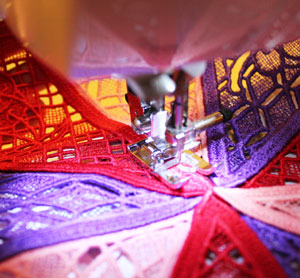
You can also sew the wedges together. Follow the same sequence and overlapping as instructed above, but instead of gluing the pieces together, zigzag stitch the pieces along the side edges.
You can also sew the wedges together. Follow the same sequence and overlapping as instructed above, but instead of gluing the pieces together, zigzag stitch the pieces along the side edges.


