
Mini-quilts are a fast -- and fabulous -- way to create home decor for holidays and seasons!
Two examples are these adorable Christmas-themed mini-quilts in the Stitchers Showcase -- one by stitcher Charlotte, and one by stitcher Alice. They're small in size, but have huge appeal.
Try your hand at a mini-quilt, for spring, Easter, St. Patrick's Day, summer...or for any season or special occasion you like. You'll love them!
Supplies
Supplies Needed:
**Small pieces of quilter's cotton (I used five different fat quarters -- some solid-colored and some prints)
**Cotton batting
**Medium weight cutaway stabilizer
**Temporary spray adhesive
**Air-erase pen
**Large piece of paper or tag board
**Nylon monofilament thread
**Needle and thread for some hand sewing
Special Project Notes:
Quilt Stand:
I am displaying my mini-quilt on a table-top stand. I found mine at www.connectingthreads.com. Small quilt stands can also be found at quilt stores.
Designs Used:
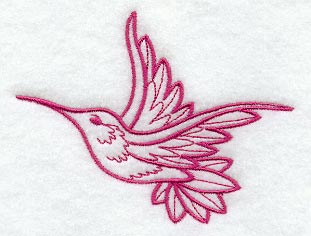
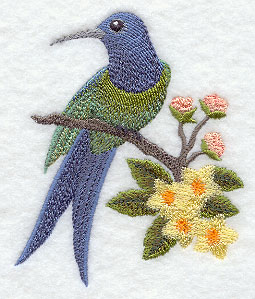
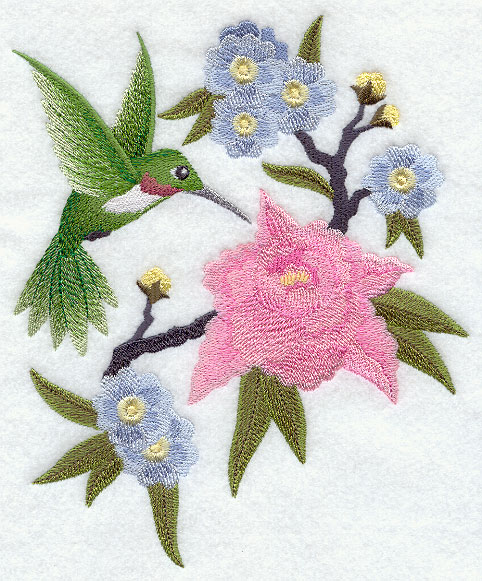
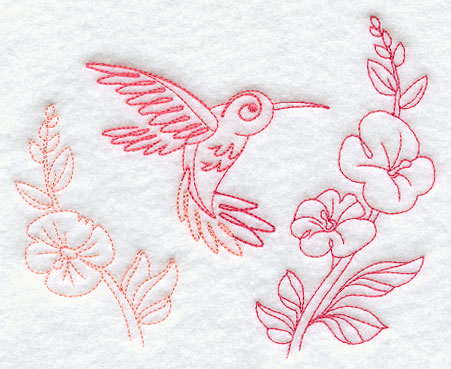
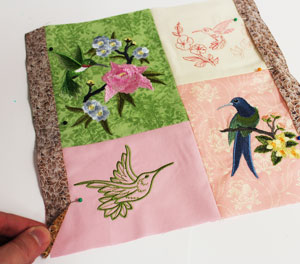
I used designs from the small sizes of the Chinoiserie Ruby-throated Hummingbird and the Hummingbird Whimsy, the large size of the Hummingbird Hurrah, and the Chinoiserie Swallow-tailed Hummingbird - Bird & Flowers. Designs from the Beauty in Bloom II Design Pack, Feather Your Nest Design Pack, and Perfect Blend Design Pack would also look beautiful on mini-quilts.
Project Tip:
Machine wash and dry your fabric to preshrink it before starting. For more information on embroidering on quilter's cotton, see this Fabrics 101 article.
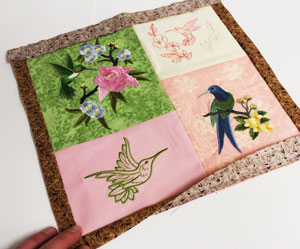
Finished Size:
12" wide by 12" high
Designs Used
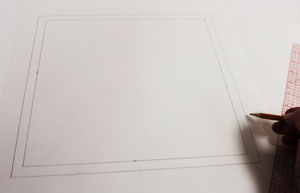
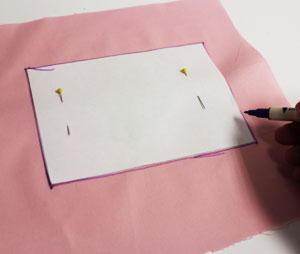
First, decide the size of your quilt. I am sizing mine to fit a quilt stand that I will use to display the quilt (12" wide by 12" high). Draw the shape using your dimensions onto a large piece of paper. Then, measure 1/2" inside the shape around all sides and draw lines connecting the marks. This represents the border of the quilt.
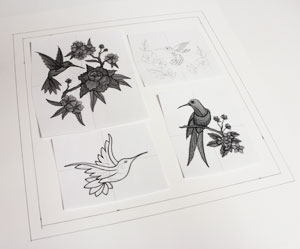
Create paper templates of the designs. See these handy instructions for more information about making and using templates.
Arrange them within the shape how you want them with the outer edges of the designs at least 1/2" from the inner edges of the border and at least one inch from each other. Also, position the templates so that at least one vertical line can be drawn from the top of the shape all the way to the bottom. This creates two distinct vertical columns that will make piecing easier later on.
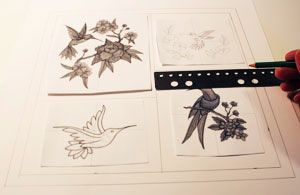
Next, using a straight edge, draw a vertical line in between the designs starting at the top and ending at the bottom (start and end at the inner edges of the border). Draw horizontal lines in between the remaining designs starting at the vertical line and ending at the outer side edges of the shape (at the inner edge of the border).
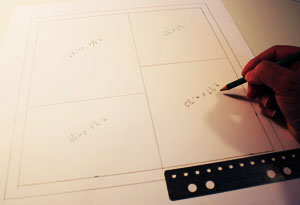
Remove the templates. Measure and width and height of each individual shape within the large shape. Add 1/2" to each of the dimensions for seam allowance (1/4" seams will be used throughout) and record the sizes on the paper. The measurements will be used later on for cutting out the pieces. Do not measure the borders just yet; they will be measured later on.
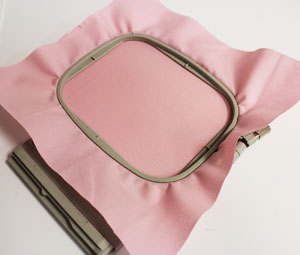
To prepare the fabric for the inner pieces, cut a piece of fabric a bit larger than the dimensions you just calculated. Spray a piece of medium weight stabilizer with temporary adhesive and smooth the fabric on top. I am not pre-marking the fabric for this project like it might normally do.
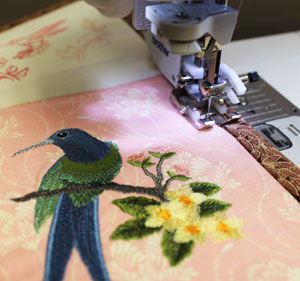
When embroidering quilt pieces, it is sometimes better to embroider the design first, and then cut out the pieces. This is because the fabric can push and pull (just slightly) during the embroidery process. So, to cut the quilt piece after embroidering insures that the size and shape of the piece will not be distorted. Hoop the fabric and stabilizer together and attach the hoop to the machine. Load the design and embroider the design in the center of the fabric. Repeat the hooping and embroidering process for each piece.
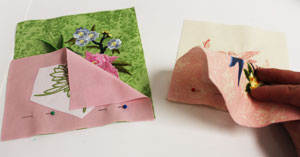
When the design has finished, carefully trim away the excess stabilizer on the backside of the embroidery. Draw the piece shape on a piece of paper using your dimensions and cut out the shape. Lay the embroidered fabric piece flat with the right side facing up.
Then, place the paper shape over the embroidered fabric and center the design within it (I used thin paper so I can see the design through it). Pin the paper in place and using an air-erase pen or other marking tool trace the shape. Cut out the shape.
After all the pieces have been cut, align the pieces together, right sides together, with the top row pieces aligned with the bottom row pieces (bottom edges of the top row aligned with the top edges of the bottom row). Pin in place and sew a 1/4" seam along the bottom edge only. Press the back seams open with an iron.
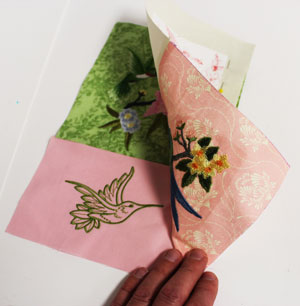
Align the two columns together, right sides together, with the right edge of the left column aligned with the left edge of the right column. Pin in place along the inner edges and sew a 1/4" seam along the pinned edge only. Press the seam.
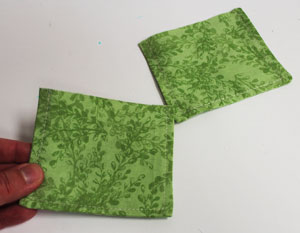
Next, to prepare the side border fabric, measure one of the side edges (this will be the height measurement). Cut two pieces of fabric to 1" wide by the height measurement (my height measurement is 11 1/4", so I cut two pieces of fabric to 1" wide by 11 1/4" high).
Align the fabric pieces with the side edges of the assembled pieces, right sides together, pin in place, and sew a 1/4" seam along the outer edges only. Press the seams.
To prepare the top and bottom borders, measure the top or bottom edge of the assembled inner and side borders pieces (this will be the width measurement). Cut two pieces of fabric to the width measurement by 1" high (my width measurement is 12 1/2", so I cut two pieces of fabric to 12 1/2" wide by 1" high).
Align the fabric pieces with the top and bottom edges of the assembled inner/side border piece, right sides together, pin in place, and sew a 1/4" seam along the outer edges only. Press the seams.

To prepare the back tabs, cut four pieces of fabric to 5" wide by 4" high. Pair up the pieces and align them together, right sides together. Pin in place and sew a 1/4" seam along each short edge and the bottom edge. Leave the top edge open for turning.
Turn the fabric right side out, press the seams and top stitch a 1/4" seam along the side and bottom edges.

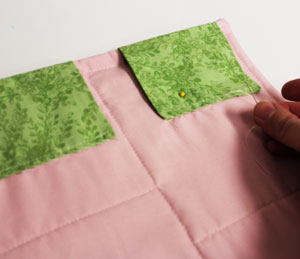
To prepare the back fabric, lay the assembled front panel on top of the fabric, pin in place, and cut out the fabric. Remove the front panel and lay the back fabric flat with the right side facing up. Place the fabric tabs along the top edge of the fabric with the raw edge facing up and extending out past the edge of the fabric about 1/8". Also, position the tabs about one inch in from each top corner. Pin in place and tack the tabs in place by sewing a 1/4" seam along the top edge of each tab.
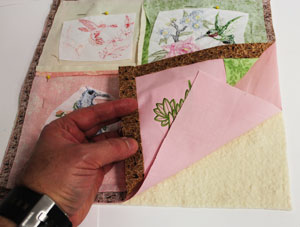
Next, lay the front panel on top of the batting and cut out the shape. Lay the batting flat with the back panel aligned on top with the right side facing up and the tabs at the top. Align the front piece on top of the back piece, right sides together. Pin in place and sew a 1/4" seam along the outer edges of the shape leaving about 4" open along the bottom edge.
Turn the fabric right side out in between the front and back layers (the batting will then be in between the two fabric layers). Press the seams. Turn the fabric of the opening in 1/4" and press. Hand sew the opening closed using needle and thread.
Flip the tabs up and lay them flat. Quilt through all the layers as desired. I quilted along all the existing seams using nylon monofilament thread in the needle and matching thread in the bobbin (I matched the color of the back fabric for the bobbin thread).
Flip the tabs over to the back and lay them flat. Pin them in place and hand sew the open ends in place through the back fabric layer only.
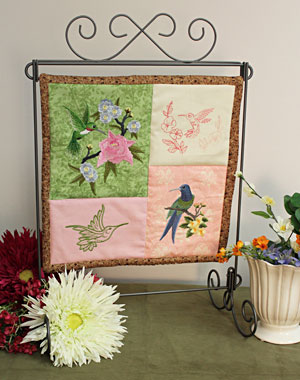
Hang your quilt and your magnificent mini-quilt is done!


