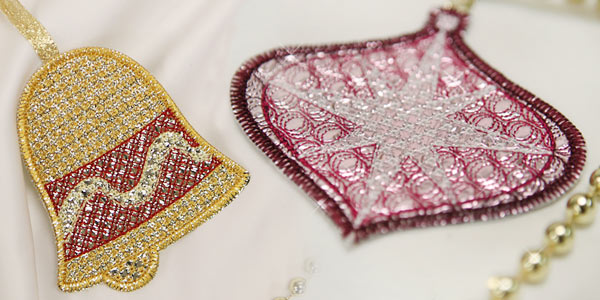
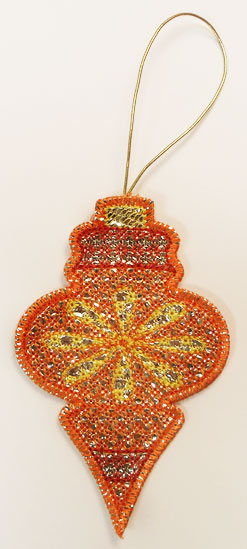
Add sparkle and shine to your holiday decorating scheme with exquisite in-the-hoop Mylar ornaments. The unique shimmer of Mylar foil is sure to cast a refined glow during the Christmas season. Use to trim your tree, or stitch as adornments for wrapped gifts.
Supplies
- Small pieces of Mylar, also called foil gift wrap (find it at Michael's, Joann's, or party supply stores)
- Medium-weight (2.5 ounce) cutaway stabilizer
- Tear-away stabilizer
- 1/8" wide ribbon or thin decorative cord
- Temporary spray adhesive (like Gunold KK100)
- Masking tape
Designs Used
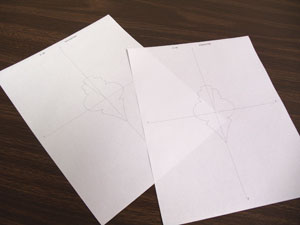
When you download the in-the-hoop mylar ornament design, you will find multiple files. Some are the embroidery files, and the others are dieline files marked with the letters "DL". Dielines are used to cut the fabric to the correct shape and size. Open and print each dieline file using an embroidery software. If you do not have an embroidery software, take a look at our helpful video on using dielines.
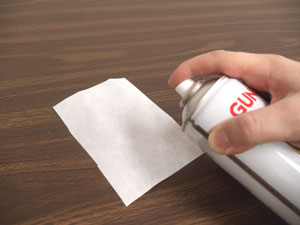
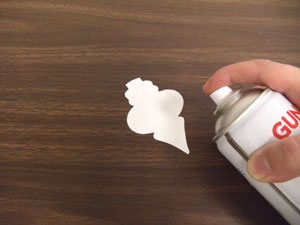
Spray a piece of cutaway stabilizer with temporary adhesive.
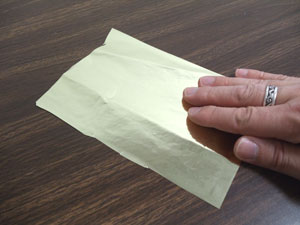
Lay the Mylar, right side up, on the stabilizer. Smooth in place.
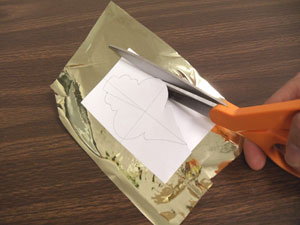
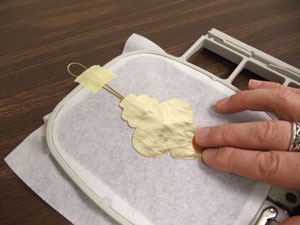
Spray the printed dieline for the front with a small amount of temporary spray adhesive. Smooth that on top of the Mylar. Cut out the shape. Repeat this for the back dieline, too.
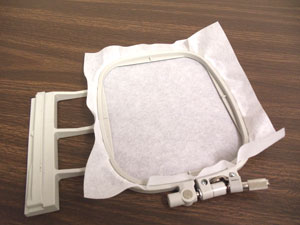
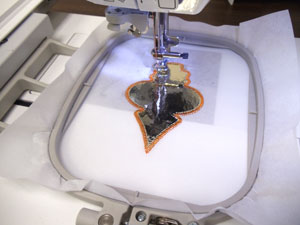
After the Mylar and stabilizer is cut to the right shape and size, it's time to embroider the design. Hoop a piece of tear-away stabilizer.
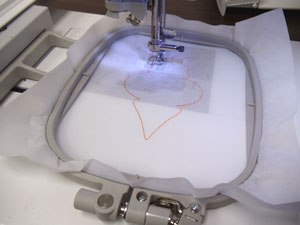
Attach the hoop to the machine, load the full embroidery file (not the DL files). Embroider the design. The first thing to stitch will be an outline for placing the front Mylar piece.
Spray the backside of the front Mylar and stabilizer piece with temporary spray adhesive.

Place it inside the stitched outline.
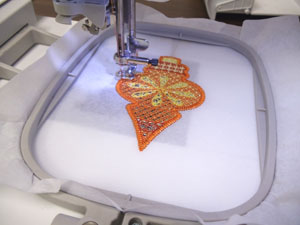
Continue embroidering the design. A zigzag tack down will sew next. These stitches will hold the front piece in place. All of the inside elements will sew next.

Follow along on the color change sheet, which shows the stitching order. When you get to the step that says "back piece tackdown," stop the machine and remove the hoop. Do not remove the stabilizer from the hoop.
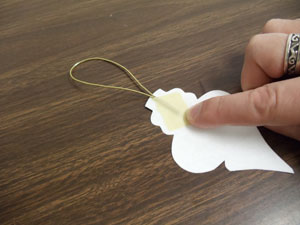
Cut a 7" length of the ribbon or decorative cord. Tape the ends of the loop to the wrong side of the back piece with the ends extending about 1" in from the top edge of the back piece.
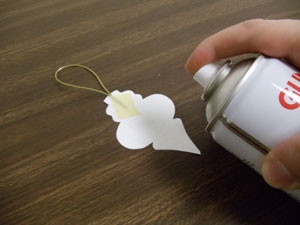
Spray the wrong side of the back Mylar and stabilizer piece with temporary adhesive.
Place that on the back of the stabilizer, right inside the shape. To prevent the ribbon or cord loop from shifting around while embroidering, tape it to the edge of the hoop as shown.
Because the remaining step is seen from both sides, wind a bobbin with the same thread that you're using in the top. Attach the hoop to the machine and continue embroidering the design. A tack down stitch will sew, binding the pieces together.
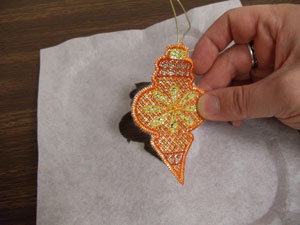
After embroidering, unhoop the stabilizer and gently tear it away from the ornament.
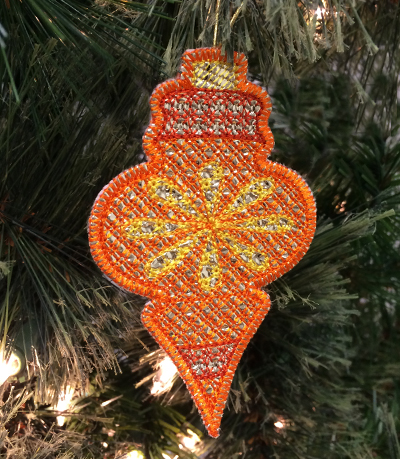
Let these ornaments shine on your Christmas tree this holiday season! Experiment with various colors of thread and Mylar to customize the ornaments with your decorating style.


