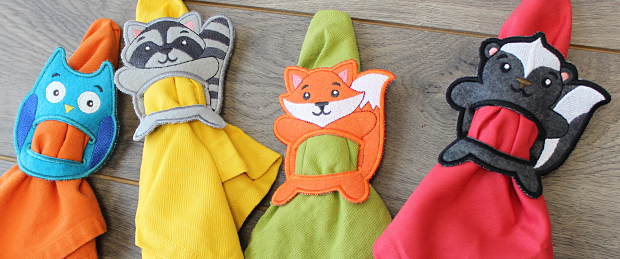
Skip the napkin rings: Add fun and colorful flair to your dining table decor with charming in-the-hoop napkin holders. Follow our instructions to learn the best way to embroider these napkin holders right in the hoop for optional results.
Supplies
Project Needs & Notes
- Felt
- Medium-weight (2.5 ounce) cutaway stabilizer
- Tear-away stabilizer
- Temporary spray adhesive (like Gunold KK100)
- Craft knife and cutting pad
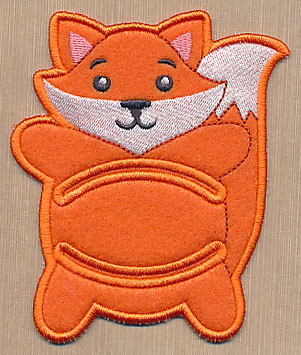
Designs used in this tutorial include the large size of the Woodland Fox Napkin Holder (In-the-Hoop) design. Find even more in-the-hoop napkin holder designs here.
Sizing Notes:
The large size of the in-the-hoop napkin holders is perfect for a standard size cloth napkin -- about 18" x 18". Choose a smaller napkin for the small size holders -- about 10" x 10" (cloth cocktail napkins). Paper napkins also fit both sizes nicely and make a great choice.
This project was featured in the following:
12 Top-Trending Embroidery Styles Lookbook
Designs Used
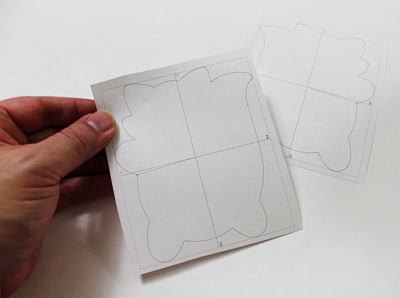
In-the-hoop napkin holders have dieline files. These files are used to cut the fabric pieces to the right shape and size.
Download the napkin holder design and unzip it. Extract the files and look for those marked with the letters "DL."
Open the dieline files with your embroidery software and print them. If you do not have embroidery software, Wilcom's TrueSizer is a free program.

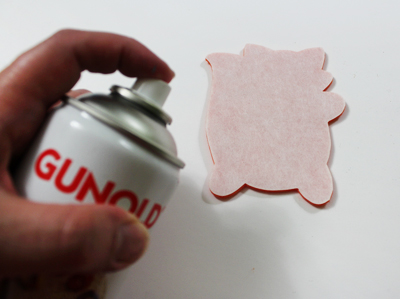
To cut the front fabric piece, spray a piece of medium-weight stabilizer with temporary adhesive.
Smooth the felt on top of the stabilizer.
Spray the back of the front piece dieline printout with temporary adhesive, and smooth that on top of the felt.
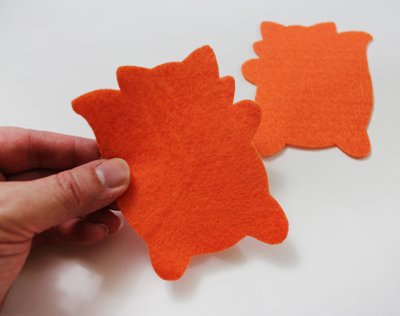
Cut out the shape.
Repeat this with the back dieline file to cut a piece of fabric for the back, too.
Now that the fabric pieces are cut to the proper shape and size, it's time to embroider the design.
Hoop a piece of tear-away stabilizer.
Madeira E-Zee Tear 1.5 oz. or Floriani Tearaway Medium are good choices. Those brands are more fibrous, less paper-like, and will tear more cleanly.
Use a size 11 or 75/11 sharp sewing needle, rather than an embroidery needle. A sharp sewing needle has a smaller, finer point than an embroidery needle, so that will make smaller perforations in the stabilizer.
Load the full embroidery file (not a dieline file) to your embroidery machine.
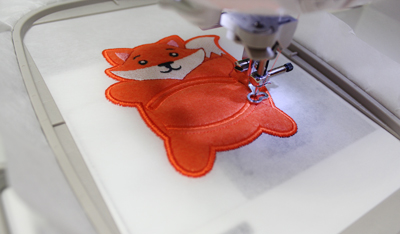
Attach the hoop, and begin embroidering the design.
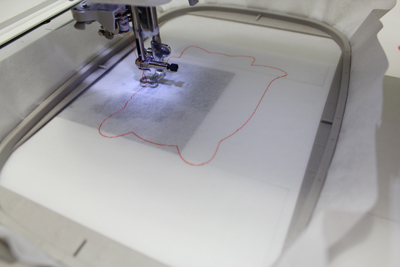
The first thing to stitch is a dieline, or outline, that traces the shape for the front fabric piece.
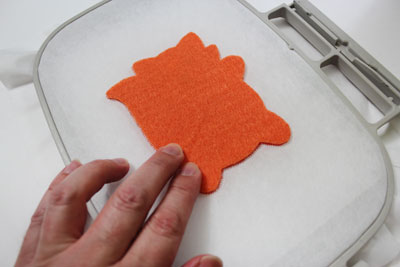
After the dieline has stitched, remove the hoop from the machine, but do not unhoop the stabilizer.
Spray the backside of the front fabric piece with temporary adhesive.
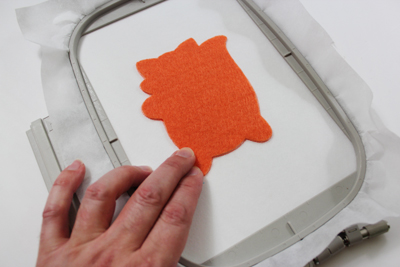
Place the fabric piece right inside the sewn outline.
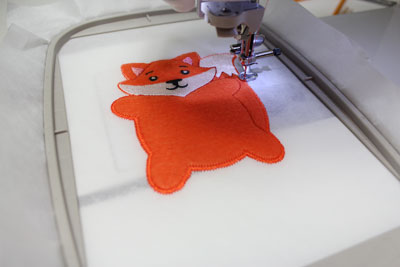
Attach the hoop back onto the machine and continue with the design.
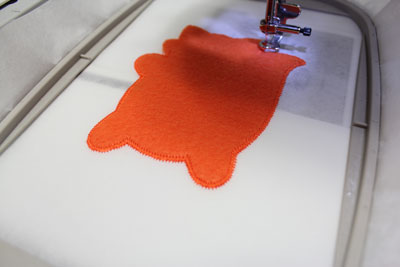
A tackdown stitch, also called a zigzag stitch, will sew next. This will bind the fabric to the stabilizer.
Other elements of the design will sew.
Watch for a note on the color change sheet that says "back piece tackdown." When you reach this step, remove the hoop from the machine and turn it over to the backside.
Spray the backside of the back fabric piece with temporary adhesive. Place it right inside the shape on the backside of the embroidery.
Attach the hoop back onto the machine and continue embroidering the design.
Another tackdown will stitch. This binds the back piece to the front piece.
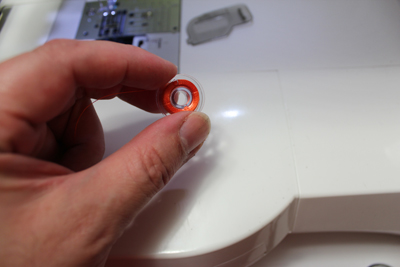
The remaining steps will be seen from both sides. Wind a bobbin with the same thread used in the top.
Continue embroidering the design.
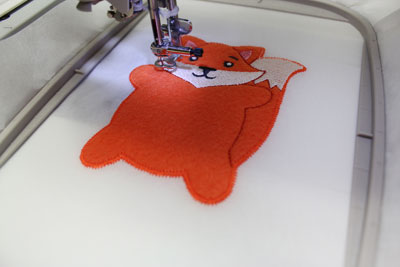
Satin stitch borders add a smooth and sleek finish to the outside, as well as the area to insert the napkin.
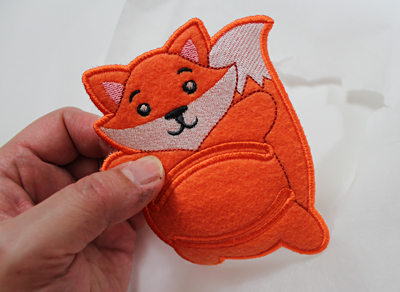
After the design has finished, gently tear away the stabilizer.
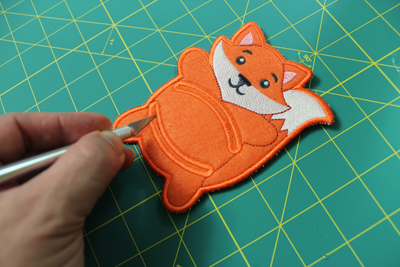
Use a craft knife to cut through the layers between the napkin slots.
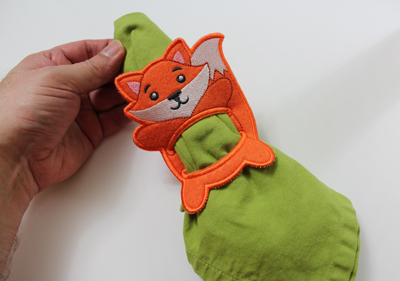
Insert a napkin through the slots (starting at the backside through the bottom hole).
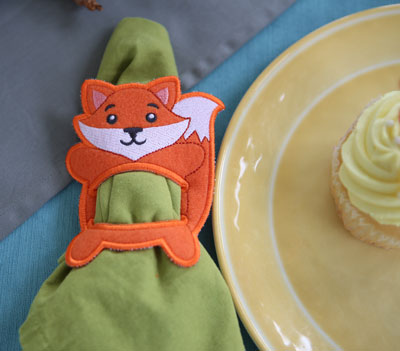
These in-the-hoop napkin holders are the perfect way to add a pop of color and fun to your dining table! Mix and match the colors of the napkins to coordinate with the designs.


