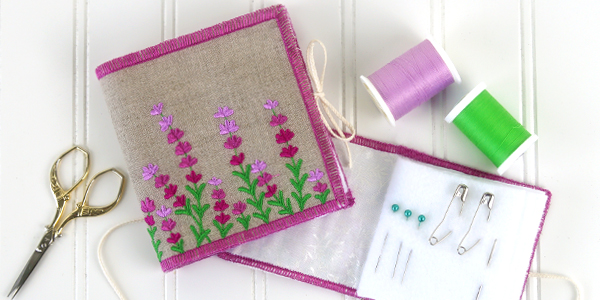
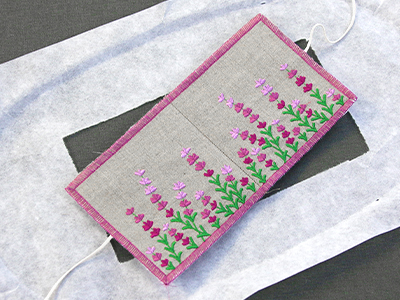
Keep things organized in your studio or on-the-go with this adorable in-the-hoop needle book. Simple construction and readily accessible materials make this the perfect design for storing needles, safety pins, and more. Follow along with our step-by-step project instructions to create your own!
Supplies
Project Needs & Notes:
- Main fabric
- Lining fabric
- 1/4 yard of felt
- Temporary spray adhesive (such as Gunold KK100)
- Cord or ribbon
- Masking tape
- Scissors
- Tearaway stabilizer
- Embroidery thread
Designs featured in this tutorial include:
- X15164, Blossoming Needle Book (In-the-Hoop)
Designs Used

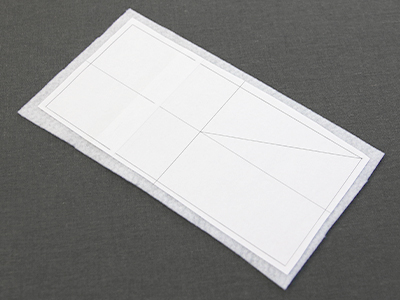
When you download the in-the-hoop needle book design, you will find multiple files. One is the full embroidery file. The others are dieline files marked with the letters DL. Dielines are used to cut the fabric to the right shape and size.
Open and print each dieline file using embroidery software. If you do not have embroidery software, Wilcom TrueSizer is a free program to use.
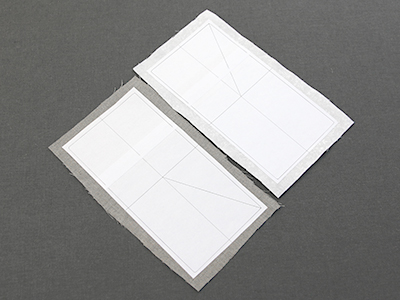
Spray the backside of the front and back piece dielines with a small amount of temporary adhesive. Smooth the front dieline onto the main fabric and the back dieline onto the lining fabric.
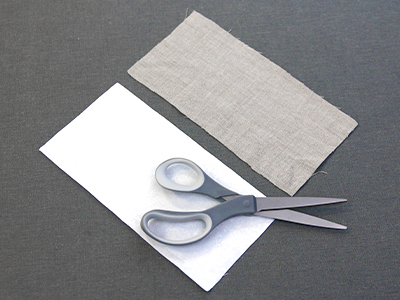
Cut out the shapes and remove the dielines.
Spray the backside of the dieline for your needle book pages with temporary adhesive. Smooth this dieline onto a piece of felt.

Cut out the page dieline, repeating the previous step until you have a total of three felt page pieces.
Now that the fabric pieces are cut to the proper shape and size, it is time to embroider the design.
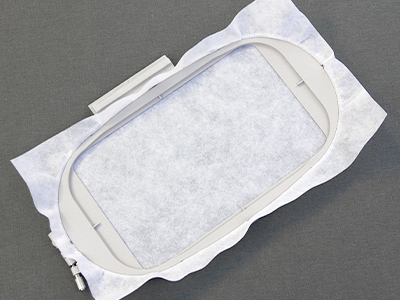
Hoop a piece of tearaway stabilizer. Madeira E-Zee 1.5 oz. or Floriani Tearaway Medium are good choices. These brands are more fibrous, less paper-like, and will tear more cleanly.
Attach the hoop onto the machine and load the full embroidery design (not the dieline files). Use a size 11 or 75/11 sharp sewing needle rather than an embroidery needle. A sharp sewing needle has a smaller, finer point than an embroidery needle. This will make smaller perforations in the stabilizer, providing more support.
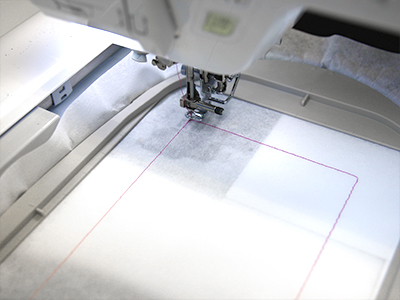
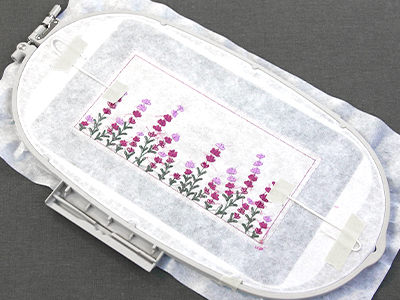
Embroider the design. The first thing to embroider will be a dieline or outline. This dieline marks the area on the stabilizer where the main fabric piece will be placed.
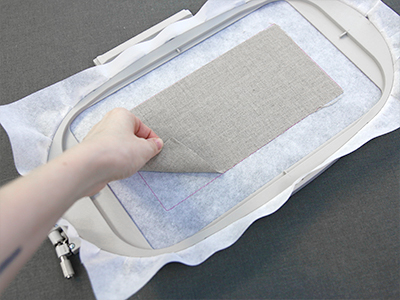
After the dieline has sewn, remove the hoop from the machine but do not unhoop the stabilizer. Spray the back of the front fabric piece with a small amount of temporary adhesive. Place the fabric so that it is centered inside the sewn outline.
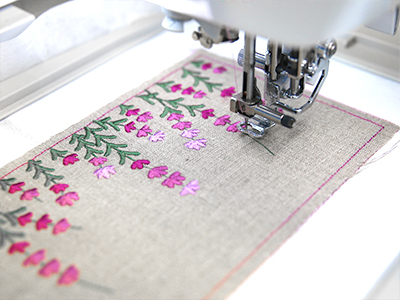
Attach the hoop back onto the machine and continue with the design. A tackdown stitch will sew next. This tackdown stitch holds the front fabric piece in place for the remainder of the design. Once the tackdown stitch has sewn, follow the color change sheet to embroider all of the inner details. Stop before sewing the "finishing seam" step.
Before embroidering the "finishing border," stop the machine and remove the hoop from the machine. Do not unhoop the stabilizer.
Flip the hoop over so that the backside is facing up. To add the two ties, cut two pieces of cord 6" long. Center the two ties on the two short sides of the design, making sure there is about 1/2" of cord overlapping the back of the embroidery. Then, tape them in place on the backside of the tear away stabilizer. Tape the tail of the cord out of the way by the edge of the hoop. This will ensure that the ties will not be sewn over by the finishing border.
Next, spray the backside of the back fabric piece with adhesive and smooth it inside the dieline shape on the backside of the embroidery hoop.
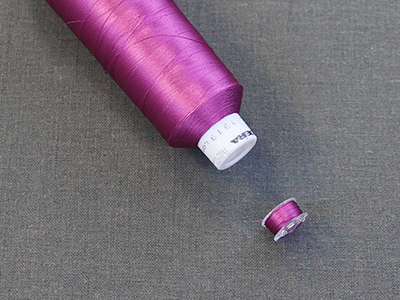
Since both sides of the finishing border with be seen, wind a bobbin with the same thread being used in the needle.
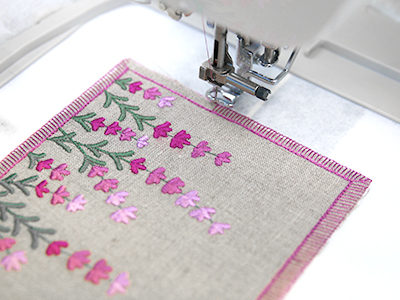
Attach the hoop back onto the machine and continue embroidering the finishing seam. A tackdown and the final border will sew around the outer edge of the fabric. This binds all the layers together.
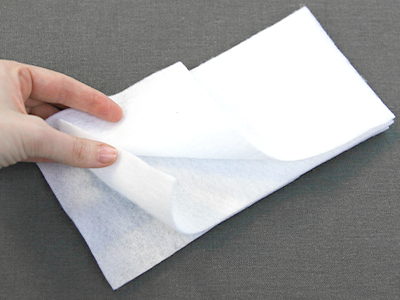
Before sewing the "page tackdown" step, stack all three of the felt pages, matching up the edges all the way around.

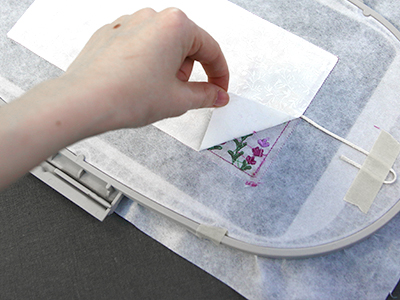
Remove the hoop from the machine but do not unhoop the stabilizer. Turn the hoop over with the bottom facing up and center the pages within the design shape. Secure the pages in place with masking tape. Try not to place tape at the center of the pages where the "page tackdown" will sew. The tape will be easier to remove if it is not embroidered.
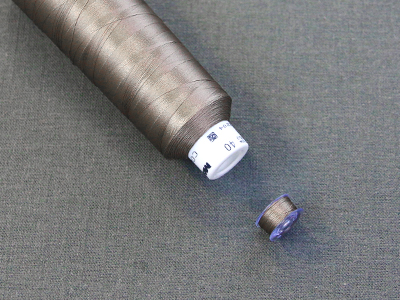
Since the page tackdown will be seen from both sides, wind a bobbin with the same thread being used in the needle.
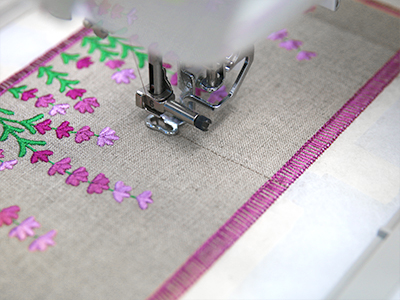
Return the hoop back to the machine and embroider the page tackdown step.
Once the embroidery is finished, remove the hoop from the machine. Unhoop the stabilizer and carefully tear away the excess stabilizer.
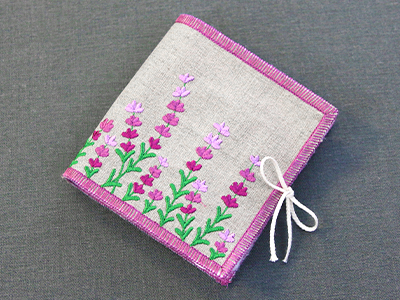
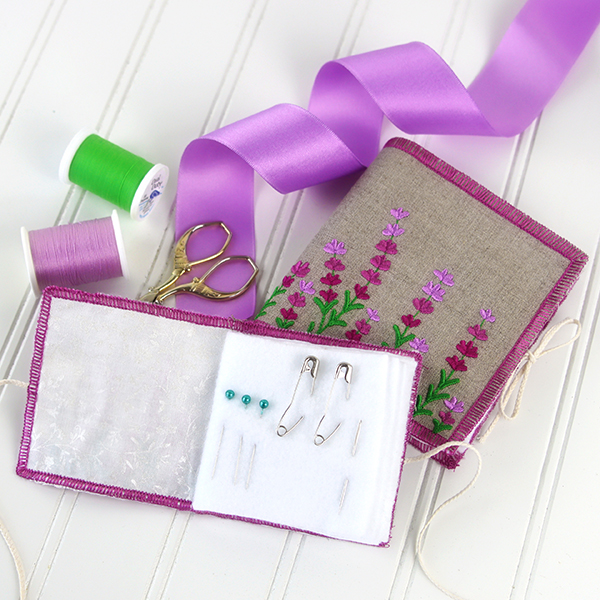
Fold the needle book in half along the page tackdown and tie the needle book shut. If the cords feel too long, trim them to your desired length. A knot can be tied at the ends of the cords to prevent fraying.
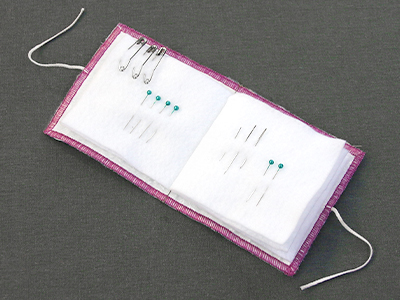
Use the six pages of the needle book to safely store all your hand sewing needles, safety pins, machine needles, and other sewing pins -- whether you are in the studio or on-the-go.


