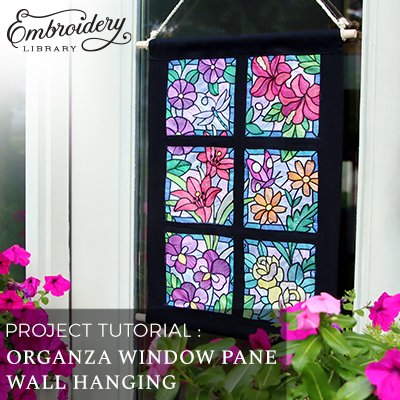
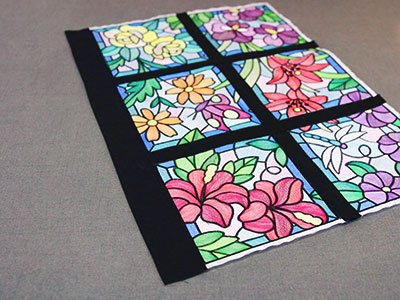
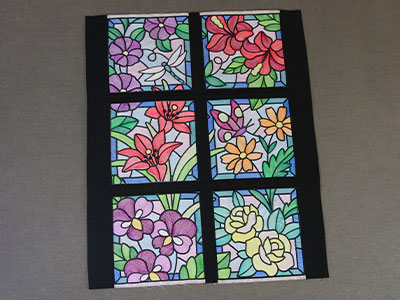
Turn any set of designs into something truly beautiful to behold when you use organza to create a window pane wall hanging. We recommend sheer designs for this project as they help to achieve the translucent stained-glass look. Project instructions will walk you through the process of making your own.
Supplies
- 1-2 yards of cotton
- 1-2 yards of organza
- Embroidery thread
- Temporary spray adhesive (such as Gunold's KK100)
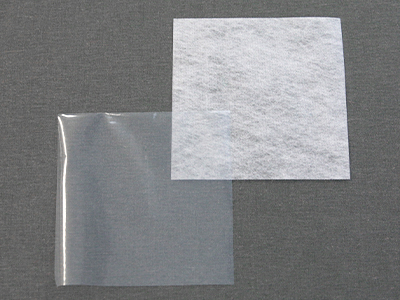
- Water-soluble stabilizer (like Vilene or Sulky Ultra Solvy)
- Sewing thread
- 2 Dowels (we used 5/8" wide dowels)
- Cord (for hanger)
Tools
- Scissors
- Sewing pins and clips (clips optional)
- Rotary Cutter
- Quilting Ruler
- Cutting mat
- Fabric marking tool
- Sewing machine
- Iron
- Ironing Board
- Pressing cloth
- Cutting tool (for dowels)
- Sandpaper (for dowels)
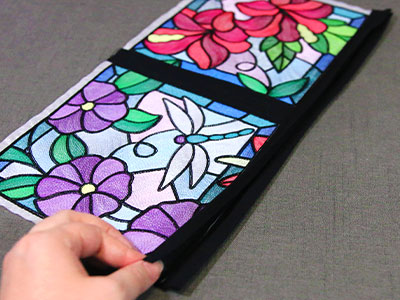
This tutorial can be used with any hoop size of our square designs. You will simply need to adjust how long your border strips are when cutting them out. This will be explained more below.
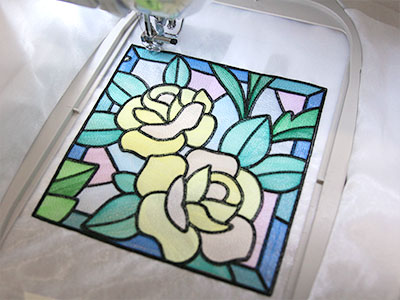
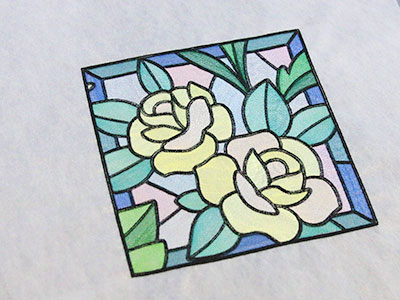
We embroidered each design on organza fabric that is both adhered to and hooped with a piece of water-soluble stabilizer. After the stabilizer is removed using water, beautiful embroidery and organza remains.
There are a couple different kinds of water-soluble stabilizer. One is clear and plastic, and that brand is Sulky Ultra Solvy. The other is soft and fibrous, called Vilene. Both work well. Vilene is used in this demonstration. Use a size 11 or a 75/11 sharp sewing needle. A sharp sewing needle has a smaller, finer point than an embroidery needle. That means it will make smaller holes in the stabilizer.
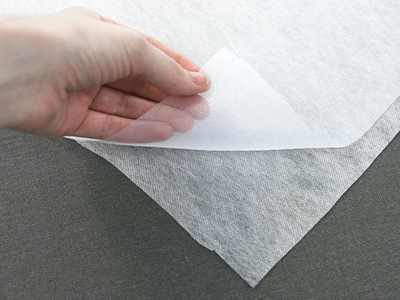
Cut a piece of both organza and water-soluble stabilizer that are larger than the embroidery hoop. Spray the water-soluble stabilizer with temporary adhesive and smooth the piece of organza on top of it.
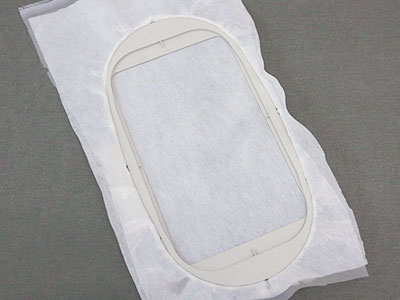
Hoop the organza and water-soluble stabilizer together firmly. Make sure it is nice and taut with no wrinkles.
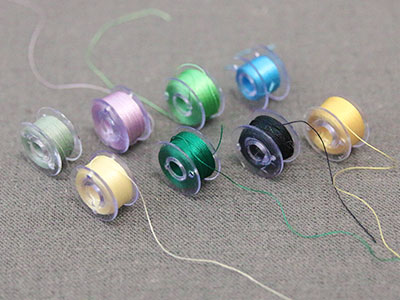
This design will be seen from both sides if you intend to hang it in a window. If desired, you can wind a bobbin to match every thread color used in the design. Then make sure to change the bobbin to match each time you change the thread color in the top needed. We did not match bobbins for our example
Follow the color change sheet to embroider the entire design. Match the bobbin to every thread color as you sew, if desired.
Once all the embroidery is finished, unhoop the embroidered organza and stabilizer and set it to the side. Do not trim the organza yet or soak it to remove the stabilizer. Soaking it now can make the organza harder to work with when sewing the stained glass hanging together.
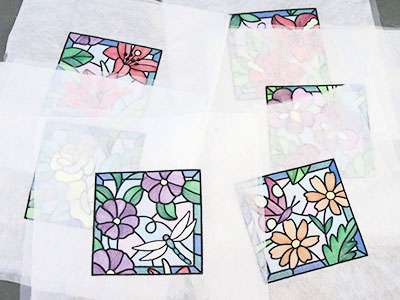
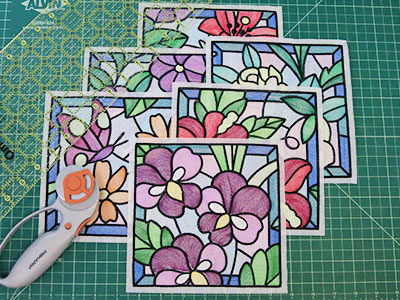
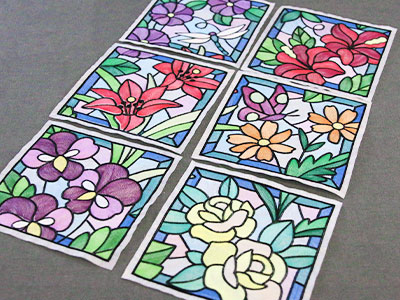
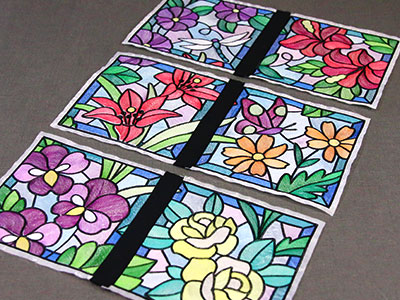
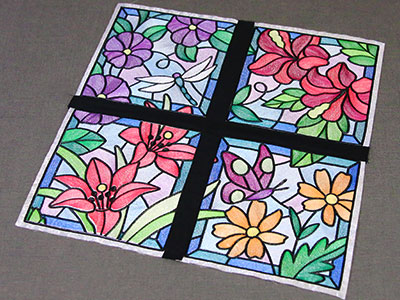
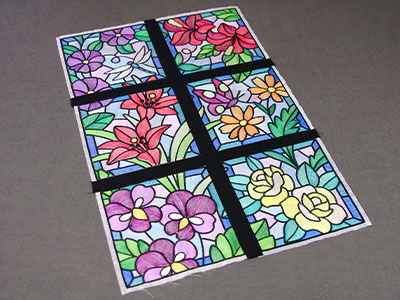
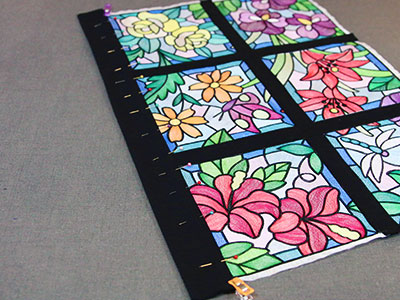
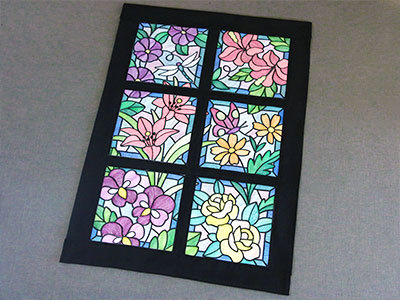
Repeat the previous steps to embroider all of the designs you will be using. We will be using all six of our stained glass garden designs for this example.
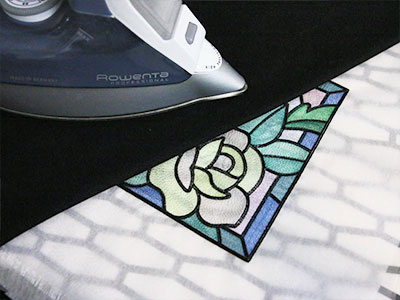
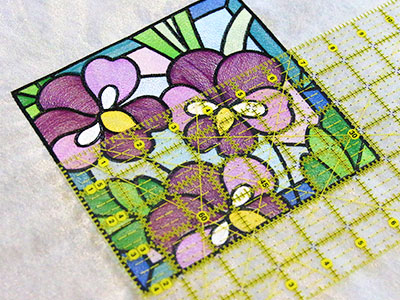
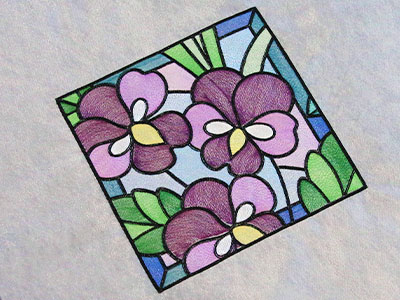
To begin assembly, first press one of the embroidered designs with a pressing cloth on top. Try and remove any wrinkles, and make the square shape as straight and flat as possible.
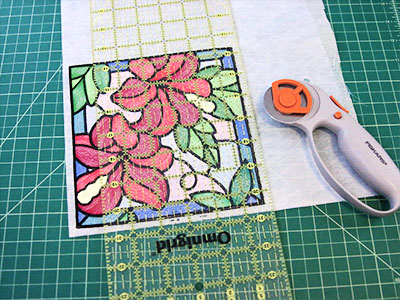
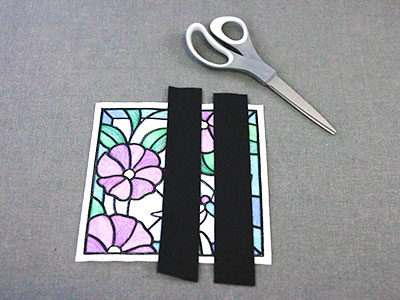
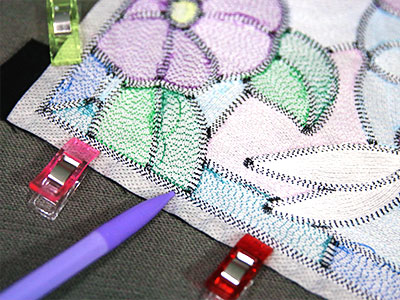
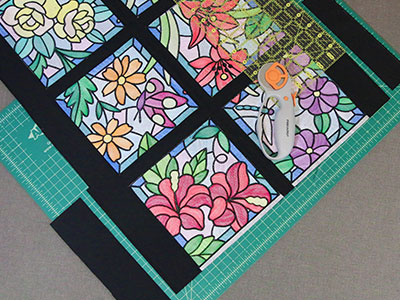
Then cut the organza exactly 1/2" away from all four sides of the embroidery to create the seam allowance. The easiest way to do this is with a quilting ruler and a rotary blade. However, if preferred, you can measure and draw the 1/2" seam allowance around the square with a fabric marking tool and cut it out with a scissor instead.
Repeat to press all of the embroidery designs so they are square and flat. Then cut them out leaving a 1/2" seam allowance around every side of all designs.
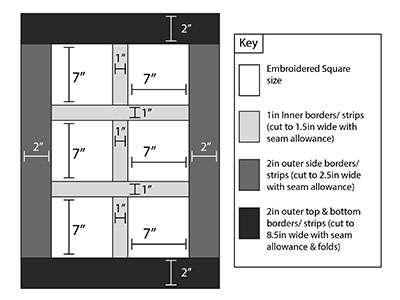
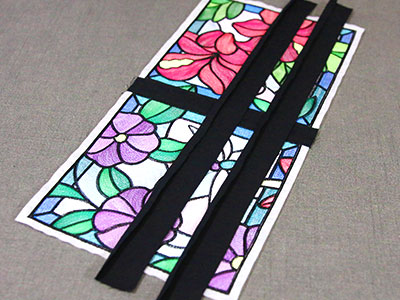
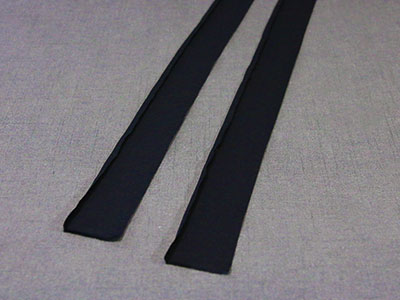
For almost every size of the design, making the borders 1" wide between the designs and 2" wide around the outer edges when finished (not including the seam allowance) looks nice. We will be using 1/2" seam allowances for all seams.
In total we will be cutting 3 different widths of border strips:
- 2" wide strips for the inner borders
- 3" strips for the two side borders
- 9" wide strips for the top and bottom border (this will create a channel for the dowel to fit through).
We will need to cut these out for both the front and the back of the window hanging.
Planning out how many of each border width you need is easy. Nothing needs to be cut to an exact length, as we will be trimming it to size as we go. Our embroidery designs are just under 7" wide and tall, so we rounded them to 7". Doing so makes the math easier.
For best results, add 3-5" to the length of each fabric strip (not the width). This helps account for seam allowance and adds some flexibility while you are working. Always cut the borders longer than you need to be extra cautious.
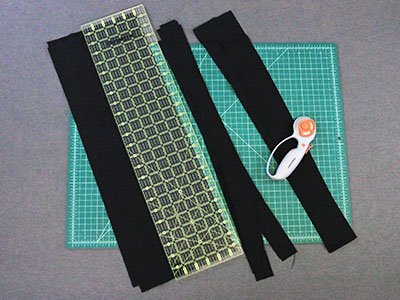
By using the guide above, we can begin to determine how many piece we will need for each width, and the length that each will need to be. Below are all the pieces we cut (total listed is for both the front and the back borders). All pieces were cut using a quilting ruler and rotary cutter. We kept the numbers based on the measurements we showed above so you can reference this and edit as needed for your embroidery size. Keep in mind that we cut each strip approximately 1-2" bigger than each size listed below. For example, if it says "larger than 7 inches" we cut a strip that was 8-9" long.
For the 2" wide strips:
- 6 pieces longer than 7" (the width of 1 embroidery designs) for the vertical inner borders
- 4 pieces longer than 15" (the width of 2 embroidery designs + 1 inner border) for the horizontal inner borders
For the 3" wide strips:
- 4 pieces longer than 23" (the width of 2 embroidery designs + 2 inner borders) for the outer side borders
For the 9" wide strips:
- 2 pieces longer than 19" (the width of 2 embroidery designs + 2 inner borders + 2 outer borders) the width of the top and bottom outer borders.
Now that you have all the embroidery designs and border strips cut out and ready, lay your embroidery designs out to make sure you know what order you want them to be in. It can be helpful to take a picture of this before continuing to make sure you sew the right ones together, and don't get them mixed up.
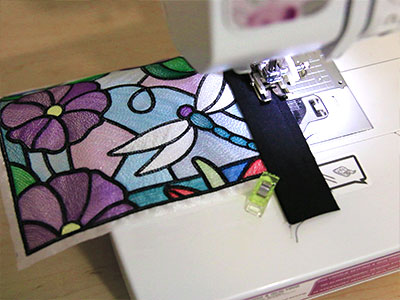
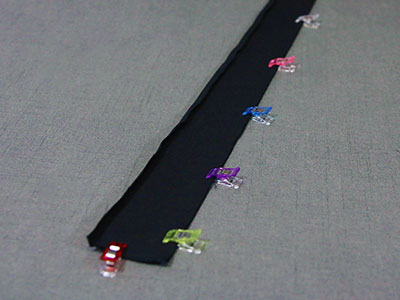
Take the upper left embroidery design and two 2" wide border strips. If needed, cut the border strips down so they are just 1-2" longer than the embroidered square.
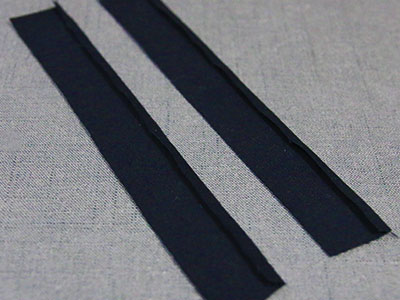
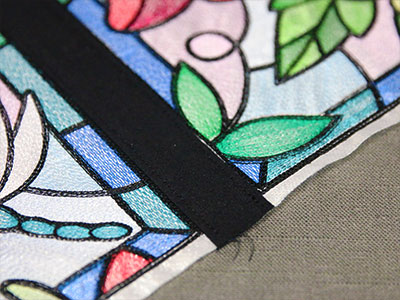
Then, on both of the border strips, fold over one of the long edges by 1/2" and press it to create a crisp folded edge. You should fold toward the wrong side of the fabric. For best results, use a ruler while folding and pressing to make sure exactly 1/2" gets folded over as this will be the seam allowance.
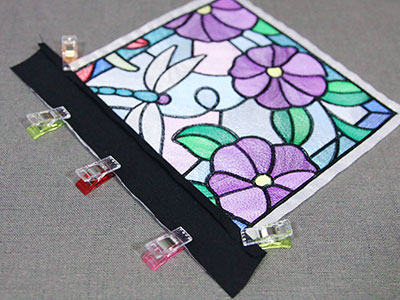
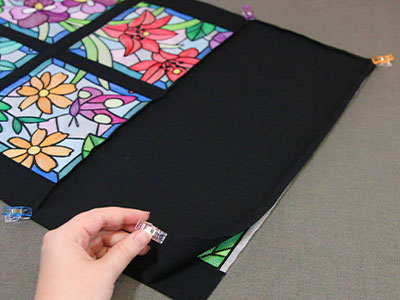
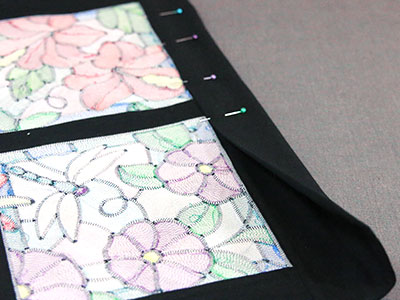
Take one of the border strips that was just ironed and match up the long side that is not folded with the right side of the top left embroidery square. The right side of the strip should be against the right side of the embroidery with the folded seam allowance facing up. Make sure the border hangs over each side and pin or clip the pieces together.
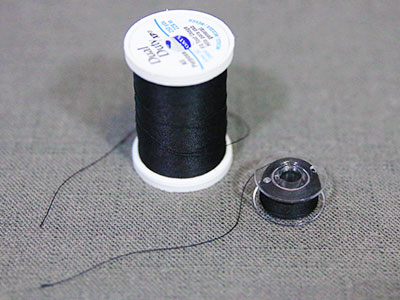
Choose an all-purpose sewing thread that matches the cotton fabric. For best results, wind a bobbin with the same thread that you will be using in the top needle.
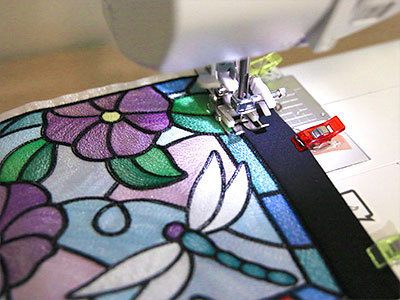
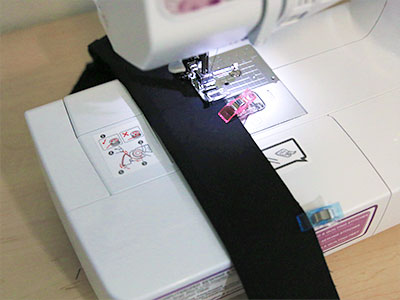
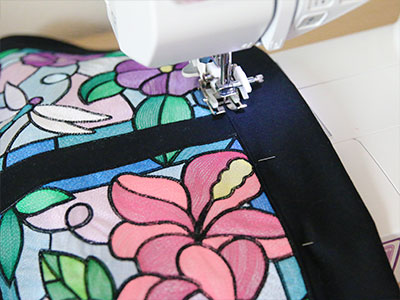
The trick to perfectly lining up the seam with the edge of the embroidery is to sew with the back side of the embroidery facing upward. With this side facing up on the sewing machine, simply sew directly on top of the outer edge of the embroidery. Sewing right on top of the embroidery stitching looks best and leaves no gaps. Since we cut the seam allowance to 1/2", sewing along the embroidery edge also gives us a guide to sew the correct seam allowance.
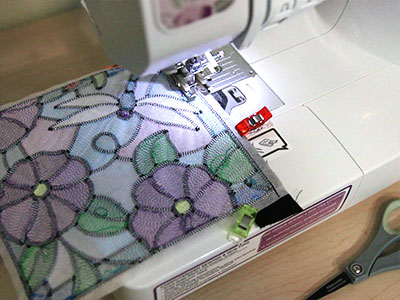
Place the pieces on the machine with the embroidery wrong side up, and sew a 1/2" seam along the edge. Make sure to sew directly on top of the outer most edge of the embroidery when sewing.
To add the back side's border. Take the other border strip that was pressed earlier, and line it up with the same edge of the embroidered fabric, but on the opposite side of the embroidery. The right side of the strip should be against the wrong side of the embroidery. Make sure the border hangs over each side and pin or clip them together.
This time, to perfectly line up the seam, we are going to sew so the right side of the embroidery is facing up when on the machine. This way we can sew directly on top of the same 1/2" seam we just stitched. This will make both the borders on the front and the back match up perfectly.
Place the pieces on the machine with the embroidery right side up, and sew directly on top of the 1/2" sewn seam from before. Since you can't see the edges of the embroidered fabric from this side, use the stitched line to tell where to start and stop as well.
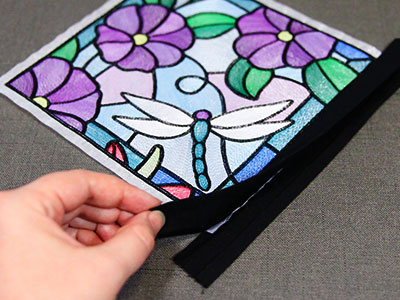
Take your iron and turn off the steam so it does not start dissolving the water-soluble stabilizer. Make sure to use a pressing cloth as well so the organza does not melt. After those two seams are sewn, press the cotton borders over on both sides. Once pressed the folded edges should line up perfectly, and they should be back to back with wrong sides together.

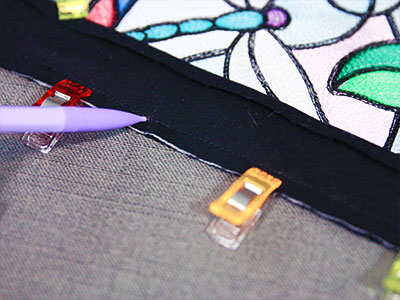
Then use a quilting ruler and rotary cutter to trim off the extra length of the two border pieces so it perfectly lines up with the outer edge of the embroidered fabric on both sides. Be careful to cut this straight and not crooked at all.
Then clip the two border pieces together and 1/8" top stitch the two cotton borders together along the seam that connects the borders to the top left embroidered square. This will help them lay flat when you add them onto the next piece. Do not sew them together along the folded over edges!
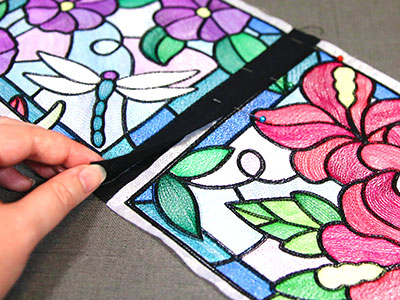
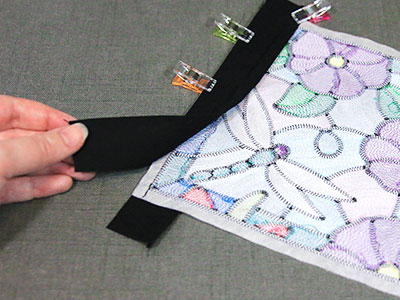
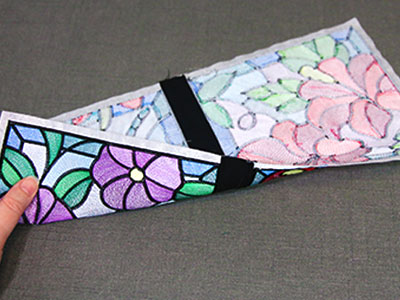
Take the upper right embroidered square and slide it in between the front and back borders we just sewed onto the upper left square. Carefully line up the folded edge of the border with the outer edge of the embroidery on the upper right square (on both the front and back). Pin these layers together, but make sure the back doesn't get pushed out of place while pinning. For best results, the folded edges should overlap the embroidery by 1/2" so that the fabric edge meets the embroidered border.
Then topstitch along the pinned folded edge to sew the front and back borders onto the upper left square. Sew on the cotton border, not the embroidered organza.
Once you are done sewing, carefully look at the seam from both sides to be sure both borders were sewn down completely. The edges on the back can be hard to catch if it is not pinned perfectly. If some edges were missed on the back, you can either hand sew the opening closed, seam rip them and try again, or ignore it (as it is on the back).
Then repeat the previous steps to add the short vertical borders between the other left and right pairs of designs. When finished all 3 pairs should look the same and have borders with finished long edges & raw short edges on both the front and back.
The horizontal inner borders are sewn on exactly like the vertical ones. First, if needed, cut two 2" wide borders to be slightly longer than the bottom edge of the top pair of designs. Then fold over one long edge of each of the border pieces by 1/2" and press it using an iron. Use a ruler to make sure it is pressed exactly 1/2" over.
Then match up and sew the raw long edge of the front border onto the bottom edge of the top embroidered pair with right sides together. Make sure to use the back side of the embroidery as a guide when sewing the 1/2" seam to make the pieces line up perfectly with the embroidered edge. Then sew the back border piece on the back of the embroidery by following the seam from the front border. Press the two borders over, and 1/8" top stitch the border pieces together along the seam on the cotton.
Then slide the center pair of embroider designs between those two front and back borders. Carefully line up the folded edge of the border with the outer edge of the embroidery (on both the front and back). Pin these layers together, and make sure the back doesn't get pushed out of place while pinning. For best results, the folded edge should slightly overlap the embroidery. Then 1/8" top stitch on the cotton along the folded edge to sew all the layers together.
Repeat those same steps to cut and sew the last 2" wide inner borders in between the center and bottom pairs of designs.

For the left outer border, take two 3" wide border strips and cut them to be a little longer than the height of all the connected embroidered pieces.
On both of the border strips, fold over just one long edge by 1/2" and press it to create a crisp folded edge. Fold the edge over with wrong sides together. For best results, use a ruler while folding and pressing to make sure exactly 1/2" gets folded over as this will be the seam allowance.
Then match up the two border strips with right sides together. Make sure the 1/2" folded edges are matched up on the same side mirroring one another. Pin them together along the raw long edges (that are not folded over).
Sew a 1/2" seam along the pinned raw edges.
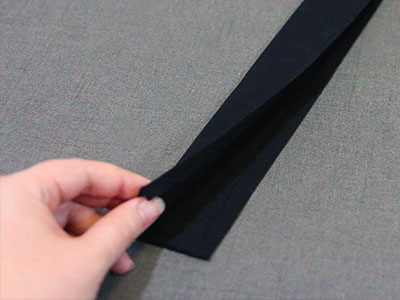
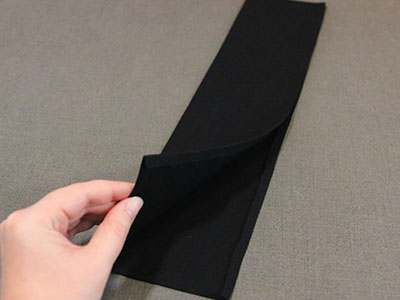
Once that seam is sewn, open up the border pieces along the sewn seam, and press the seam open. Then fold the pieces in half again along the seam, but this time fold them with wrong sides together to hide the folded seam allowance inside. Press this fold so it lays nicely. The 1/2" folded edges should match up again once done (but be hidden when the border piece are ironed closed) and the border should be 2" wide.
Slide the left side of the embroidered designs between those two front and back borders. Carefully line up the folded edge of the border with the outer edge of the embroidery (on both the front and back). Pin these layers together and make sure the back doesn't get pushed out of place while pinning. For best results, the folded edge should slightly overlap the embroidery.
Then 1/8" top stitch on the cotton along the folded edge to sew all the layers together. Also 1/8" top stitch along the outer long edge to make it lay nicely.
Repeat the previous steps to add the right outer border onto the right side of the embroidered designs using the remaining two 3" strips.
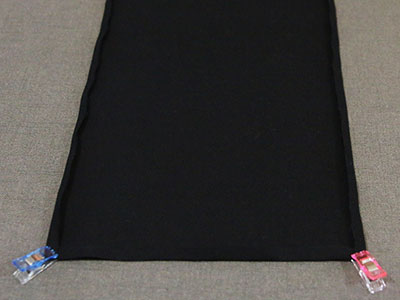
To make the top border with the channel for the dowel, pick up just one piece of the 9" wide border. This one piece is going to make both the front and the back.
To make this piece the correct length, lay it under the pieces that you have already sewn together, and match up the top edge. Then use the right and left finished edges as a guide, and cut the 9" border to be 1/2" longer than the finished edges on both the right and left sides.
Fold over and press all four sides of the border 1/2". Make sure to use a ruler to check that all edges are folded over exactly 1/2".
Before continuing, double check that the length of the border is now exactly the same width as the finished edges of your creation. Now that the edges are folded over 1/2", they should be the same and match up. If they do not match up, adjust how the fabric is folded over until they do.
Then fold the border in half with wrong sides together, matching up all of the folded edges. Make sure you are folding by width and not length. Once folded it should be 4" wide and the length should still be the same as the width of the designs. Press this fold with an iron so it is crisp.
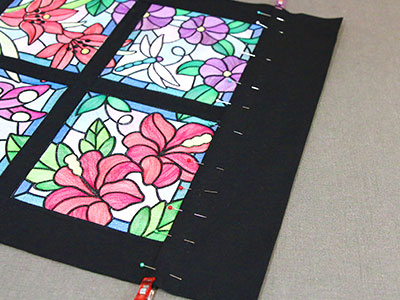
Slide the top edge of the embroider designs inside of the folded layers. Carefully line up the folded edges with the top outer edge of the embroidery (on both the front and back). Pin these layers together and make sure the back doesn't get pushed out of place while pinning. For best results, the folded edge should slightly overlap the embroidery. Also pin the folded border together along the left and right sides.
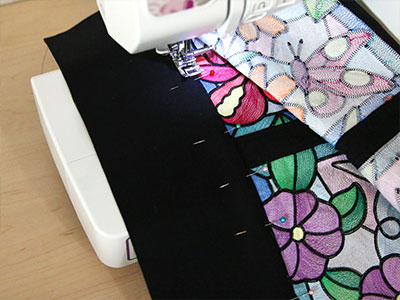
Then 1/8" top stitch on the cotton along the top edge of the embroidery to connect all the layers. Also 1/8" top stitch along both the right and left sides of the folded border piece. Do not sew along the top edge of the border.
Next, fold the top border in half toward the back side of the embroidery to create the channel for the dowel. Match up the top edge that you are folding over with the bottom edge of the same border on the back of the window hanging. Pin it in place.
For best results, sew this in place with the front side of the embroidery facing up on the machine. This way you can sew directly on top of the same stitched line, and it will look nicer. Sew 1/8" away along the edge above the embroidery, directly on the same stitched line. Do not sew the sides closed.
Repeat the previous steps to add the second 9" border onto the bottom edge of the window hanging. This will create a second channel for the other dowel. Having a dowel at both the top and bottom adds weight and helps it hang nicer.
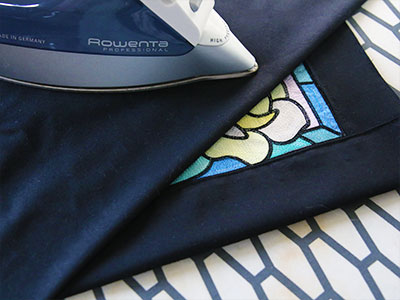
Now that all the sewing is completed, and all the raw edges are enclosed inside the cotton borders, it is time to remove the remaining water-soluble stabilizer. The stabilizers packaging should give instructions for removing it. For vilene, soak the embroidered design in water for a few hours. Allow the design to air dry. If needed, press the design with a pressing cloth on top to remove any wrinkles in the organza.
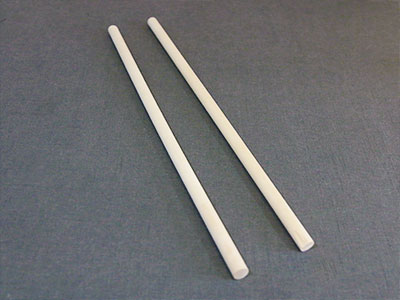
Once the window hanging is dry and pressed, measure how wide it is. Then cut two dowels 2-4" wider than the finished window hanging. The longer you make the dowels, the more they will stick out the sides. If needed, use sandpaper to smooth the ends of the dowels and make them look nice.

Slide 1 dowel into the upper channel, and the other dowel into the bottom channel.
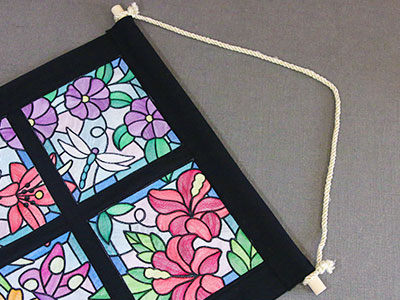
To add the hanger, cut a piece of rope or cord to 30" long, and then tie or glue the ends of the rope onto each end of the dowel where it sticks out of the upper channel of the window hanger.


