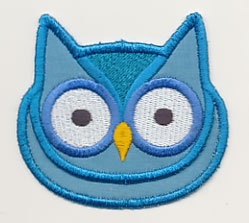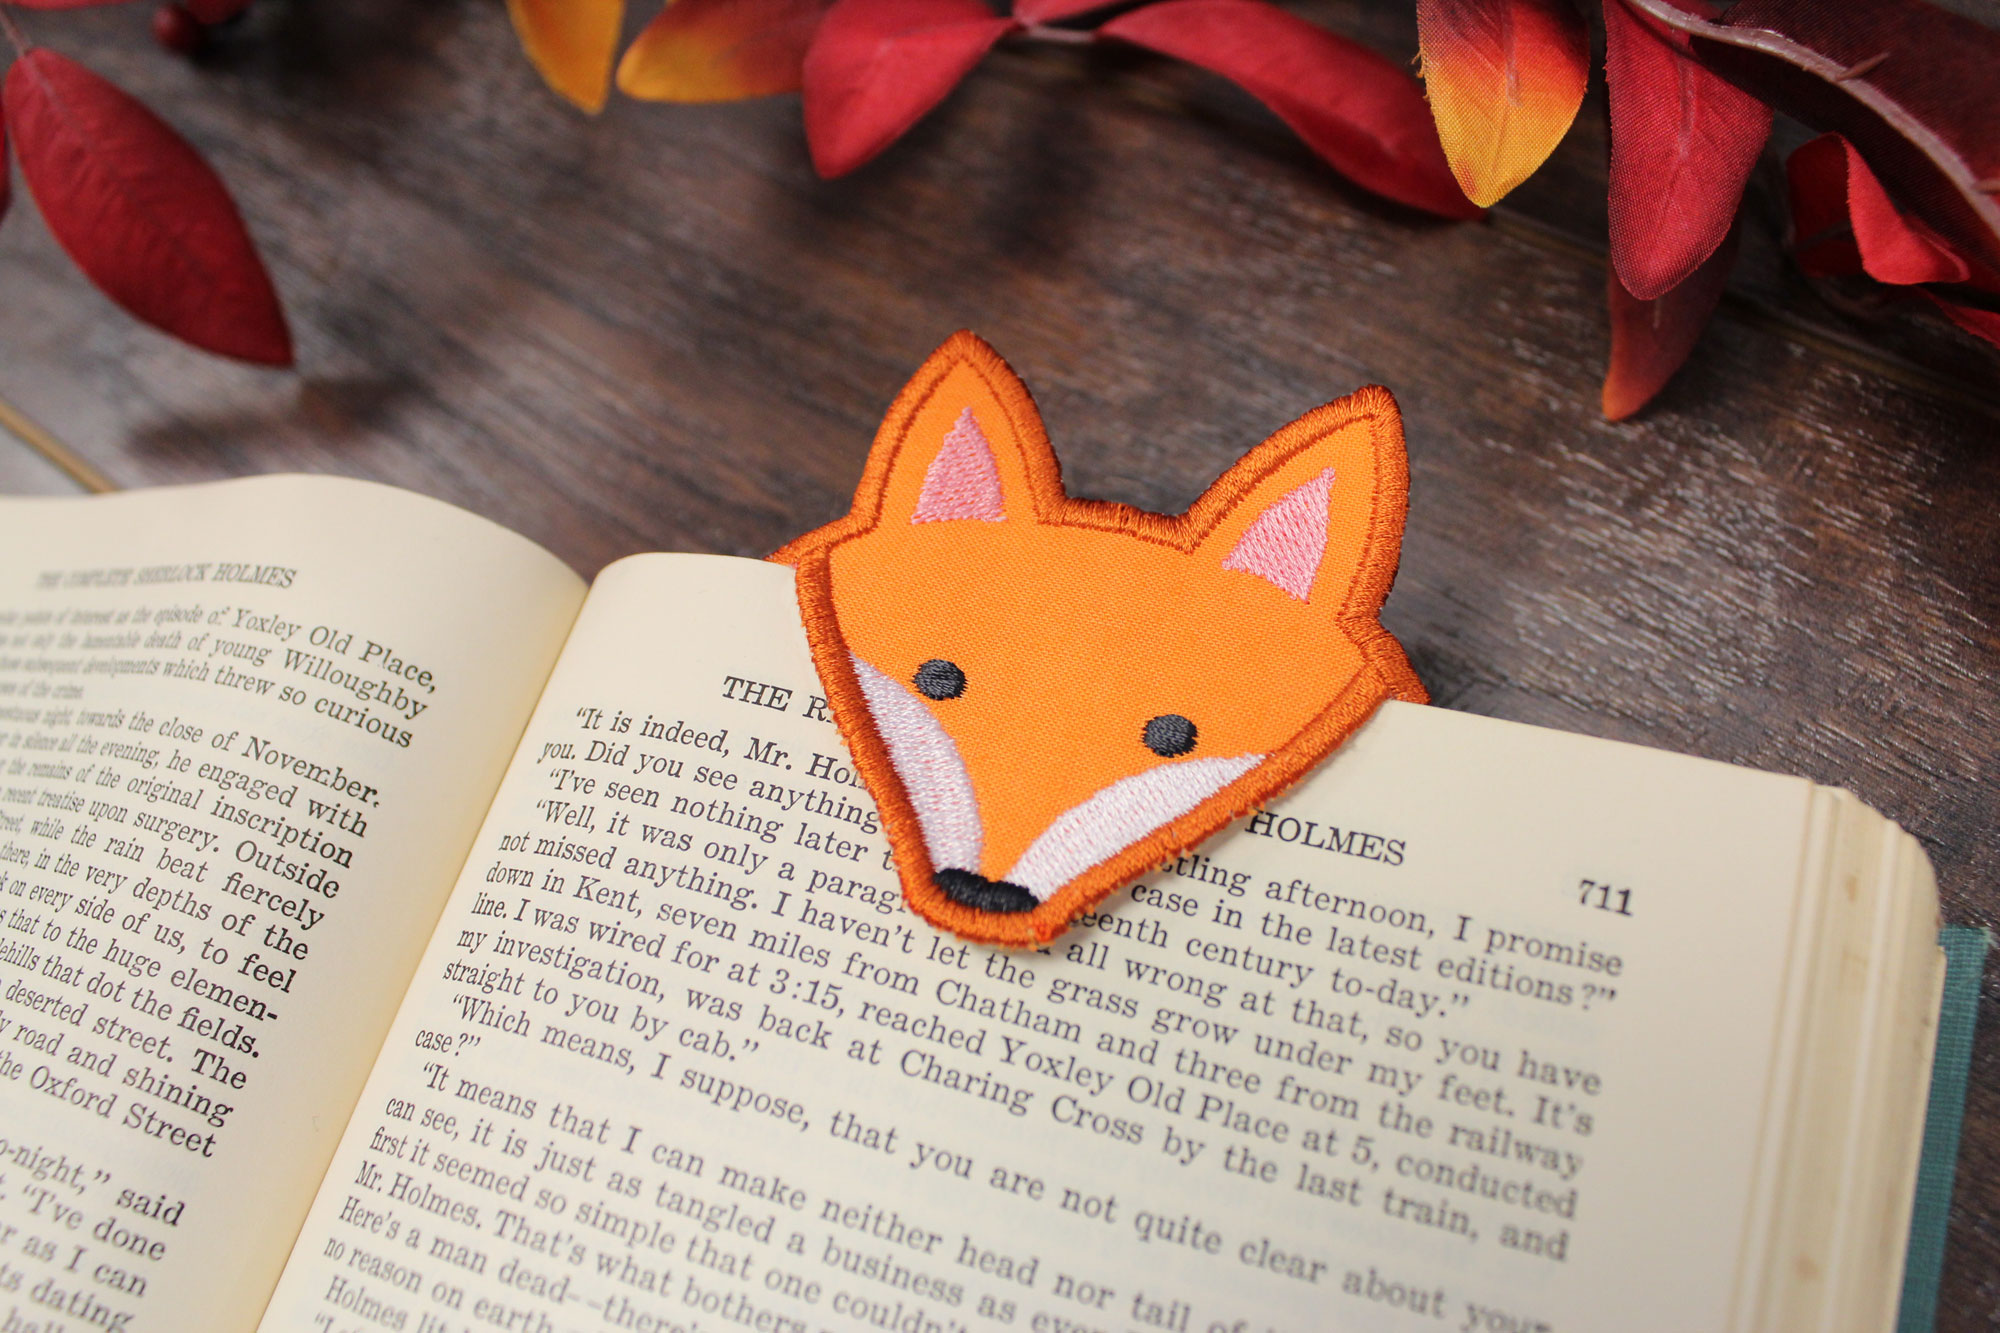
Book lovers will adore these delightful in-the-hoop designs! Bookmarks in the shape of peeking animals are a too-cute way to mark your place while reading, and are great as gifts, too.
Supplies
- 1/8 yard of quilter's cotton, flannel, or twill
- Medium-weight cutaway stabilizer
- Tear-away stabilizer
Tools
- Temporary spray adhesive (Gunold's KK100)
Designs Used
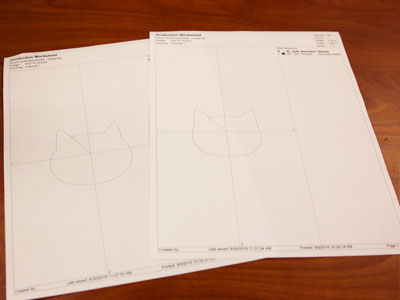
When you download the in-the-hoop peeking bookmark design, you will find multiple files. Some are the embroidery files, and the others are dieline files marked with the letters "DL". Dielines are used to cut the fabric to the correct shape and size. Open and print each dieline file using an embroidery software. If you do not have an embroidery software, take a look at our helpful video on using dielines.
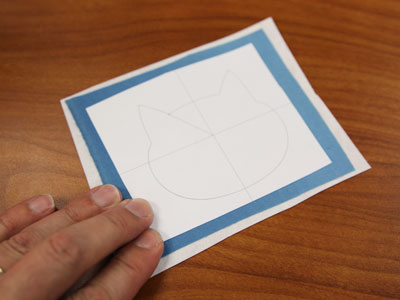
Spray a piece of medium-weight cutaway stabilizer with temporary adhesive and smooth the fabric on top.
Spray the backside of the front piece dieline with temporary spray adhesive and smooth onto the fabric.
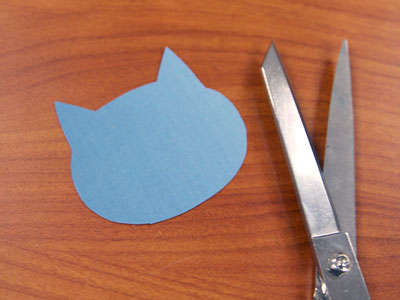
Cut out the shape.
To prepare the back piece, start by spraying both sides of a piece of cutaway stabilizer with adhesive.
Cut two pieces of fabric and smooth the fabric on both sides of the stabilizer (right sides facing out).
Spray the backside of the back piece dieline with with adhesive, smooth it on the fabric, and cut out the shape.
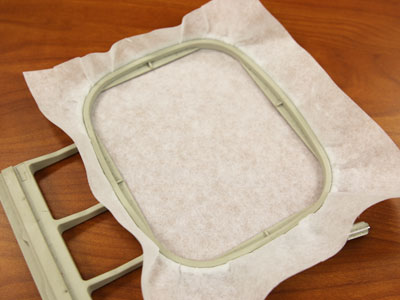
Hoop a piece of tear-away stabilizer.
(Note: Fibrous tear-away stabilizers give better-quality results for in-the-hoop projects. Stay away from tear-away stabilizers that feel too much like paper).
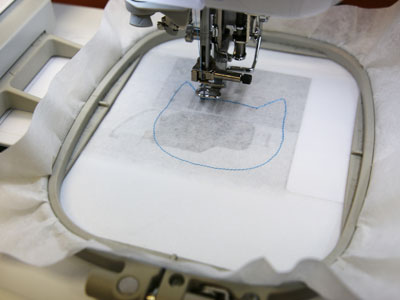
Attach the hoop to the machine and embroider the design.
The first thing to embroider is another dieline, or outline stitch. This marks the area of the stabilizer for the front fabric piece.
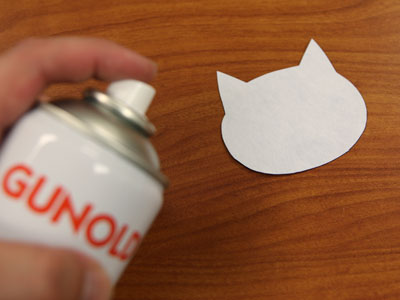
Spray the backside of the front fabric piece with adhesive.
Remove the hoop from the machine, but do not unhoop the stabilizer.
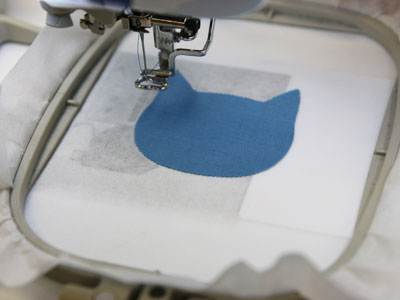
Place the fabric piece right inside the sewn dieline.
Reattach the hoop onto the machine and continue with the design. A tack down stitch will sew next. This binds the fabric piece to the stabilizer.
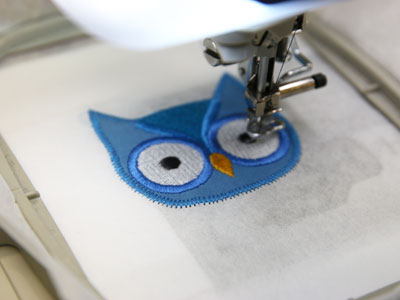
All of the inside elements will sew next.
On the color change sheet, look for the note that says "front piece border," stop the machine and remove the hoop from the machine. Do not unhoop the stabilizer.
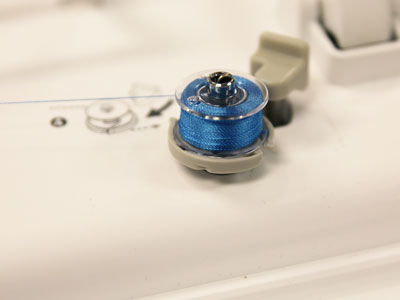
Since both sides of the bookmark will show, wind a bobbin with the same thread being used in the needle.
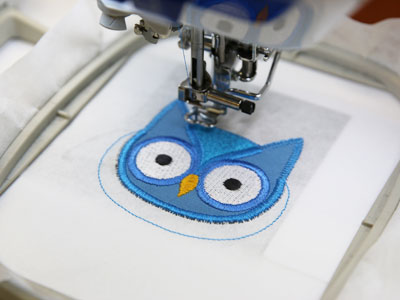
Attach the hoop back onto the machine and continue embroidering the design.
A satin stitch border will sew next, and then another dieline.
On the color change sheet, look for the note that says "back piece tack down," stop the machine and remove the hoop from the machine. Do not unhoop the stabilizer.
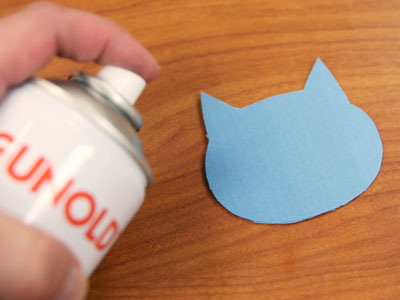
Spray the top corners of the back fabric piece with adhesive.
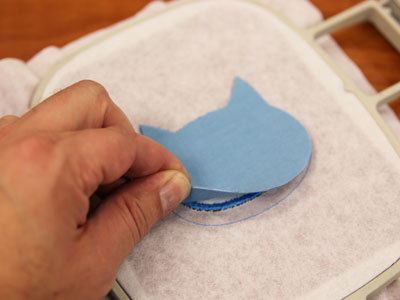
Flip the hoop over to the backside of the embroidery.
Place the back piece inside the dieline shape on the back side of the hoop.
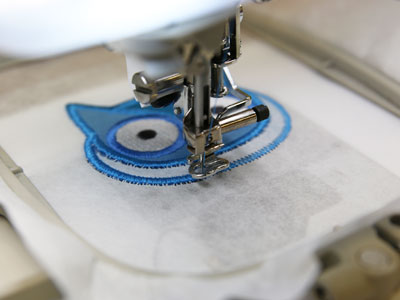
Attach the hoop back onto the machine and continue embroidering the design.
A tack down stitch will sew next, and then a satin border, which finishes the bookmark.
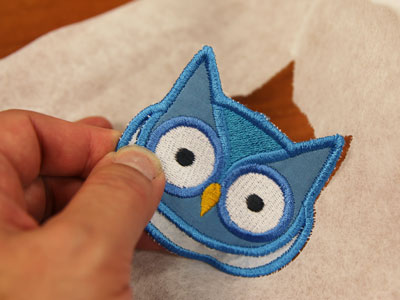
When the design has finished, unhoop the stabilizer and gently tear it away.
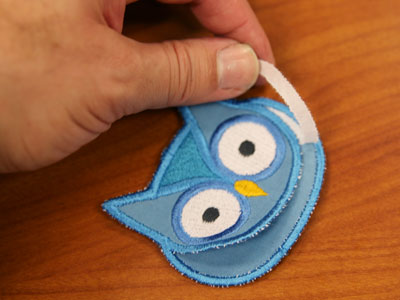
Also, gently tear away the small strip of stabilizer along the inner edges to complete.
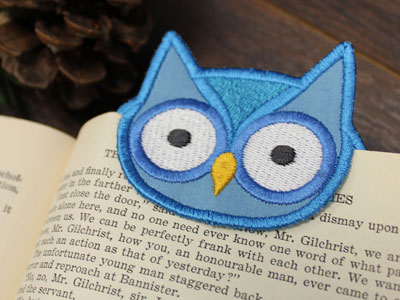
Use these charming peeking bookmarks the next time you indulge in a good book. Or, whip up extras to give to your book club, or favorite bookworm.
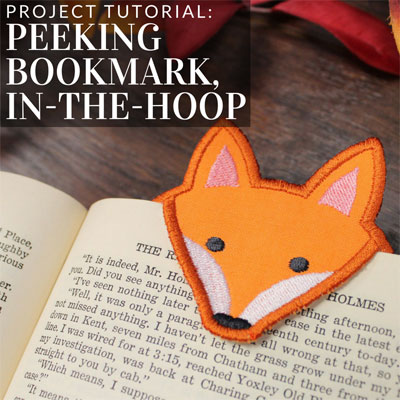
This project is featured on the Embroidery Library Pinterest page.
Pin it yourself using the "Pin It" button on this page.
