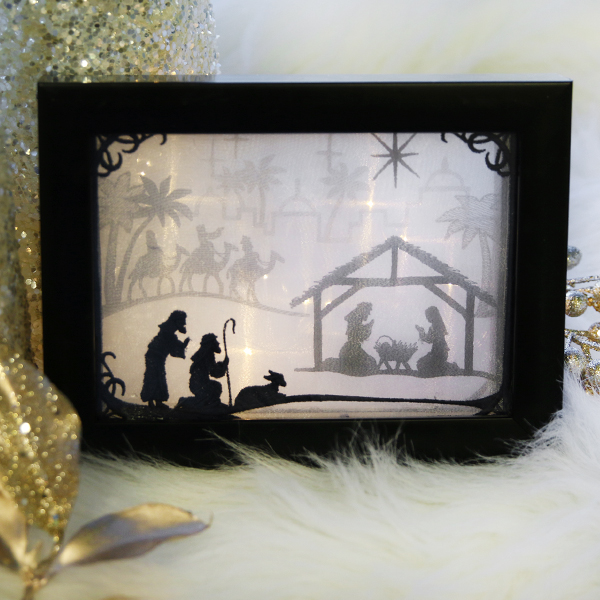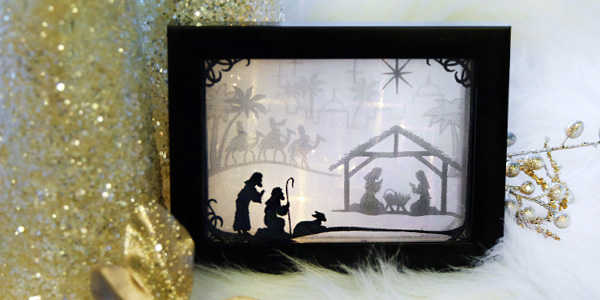
Light up your life with an embroidered organza shadowbox! Stitch each panel separately in dark thread on translucent organza fabric, then stack the layers and place in front of a light source to really make this design shine. These step-by-step instructions will show you how!
Supplies
Project Needs & Notes:
- White or light-colored organza fabric
- Heavy duty water soluble stabilizer, such as Vilene or Sulky Ultra Solvy
- 40 wt. rayon thread for embroidery
- Square wooden dowels, at least 7" tall
- Hobby wood saw
- Hot glue gun and glue
- A picture frame (see sizing note in first step)
- Pencil for marking
- Ruler
- Scissors
- Temporary spray adhesive
Designs featured in this tutorial include:
- X13771, Nativity Shadowbox (Organza)
Designs Used
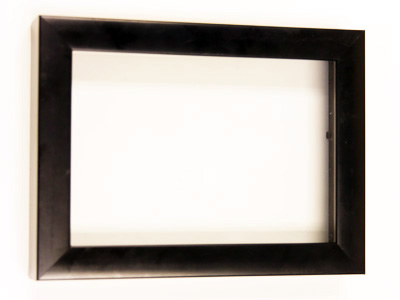
A photo frame is not necessary, but it can provide a polished finish for your shadowbox.
For a design just under 5" x 7", a 5" x 7" photo frame will fit.
For a design under 4" x 4", a 2.5" x 3.5" or 3" x 3.5" frame will be a good match.
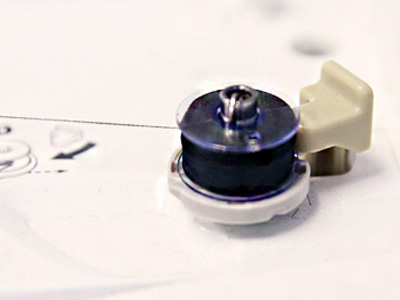
Wind a bobbin with the same thread you'll be using for the top of the embroidery.
Since the designs for this ornament are stitched on sheer organza, the embroidery will be visible from both the front and back.
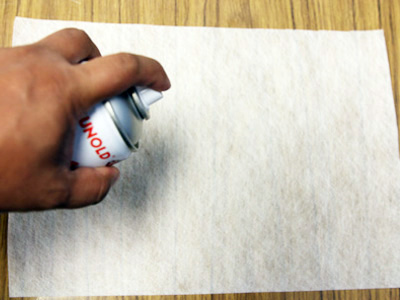
There are a couple of different kinds of water-soluble stabilizer that we recommend. One is clear and plastic, and that brand is Sulky Ultra Solvy. The other is soft and fibrous, called Vilene. Both will work very well. Vilene is used in this demonstration.
Use a size 11 or 75/11 sharp sewing needle. A sharp sewing needle has a smaller, finer point than an embroidery needle. That means it will make smaller holes in the stabilizer.
Lightly spray the stabilizer with temporary spray adhesive, and smooth it onto the back of the organza.
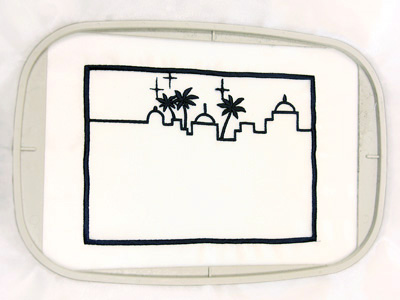
Hoop the stabilizer firmly. Make sure it is nice and tight with no wrinkles.
This design consists of four files, one for each layer. Load the "a" file onto the embroidery machine, and embroider the design. After the embroidery is finished, cut away the excess stabilizer. Repeat to stitch pieces b, c, and d on organza in the same way.
Follow the instructions on the stabilizer's packaging to remove the excess stabilizer. For Vilene, soak the organza pieces in water for a few moments. Let the organza air dry, then press using a pressing cloth.
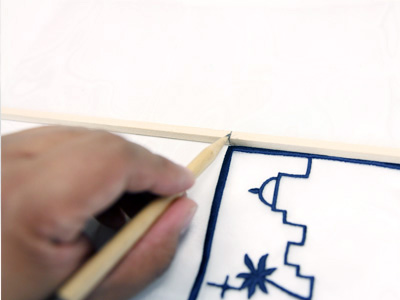
To build the wooden frames for each panel, start by marking the length of dowel you'll need for each side.
The dowels should create a rectangle that sits just outside the edge of the embroidery.
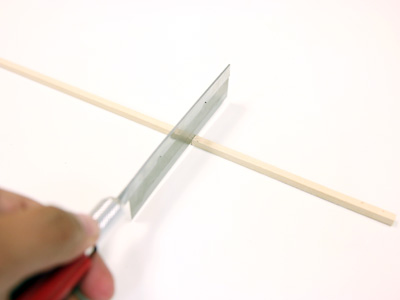
Use a razor saw blade or hobby wood saw to cut the wooden dowels to size.
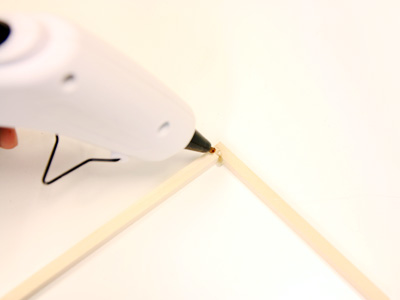
Hot glue the dowels together to create a rectangle.
Make a total of four frames this way -- one for each organza panel.
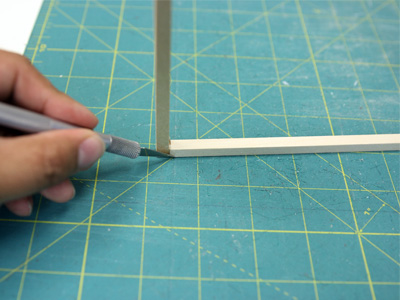
Allow the glue to dry completely, then use a knife blade to remove the excess glue.
This will help the panels lie smoothly against each other.
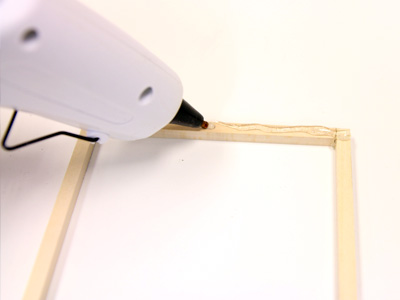
To add the organza panel, start by running a line of hot glue across the top bar of the wood frame.
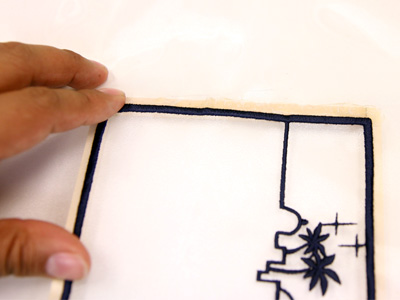
Place the organza panel over the wooden frame, lining up the top satin edge just inside the wooden frame. Carefully smooth the fabric onto the frame.
We recommend leaving at least 1/2 inch of organza fabric around the edges. This will provide leverage to keep the panels taut while gluing them to the frame.
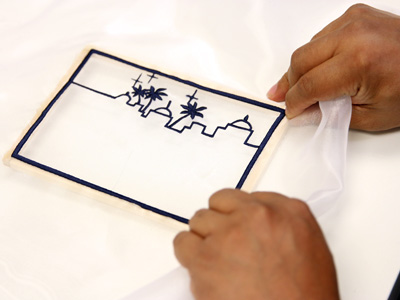
After the glue has dried, run a line of glue across the opposite frame edge.
Smooth the opposite edge of the fabric along the glued bar.
Try to gently pull the organza into place, making sure that the panel is as taut and smooth as possible.
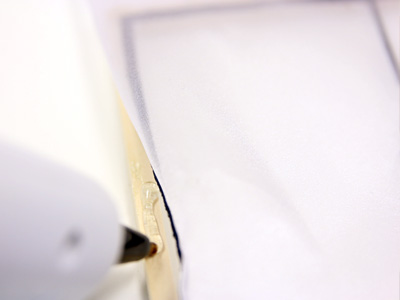
Now that the edges are glued in place, glue down the remaining sides in a similar fashion.
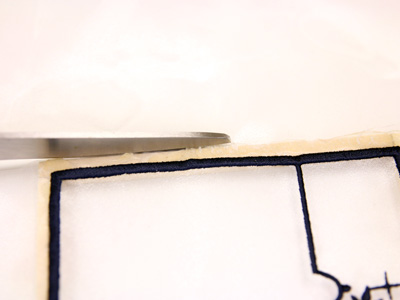
Once the panel is glued in place and dry, trim the excess organza from the edges of the frames.
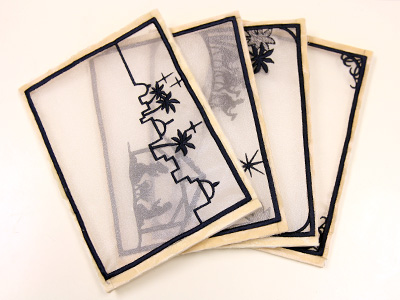
Repeat this process until each embroidered panel is stretched on its own wooden frame.
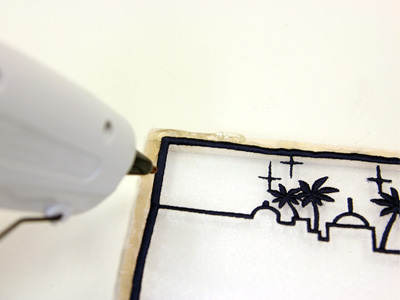
Now it's time to stack the panels. Lay the back panel (file "d") face up, and apply hot glue around the edges of the wood.
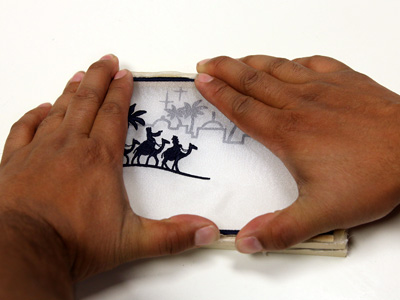
Carefully lay the next panel (file "c") over the first, making sure the edges are aligned. Gently press down on the wooden frame so that the glue will adhere firmly to both sides.
Repeat these steps to add panels "b" and then "a."
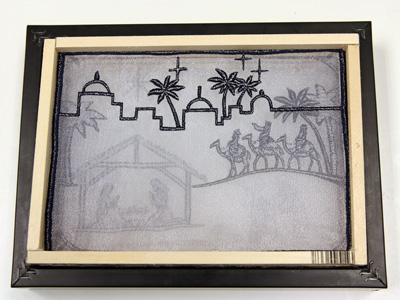
Remove the backing from the picture frame and place the shadowbox, face down, into the frame.
If any part of the wooden frame is visible between the picture frame and the embroidery, you can hide it using paint that matches the picture frame.
Once the frame is positioned, apply a line of hot glue around the edges to hold the shadowbox in place. Make sure the shadowbox is sealed to the frame all the way around. If the hot glue is visible, you can use a bit of paint to hide it.
Set your shadowbox in front of a window or another light source to make it shine!
