To begin, select an in-the-hoop photo ornament design. Search for "photo ornament" at www.EmbLibrary.com. Click here to find those designs.
When you download a photo ornament design you'll find three files. Two of the files end with a "_DL" and that stands for "dieline."
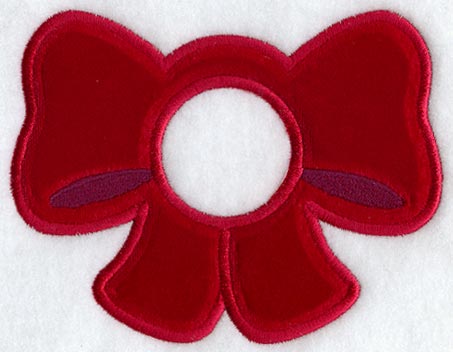
Designs Used
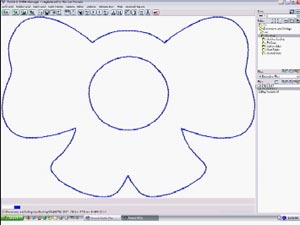
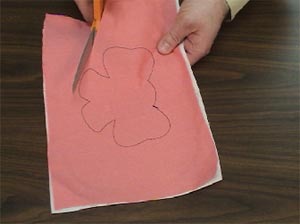
Open the dieline files in your embroidery software and print them.
If you don't have embroidery software, keep reading, as alternate instructions for working with dielines are below.
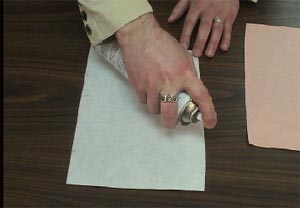
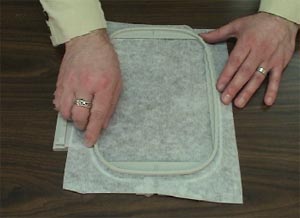
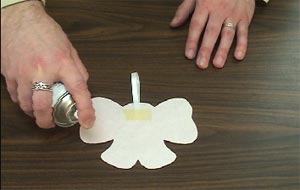
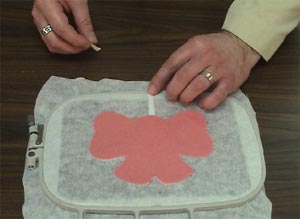
Spray a piece of cutaway stabilizer with temporary adhesive.
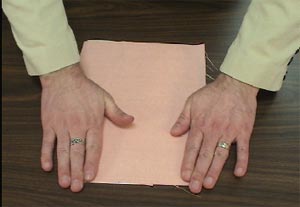
Smooth the applique fabric for the photo ornament on top.
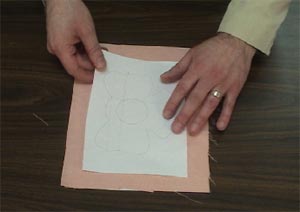
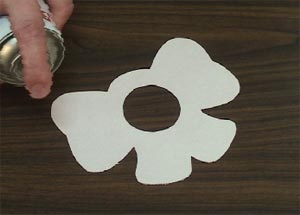
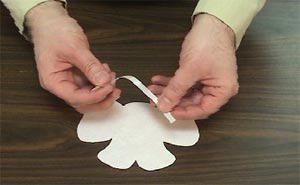
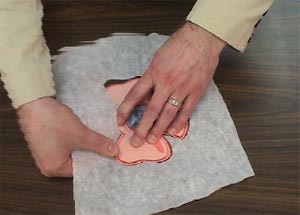
Place the paper template on top.
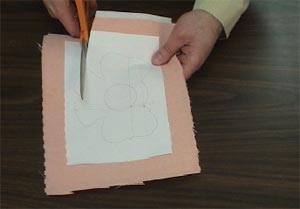
Cut out the shape around the template.
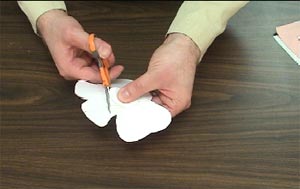
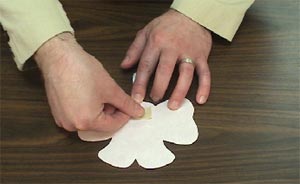
For the DLFront template, also cut the hole from the middle. Skip the next three steps.

If you don't have embroidery software, then you can embroider the dieline directly onto the fabric. Cut a piece of fabric and cutaway stabilizer a bit larger than your hoop, and hoop both together.
Embroider the DL files separately (each onto different pieces of fabric and stabilizer).
Then, cut out the shapes.
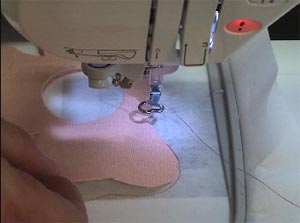
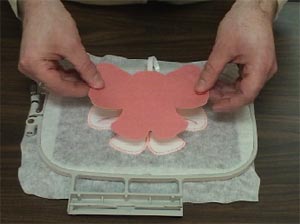
Now that the applique fabric is cut to the exact size, we're ready to begin making the ornament. Hoop a piece of tear-away stabilizer.
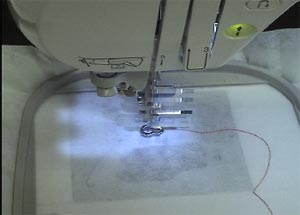
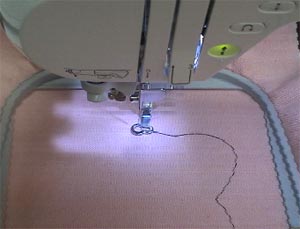
Load the full embroidery file to your machine -- that's the file that is named with "X" or "Y" followed by 4 numbers. Begin to embroider the design.
The first thing to sew will be another dieline. That traces the area where you'll put the applique fabric piece.
After the dieline has sewn, spray the backside of the first fabric piece with temporary adhesive.
Place that fabric right inside the sewn dieline.
If you're working with a photo ornament that has multiple fabric pieces on the front, repeat this step as each dieline sews.
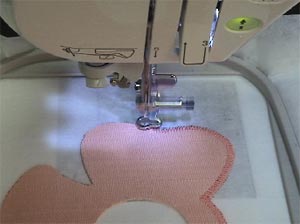
The next thing to sew will be a tack down stitch. This is a zig-zag stitch that will hold the applique fabric to the stabilizer during the rest of the embroidery.
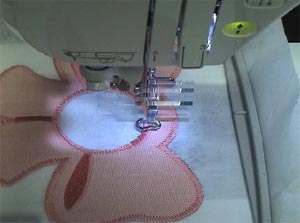
Other elements of the design will sew, including the satin stitch border around the inside of the frame.
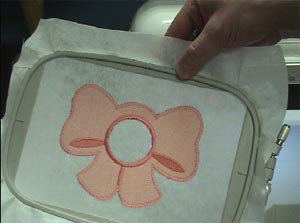
On the color change sheet you'll see a note that says "back piece tack down." When you get to this step, stop the machine and remove the hoop.
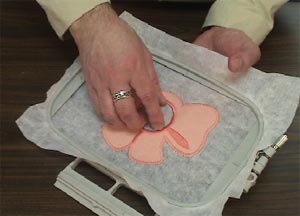
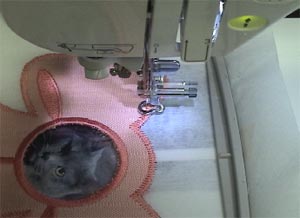
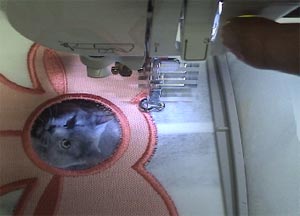
Carefully tear the stabilizer away from the inside of the photo ornament, where the picture will be placed.
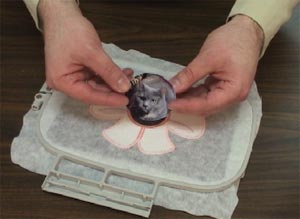
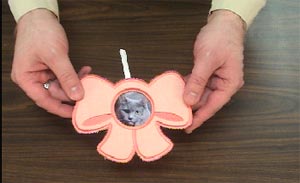
Cut the photo a little larger than the opening.
Tape the photo in place using double-sided tape.
You can also add ribbon to the ornament, although this step is optional.
If you wish to add ribbon, cut a piece of ribbon about six inches long and make a loop.
Tape the ends of the loop to the wrong side of the back fabric piece, about an inch from the edge.
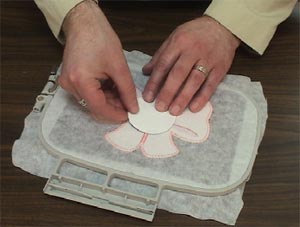
Spray the backside of the fabric piece with temporary adhesive.
Place that fabric on the backside of the embroidery, right inside the dieline.
Tape the ribbon to keep it out of the way during the rest of the embroidery.
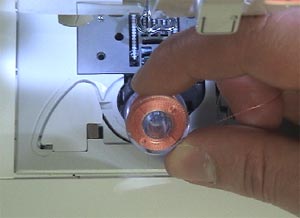
The remaining steps will be seen from the front and the back of the ornament. We've wound a bobbin with the same thread that we'll be using in the top needle to give the piece a nice, finished look.
Continue embroidering the design. A tack-down stitch will sew next, which binds the back fabric to the stabilizer and other fabric.
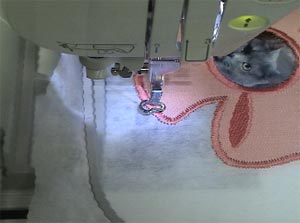
And finally, a satin stitch border.
If your machine has one last re-centering stitch, where the hoop returns to the center and the needle dips down to have the thread cut, then stop your machine before this action to avoid perforating your photo.
Tear the excess stabilizer away.
And it's "sew" fun and easy! They're easily slipped into greeting cards hang them in windows (and on Christmas trees!) or put magnets on the backside and display them all year long on your refrigerator.


