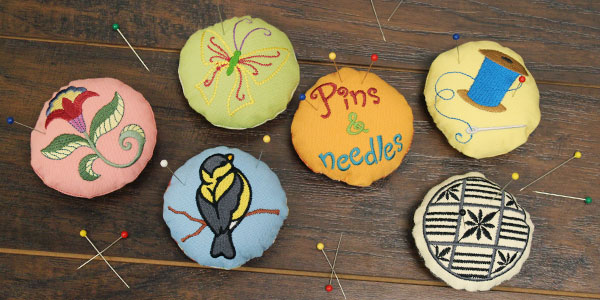
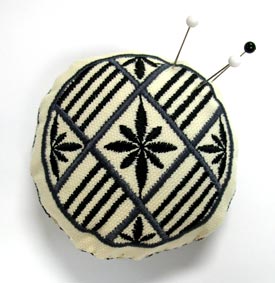
Bright and colorful in-the-hoop pincushions are a fabulous way to keep pins and needles close at hand while sewing. A variety of colors and styles let you personalize them for your own sewing room, or to use as gifts for the other stitchers in your life.
Finished size: 3" x 3"
Supplies
- 8" x 8" solid color canvas
- 8" x 8" print canvas
- Medium-weight (2.5 - 3 ounce) cutaway stabilizer
- Tearaway stabilizer
- Temporary spray adhesive (like Gunold's KK100)
- Polyester fiberfill
- Needle and thread for some hand sewing
Designs Used
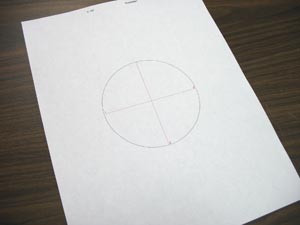
When you download the in-the-hoop pincushion design, you will find multiple files. Some are the embroidery files, and the others are dieline files marked with the letters "DL". Dielines are used to cut the fabric to the correct shape and size. Open and print each dieline file using an embroidery software. If you do not have an embroidery software, take a look at our helpful video on using dielines.
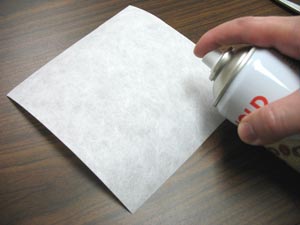
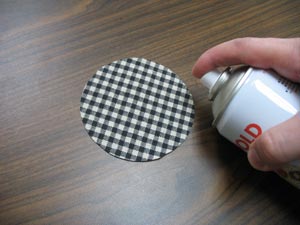
Spray a piece of cutaway stabilizer with temporary adhesive.
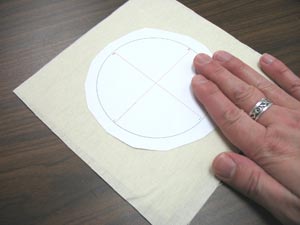
Cut a piece of the solid color fabric and smooth it on top of the stabilizer. Spray the back of a printed dieline with temporary adhesive, and smooth that on top of the fabric.
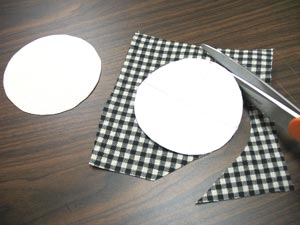
Cut out the shape. Then, prepare the back fabric. Spray the backside of the other dieline printout and smooth it on top of the print fabric. Cut out the shape. Note that the back fabric piece does not require stabilizer.
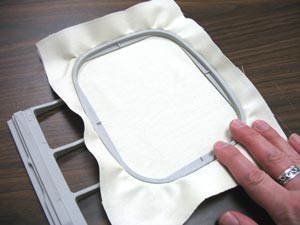
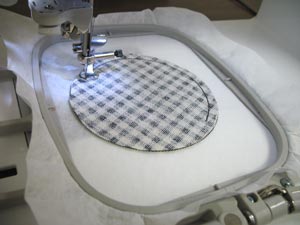
Now that the fabric pieces are cut and ready, it's time to embroider the pincushion. Hoop a piece of tear-away stabilizer. Note: When choosing tear-away stabilizer, choose stabilizer that is soft and fibrous. Steer clear of tear-away stabilizer that's stiff or feels too much like paper, as those will not yield good results.

Attach the hoop to the machine and load the full embroidery design (not the DL files). Embroider the design. The first thing to embroider will be an outline for the front fabric piece. Note: Use a size 11 or 75/11 sharp sewing needle, not an embroidery needle. A sewing needle has a smaller, finer point than an embroidery needle, and that will make smaller, finer perforations in the stabilizer.

Spray the backside of the front fabric piece (the solid color) with temporary spray adhesive.
Place the fabric right inside the sewn outline.

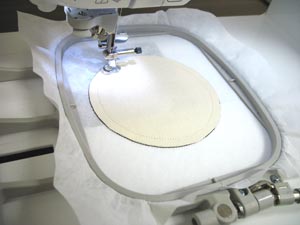
Continue embroidering the design, using the color change sheet as your guide. Other design elements will sew.
On the color change sheet, look for the note that says "finishing seam." When you get to this section, stop the machine and remove the hoop, but do not unhoop the stabilizer. Spray the right side of the back fabric piece with a couple of quick shots of spray adhesive along the outer edge.
Lay the back piece fabric on top of the embroidery, right side facing down. Attach the hoop to the machine and continue embroidering the design. A tack down finishing seam stitch will sew last.
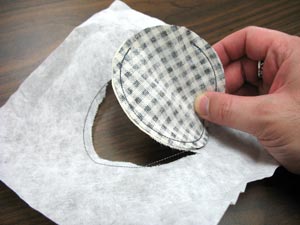
Unhoop the stabilizer and tear the excess stabilizer away.
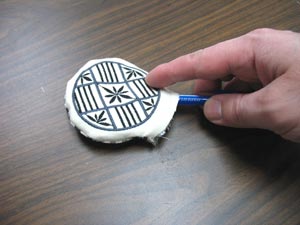
Turn the pincushion right side out through the opening at the bottom. Use the blunt end of a pen or pencil to gently mold the shape.
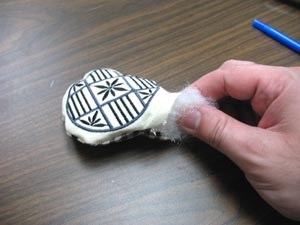
Stuff the pincushion with fiberfill. Fill until it's firm and holds a good shape. The more fiberfill you add, the better the pincushion will hold pins.
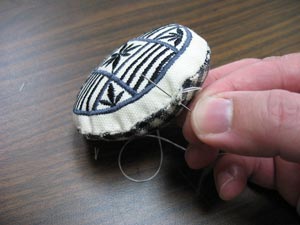
Fold the fabric of the opening in 1/4", and hand-stitch the opening closed.
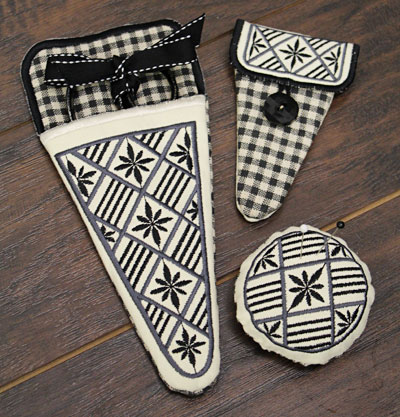
You can also make coordinating cases for your scissors, too! They come in both large and small sizes.


