
Whimsical and wonderful Placket Pals are just what you need to dress up a drab button-up shirt! You'll love embroidering these clever designs on either side of the shirt's button placket. From kids to adults, all ages will love the results of this placket project.
And, you can jazz up any shirt, placket or not, with these coordinating designs.
When you download a Placket Pal product, you'll find two designs marked with an "a" and a "b." The design for the left side is labeled "a" and the design for the right is labeled "b".
Supplies
Supplies needed:
** Button-up shirt, preferably without a pocket
** Medium weight, cut-away stabilizer
** Temporary spray adhesive
** Air-erase pen
** Ruler
Designs we used:
** Snowbirds and Birdhouses Placket Pals - Large - also available in Small
Designs Used

Placing the Designs
After the pre-washing and drying the shirt, lay it down flat. Create paper templates of the designs (both the "a" and "b" files) by printing them at full size using your embroidery software. Trim around the designs for easy placement.
Place the "a" design on the left side of the shirt and place the "b" design on the right side.
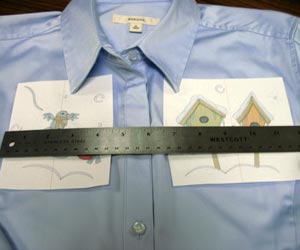
You can place the designs wherever you would like -- it's up to you! For this example, we placed the designs with the top edges about 3 1/2 inches from the top of the shoulder seam.
Use a straight edge (ruler) to align the designs next to one other. To do this, align the horizontal axis lines on each template with the straight edge.
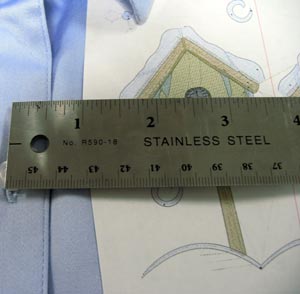
Measure equal distances between the inner edges of the designs (the edges facing the button placket), and then at the center of the placket.
(We chose to place our designs 1 1/2 inches from the center of the button placket.)
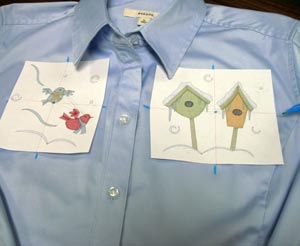
Using an air-erase pen, poke a hole in the center of the templates and mark the shirt. Also mark the horizontal and vertical axis lines of each template.
If you do not have an air-erase pen, you may use strips of masking tape and a regular pen. Lay strips of tape under the horizontal and vertical axis lines of the templates and mark the tape as instructed above.
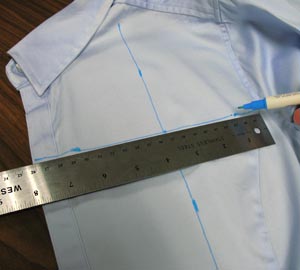
Remove the templates, unbutton the shirt, and draw lines connecting the axis points. These lines will be used for hooping.
Embroidering the Designs
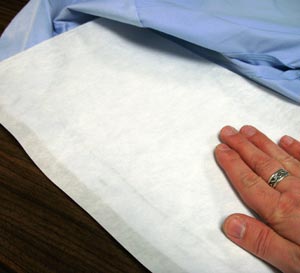
Turn the shirt over to the backside. Cut a piece of cut-away stabilizer that is a bit larger than your hoop. Spray the stabilizer with temporary adhesive and smooth the stabilizer onto the backside of the shirt, directly behind the center point on the front. Smooth out any wrinkles or bubbles.
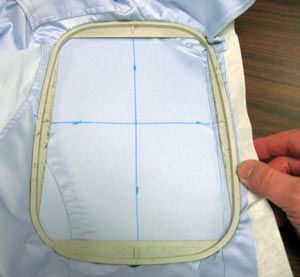
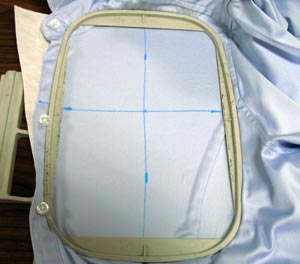
Hoop the shirt and stabilizer together by aligning the marks on the hoop with the lines on the shirt.
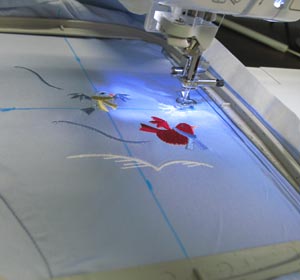
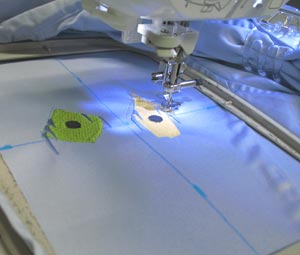
Attach the hoop to the machine and load the "a" file (left design). Align the needle over the center point on the shirt and embroider the design.
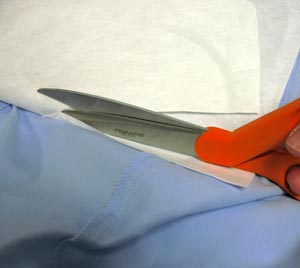
After the design has finished embroidering, carefully trim away the excess stabilizer, leaving about 1/4 inch around the design.
Hoop the right side of the shirt with cut-away stabilizer just as you did with the left side.
Attach the hoop to the machine and load the "b" file (right design). Align the needle over the center point on the shirt and embroider the design.
After the design has finished embroidering, carefully trim away the excess stabilizer leaving about 1/4 inch around the design.

And, there you have it --Placket Pals placed to perfection!


