Never lose the remote between the cushions again!
The front of this pillow holds a wealth of beautiful paisley embroidery, but the back is where the action is! Pockets! Pockets to hold the remote, or anything else that might get lost between the cushions of your sofa.
Supplies
Supplies needed:
-
18-inch square pillow form
-
5/8 yard of plain weave fabric. The fabric should be similar on both the right and wrong side.
-
4 tassels -- the ones we used are called Turks head tassels
-
5/8 yard of trim
-
Hand needle with a large eye and some heavy button and carpet thread
-
Marking pen, or marking tool of your choice
Embroidery Designs from Embroidery Library:
Designs Used
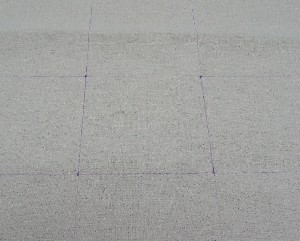
On one half of the fabric, mark a 7-inch square, leaving at least 6 inches of room on all sides. Extend the lines out to help with hooping.
Each corner of the square will be a center point of one of the paisley square designs.
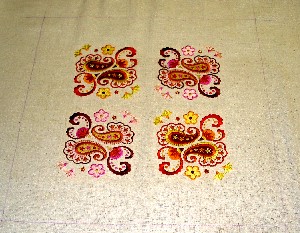
Center each paisley square design on one corner point, and match the lines up with the center markings on the sides of your hoop.
Sewing the designs
For the top left and bottom right designs, we sewed them out at the original file orientation. For the top right and bottom left designs, we rotated them 180 degrees and changed the colors slightly for variation.
After sewing all four designs, mark a 19-inch square, around the centered embroidery.
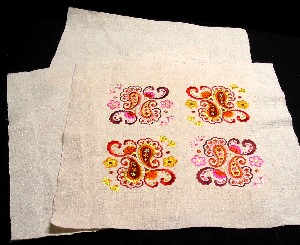
Cut out the marked square, and then use it as a pattern for another 19-inch square.
Then mark and cut out another rectangle that is 19 inches high and 12 inches wide.
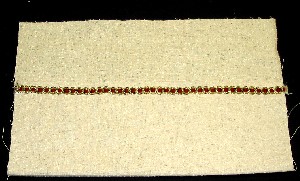
Hem one side of the plain 19-inch square and one long side of the rectangle
Stitch the trim along the finished hemmed edge of the plain 19-inch square, about a half inch from the edge.
Fold the hemmed edge up to make a 6-inch-high pocket. Crease the fold line. The trim should face up.
Divide the pocket in half and stitch a divider down the center of the pocket.
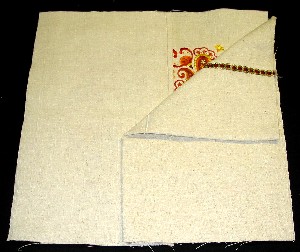
Lay out the embroidered square with the embroidery facing up.
Lay out the rectangle over one side of the large square, with the right side down, and the cut edges matching the edges of the square. Lay out the pocket piece on the opposite side of the square in the same manner.
Use a half-inch seam allowance to stitch the layers together around the entire outer edge.
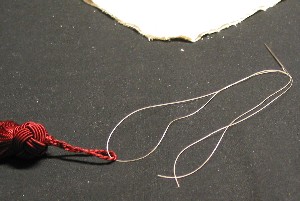
Cut a length of the button and carpet thread. Put one end of the thread through the loop of a tassel and then thread the needle with both ends of the heavy thread.
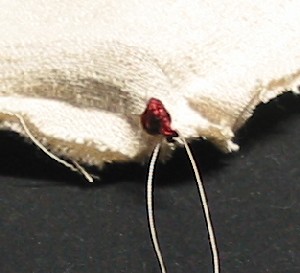
At the corner of the pillow cover, and from the back side, poke the needle through the fabric very close to a corner, and work the loop of the tassel through the fabric.
Tie a knot in the tassel loop to secure the tassel in place.
Repeat at each corner.
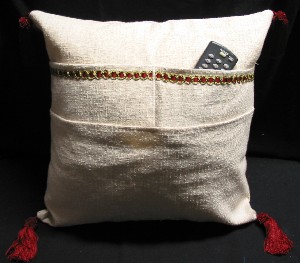
Turn the pillow cover right side out through the overlapping rectangles.
Insert the pillow form through the overlapping rectangles.
Tuck the remotes (and your bell or whistle) in the pockets.
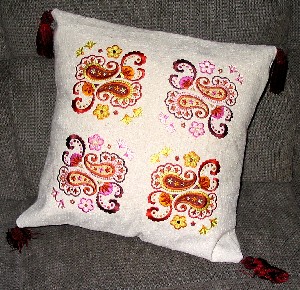
I love that I no longer have to hunt for the remote among the seat cushions. And, when the pillow is turned over, the things tucked into the pockets are out of sight!


