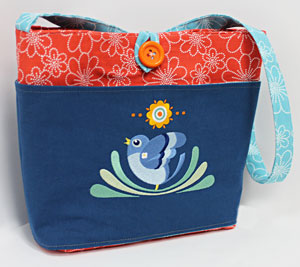
Betsy sent photos of her adorable bag, and the fans on the Facebook page were thrilled to see it. We asked Betsy how she made her bag, and she kindly shared the steps.
Betsy's bag has multiple pockets, very good for carrying essentials in an organized way. The large outer pockets on either side, and the smaller pockets inside, are perfect for easily finding what you need. Book, phone, coin purse, pens -- there's a spot for all these.
Read on for instructions to create your own personalized pockets aplenty bag. Our sincere thanks go to Betsy for generously sharing her idea and instructions!
Supplies
Supplies Needed:
**1/3 yard solid-colored fabric (for outer pockets; I used lightweight canvas)
**3/4 yard print fabric (for sides and inner lining; I used lightweight canvas)
**1 yard print fabric (for inner lining of outer pockets, inner pockets, and strap; I used lightweight canvas)
**Two 15" wide by 13" high pieces of medium weight stiff fusible interfacing
**Medium weight cutaway stabilizer
**Temporary spray adhesive
**1 1/4" button
**Needle and thread for some hand sewing
Designs Used:
I used the large size of the Bluebirds of Happiness Design Pack. Designs from the Flutterby Fancy Design Pack and Asian Water Color Squares would be very nice on this bag, too.
Finished Size:
12" wide by 10" high by 4 1/2" deep
Designs Used
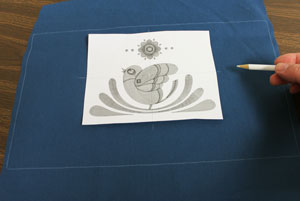
First, I will prepare the fabric for the outer pockets. Draw a
Create a paper template of the design by printing it at full size using embroidery software. Position the template on the fabric within the shape where you want it. Keep the outer edges of the design at least one inch from the outer edges of the shape.
I positioned the template with the outer edges of the design about 1 1/4" from the top edge of the shape and with the design centered side to side (measure equal distances between the outer side edges of the design and the side edges of the shape). Then, using an air-erase pen or other marking tool, poke a hole in the center of the template and mark the fabric. Also, mark the horizontal and vertical axis points.
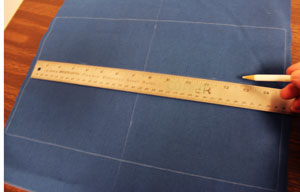
Remove the template and draw lines connecting the marks.
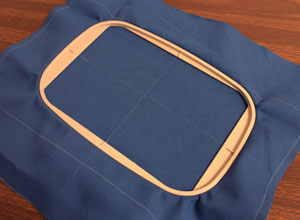
Next, spray a piece of medium weight cutaway stabilizer with temporary adhesive and smooth the fabric on top. Hoop the fabric and stabilizer together by aligning the marks on the hoop with the lines on the fabric. Attach the hoop to the machine and load the design. Move the hoop so that the needle is directly over the center point on the fabric, and embroider the design.
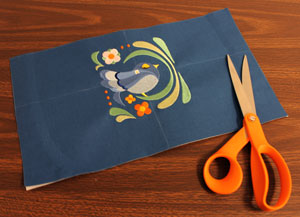
When the design has finished, cut out the shape. I left the stabilizer on the backside of the embroidery to help give the fabric more support. Repeat this process for a total of two embroidered outer pocket fabric pieces.
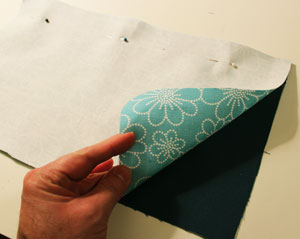
To prepare the inner lining of the outer pockets, cut two pieces of fabric to
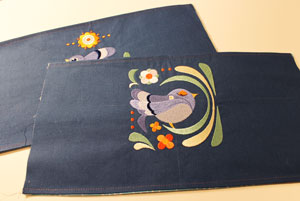
Turn the fabric right side out, press the seams with an iron, and top stitch a 1/8" seam along the top and bottom long edges of the pockets.
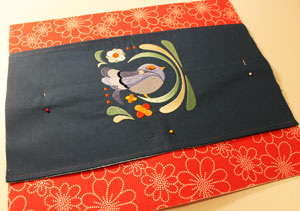
Next, to prepare the fabric for the sides of the bag, cut two pieces of fabric to
Lay the fabric pieces flat with the right sides facing up. Align the pocket pieces on top of the fabric (right side facing up) with the bottom edge of the pockets 2 1/2" from the bottom edges of the side fabric. Pin in place and sew a 1/8" seam along the bottom edges of the pockets.
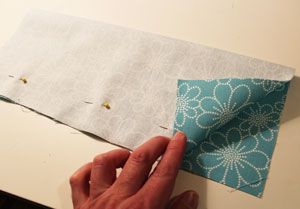
To prepare the inner pockets, cut two pieces of fabric to
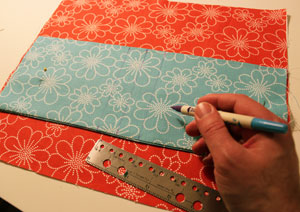
Next, to prepare the inner lining fabric, cut two pieces of fabric to
Also, to segment the pockets, measure and mark the fabric on the top and bottom edges and draw lines connecting the marks. Sew a seam along each line. For perfect sized pen pockets, draw the lines about one inch apart from each other.
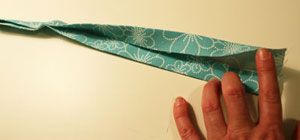
To prepare the strap, cut a piece of fabric to
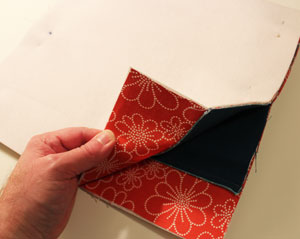
Now that all the pieces are ready, it's time to assemble the bag! To assemble the outer shell, align the side/outer pocket pieces together, right sides together, pin in place, and sew a 1/2" seam along the side and bottom edges only.
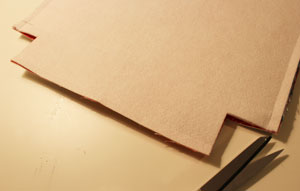
Then, on each bottom corner, measure, mark, and cut out a
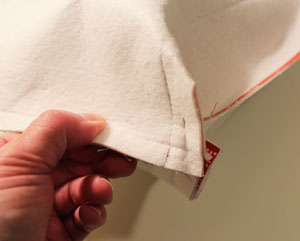
Align the side seams together, pin in place, and sew a 1/2" seam along each corner (this creates the bottom of the outer shell). Turn the outer shell right side out. Next, assemble the inner lining just as you did the outer shell.
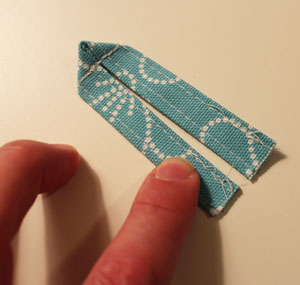
To prepare the button loop, cut a piece of fabric to
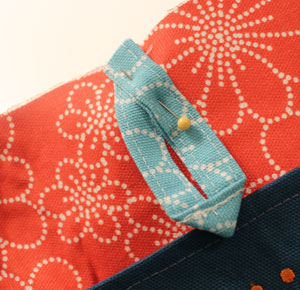
Overlap the ends of the loop and pin it in place along the center top edge of one of the sides of the outer shell with the raw edges of the loop extending about 1/4" past the top edge of the fabric. Tack in place with a few stitches.
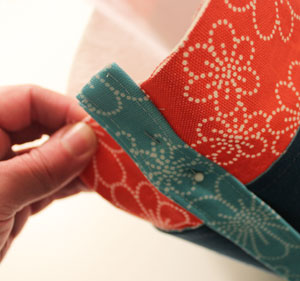
Next, pin the strap in place along the side seams of the outer shell with about 1/4 of the strap extending past the top edge of the fabric.
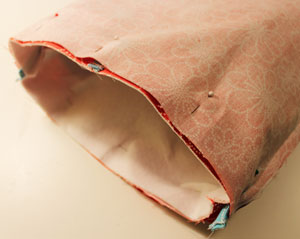
Insert the outer shell and handle inside the inner lining, right sides together, pin in place and sew a 1/2" seam along the top edge leaving about

Next, measure and mark about 1 1/4" down from the top center on the opposite side from the button loop. Sew the button in place at the mark. And you are done!

Pick your favorite embroidery designs and fabrics, and create a stylish and sturdy handbag with lots of room for what you need to bring along. This handbag will quickly become your "go-to" bag for everything you need to take on the go!


