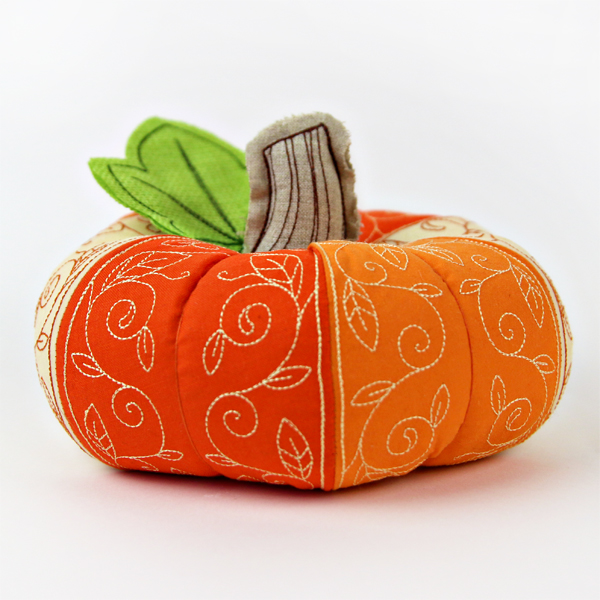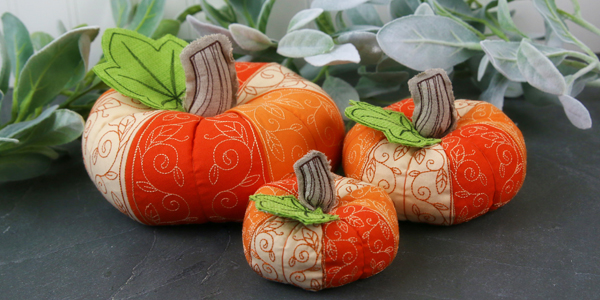
Welcome fall with a harvest of plush patchwork pumpkins! Just stitch each delicately decorated section in the hoop, then assemble and stuff. Stitch up a charming harvest of these little pumpkins to fill your home and give as gifts!
Supplies
Project Needs & Notes:
- 1/3 yard of quilter's cotton, linen or twill (for sides - color 1)
- 1/3 yard of quilter's cotton, linen or twill (for sides - color 2)
- 1/3 yard of quilter's cotton, linen or twill (for sides - color 3)
- 1/3 yard of quilter's cotton, linen or twill (for sides - color 4)
- 1/3 yard of quilter's cotton, linen or twill (for sides - color 5)
- Heavy-duty thread (for hand sewing)
- Sewing thread to match all fabric colors
- Hand sewing needle
- Polyester fiberfill
- Temporary spray adhesive (such as Gunold's KK100)
- Tear-away stabilizer
- Hot glue gun
Designs featured in this tutorial include:
- X4269, Pumpkin Patch Stuffie (In-the-Hoop)
Finished size:
- about 7" wide by 4" high for large
- about 5" wide x 3" high for medium
- about 4" wide x 2.5" high for small
Designs Used
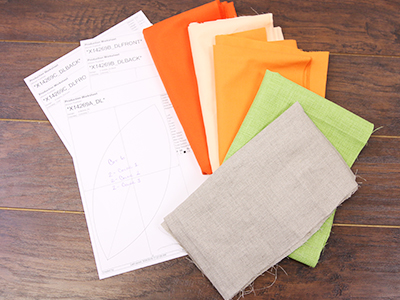
This in-the-hoop design has eight files. Three are the full embroidery files. The other five are dieline files marked with the letters DL. Dielines are used to cut the fabric to the right shape and size.
Open the dieline files with embroidery software and print them. If you do not have embroidery software, Wilcom TrueSizer is a free program to use.
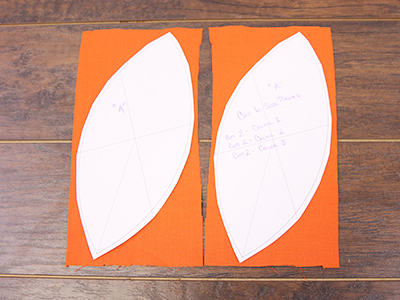
First cut around the paper dielines. Spray the back side of the paper dielines with temporary adhesive, and smooth them onto the correct fabrics.
Use dieline "A" to cut out two side pieces from each of the three shades of orange, for the pumpkin. "B" (for the stem) will use the brown fabric, and "C" (for the leaf) will use the green fabric.
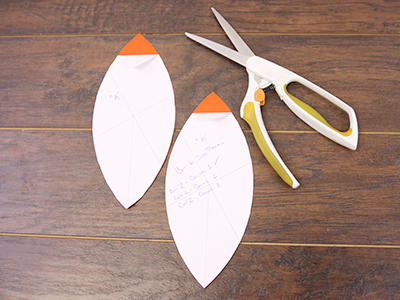
Then cut out the shapes from the fabric, and label them, so they will be easy to identify later. Fold back one corner of the paper dieline as well to make it easier to remove later.
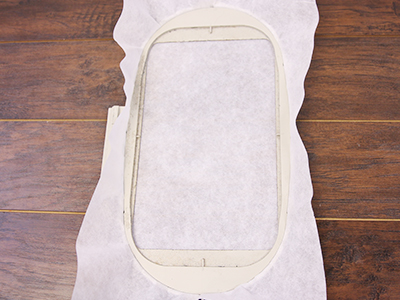
Now that the fabric pieces are cut to the proper shape and size, it's time to embroider the design. Hoop a piece of tear-away stabilizer. Madeira E-Zee Tear 1.5 oz. or Floriani Tearaway Medium are good choices. Those brands are more fibrous, less paper-like, and will tear more cleanly.
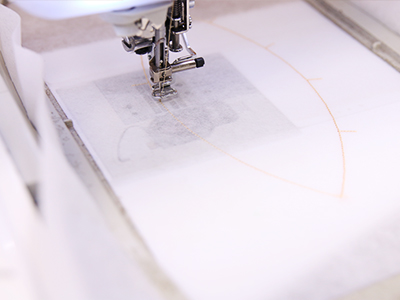
Attach the hoop to the machine and load the full embroidery design (not the dieline files) for the first side of the pumpkin (file "A").
Use a size 11 or 75/11 sharp sewing needle, rather than an embroidery needle. A sharp sewing needle has a smaller, finer point than an embroidery needle, so that will make smaller perforations in the stabilizer.
Embroider the design. The first thing to embroider will be a dieline or outline. This marks the area on the stabilizer for the fabric piece.
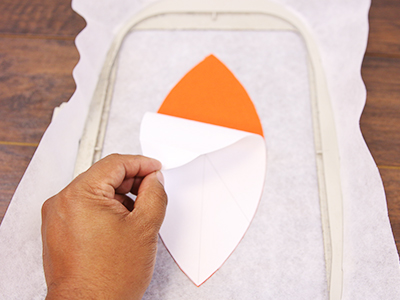
Remove the hoop from the machine, but do not unhoop the stabilizer. Spray the back side of the fabric piece with a small amount of temporary adhesive. Place the fabric right inside the sewn outline.
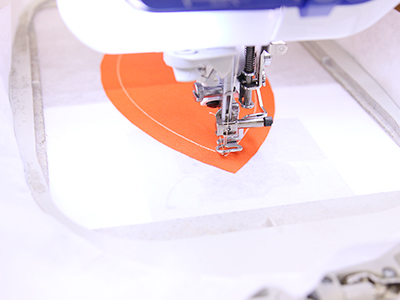
Attach the hoop back onto the machine and continue embroidering. A tackdown will sew next to hold the fabric in place for the rest of the design.
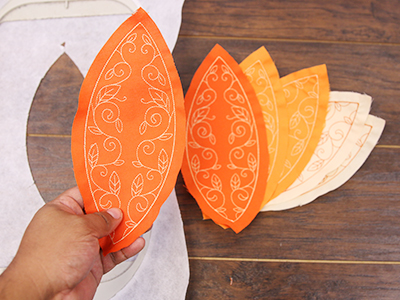
Once the embroidery is finished, remove the excess stabilizer from around the design. Repeat these steps for the five other side pieces of the pumpkin.
To make turning the pumpkin right side out easier, and to create a softer pumpkin, you can remove the stabilizer from the back of the fabric pieces as well.
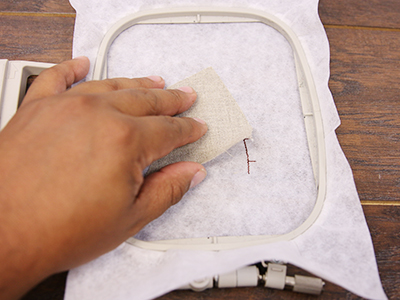
Next, it's time to embroider the stem (file "B"). Hoop a piece of tear-away stabilizer, load the file, and start embroidering. Watch the color change sheet, and add the front fabric piece before sewing the step labeled "front tackdown."
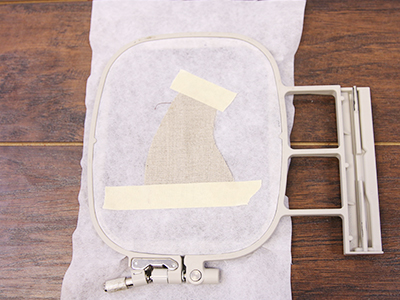
Embroider the "front tackdown" and then continue sewing the design. Stop the machine again before sewing the "back tackdown" step. Remove the hoop from the machine, but do not unhoop the stabilizer. Flip the hoop over, add tape to the edges of the back fabric piece, and place it inside of the embroidered shape on the back of the hoop.
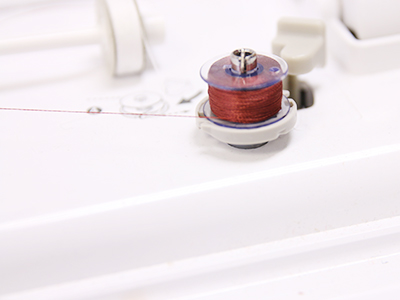
Since both sides of the stem can be seen, wind a bobbin with the same thread used in the needle.
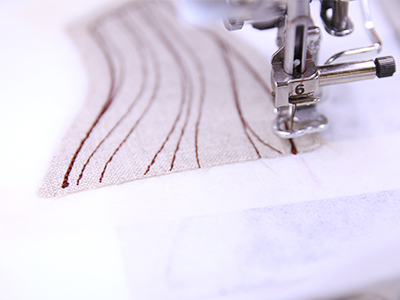
Place the hoop back on the machine. A final tack down will sew.
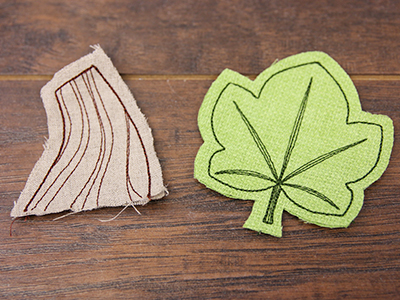
Once the embroidery is finished, tear away the excess stabilizer. Then repeat the previous steps to embroider the leaf (file "C"). This piece will stitch exactly like the stem did.
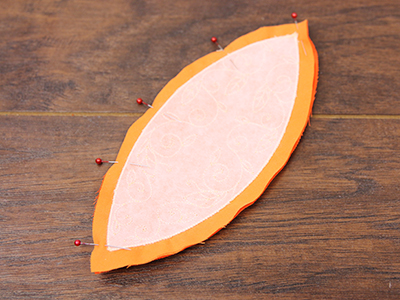
To assemble your plush pumpkin, first take two side pieces, (colors 1 & 2), and match up the edges with right sides together. Pin along one curved side. Then sew a 1/4" seam along the pinned side.
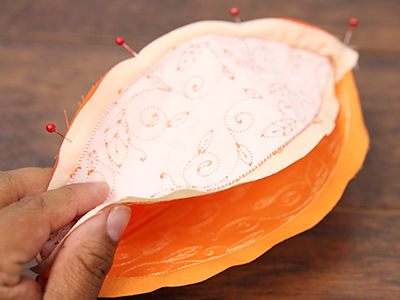
Next, repeat to match up and pin one side piece (color 3) onto the open edge of side (color 2). Sew a 1/4" seam along the pinned side.
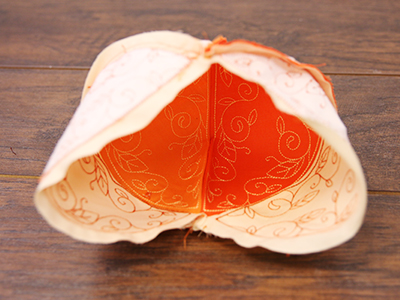
Then repeat again to pin and sew the second side (color 1) onto the open edge of side (color 3). Repeat to also sew second side (color 2) onto the open edge of side (color 1).
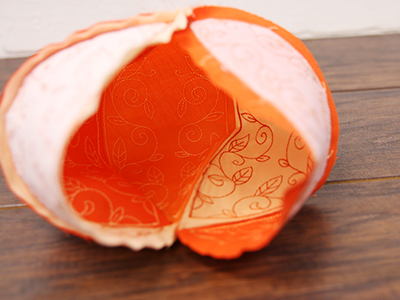
Finally, add the last side piece. Sew the second side (color 3) onto the open edge of side (color 2).
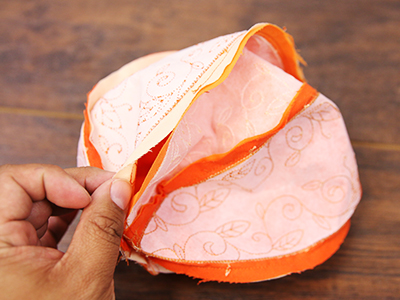
Next, match up the final two open edges, and pin them together. Sew a 1/4" seam, and make sure to leave a 2" opening for turning and stuffing plush.
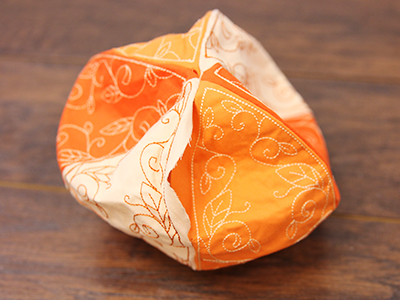
Turn the pumpkin right side out through the opening. It will be round in shape like a ball.
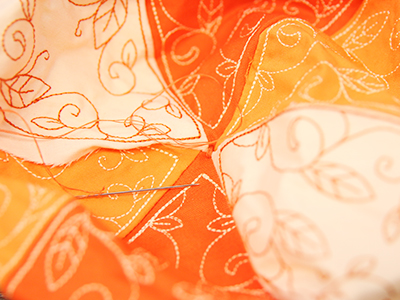
Locate the center top and center bottom where all the sides meet at a point. Match the two center points up, and bind them together by hand sewing through the entire pumpkin with a heavy-duty thread. This will create the puffed shape of the pumpkin.
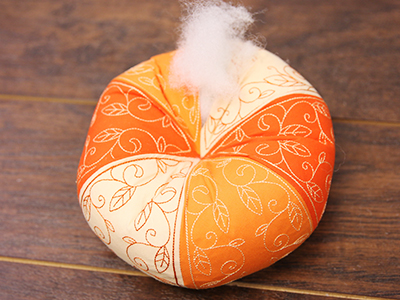
Then, stuff the pumpkin with polyester fiber fill, and hand sew the opening closed.
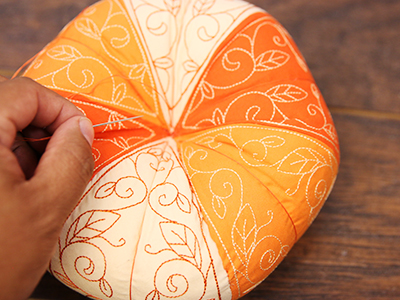
To create a ribbed effect on your pumpkin, thread a hand sewing needle with a heavy-duty thread, and sew once through the center of the pumpkin. Then loop around the outside of the pumpkin, centering the thread on one side. Sew through the center again, pull the thread tight, and tie off the thread. Repeat to sew around each of the six side pieces to fully create the ribbing effect.
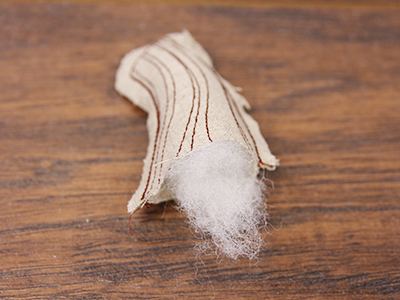
Then stuff the stem with polyester fiber fill.
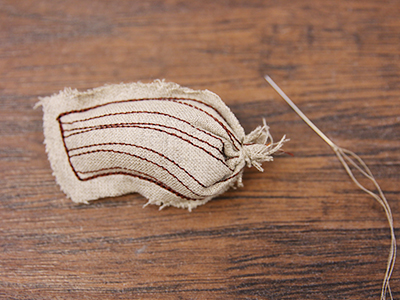
Hand sew a gathering stitch along the open edge, and then pull it shut to gather the bottom edge together. Sew the gather securely in place, and then tie off the thread.
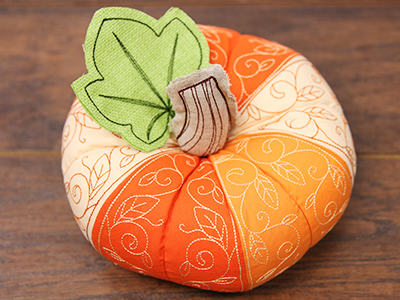
Using a hot glue gun or hand sewing needle and thread, secure the stem in place over the top center of the pumpkin. Then secure the stem of the leaf alongside the pumpkin's stem.
This completes the pumpkin stuffie. Repeat these steps to make a garden of pumpkins in a variety of sizes and fabrics.
