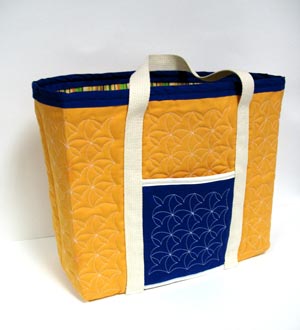
It's roomy, big, spacious -- and did we say "big"? Quilted with fast and simple Sashiko designs, this tote bag holds plenty of goodies. Use it for trips to the grocery store, garage saling, and for taking materials and supplies to sewing and embroidery classes!
Read on for free instructions:
Supplies
Supplies Needed:
**1/2 yard quilter's cotton (for pockets)
**2 yards twill, denim, or lightweight canvas (for sides)
**2 1/2 yards cotton or nylon strapping for handles or 3 yards for shoulder straps (our strapping is 1 1/4 inches wide)
**1 1/2 yards quilt binding
**1 yard extra-wide double-fold bias tape
**Four 23 1/2 inch by 18 inch pieces of low loft batting (for sides and bottom portions)
**Lightweight batting (for pockets, we used Warm and Natural)
**Temporary spray adhesive (we use KK100)
**Simple, single-run Sashiko designs. We used the 6" square designs for this project. You can use other sizes; adjust the instructions below if appropriate.
**Air-erase pen (or other marking tool)
**Needle and thread for some hand sewing
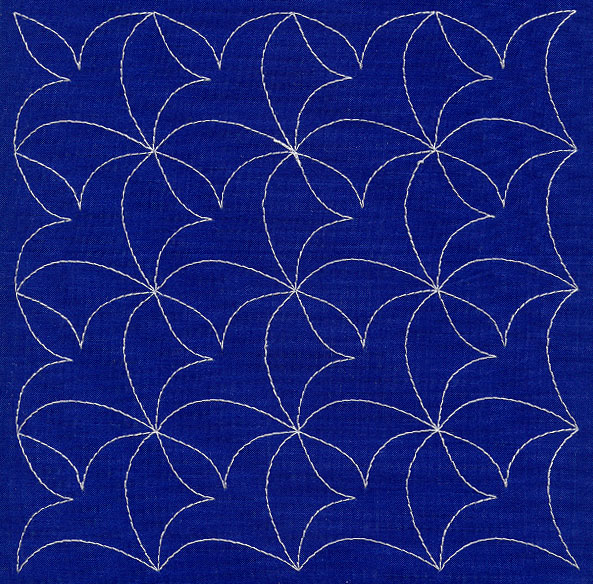
Designs used:
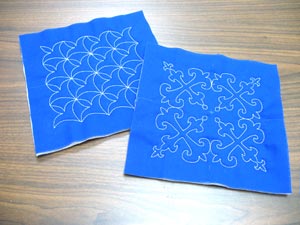
We used the classic, one-color Sashiko designs for this project.
Designs Used
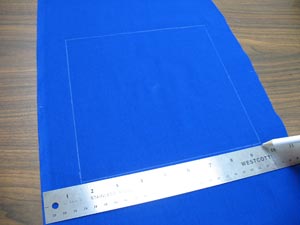
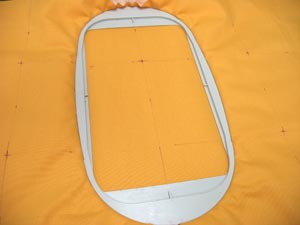
First, prepare the pocket fabric for embroidery.
Draw an 8 inch by 8 inch square on the quilter's cotton. Be sure to leave a little excess fabric around the square so the fabric can be hooped.

Find the exact center of the square by measuring and marking each side and dividing by two.
Then, draw lines connecting the marks. Where the lines meet is the center of the square.
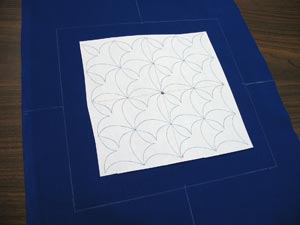
If you have embroidery software, print a template to use for placement. If you don't have embroidery software, you can cut a piece of paper the shape and dimensions of the design to help with placement and centering.
Poke a hole in the center of the template and align it with the center mark on the square. Make sure there is at least one inch of space between the edges of the design and the edges of the shape.
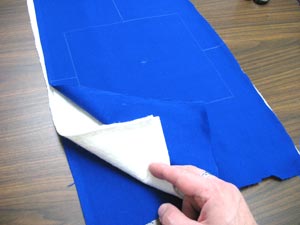
Cut two pieces of lightweight batting and another piece of quilter's cotton. These pieces should be the same size as the piece of quilter's cotton that you marked in previous steps.
We are using lightweight batting for the pockets to prevent them from being too bulky.
Lay the unmarked cotton fabric down first with the batting on top. Then, lay the marked cotton on top of the batting, right side up.
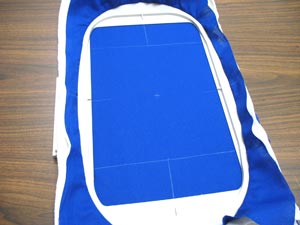
Hoop all the layers together by aligning the marks on the hoop with the lines on the fabric.
No stabilizer is necessary, the layered fabric and batting will provide sufficient support for the design.
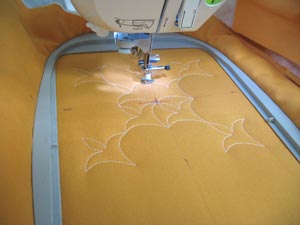
Attach the hoop to the machine and load the design.
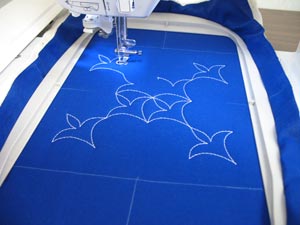
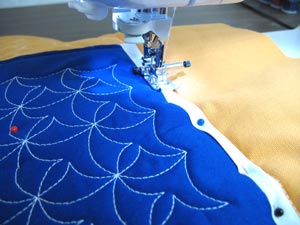
Move the hoop so the needle is directly over the center point on the fabric, and embroider the design.
We used a 75/11 needle with the 30 weight cotton thread. The 30 weight thread is thicker than 40 weight rayon or polyester, but we did not find that any changes to the thread tension settings were necessary.
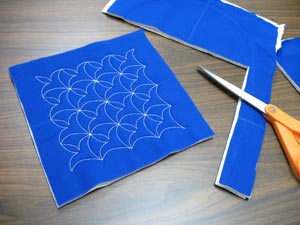
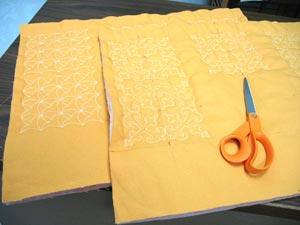
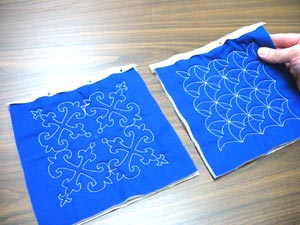
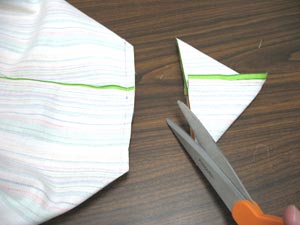
After the design has finished, cut out the shape.
Repeat the previous steps above and make a second square.
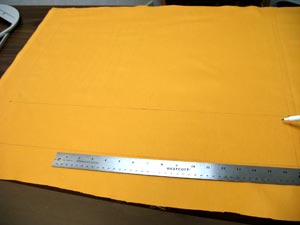
To prepare the fabric for the large sides and bottom of the tote, measure and mark a 23 1/2 inch wide by 18 inch high rectangle on the twill fabric. Cut the shape but leave about three inches of excess fabric around the shape for hooping.
Then, measure and mark 4 inches up from the bottom corners on the right and left side of the rectangle. Draw a line across the fabric connecting these marks.
The area below the line will become the bottom portion of the tote.
If you have embroidery software, print templates to use for placement. Again, if you don't have embroidery software, you can cut a piece of paper the shape and dimensions of the design to help with placement and centering.
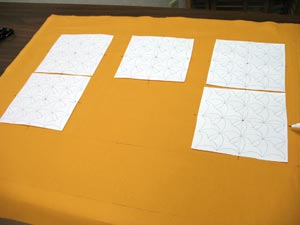
We will place five designs around the top and sides of the upper rectangle shape (the top portion will become the large side of the tote).
The center bottom of the upper shape will be left blank, this is where we will place the pocket.
Place the center design first. Mark the center on the top edge of the shape by measuring and dividing by two. Align the top center of the template with the mark of the top edge of the shape. Place the design about 1 1/2 inches from the top edge of the shape.
Place the remaining designs about 1 1/2 inches from the top edge of the shape and about 3/4 inches from the sides of the shape. Also, be sure to leave about 1/2 inch of space between the bottom edges of the designs on the top portion and the designs directly below.
Poke holes in the center of the designs and mark the fabric. Also, mark the horizontal and vertical axis lines of each template.
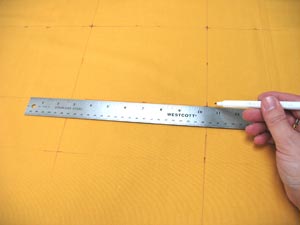
Remove the templates and draw lines connecting the axis points. These lines will be used for hooping.
Cut a second piece of twill and two pieces of low loft batting to the same size as the marked fabric.
Lay the unmarked twill down first with the two layers of batting on top. Then, lay the marked twill on top of the batting.
We sprayed the twill and batting with a bit of spray adhesive to help keep the layers in place.
Hoop all the layers together (for the first design) by aligning the marks on the hoop with the lines on the fabric.
Attach the hoop to the machine and load the design.
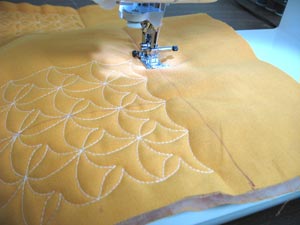
Move the hoop so that the needle is directly over the center point and embroider the design.
After the first design has finished, unhoop the fabric and re-hoop for the next design.
Embroider the design. Repeat the re-hooping and embroidering for each design.
Create two large sides for the tote by repeating the cutting, layering, marking, and embroidering process a second time.
After both large sides are complete, trim away the excess fabric around the shape.
To ensure the layers fold properly later on, sew a seam across the bottom line on each piece.
The fabric will be folded along these lines to create the bottom of the tote.

Also, sew a seam 3 1/2 inches in from both of the top corners starting from the top edge of the shape down to the bottom seam.
The fabric will be folded along these lines to create the sides of the tote.
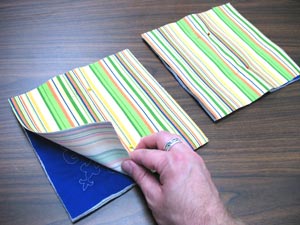
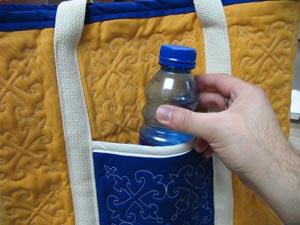
Now it's time to finish the pockets.
Cut two pieces of the print canvas 8 inches by 8 inches. Align the canvas pieces with the embroidered pocket fabric, wrong sides together and pin in place.
Cut two 9 inch strips of the bias tape. Wrap the tape around the top edge of the pockets and pin in place.
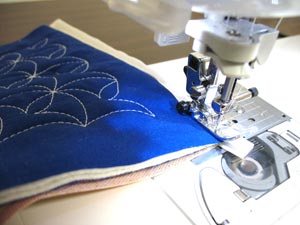
Sew a seam along the inner edge of the tape on both pockets.
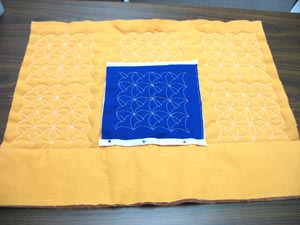
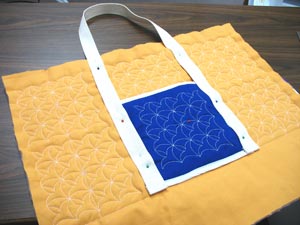
To attach the pockets, align the bottom edge of the pocket with the bottom seam on the large side pieces.
Also, align the centers of the pockets with the centers of the side pieces. Cut two more 9 inch lengths of bias tape and wrap it around the bottom edges of the pockets.
Pin in place.
Sew a seam along the inner edge of the bias tape on the bottom of the pocket.
This attaches the tape to the bottom of the pocket and will also attach the bottom of the pocket to the large side piece.
To add the straps, cut two 46 inch lengths of strapping for handles or two 54 inch lengths for shoulder straps.
Turn the ends of the straps over 1/2 inch and align the ends of the folded sides with the bottom seam of the large side pieces.
Lay the strapping flat with the sides of the pockets tucked under the strapping about 1/2 inch and pin in place.
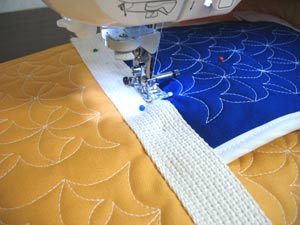
Sew a 1/4 inch seam along the sides and bottom of the strapping leaving about 1 1/2 inches open between the straps and the top edge of the side pieces.
Align the side pieces together right sides facing each other. Pin in place and sew a 1/2 inch seam around the sides and bottom. Be sure to leave the top edges open.
Don't forget to keep the straps out of the way when sewing.
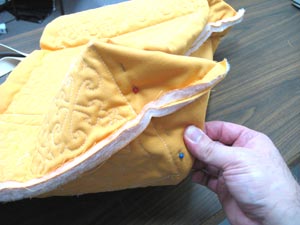
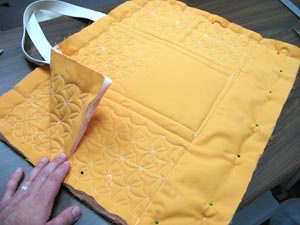
To create the sides and bottom, align the side and bottom seams together on both bottom corners, this will create a triangle shape at the corner.
Fold the fabric together so that there are 4 inches between the tip of the triangle and the existing bottom seam.
Pin in place.
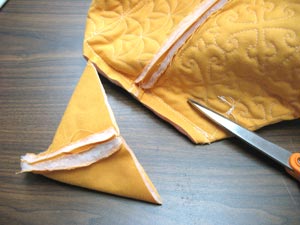
Sew a seam following the existing bottom seam and then trim away the excess leaving about 1/2 inch behind.
Turn the tote right side out.
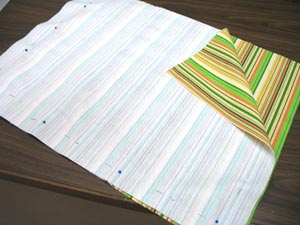
It's now time to prepare the inner lining. Cut two pieces of the print canvas 23 inches by 17 1/2 inch. Align the pieces together, right sides together, and pin in place.
Sew a 1/2 inch seam along two of the short sides and one of the long sides. Leave the other long side open.
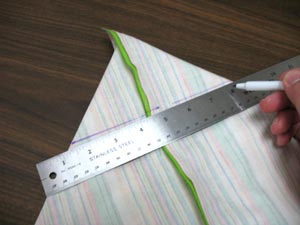
Align the side and bottom seams together on each bottom corner as you did before.
Measure 4 inches down from the tip of the triangle along the side seam and make mark.
Draw a line across the fabric perpendicular to the seam.
Trim away the excess fabric about 1/2 inch out from the line.

Insert the inner lining inside the tote with the wrong sides together and the top edges aligned.
Keep the handles hanging outside of the tote.
Pin in place.
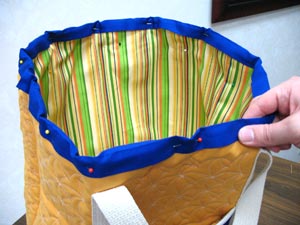
Add trim to the top by cutting 46 inches of quilt binding and wrapping it around the top edges of the tote and the inner lining (fold the ends of the binding under 1/2 inch before adding it to the tote).
Pin in place.
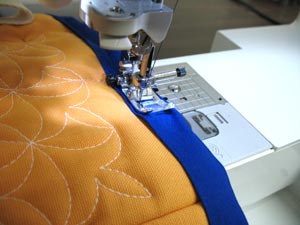
Sew a 1/4 inch seam along the inner edge of the binding all the way around the top edge of the tote.
Remember to keep the handles out of the way when sewing.
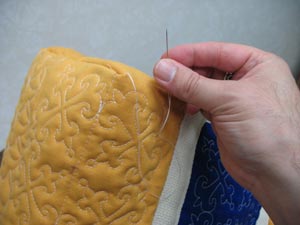
Hand sew the bottom of the lining in place with needle and thread.
Sew a few stitches in each corner of the tote by starting inside the tote and sewing to the outside corners.
The Quilted Town Tote is now complete!
Give the tote to someone special or keep it for your own collection! Either way, it's a stylish bag that can be taken anywhere and filled to the brim with necessities.


