SALE EXTENDED! Treat yourself to 70% off Storewide! Click the deals tab for details.
 SALE EXTENDED! Treat yourself to 70% off Storewide! Click the deals tab for details.
Elegant toile embroidery really puts us in the holiday spirit! One color designs make embroidering a dream, while the low stitch count makes them perfect for quilting through the layers of this musical creation.
The song The 12 Days of Christmas floated through my mind, while I sewed this beauty, so come sing along with me! ♫♫♫
Supplies
Supplies needed:
-
1 1/4 yards of each: Top fabric, plain backing fabric, and decorative backing fabric.
-
45" by 45" piece of light-weight quilt batting.
-
3 2/3 yards of decorative trim
-
Bias tape
Embroidery designs from Embroidery Library:
- 12 days of Christmas Toile (large size), Paisley (Toile)
Designs Used
Instructions:
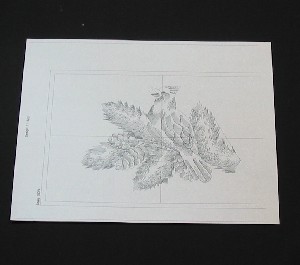
Print out full size templates of each of the 12 days of Christmas designs. I also printed 3 of each of the word designs and 5 each of the paisley designs.
I print out multiple copies so that I can experiment with design placement to get exactly the look that I want.
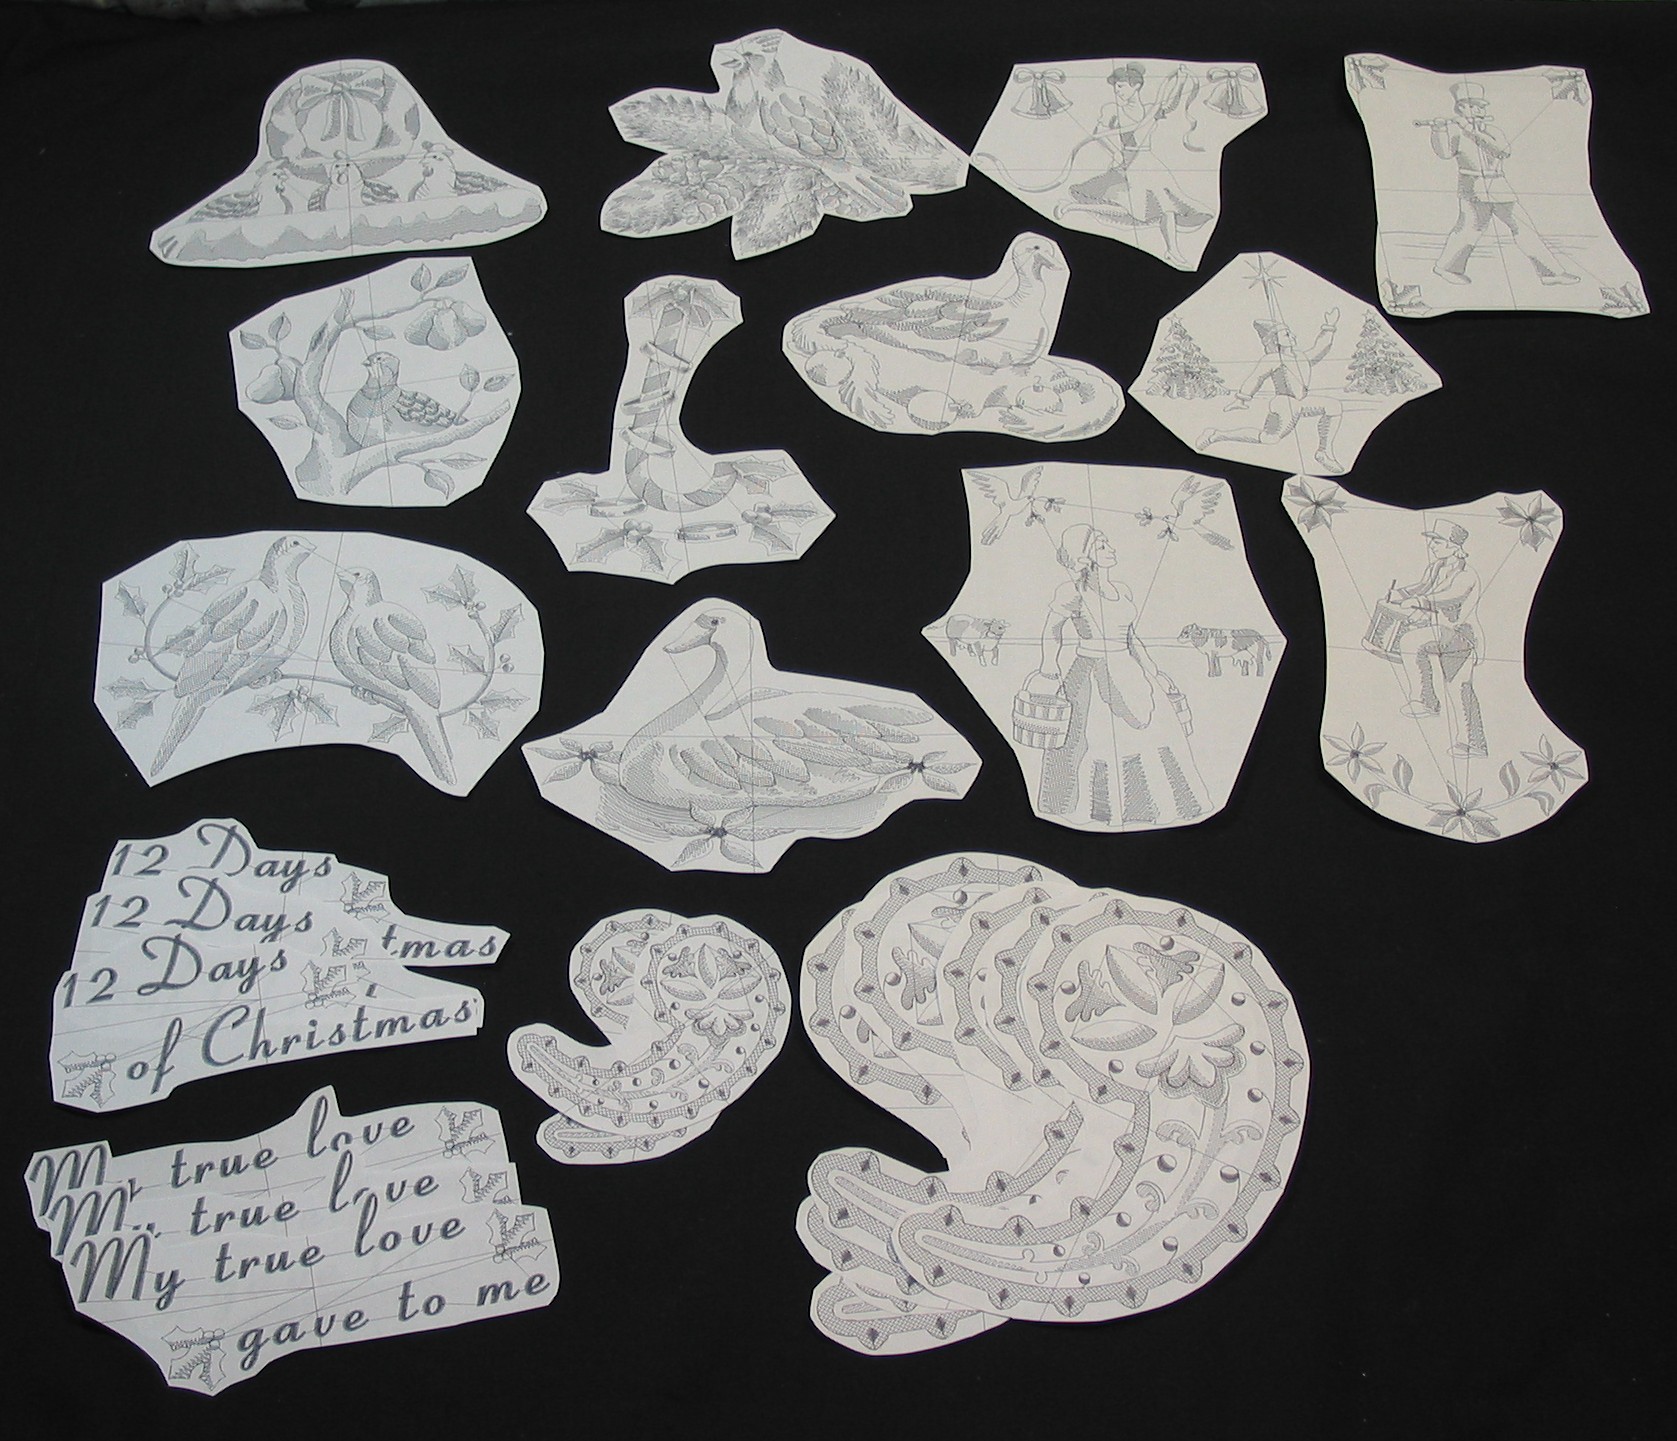
Cut out each template around the outer edge of the design.
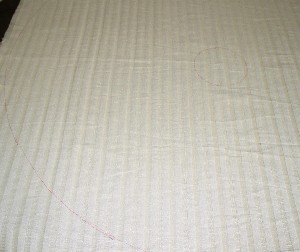
On your top fabric, mark a center point. From that point, mark 2 circles: the center circle is 5" in diameter and the large outer circle is 42" in diameter. The center circle is where the tree trunk will go.
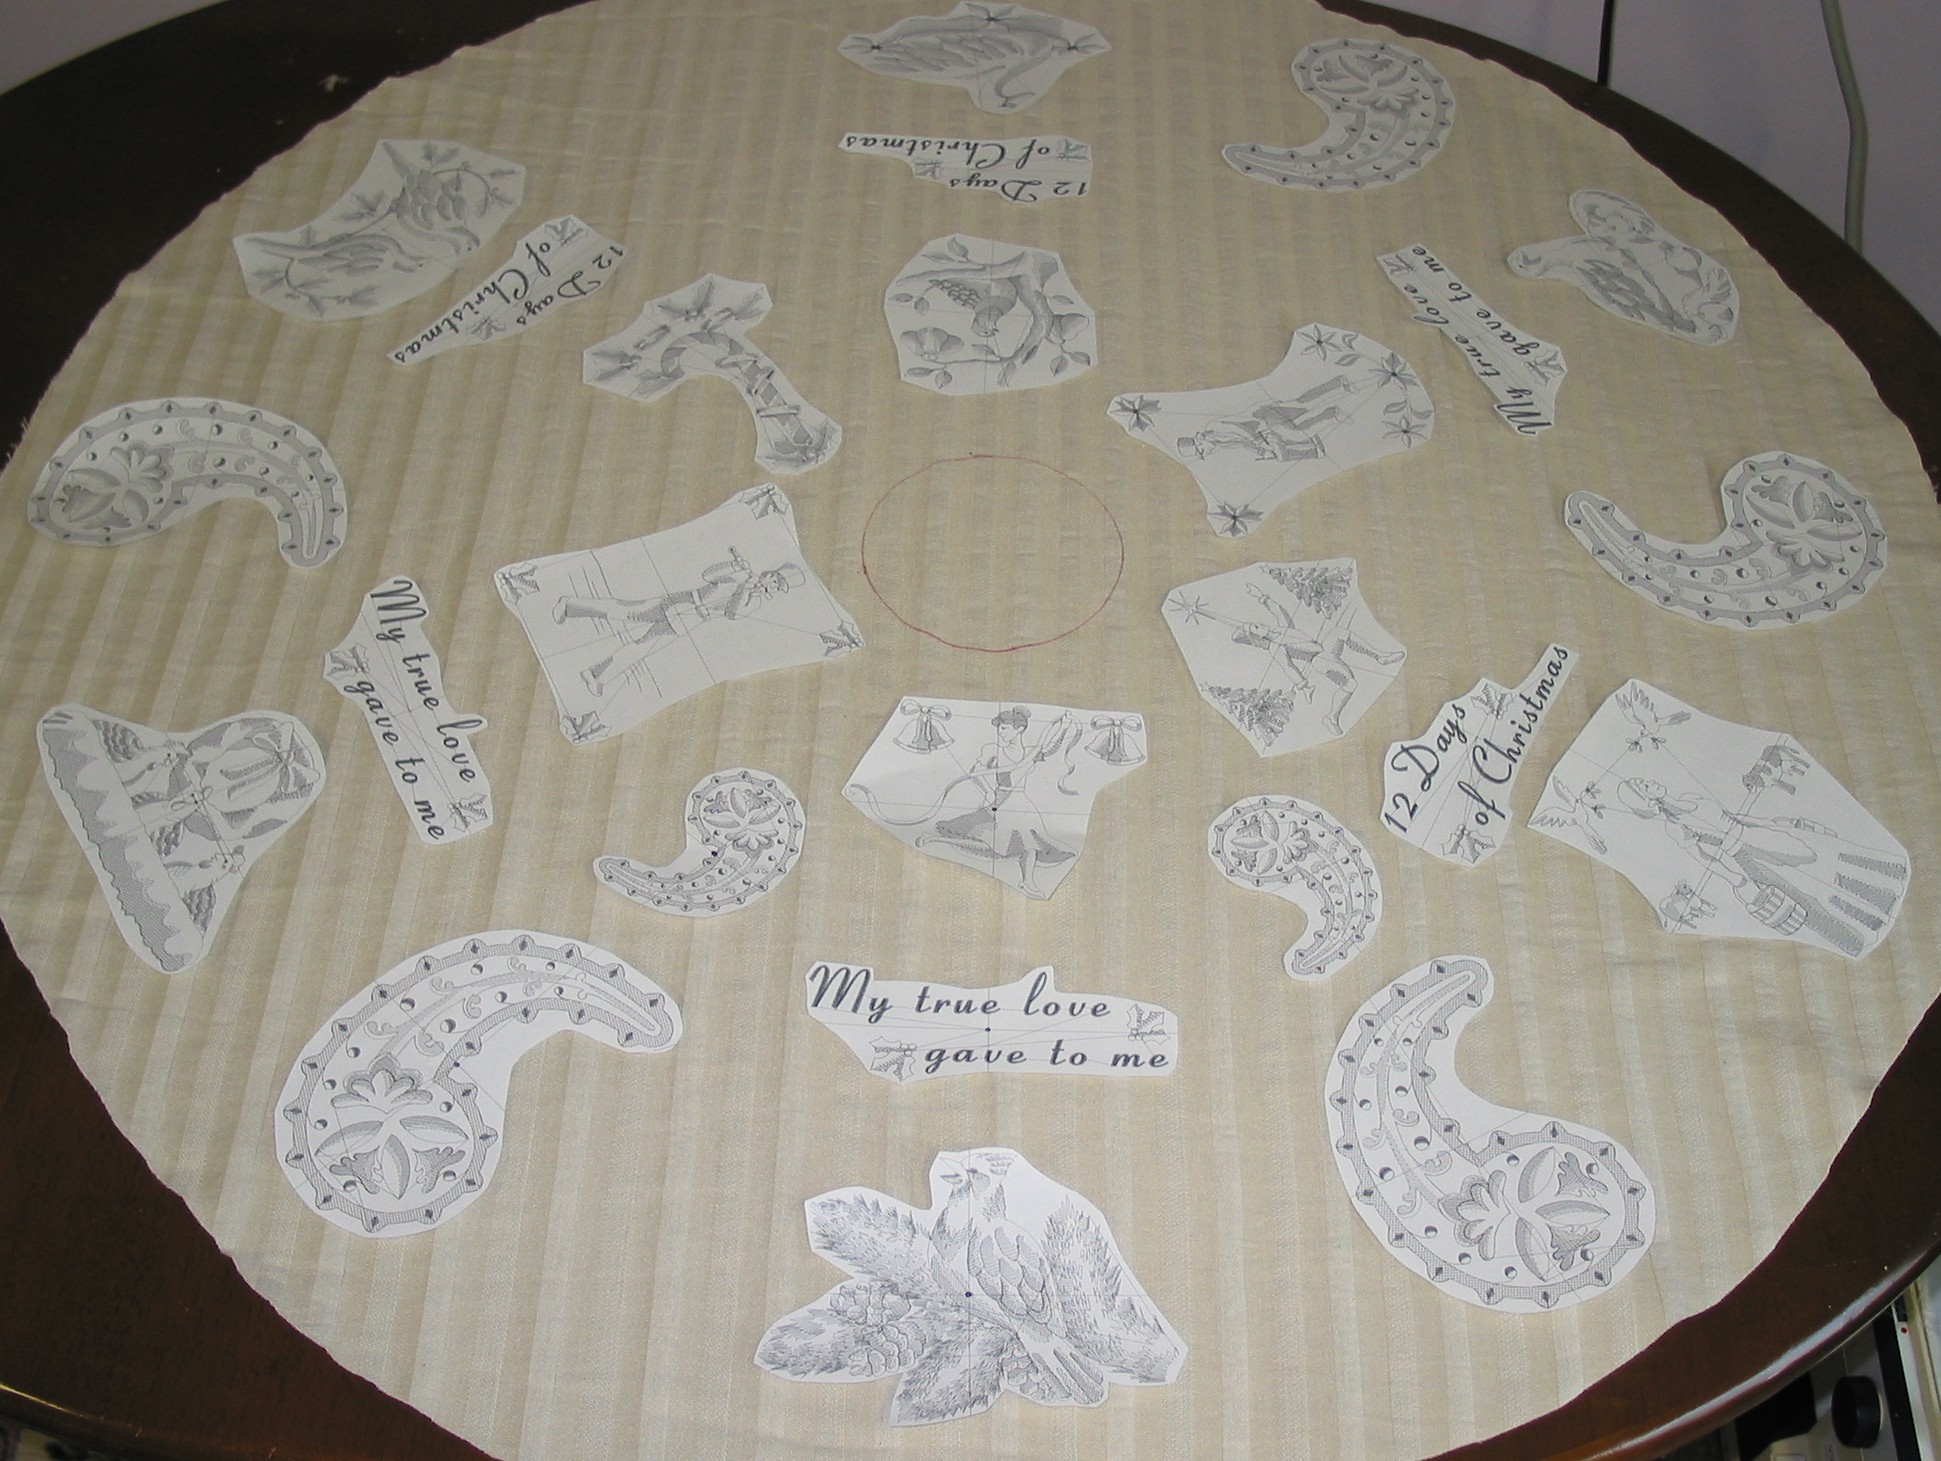
Now, use your template cutouts to plan your embroidery layout. I visually divided the circle into six sections with the paisleys, and then placed 2 of the "12 days" designs in each section. The word designs acted as dividers within the sections. make sure that you take into account a 1/2" seam allowance around the outer and inner edges.
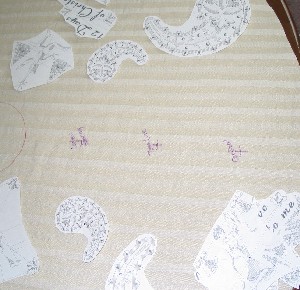
Pierce a hole at the center point of each template and mark the fabric through the holes. Make a notation near each mark to remind you which design goes at that point and how it is oriented.
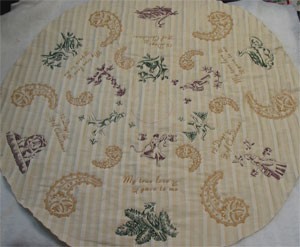
Sandwich the batting between the top fabric and the plain backing fabric, and sew out each embroidery design through the layers. I used gold for the paisley and word designs and alternated between dark green and burgundy for the "12 days" designs.
As you know, stabilizer is used to support the fabric when applying stitches. But when quilting with designs, you'll find that stabilizer isn't always necessary. The two layers of fabric and batting usually provide plenty of support for the stitches.
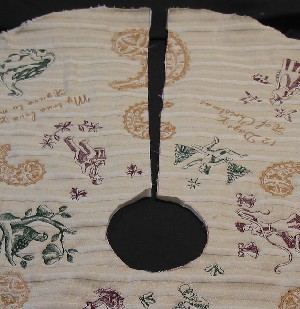
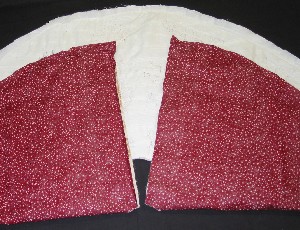
Now, cut out your 42" circle along the marked line. Then mark a line from the outer edge to the 5" center circle. Cut along the marked line and cut out the small center circle.
I approached this cautiously because I was about to cut through my beautiful embroidery. But, visually, it worked out great! Because the eye naturally will connect the two sides together and complete the circle.
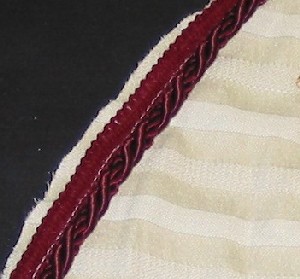
Attach the welting trim to the edge of the large circle on the right side of the fabric. I used my zipper foot to get really close to the rope-like welting.
Place your decorative fabric over the embroidered top fabric with the right sides together. Join the decorative backing to the top along the welting. Use your zipper foot again to get really close to the welting.

Now turn the skirt right side out and press. Top stitch along the outer edge, near the welting.


