Create two fantastic pillow covers all-in-one! This reversible cover has two embroidered front panels, and two coordinating back panels.
It's quick-stitching, and quick-switching! Change your decor and never store!
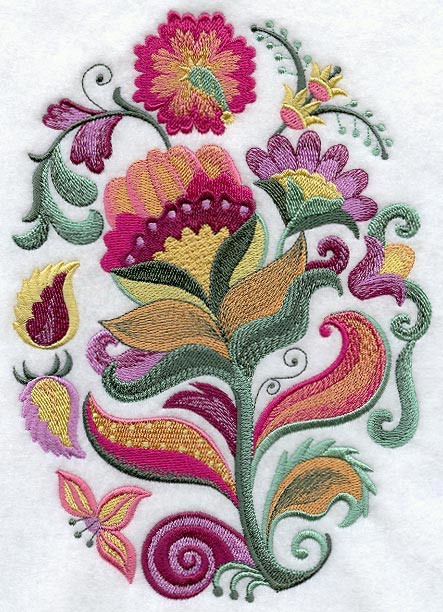
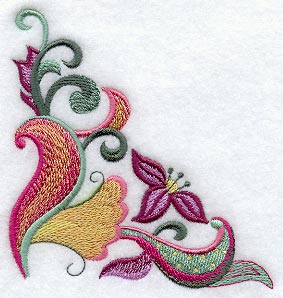
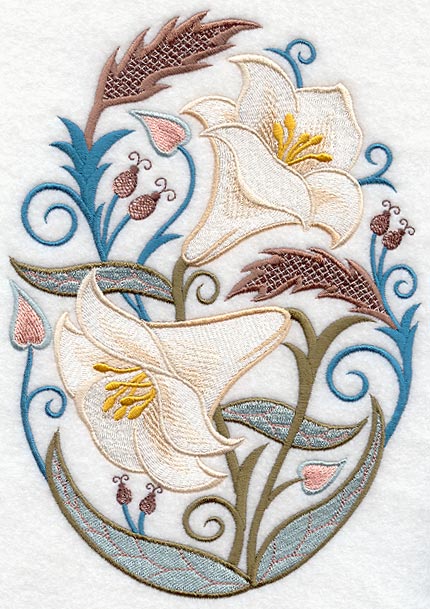
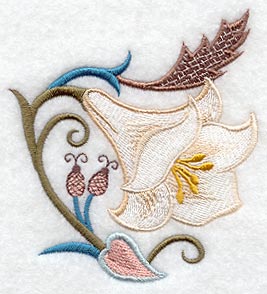
We chose an Easter theme for one pillow cover and a bright spring theme for the other.
Supplies
Supplies needed:
- 20 inch pillow form
- Two 25 x 25 inch pieces of fabric (for the front panels)
- Two 22 x 22 inch pieces of fabric (for the back panels)
- Two 20 inch zippers
- Cut-away stabilizer
- Spray adhesive
- Air-erase pen
- Masking tape
Designs Used:
Easter side:
** Jacobean Easter Lily Oval (Lg)
Spring side:
Designs Used
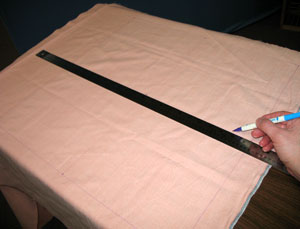
Measure and mark a 22 x 22 inch square on each of the front panel fabrics.
Mark the center of each square by measuring each side of each square and dividing by two. Draw horizontal and vertical lines connecting the marks.
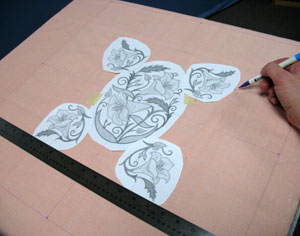
Print full-size paper templates of the designs. Trim around the templates for easy placement. We chose an oval design for the center of each front panel.
Poke a hole in the center of the oval template and align it with the center point on the fabric. Use a couple of small pieces of masking tape to secure the template in place.
Arrange the other design templates around the oval. Poke a hole in the center of each template, and mark the center points on the fabric. Also, mark the horizontal and vertical axis points of each template.
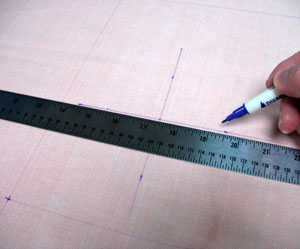
Remove the templates, and draw lines connecting the horizontal and vertical axis marks. These lines will be used for hooping.
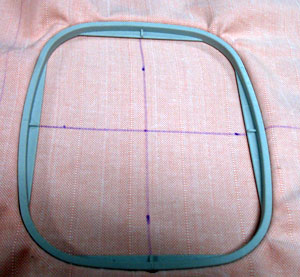
Spray a piece of cut-away stabilizer with adhesive, and hoop it with the fabric by aligning the marks on the hoop with the lines on the fabric.
Attach the hoop to the machine, load the design, align the needle directly over the center point and embroider the design.
After each design has sewn, rehoop the fabric and repeat the design loading, needle aligning, and sewing processes for each design.
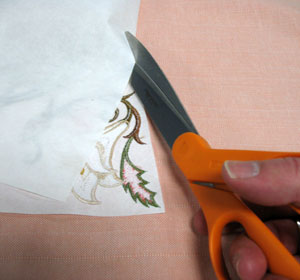
After all the designs have sewn, carefully trim away the excess stabilizer.
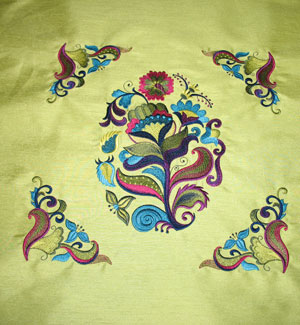
Repeat the embroidering process for the second front panel.
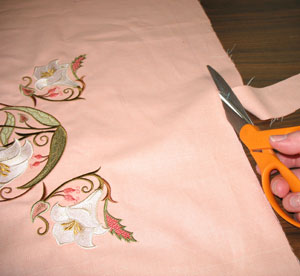
After each front panel is embroidered, cut out the 22 x 22 inch square shapes along the lines you made on the fabric.

Cut two 22 x 22 inch pieces of fabric for the back panels.
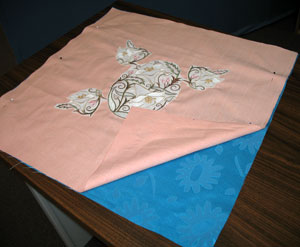
Now assemble the cover.
Lay one of the front panels and the opposite back panel right sides together. Pin along the sides, leaving the top and bottom open. Also, lay out the remaining front panel with the remaining opposite back panel, and pin the sides only.
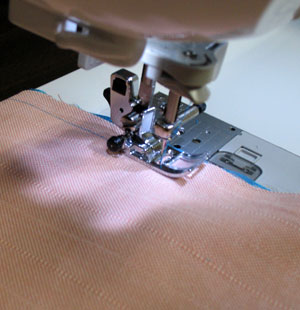
Sew a 1/2 inch seam along the pinned edges only. Do this on both of the panel pairs.
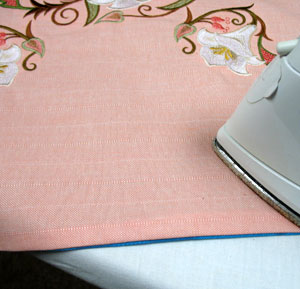
Turn both panel pairs right side out, and press the seamed edges.

Fold the open edges on the top and bottom inward 1/2 inch to the wrong side. Press the folds in place. Do this for both pairs.
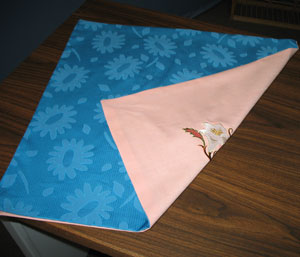
Lay one of the panel pairs, with the front panel side facedown, and with the open top pointing up.
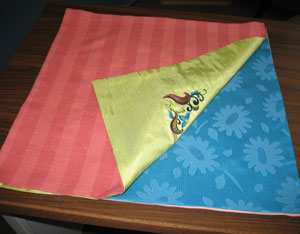
Lay the other panel pair, front panel side facedown, on top of the first pair with the open top pointing down. Align the sewn sides and pin together. Leave the top and bottom ends open.
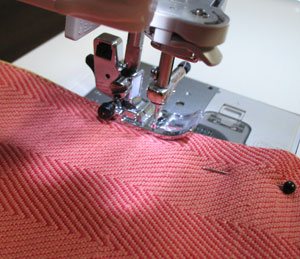
Sew a 1/8 inch seam along the pinned sides only.
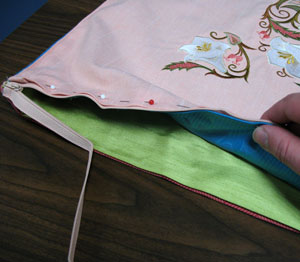
Add a zipper to the top edge of the first cover side.
Unzip the zipper. Insert one side in between the folded ends and pin in place. Insert the other side of the zipper into the folded ends of the other side, and pin in place
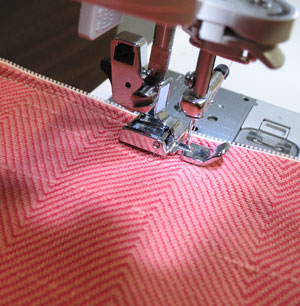
Use a zipper foot to sew a seam right next to the zipper teeth. Sew both edges of the zipper.
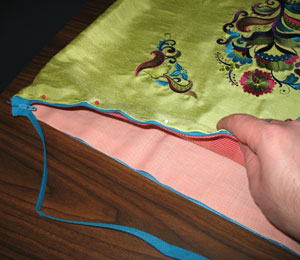
Turn the cover other side out, and add a zipper to the opposite folded ends as you did before.

Add the pillow form and zip it up!
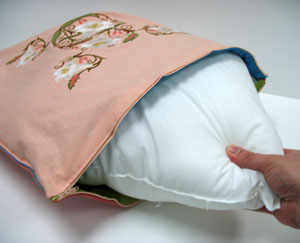
To change the cover to the other side, unzip the top zipper and pull the pillow out.
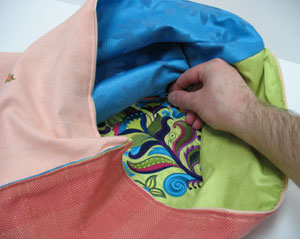
Reach inside, and unzip the other zipper.
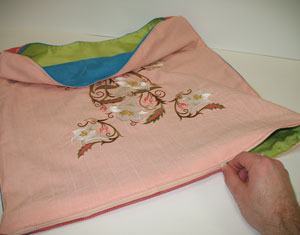
Close the top zipper once again.
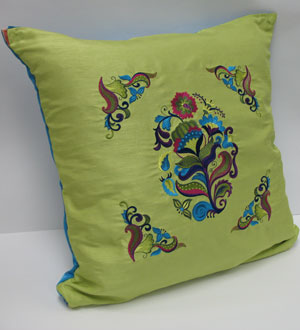
Turn the cover, other side out, insert the pillow, and zip it up!

And there you have it! A quick switch for new decor.
