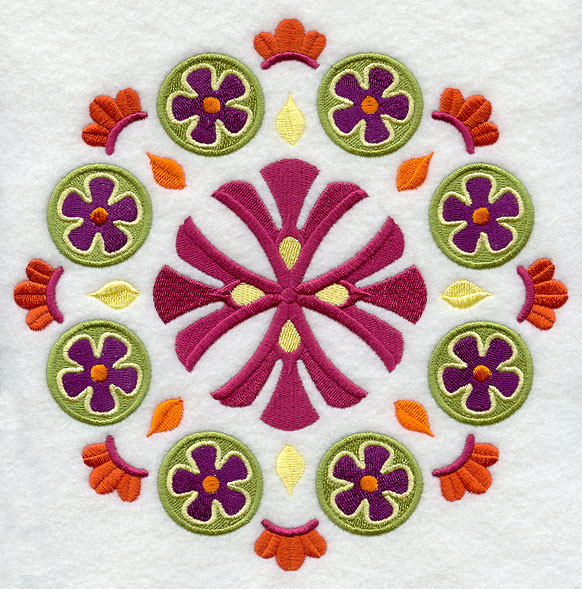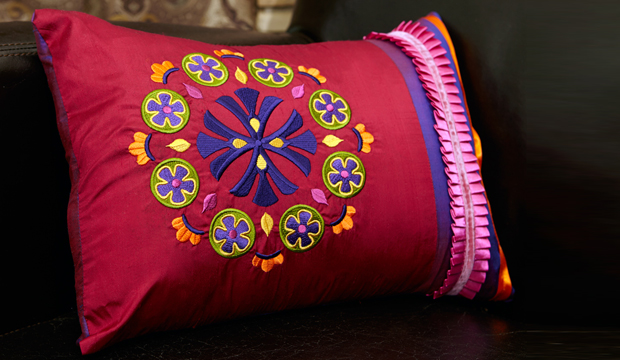
Add a glamorous, luxurious look to your home with a dupioni silk pillow project. Dupioni silk adds glimmer and shine; a vibrant embroidery design and lush embellishments give even more fabulous flair to the pillow. Learn how to make this ribbon ruffle pillow for a terrific addition to your decor.
Supplies
Project Needs & Notes
- 12" x 16" pillow form
- 1/2 yard each of 2 different colors of dupioni silk
- 1/2 yard each of various ribbons and trims
- Medium weight (2.5 ounce) cutaway stabilizer
- Temporary spray adhesive (like Gunold KK100)
- Air-erase pen or dress maker's pencil
For this tutorial I used the Stylin' Suzani Floral Circle 1 design.
Find even more pillow designs in the Pillow Squares department.
Finished Size: 16" x 20"
This project was featured in the following:
Pillow Party Lookbook
Designs Used
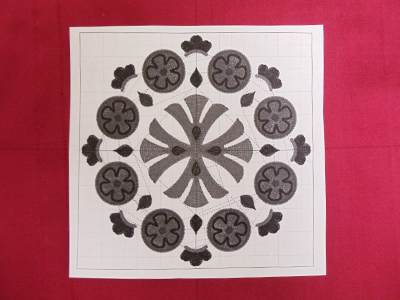
Cut a piece of silk dupioni larger than 12" x 12". This is the fabric for the embroidery design.
Spray a piece of cutaway stabilizer with adhesive, and smooth one of the silk dupioni pieces on top. Hoop so that the design will be in the center of the fabric, and embroider the design.
Cut the embroidered piece into a 12" x 12" square.
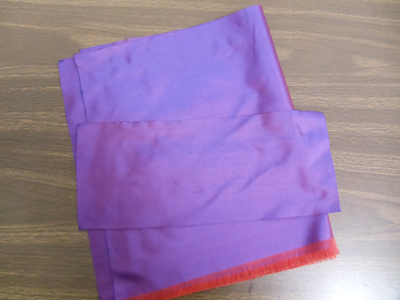
Using the other piece of silk dupioni, cut two 12" x 20" rectangles. These are for the back of the pillow. Also, cut one 5" x 12" rectangle, to use on the front of the pillow.
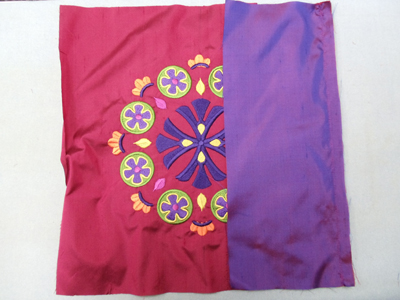
Lay the 5" x 12" rectangle on top of the embroidered piece, right sides together. Stitch together, leaving at 1/2" seam.
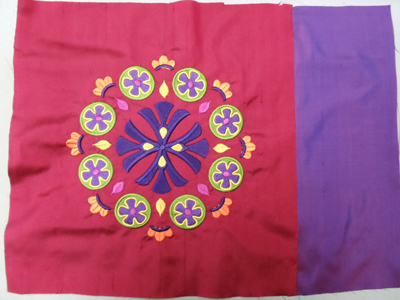
With a cool iron, press the seam open.
This is the front piece of the pillow. It's 16" x 20", the same size as the pillow form. Later you'll stitch seam allowances that will reduce the size slightly, giving the pillow a firm and overstuffed feeling.
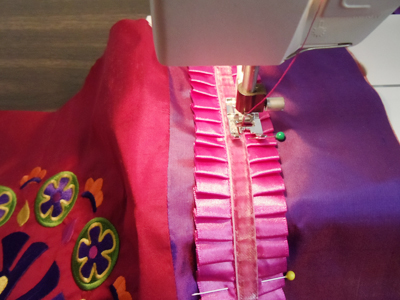
Add trim and ribbons on the contrasting fabric. Stitch them in place.
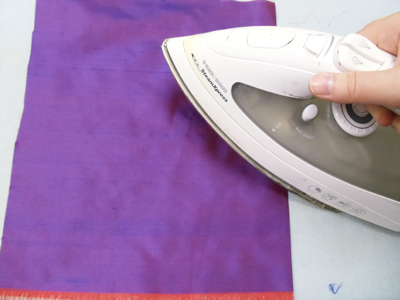
Fold each 12" x 20" back pieces in half widthwise, and gently press.
Stitch along the folded edge of each piece to reinforce it.
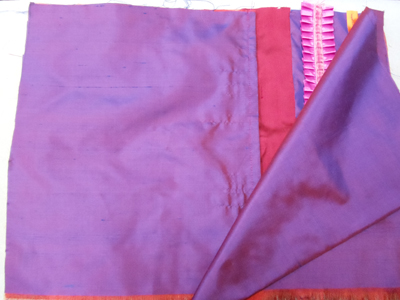
Lay the pillow front piece right side up. Then, lay both back pieces on top of it, with the folded edges toward the middle of the pillow. They should overlap by about 4".
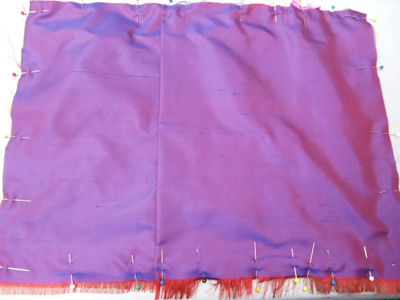
Pin all layers together around the edges.
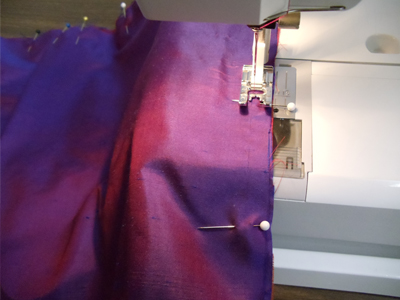
Stitch all the way around the edges of the rectangle leaving a 1/2 seam allowance -- do not leave a gap.
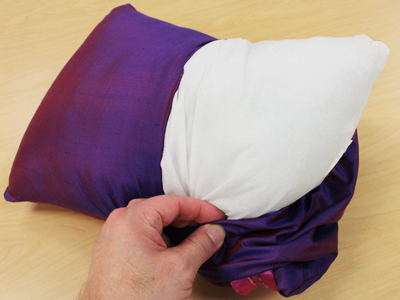
Turn the rectangle inside out through the gap in the middle of the back.
Stuff the pillow form inside through this back gap, and smooth out the back flaps.
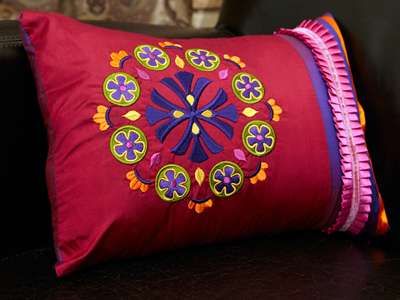
Buttons, brads, and other embellishments can be added along the ribbons or other areas of the pillow as well for an even fancier look.
