
Make home decor as jolly as it can be with a Santa hat chair back cover! With embroidery designs you love, it's a fun way to dress up your chairs and decorate for the season.
The top of the hat flips over the chair back, making two areas -- front and back -- perfect for festive designs. Kids will especially love the Santa Claus hat shape!
Read on for instructions to create your own Santa hat chair back cover!
Supplies
Supplies Needed:
**5/8 yard fabric (I used suede cloth)
**1 1/4 yards 3" wide fur trim
**Medium weight cutaway stabilizer
**Temporary spray adhesive
**Air-erase pen
**Handful of polyester fiberfill
**24" wide by 36" high piece of paper or tag board
**Needle and thread for some hand sewing
Designs Used:
I used designs from the large size of the Holly-Dazzle Design Pack. Christmas Frolicking Friends designs and 'Tis the Season Tidings would also be fa-la-la- fabulous on a Santa hat chair back cover.
Designs Used
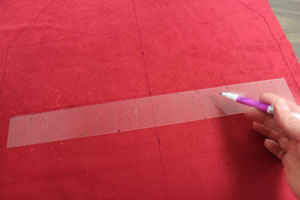
First, to prepare the pattern piece, measure the width of the chair back from side to side (measure at the widest point; mine is 17 1/2" wide). Measure the width of the side of the chair (mine is one inch wide). Add the chair back width measurement to the side width measurement (mine is 17 1/2" plus one inch, equals 18 1/2").
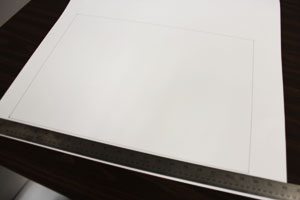
Also, add one inch for seam allowance (18 1/2" plus one inch equals 19 1/2"). This is the width of the bottom section of the pattern. Next, on the bottom portion of the large piece of paper or tag board, draw a rectangle using your final width measurement (mine is 19 1/2") by 14" high (this is the bottom portion of the cover which fits over the chair back).

Measure and mark the center of the top of the rectangle by measuring and dividing by two. Next, measure and mark 14" up (vertically) from the center mark. Draw lines from the mark you just drew down to each of the upper corners of the rectangle (this is the top portion of the cover that will fold over the back of the chair).
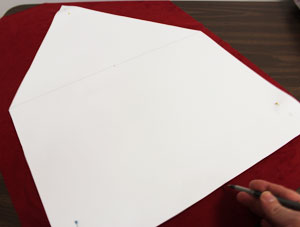
Cut out the pattern and lay it on top of the fabric (I used suede cloth) with the fabric facing right side up. Pin the pattern in place and using an air-erase pen or other marking tool, trace the shape.
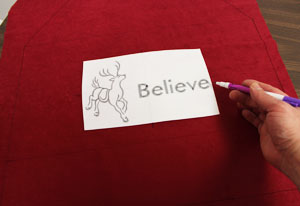
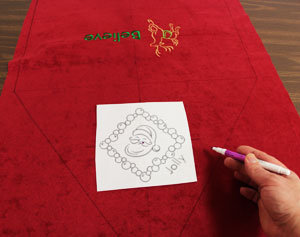
Remove the pattern and create paper templates of the designs by printing them at full size using embroidery software. Position the first template inside the bottom rectangular section. Center the design side to side by measuring equal distances between the outer side edges of the design and the edges of the fabric.
Also, I positioned the template with the top edges of the design about 3" from the top of the rectangle and with the bottom edges about 5" from the bottom of the rectangle. Poke a hole in the center of the template and mark the fabric. Also, mark the horizontal and vertical axis points.
Next, remove the template and draw lines connecting the marks; the lines will be used for hooping.
Spray a piece of medium weight cutaway stabilizer with temporary adhesive and smooth the fabric on top. Hoop the fabric and stabilizer together by aligning the marks on the hoop with the lines on the fabric. Attach the hoop to the machine, load the design, and embroider the design. When the design has finished, trim away the excess stabilizer on the backside of the embroidery.
Then, rotate the fabric so that the top point is facing you and the embroidered rectangle section is upside down. Position the template of the second design within the triangular shape. Center the template side to side as you did earlier. I positioned the template with the top edge of the design about 2 1/2" from the top edge of the triangle. Also, there should be at least 1 1/2" of space between the side and bottom edges of the design and the outer edges of the shape. Hoop the fabric and embroider the design just as you did earlier.
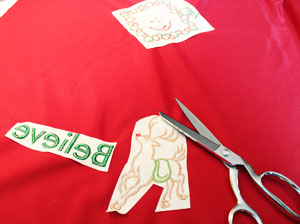
When the design has finished, carefully trim away the excess stabilizer on the backside of the embroidery.
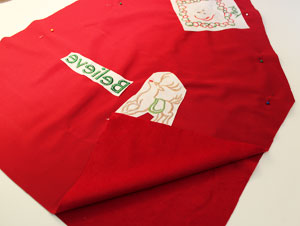
Lay the embroidered piece on top of the fabric, right sides together, pin in place, and cut out the shape. Sew a 1/2" seam along the side and top edges only; leave the bottom edge open for turning.
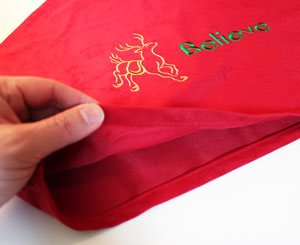
Turn the fabric right side out, press the seams with an iron, and fold the fabric of the opening in 1/2" to the wrong side and press. Fold the fabric of the opening in 1/2" to the wrong side one more time and press. Sew a 1/4" seam along the entire bottom edge of the cover.

Wrap the fur trim around the bottom edge of the cover starting and stopping at the back center. Align the bottom edge of the trim with the bottom edge of the cover leaving about 1/2" of the bottom of the cover extending out past the bottom edge of the trim. Pin in place and zigzag stitch the trim in place by sewing around the entire outer edges of the trim (including the short ends).
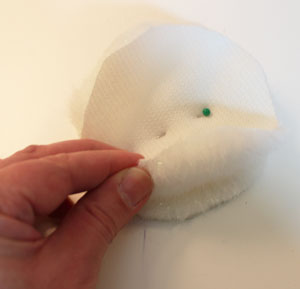
To prepare the pompom, cut two 4" wide by 4" high pieces of the remaining trim. Trim and round off the corners of each piece. Align the pieces together, right sides together, pin in place, and zigzag stitch around the outer edges leaving a 1 1/2" opening. Turn the trim right side out and fill with polyester fiberfill.
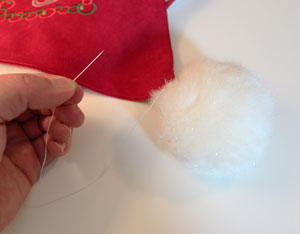
Turn the opening in 1/2" and hand stitch it closed with needle and thread. Hand stitch the pompom onto the tip of the cover. Slip the cover onto the chair back, and you are done!
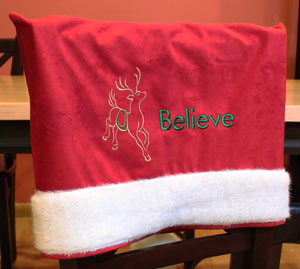
A Santa hat chair cover is a fun way to brighten any room. Stitch one for every chair and decorate with your favorite holiday designs!


