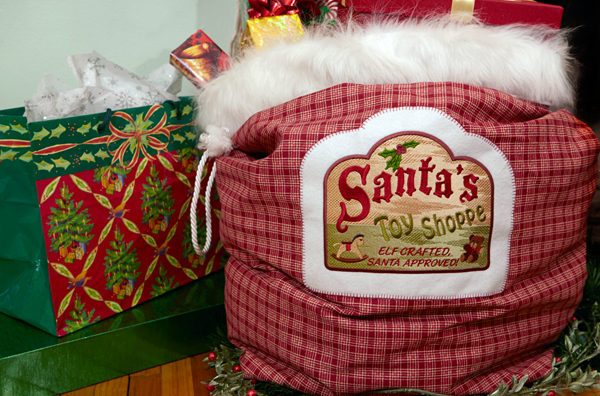
Watch eyes light up on Christmas morning when your little ones walk in to a sack full of Santa's gifts! This jumbo-sized drawstring bag is the perfect way to add a little festivity to your Christmas gift-giving, and it's surprisingly simple to make, too!
Supplies
Project Needs & Notes
- 1/2 yard craft felt for embroidered piece
- 1 1/2 yards lightweight canvas for outer shell
- 1 1/2 yards crepe-backed satin for lining
- 1/2 yard faux fur -- two 27" x 6" pieces
- 4 yards decorative cord for drawstring
- Medium-weight (2.5 ounce) cutaway stabilizer
- Double-stick fusible web
- Safety pin
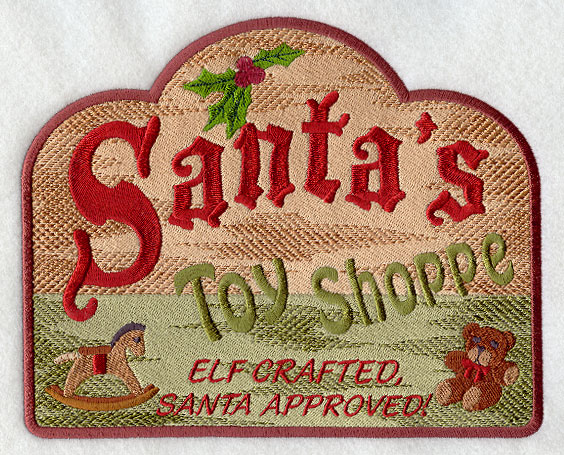
The design used in this tutorial include the E5782, Santa's Toy Shoppe Sign design. Find even more festive designs in the Christmas category here.
Finished Size: 14 1/2" wide x 21 1/2" high x 12" deep
This project was featured in the following:
Dreaming of Christmas Lookbook
Designs Used
Begin by embroidering the fabric for the panel on the bag.
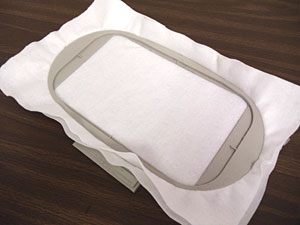
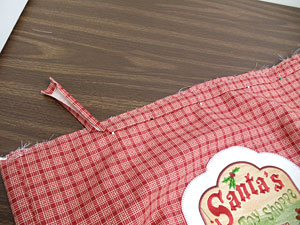
Cut a piece of craft felt a little larger than your hoop.
Hoop it with a piece of cutaway stabilizer.
Embroider the design.
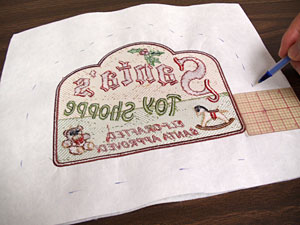
After embroidering, turn the piece over so the back is facing up.
Measure and mark 1" out from the outer edges of the design.
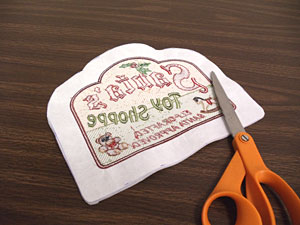
Draw lines connecting the marks and cut out the shape.
There's no need to cut the stabilizer away from the back.

Next, prepare the fabric for the outer shell of the sack.
Cut two pieces of lightweight canvas to 28" x 28". Align the pieces, right sides together.
Pin in place.
Sew a 1/2" seam along the side and bottom edges, leaving the top edge open.

Leaving the outer shell wrong side out, pinch each bottom corner and align the side seams with the bottom seams.
Measure and mark up 6 1/4" from the bottom corners. Draw a line perpendicular to the seam.
Pin in place and sew a seam along the line you just drew.
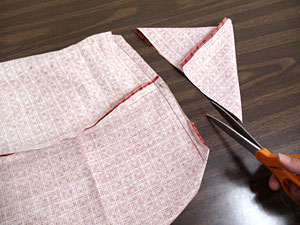
Trim off the corners leaving about 1/2" excess fabric at the seams.
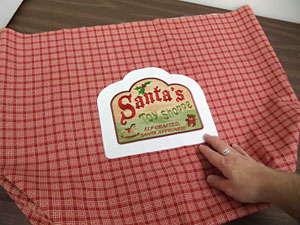
Turn the outer shell right side out and lay it flat.
Add the fusible web to the backside of the embroidered piece (refer to the fusible web instructions).
Position the embroidered piece in the center of the outer shell about 6" from the top edge. Iron the embroidered piece in place; use a pressing cloth to protect the embroidery.
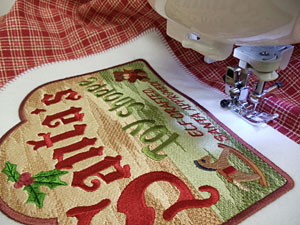
Stitch the embroidered piece in place by sewing a decorative stitch (like a blanket stitch) around the outer edge.
Using crepe-backed satin, prepare the inner lining the same as you did the outer shell.
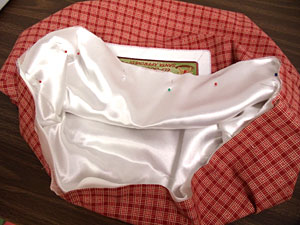
Insert the lining inside the outer shell, wrong sides together.
Pin in place and tack the raw edges together by sewing a 1/2" seam along the entire top edge.

Prepare the casings for the drawstrings.
Cut two pieces of lightweight canvas to 29" x 3".
Fold the short ends in 1/2" to the wrong side and then again another 1/2" and press.
Sew a 1/4" seam along each short end.
Fold each long side of each piece 1/2" in to the wrong side and press.
Align the pieces along the seam at the top edge at the front and back of the sack. This will leave 1/2" of excess fabric at the top edge of the sack.
Pin in place and sew a 1/8" seam along the long sides only. Do not sew along the short ends.
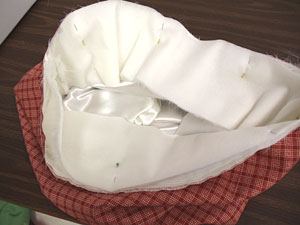
To prepare the faux fur trim, cut two pieces of the faux fur to 27" x 6".
Align the pieces together, right sides facing, and sew a 1/2" seam at each short end only.
Insert the fur section inside the sack, right sides together, with the top edge of the fur aligned with the top edge of the sack.
Pin in place and sew a 1/2" seam along the entire top edge.
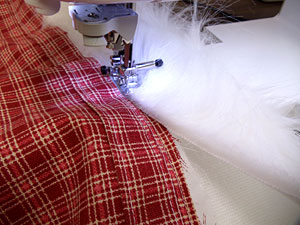
Bring the bottom edge of the fur up around the top edge of the sack and align it with the top edges of the drawstring casings (wrong side of fur on right side of sack).
Sew a 1/4" seam along the entire bottom edge of the fur section. Be careful to not stitch over the drawstring casings.
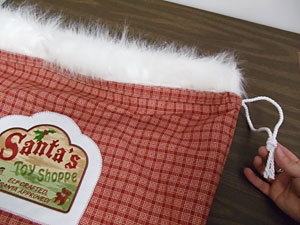
Cut two 72" pieces of cord.
Attach a safety pin to one end of one of the cords. Work the pin end of the cord through the front casing starting at the right. Then, insert the cord through the back casing starting at the left side of the sack ending up where you started at the right.
Tie the cords in a knot and trim the ends.
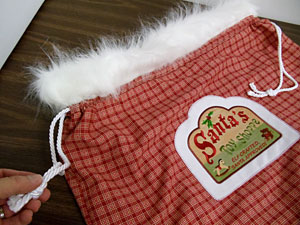
Insert the remaining cord through the casings just as you did with the first cord, starting and ending on the left side of the sack.
To close the sack, pull the cords away from the sack at each end.

Whether you decide to dress up as the man in red or not, this Santa's Toy Sack will bring a holly-jolly look to your gifts on Christmas morning.


