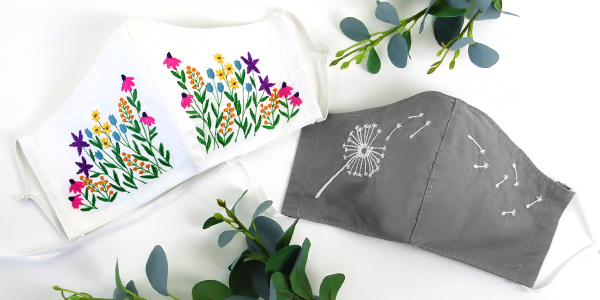
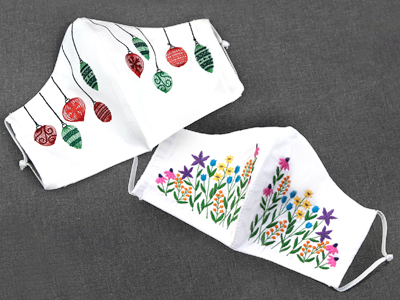
Stay safe and healthy with a new shaped face mask that proves fashion and function belong together! This cut and stitch pattern is simple to adorn with your favorite machine embroidery designs before assembling using a sewing machine. Follow along with the steps below to create your own.
Supplies
Project Needs & Notes:
- 1/2 yard of quilter's cotton (outer fabric)
- 1/2 yard of quilter's cotton (lining fabric)
- 1/4" elastic or ribbon for ties
- Thin wire or pipe cleaner
- Temporary spray adhesive (such as Gunold's KK100)
- Sewing thread
- Pins
- Embroidery thread
- Needle nose pliers
- Scissors
- Ruler
- Iron
- Pressing cloth
- Ironing board
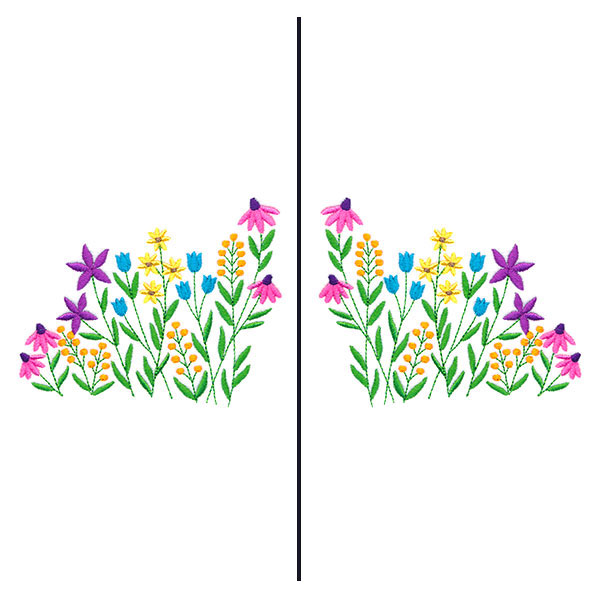
Designs featured in this tutorial include:
- X15294, Wild Flourishes Mask Motif
Designs Used
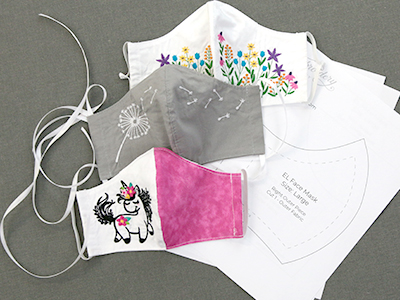
There are three different sizes of this face mask pattern: A small size for children and adults with smaller faces, a medium size for most women and men with smaller faces, and a large size for most men and women with larger faces.
To know the size of embroidery design that you will need, first print out the PDF pattern packet using the link above and select a mask size.
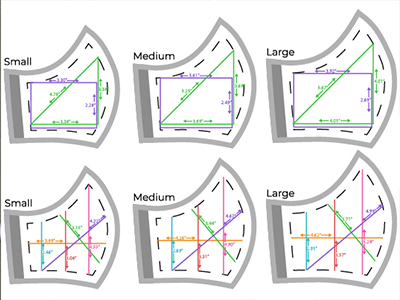
On both of the "Outer" pattern pieces there is a max embroidery area outlined by a dotted line. This helps show both how big the embroidery design can be and also how to position the design on the mask when cutting out the pattern.
Due to the organic shape of the embroidery area, we've created an embroidery sizing guide. This guide shows the measurements of the max embroidery area in many different ways. It will help to choose a design that fits in the embroidery area. Use these guides to pick an embroidery design that fits in the max embroidery area. Keep in mind that some designs may fit better when rotated. Make sure to scale the sizing guide to 100% when printing.
Click on the link toward the top of this project to view and print the sizing guide for all sizes of the mask.
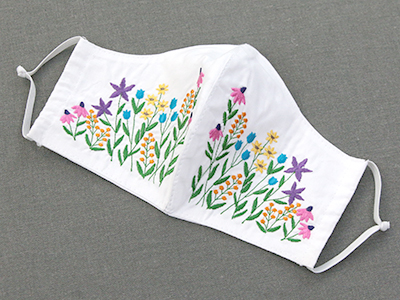
When picking a design, really think about placement. If the design is the same size or smaller than the max embroidery area, then it can be centered perfectly on the mask.
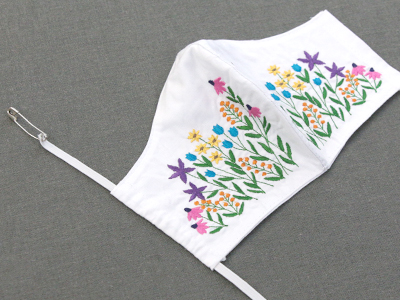
If the embroidery design is larger than the max embroidery area, or positioned outside of it, it can go all the way to the edges of the mask. Simply make sure the design is tall or wide enough to go over the side (or sides) to achieve this look.
After you have selected your design, but before you have cut out your pattern pieces, you will need to embroider the design on your chosen fabric. It is important that the design is embroidered before the patterns have been cut. We will be using water-soluble stabilizer during the embroidery process for this project.
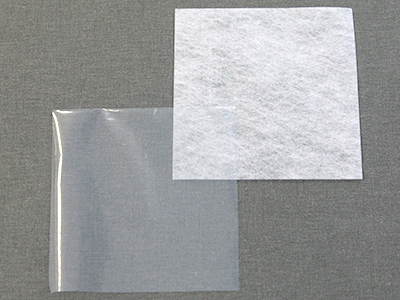
There are a couple different kinds of water-soluble stabilizer. One is clear and plastic. That brand is Sulky Ultra Solvy. The other brand is soft and fibrous and is called Vilene. Both work well. Vilene is used in this demonstration.
For best results, use a size 11 or a 75/11 sharp sewing needle. A sharp sewing needle has a smaller, finer point than an embroidery needle and is less likely to cause shifting.
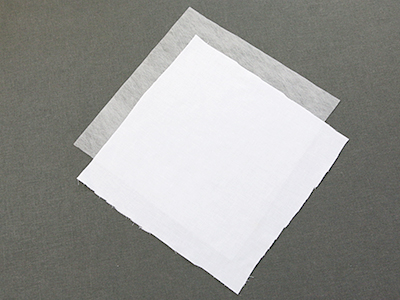
To begin, cut a piece of both water-soluble stabilizer and your main "outer" fabric (on which the design will be embroidered) so that they are both larger than the needed embroidery hoop. The dimensions of hoop we used are 5" x 7". We cut our fabric and stabilizer to 12" x 12".
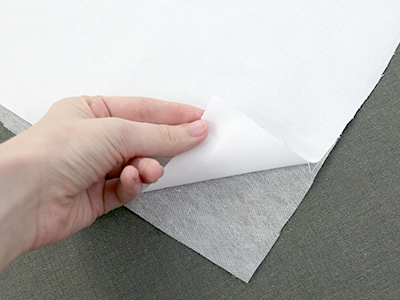
Spray the water-soluble stabilizer with a temporary adhesive, then smooth the stabilizer onto the wrong side of the main "outer" fabric piece.
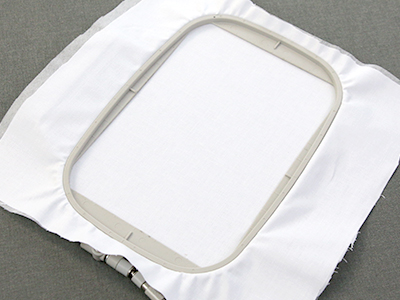
Hoop the fabric and stabilizer together so that they are drum tight with no wrinkles.
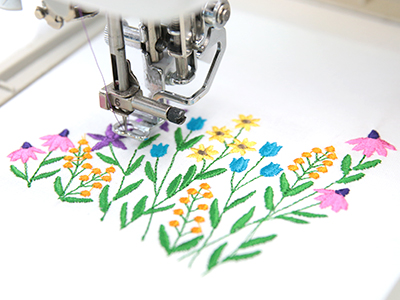
Load the embroidery file onto the machine and secure the hoop in place. Follow the color change sheet and embroider the design.
Once the embroidery has finished sewing, unhoop the design.
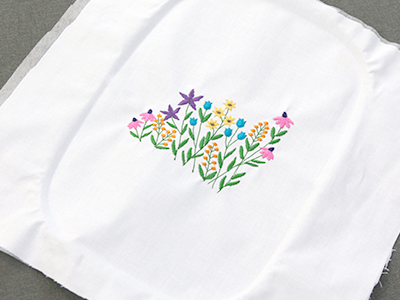
Trim away the excess stabilizer from around the design, being careful not to cut into any of the embroidery so as to prevent fraying.
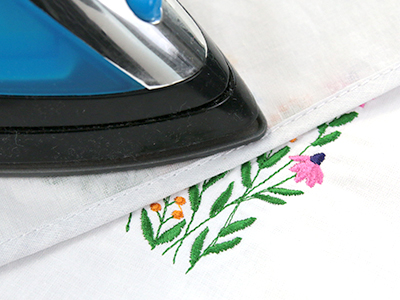
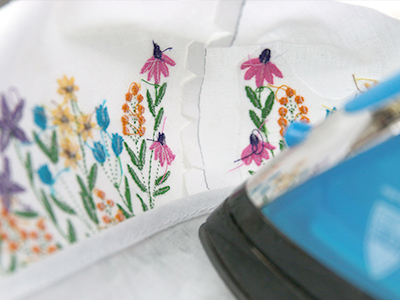
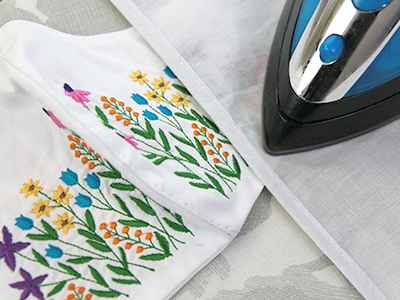
Press the fabric and embroidery with an iron to remove any wrinkles and puckering. This will allow the pattern lie better over the embroidery and allow the fabric to cut out more cleanly.
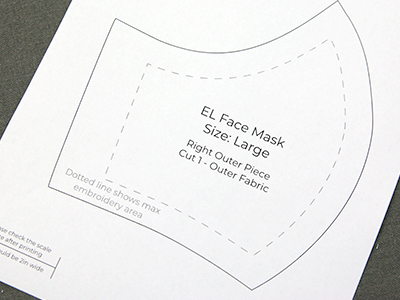
Locate the max embroidery area on the "outer" pattern pieces. This area is outlined in a dotted line, and sits 3/8" in from all seams on the mask.
How this pattern piece and the max embroidery area are positioned over the sewn embroidery will determine where the design sits on the finished mask.
If the design is kept inside of the max embroidery area, it will be centered on the side of the mask, and will sit at least 3/8" away from the seams.
If the design goes outside of the max embroidery area it will end up very close to or even over the seams. This creates a look of the embroidery going all the way to the edges of the mask when the mask is completed.
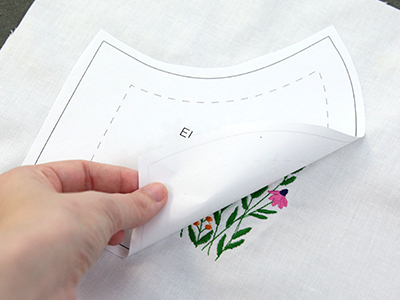
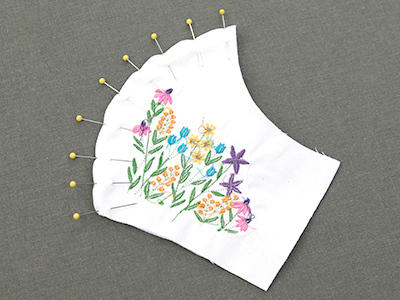
To center the design on the mask, trim the printed mask pattern around the outside of the solid black line.
Position it over the embroidered design carefully, so all of the embroidery stays within the dotted lines. Use temporary spray adhesive or pins to hold the pattern piece in place. When kept inside this shape the embroidery will be at least 3/8" away from he seams on all sides.
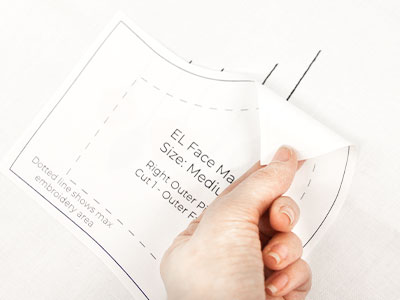
To make the design go past one or more edges of the mask, trim the printed mask pattern around the outside of the solid black line.
Position it over the embroidered design carefully, so the embroidery goes past the dotted line on your desired sides. If the embroidery is 3/8" or more past the edges of the dotted line it will be sewn into seam and create the look of the embroidery going all the way to the edge. Use temporary spray adhesive or pins to hold the pattern piece in place.
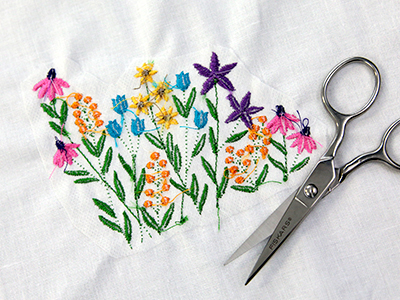
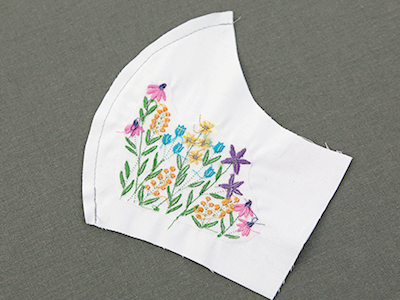
Make sure the pattern is adhered or pinned in place, and that the pattern and embroidery are positioned as desired.
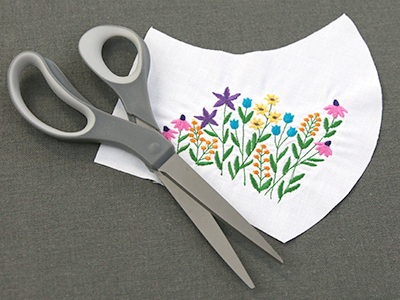
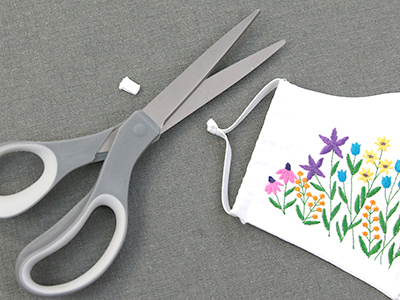
Then cut out the first outer pattern piece following the solid black outline. If the embroidery is cut in this step and starts to fray or unravel, dab a small amount of fabric glue on the wrong side to glue the stitches in place.
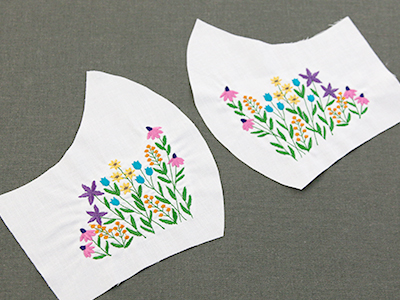
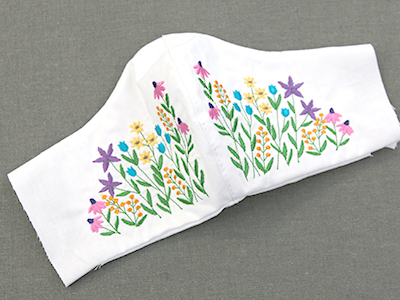
If you would like embroidery on both sides of the mask, select the opposite outer pattern piece and repeat the previous steps, starting with embroidering your design.
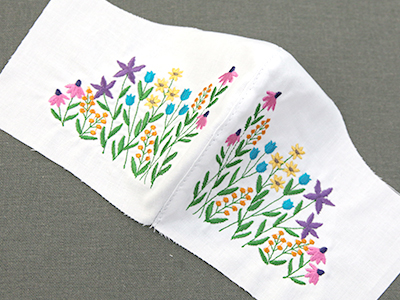
In this tutorial, our embroidery design has two files (labeled "a" and "b") made for each side of the mask. You can use a design like this, use two completely different designs on either side, or use the same design on each side by mirroring it using your embroidery machine or software.
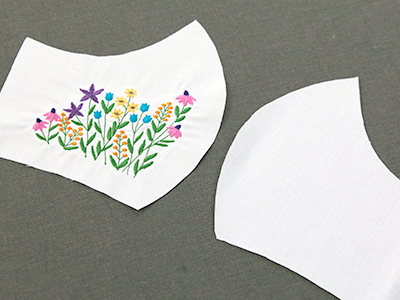
If you would like embroider on only one side of the mask, do not embroider another piece of fabric. Instead, simply cut out the opposite "outer" pattern piece using your fabric of choice. You can even use fun accent fabric on one side of your mask to compliment the embroidery that you chose.
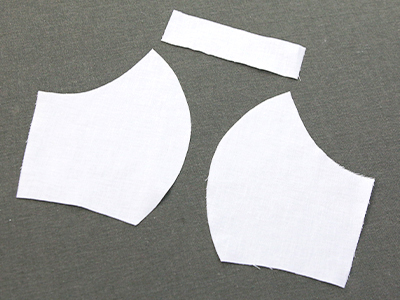
After completing the "outer" portion of the mask, cut out the two lining pattern pieces and the wire pocket pattern piece using your lining fabric.
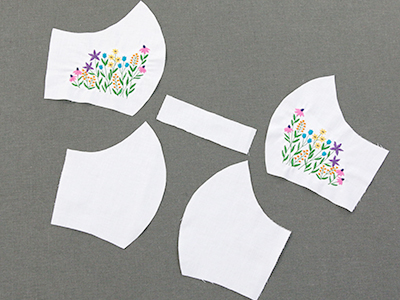
Before assembling the mask, there should be five pieces cut out in total. The wire pocket, the two outer face masks pieces with embroidery, and the two lining pieces.
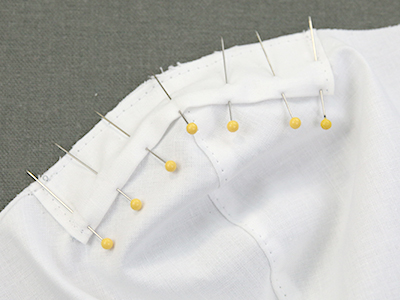
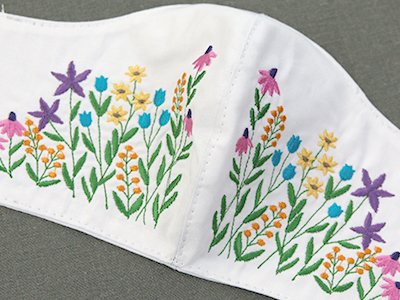
To assemble the mask, first match both sides of the outer face mask with right sides together. Pin along the curved edge.
Sew along the curved edge with a 1/4" seam allowance.
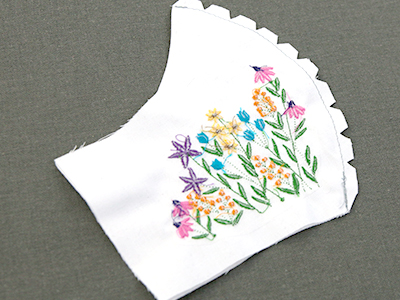
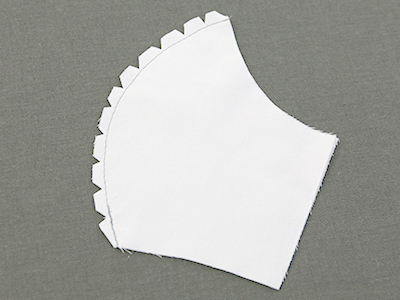
To help the fabric properly curve, cut notches in the seam allowance along the curved edge. Carefully avoid clipping the seam.
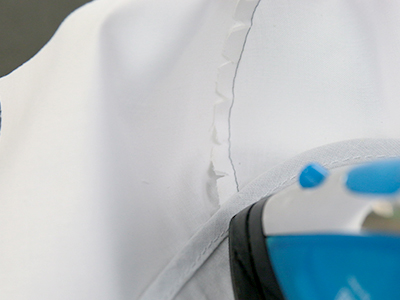
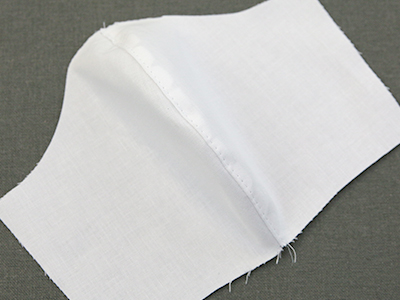
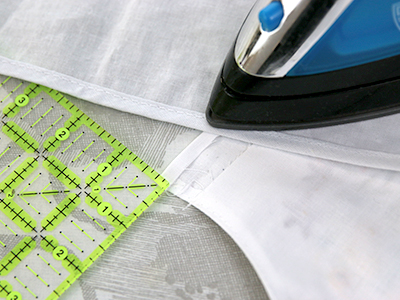
Now open the mask and press the seam allowance flat so that it is either to the right or left.
Topstitch over the pressed seam allowance approximately 1/8" away from the center seam. Topstitching the seam allowance helps keeps any extra bulk flat and out of the way.
Repeat the previous steps to pin, sew, and clip the 1/4" seam allowance along the curved edge of the lining pieces.
Repeat the process of opening the lining fabric pieces and pressing the seam. For best results, press the seam to the same side as on the outer fabric pieces.
Next, top stitch over the pressed seam allowance 1/8" away from the center seam.
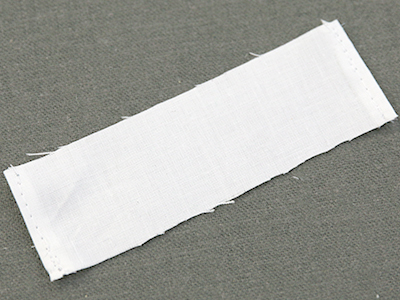
This pattern also includes a wire pocket for forming the mask over your nose. To make the wire pocket, take the previously cut wire pocket piece and fold one of the short edges over by 1/4" with wrong sides together. Press this fold in place.
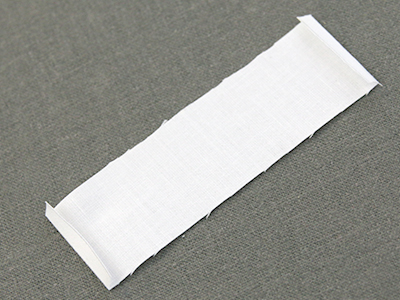
Repeat the previous step on the other short end.
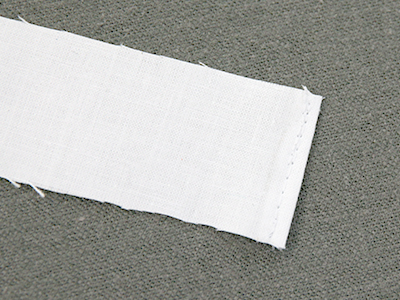
Sew one of the pressed short sides down 1/8" away from the edge.
Repeat for the other side.
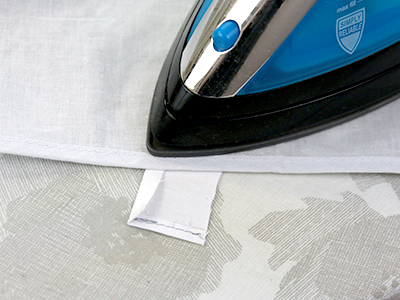
Next, fold one long edge of the wire pocket piece over by 1/4" with wrong sides together and press. Leave this edge pressed only and do not sew it yet.
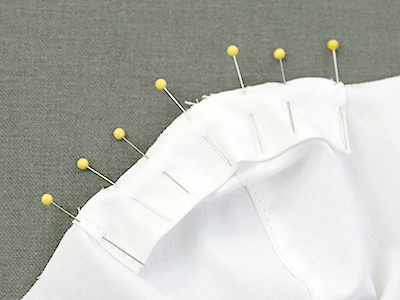
Next, take the wire pocket piece and match up the unfolded, long edge with the top edge of the lining piece. Center it over the seam, and pin them together along the top edge. Make sure the wrong side of the wire pocket is against the right side of the lining piece.
Baste the pieces together along the top edge of the wire pocket with a 1/8" seam allowance.
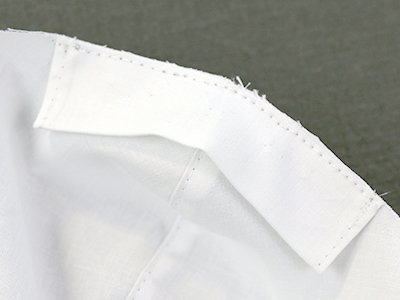
Pin the wire pocket flat to the lining piece along with the bottom, long folded edge.

Then, top stitch the folded edge of the wire pocket down, 1/8" away from the bottom.
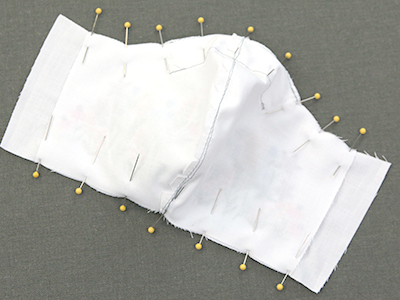
Next, match up the outer piece and the lining piece with the right sides together. The outer piece will be wider than the lining piece. Pin along the edges of the top and bottom. Do not pin the sides.
Sew along the top and bottom edges only with a 1/4" seam allowance. Both sides of the mask should remain open where the outer piece extends past the lining. Leave the sides open, and do not sew them shut. This will be done in a later step.
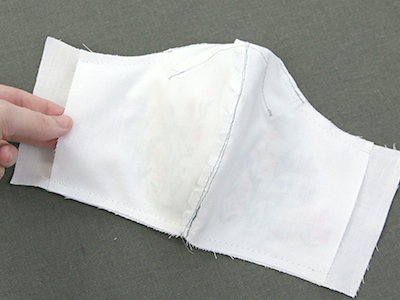
Turn the mask right side out.
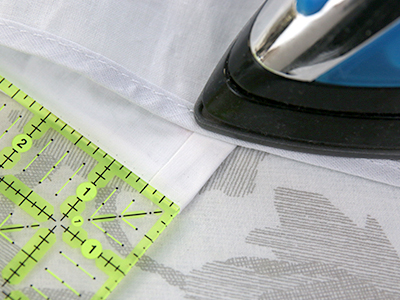
Press the sewn top and bottom edges until they're crisp.
Where the outer piece sticks out on either side of the lining piece, fold the top and bottom raw edges over 1/4" so the wrong sides are together. Press the fold.

Repeat for all four top and bottom edges of the outer piece.
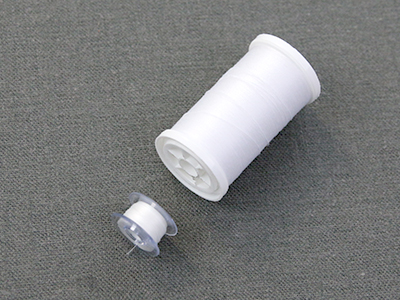
As the topstitching will be seen from both sides, you may wish to match the bobbin to the thread that is being used on the top thread.
Topstitch along the top and bottom edges, sewing 1/8" away from the edge. This topstitching will make the mask easier to wash, help it keep its shape, and prevent wrinkles from forming so the mask will not need to be ironed every time it is washed.
Fold in one edge of the outer fabric by 1/4" with wrong sides together. Press the fold
Next, fold the edge over again by 1/2" so it covers the raw edge of the lining. Press this second fold as well.

Repeat to fold in and press the other side by 1/4" and then by 1/2".
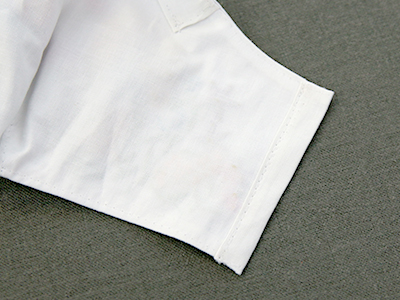
Top stitch along the inner edge of the folded sides with a 1/8" seam allowance.
Repeat for both sides of the mask. These folds and seams will create the elastic channels on each side.
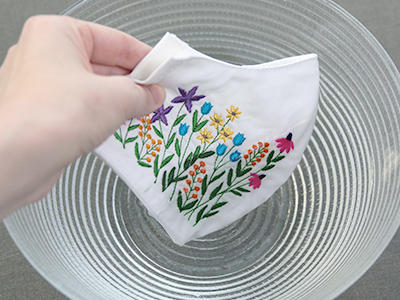
Now that all of the sewing is finished for the mask, soak the mask over night and wash your mask. Both hand washing with dish soap or running your mask through a washing machine with cool water is fine. This will remove the water-soluble stabilizer from the embroidery. This will remove the temporary spray adhesive as well.
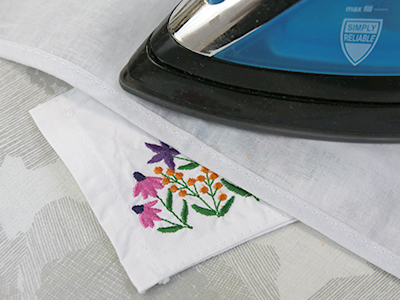
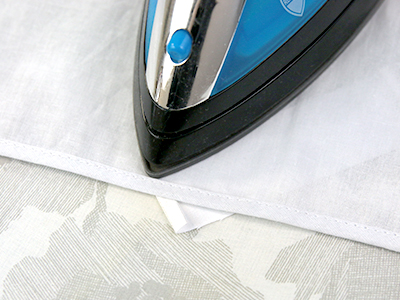
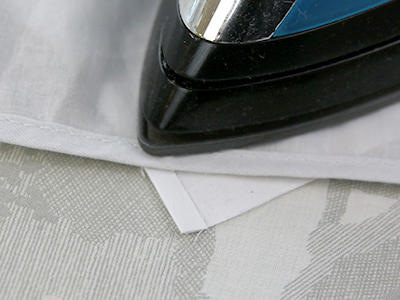
After the mask has soaked and washed, press it once again with an iron and pressing cloth to remove any wrinkles that may have formed during the wash.
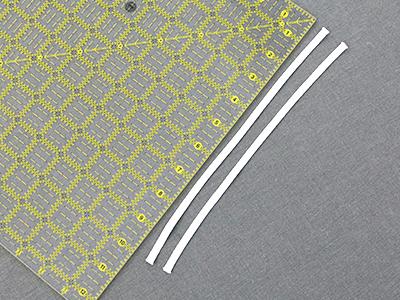
To make elastic loops, cut two pieces of 1/4" elastic so that they are 10" long.
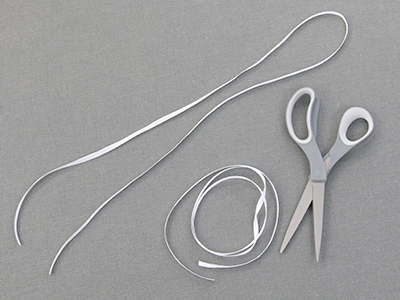
To make ties, cut a piece of ribbon that is 40" long.
Whether you are using either elastic or ties, add a safety pin to one end and use it to pull the first elastic piece or tie through one of the channels created in an earlier step.
For the elastic, tie the two elastic ends together to form a loop and trim the excess elastic away after pulling the knot tight. If using ties, skip this step.
For both the elastic and the ties, repeat to thread the elastic or tie through the channel on the other side of your mask using the same safety pin. If using elastic, tie it into a loop and trim away the excess. If using ties, move onto the next step.
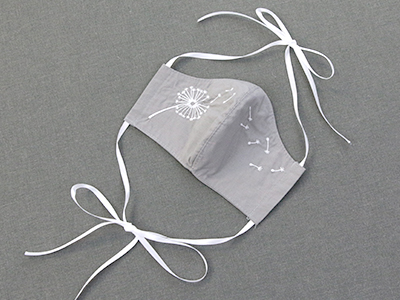
For the ties, the top two ends of the ribbon will be looped over your ears and tied behind your head. The bottom two ends will be tied down behind the nape of your neck. It is usually easiest to tie the top ends together before the bottom ends when putting on the mask.
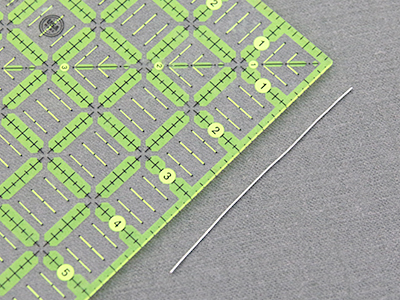
To create the wire for the wire pocket, cut a piece of wire that is 3.5"- 4" long. Thin jewelry wire works best, but pipe cleaners can also be used.
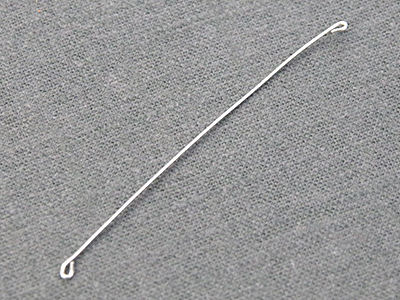
Curl or fold both ends in so they will not poke through the fabric. Needle nose pliers or wire curling pliers work well for this.
Slide the wire into the wire pocket. This can then be bent to help the mask fit the wearer's face comfortably. It will also provide a better "seal" around the nose and prevent glasses from fogging up. Before washing, make sure to remove the wire from the mask so that it does not rust.
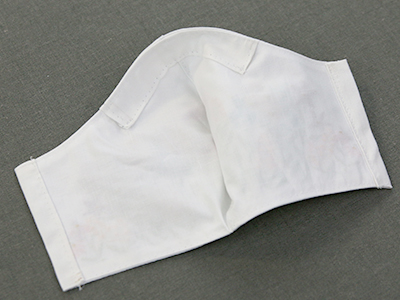
Your mask is now ready to wear! Now that you've got the hang of making masks, repeat these steps to make even more in different sizes, with different fabrics, and using different embroidery designs. The possibilities are endless.


