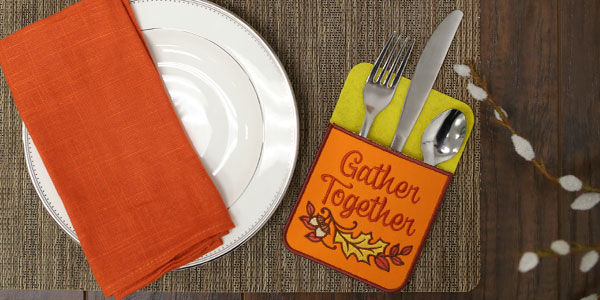
Set your dining table in style with in-the-hoop silverware pockets. These silverware holders add personality and flair to your table settings, and are fabulous for both everyday use and for special occasions.
Supplies
Project Needs & Notes
- 6" x 6" high piece of quilter's cotton
- 6" x 8" high piece of stiff felt (for back piece)
- Tear-away stabilizer
- Medium-weight (2.5 ounce) cutaway stabilizer
- Temporary spray adhesive (like Gunold KK100)
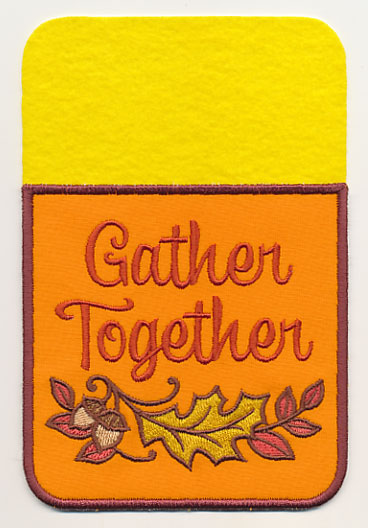
Designs used in this tutorial include the Silverware Pockets (In-the-Hoop) designs.
Designs Used
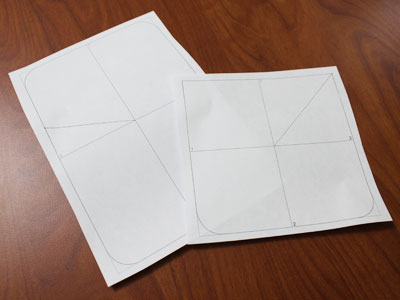
Silverware pocket designs have three files.
One is the full embroidery file, and the other two are dielines. The dieline files are marked with the letters DL. Dielines are used to cut the fabric to the right shape and size.
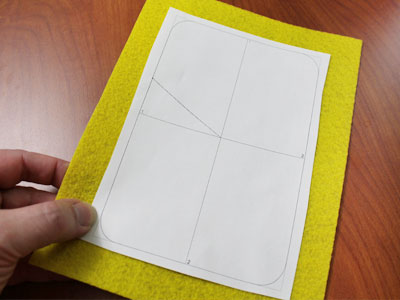
Open the dieline files with embroidery software, and print them.
If you do not have embroidery software, Wilcom's TrueSizer is a free program to use.
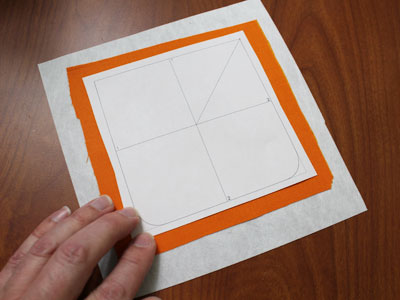
Spray a piece of medium-weight cutaway stabilizer with temporary adhesive. Smooth the fabric on top.
Then, spray the back of the printed dieline for the front with temporary adhesive. Smooth that on top of the fabric.
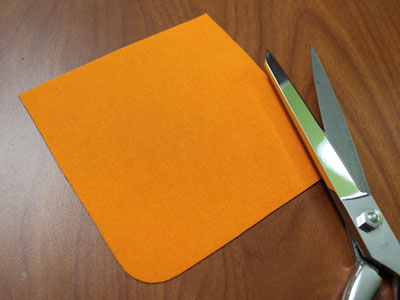
Cut out the shape.
Now that the fabric piece is cut to the proper shape and size, it's time to embroider the design.
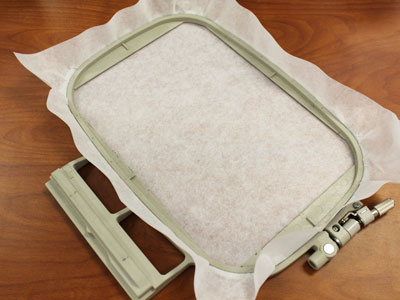
Hoop a piece of tear-away stabilizer.
Madeira E-Zee Tear 1.5 oz. or Floriani Tearaway Medium are good choices. Those brands are more fibrous, less paper-like, and will tear more cleanly.
Attach the hoop to the machine and load the full embroidery design (not the dieline files).
Use a size 11 or 75/11 sharp sewing needle, rather than an embroidery needle. A sharp sewing needle has a smaller, finer point than an embroidery needle, so that will make smaller perforations in the stabilizer.
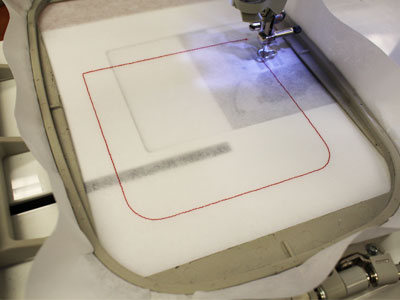
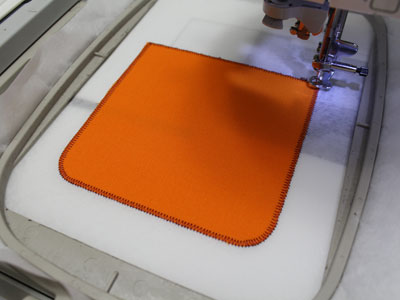
Embroider the design. The first thing to embroider will be a dieline, or outline stitch. This marks the area on the stabilizer where we'll place the front fabric piece.
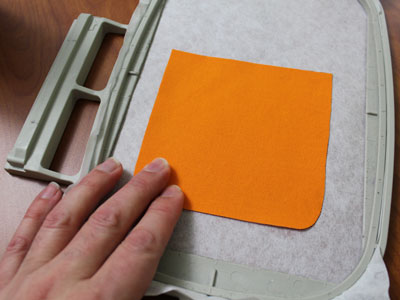
Spray the back of the front piece with temporary adhesive.
Remove the hoop from the machine, but do not unhoop the stabilizer. Place the fabric piece right inside the sewn dieline.
Reattach the hoop to the machine and continue with the design.
A zigzag stitch tack down will sew next. This binds the fabric in place for the remainder of the design.
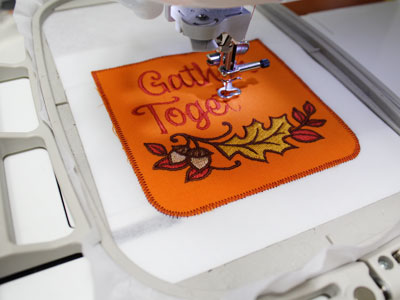
All of the inner elements will sew next.
On the color change sheet, look for the note that says "pocket top border." When you get to this section, stop the machine and remove the hoop from the machine. Do not unhoop the stabilizer.
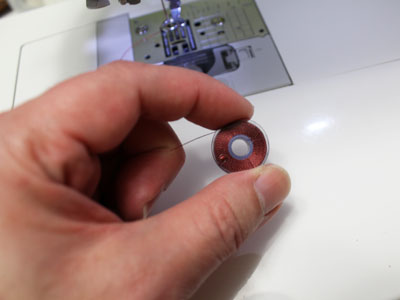
The remaining steps will be seen from both sides. Wind a bobbin with the same thread used in the top.
Continue embroidering the design.
Watch for a note on the color change sheet that says "back piece tack down."
When you get to this point, remove the hoop from the machine. Do not unhoop the stabilizer.
Spray the backside of the back dieline printout with temporary adhesive.
Smooth onto the stiff felt fabric.

Cut out the shape.
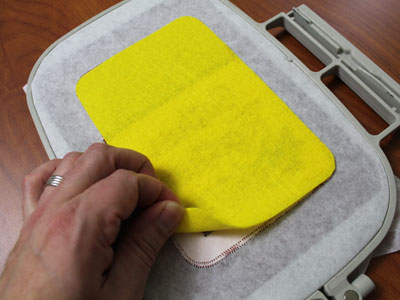
Spray the corners of the stiff felt with adhesive.
Turn the hoop over and place the back piece right inside the shape on the backside of the embroidery.
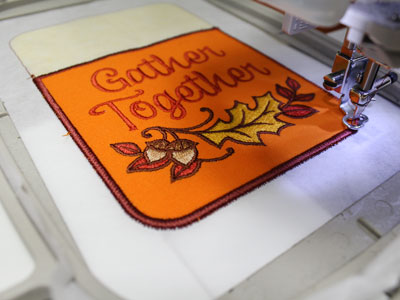
Attach the hoop back to the machine. Continue the design.
Another zigzag tack down will sew around the side and bottom edges of the pocket.
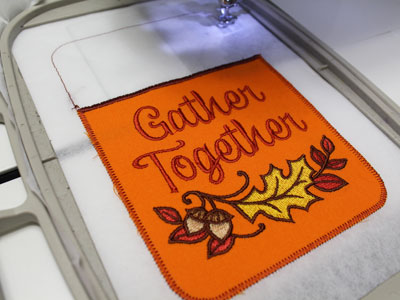
Next, a finishing satin border will sew.
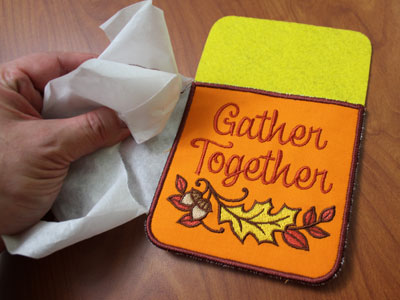
Unhoop the stabilizer and gently tear the excess away. The outline stitch will be removed as well.
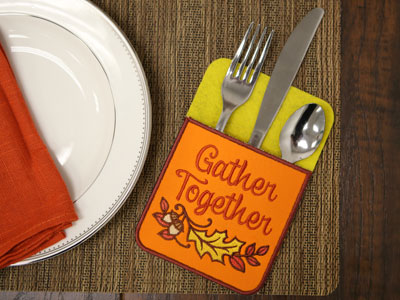
Each of these in-the-hoop holders features a pocket for your silverware to slip into, and have gorgeous embroidery decorating the front.
Use them for day-to-day use, or bring them out for special occasions, holidays, and get-togethers.


