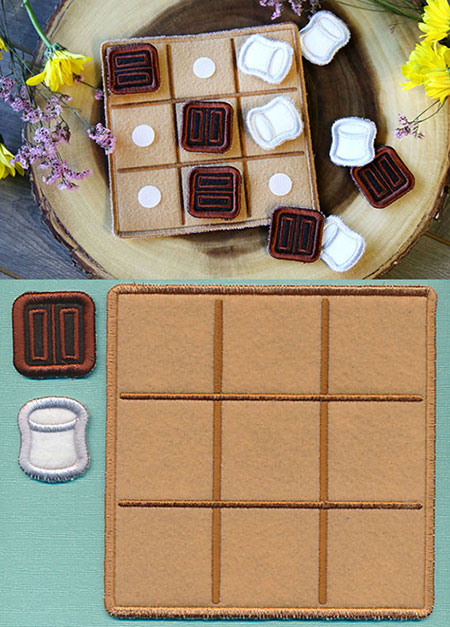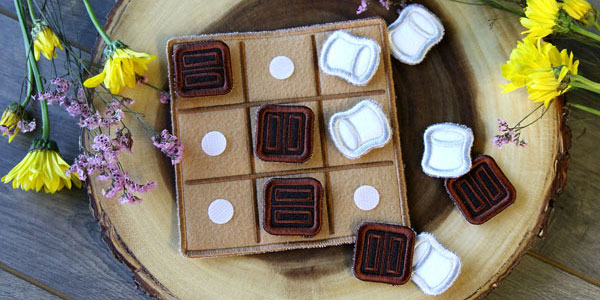
An in-the-hoop tic-tac-toe set is a great game to take on the go! Store all the pieces in the back pocket, then bring along on your next adventure for an easy family activity.
Supplies
- 1/4 yard of light brown felt (for graham cracker board)
- 1/8 yard of dark brown felt (for chocolate pieces)
- 1/8 yard of white felt (for marshmallow pieces)
- Tear-away stabilizer
- Medium-weight cutaway stabilizer
- Temporary spray adhesive (Gunold KK100)
- 10 5/8" Velcro dots
Designs Used
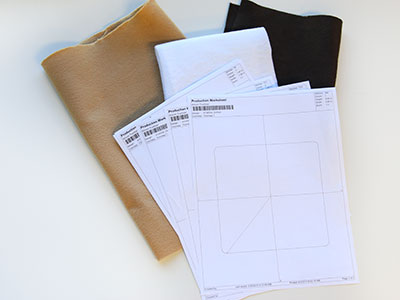
When you download the in-the-hoop sm'res tic-tac-toe design, you will find multiple files. Some are the embroidery files, and the others are dieline files marked with the letters "DL". Dielines are used to cut the fabric to the correct shape and size. Open and print each dieline file using an embroidery software. If you do not have an embroidery software, take a look at our helpful video on using dielines.
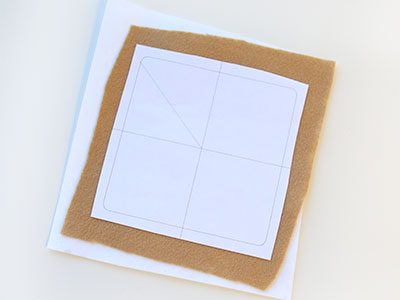
Spray the backside of the printed dieline for the front of the graham cracker board (the front piece of "a") with a small amount of temporary adhesive. Smooth it onto a piece of felt. Then spray a piece of cutaway stabilizer, and smooth the felt piece on top.
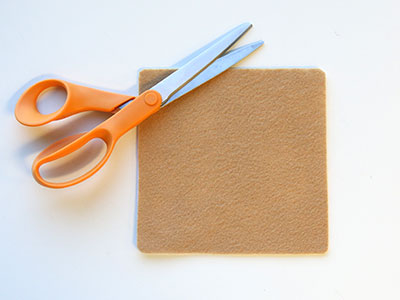
Cut out the shape. Remove the paper.
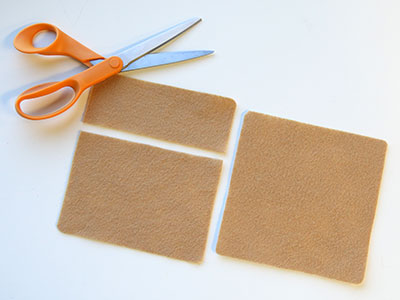
Next, print the back dieline for the graham cracker board (piece "a"). You will need to print it out twice as the two back pieces slightly overlap. Spray the paper with temporary adhesive, smooth it onto felt, and cut out the shapes. For the back pieces, do not add any stabilizer to the fabric piece.
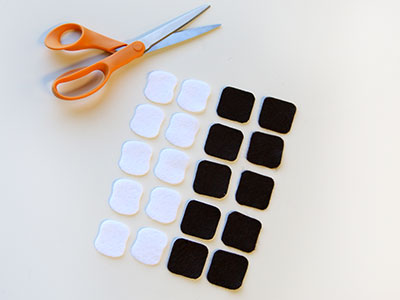
Then repeat the previous steps to print and prepare fabric pieces for the fronts and backs of the chocolate and marshmallow game pieces. To make a complete set you will need to prepare and embroider five of each design, so make sure to print all front and back dielines five times. Make sure all the front pieces have medium-weight stabilizer on the back of the felt piece, and that the back pieces do not have any.
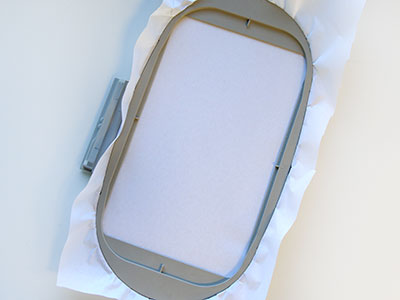
Now that the fabric pieces are cut to the proper shape and size, it's time to embroider the design. Hoop a piece of tear-away stabilizer. Madeira E-Zee Tear 1.5 oz. or Floriani Tearaway Medium are good choices. Those brands are more fibrous, less paper-like, and will tear more cleanly.
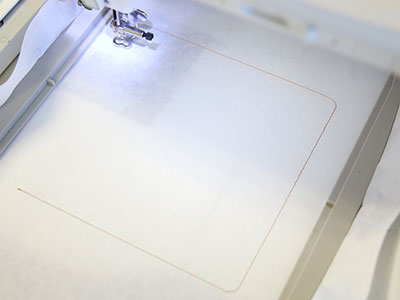
Attach the hoop to the machine and load the full embroidery design (not the dieline files) for the graham cracker board (file "a"). Use a size 11 or 75/11 sharp sewing needle, rather than an embroidery needle. A sharp sewing needle has a smaller, finer point than an embroidery needle, so that will make smaller perforations in the stabilizer. Embroider the design. The first thing to embroider will be a dieline or outline. This marks the area on the stabilizer for the front fabric piece.
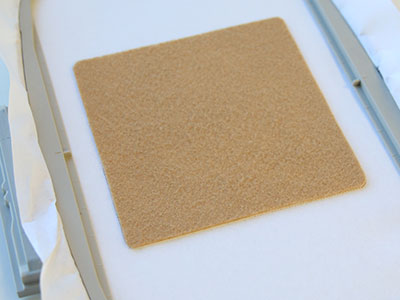
Remove the hoop from the machine, but do not unhoop the stabilizer. Spray the back of the front fabric piece with a small amount of temporary adhesive. Place the fabric right inside the sewn outline.
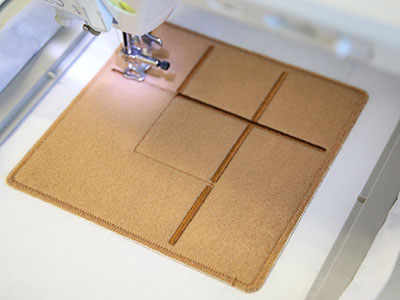
Attach the hoop back onto the machine and continue with the design. A tack down will sew next. This holds the front fabric in place for the remainder of the design. Then all of the inside elements will be embroidered.
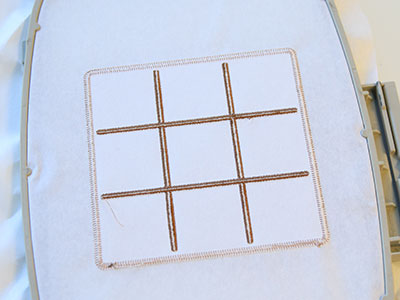
On the color change sheet, look for the note that says "back piece tackdown". When you get to this section, stop the machine and remove the hoop from the machine but do not unhoop the stabilizer. Turn the hoop over.
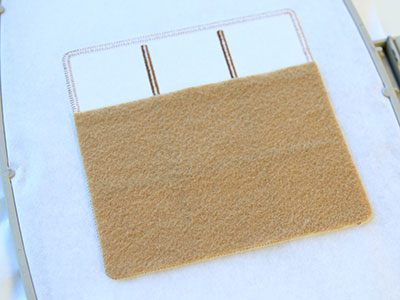
Spray the backside of the bottom back piece with adhesive, and place it inside the shape on the backside of the embroidery.
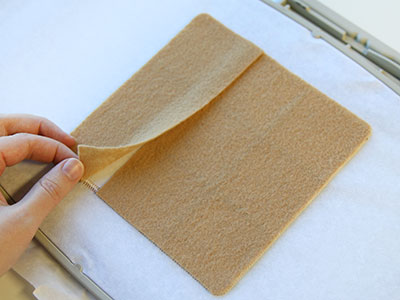
Next, spray and place the top half of the back piece over the bottom piece. Make sure the top back piece is on top of the bottom back piece. This will make the back opening easier to use when storing the game pieces.
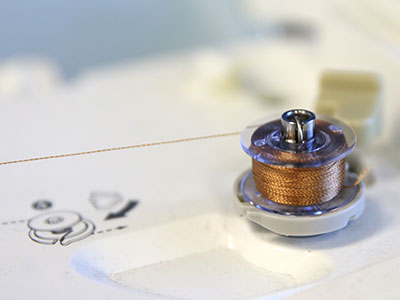
Since both sides of the graham cracker board with be seen, wind a bobbin with the same thread used in the needle.
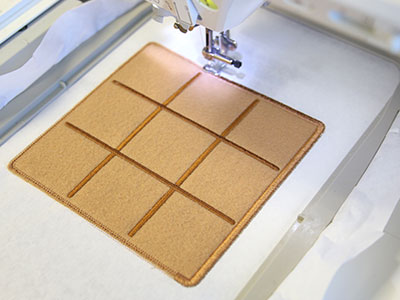
Attach the hoop back to the machine and continue embroidering the design. A tack down stitch will sew around the outer edge of the graham cracker board followed by the finished satin edge. This binds all the layers together.
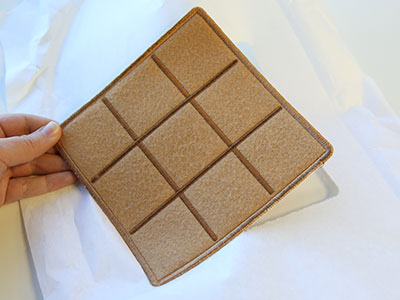
Once the embroidery is finished, remove the hoop from the machine. Unhoop the stabilizer, and carefully tear it away.
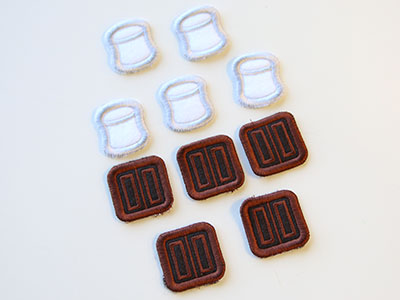
Repeat the previous steps to embroider all ten game pieces.
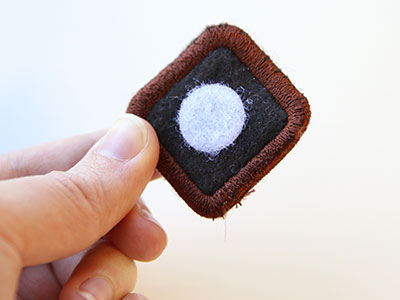
Using the softer halves of the Velcro dots, stick one Velcro circle to the back of each game piece. It is important that you use the softer half of the Velcro, so that the pieces do not get stuck to the inside of the graham cracker board when storing them.
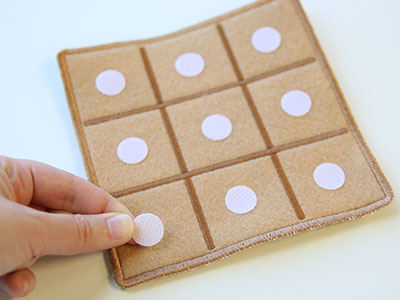
Then stick the opposite halves of Velcro dots onto the board, making sure to place one in the center of each of the nine game squares. This tutorial uses Velcro with a sticky back, but you can also use sew on Velcro if desired.
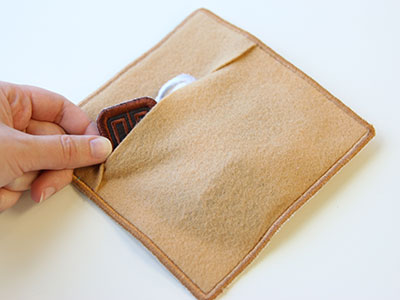
Keep all of your pieces together by tucking them in the pocket along the back side of the board.
