Embroidery designs inspired by classic stained glass come together to create a work-of-art wall hanging that's as fresh as spring. Stitching this gorgeous spring scene is a wonderful way to add bright, bold color to your home decor.
The nine embroidery designs are specifically created to fit together in a certain manner. However, you can create a wall hanging that suits your preference and taste.
Add borders, piecing, quilting, trim, your favorite bit of a poem or spring quote -- let your imagination run wild! Below is one idea and suggestion for turning these designs into a wall hanging. We hope that you find it helpful -- and enjoy creating your own!
Supplies
Supplies Needed:
**28 inch (expandable to 48 inches) curtain rod
**3/4 yard solid-colored denim or twill (for stained glass panels)
**1 yard print canvas (for front and back)
**Medium-weight cutaway stabilizer
**Temporary spray adhesive
**Air-erase pen (or other marking tool)
**Extra-wide double fold bias tape
Designs used:
Stained Glass Spring Scene Design Pack (Medium)
These design packs are also available in other sizes:
A Stained Glass Spring Scene Design Pack (XL)
A Stained Glass Spring Scene Design Pack (Large)
A Stained Glass Spring Scene Design Pack (Small)
Finished Sizes:
We used the medium sized Stained Glass Spring designs for this project. The finished size of the wall hanging is 27 inches wide by 27 inches tall. If you choose to use larger or smaller designs, below are the approximate finished sizes you will have for your wall hanging:
XL = 33 inches wide by 33 inches high
Large = 30 inches wide by 30 inches high
Medium = 27 inches wide by 27 inches high
Small = 24 inches wide by 24 inches high
Designs Used
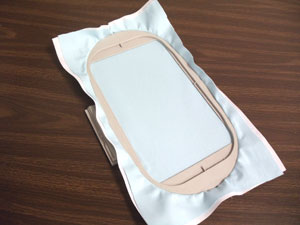
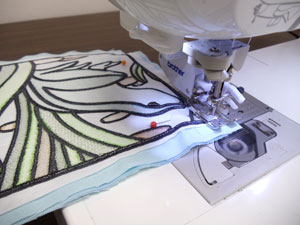
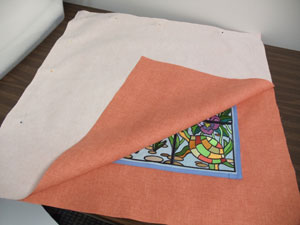
To begin, we will prepare the fabric for the embroidered panels. Cut a piece of denim or twill fabric a bit larger than your hoop. Spray a piece of medium-weight cutaway stabilizer with temporary adhesive and smooth the fabric on top. Hoop the fabric and stabilizer together.
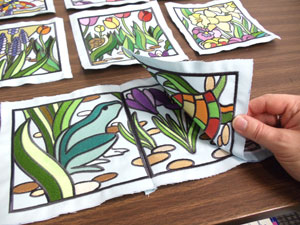
Attach the hoop to the machine, load the first design, and begin embroidering. When the design has finished, trim away the excess stabilizer on the back of the embroidery.
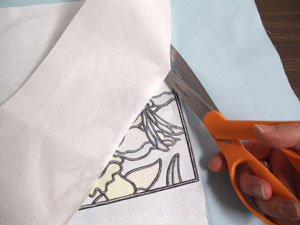
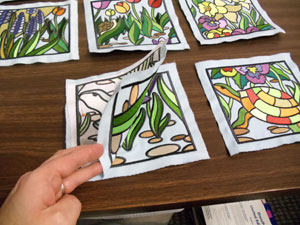
Repeat the hooping and embroidering process for the remaining eight designs. Trim away the excess stabilizer on the back of each panel. You can trim around the satin stitch border, you won't need to trim the stabilizer away from the inside of the design.
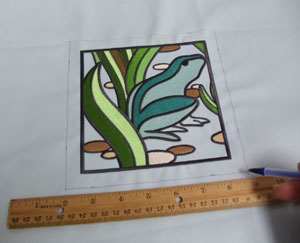
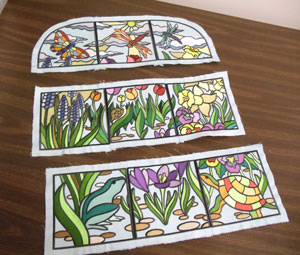
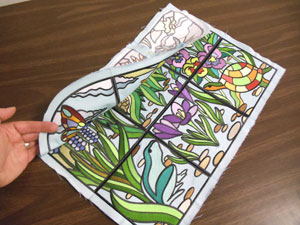
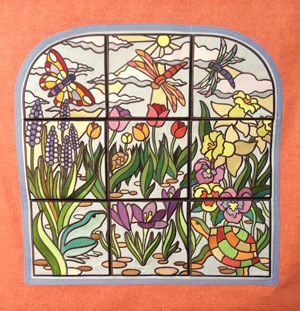
There are seven square designs, and two with rounded tops. On each of the square designs, measure and mark out 1/2 inch around the outer edges of the designs and draw lines to connect the marks.
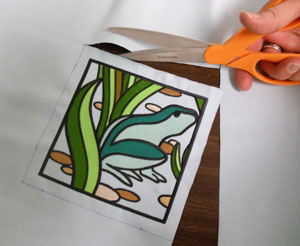
Then, cut out the shapes.
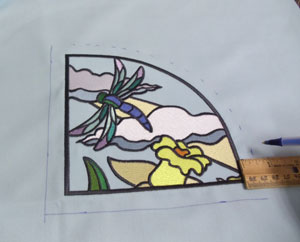
On the curved edge of top left and right panels, measure and mark out 1/2 inch around the outer edges of the designs (mark about every 1/2 inch along the curved edge).

Draw lines to connect the marks, and cut out the shapes.
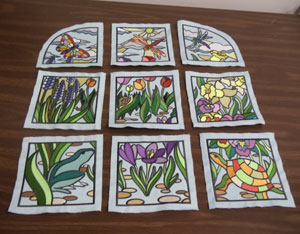
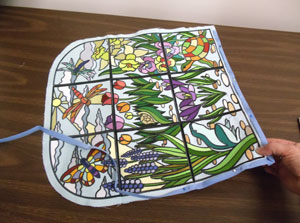
Now that all the embroidered panels are ready, it is time to assemble the wall hanging. Arrange the panels to match the picture on the left. You can also view a large image of the scene by clicking here.
We will assemble each row one at a time. Align the bottom left panel on top of the bottom middle panel with right sides facing. Be sure to align the satin stitch borders of the designs together (so there will be no gaps between the panels), and pin in place along the left edge.
Sew a seam along the outer edge of the satin stitch border along the pinned edge only.
Align the bottom right panel on top of the bottom middle panel, satin stitch borders aligned, with right sides facing. Pin along the right edge and sew a 1/4 inch seam along the outer edge of the satin stitch border along the pinned edge only.
Press the back seams open with an iron.
Now, assemble the panels of the middle and top row just as you did the bottom row.
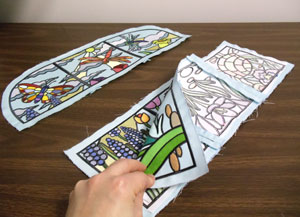
Align the bottom row on top of the middle row, satin stitch borders aligned, and pin along the bottom edge. Sew a seam along the outer edge of the satin stitch border along the pinned edge.
Align the top row on top of the middle row, satin stitch borders aligned, and pin along the top edge. Sew a seam along the outer edge of the satin stitch border along the pinned edge. Then, press the back seams open.
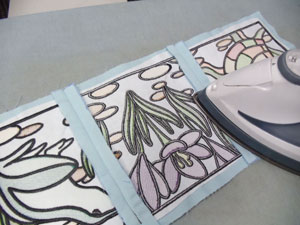
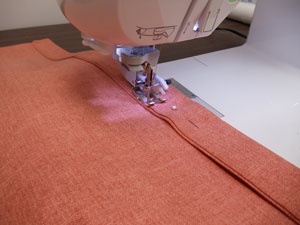
Wrap the outer edges of the panels with bias tape and pin in place.
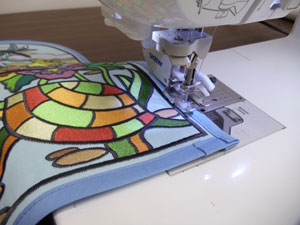
Sew a seam along the inner edge of the tape - fold the end of the tape over 1/4 inch before sewing it in place.
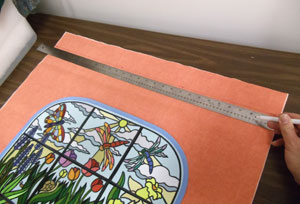
To prepare the fabric for the front of the wall hanging, lay the embroidered panels on top of the canvas fabric and pin in place. Measure and mark out 4 3/4 inches from the outer edges of the panels (along the bottom, side, and along the straight edge of the top). Draw lines to connect the marks. Measure and mark up an additional 2 1/2 inches at each top corner to create a pocket for the curtain rod. The total dimensions of our front fabric is 28 inches wide by 30 1/2 inches high. Draw a line to connect the marks. Then, cut out the shape.
Sew a seam along the outer edge of the bias tape to tack the panels to the front fabric.
To prepare the fabric for the back of the wall hanging, cut another piece of fabric to the same dimensions you used to cut the front piece. Align the back fabric on top of the front with right sides facing, and pin in place. Sew a 1/2 inch seam along the side and top edges only - leave the bottom edge open for turning.

Turn the fabric right side out and press the seams. Also, turn the fabric of the opening in 1/2 inch and press.

Pin the bottom edge and sew a 1/4 inch seam along the side and bottom edges only.
To create the top curtain rod pocket, fold the top edge over to the back 2 1/2 inches, pin in place, and sew a 1/4 inch seam along the bottom edge of the fold. Insert the curtain rod through the pocket, and your wall hanging is complete!
Hang this delightful scene in your home, and enjoy the happiness your handiwork brings!
