Treat yourself to 70% off Storewide! Click the deals tab for details.
 Treat yourself to 70% off Storewide! Click the deals tab for details.
This fun and flowing sarong is perfect for sunny days ahead.
Sparkle your way through warm summer days and nights in this comfortable and colorful garment.
And, be sure to bring it along the next time you travel to the pool, lake, or ocean. You can wrap yourself in elegance after a swim!
Supplies
Supplies needed:
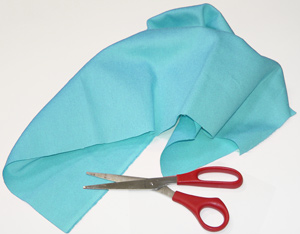
- 1 1/2 yards of fabric (we used a polyester-rayon blend)
- 1 yard of trim
- Sequins (large, 12 mm)
- 56" or 1 1/2 yards of 1" wide satin ribbon
Designs used:
The fabric measurements are for sizes small, medium, and large frames. For larger measurements, add 4 - 6 inches on to the fabric measurement, and adjust the tie placement out towards the corners.
Designs Used
Cut the fabric to 56" by 37 1/2".
Mark the fabric for the embroidery. We chose the "Kashmir Elephants" large oval and rectangle designs to embellish the sarong.
Lay the fabric flat, and measure down from the top left corner 9". Measure in from the left side 17 inches, and mark. That will be the center of the embroidery oval.
On the bottom of the sarong we'll repeat the rectangle design over and over, making a border. To do this, lay a strip of masking tape all across the fabric, 6" from the bottom.
Measure and mark the center, which is 28" from the side.
From the center, measure and mark half the width of the rectangle design. Repeat on the other side.
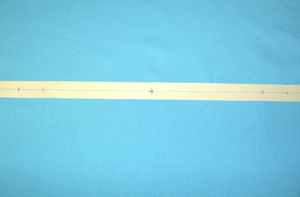
Measure and mark a 1" space between the designs.
Measure and mark the total width of the design from the new mark (1" space). Repeat for all designs. A total of five large rectangles fit nicely across the sarong. Remove the masking tape before you embroider the designs.
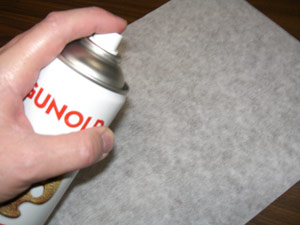
The polyester-rayon blend fabric that we worked with is a little slippery, so I found spray adhesive helpful to keep the fabric and stabilizer together, nice and tight. Spray a quick shot of adhesive onto the tear-away stabilizer, and smooth the fabric on top.
Hoop both together firmly, and embroider the designs.
When the embroidery is finished, gently tear away as much of the stabilizer as you can. With less stabilizer left behind, the fabric will flow and drape better.
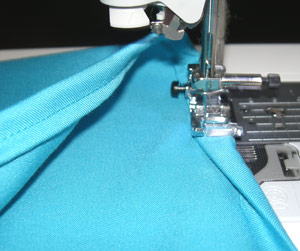
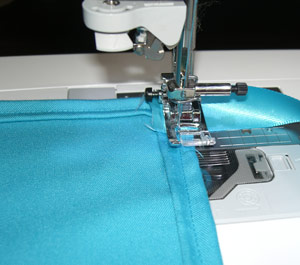
Next, sew seams around the top, bottom, and left edges.
Fold the fabric in to the wrong side and press a 1/4" seam allowance. Fold in another 1/4" allowance and press.
Secure with pins. Sew a straight stitch along the top, bottom and left edges.
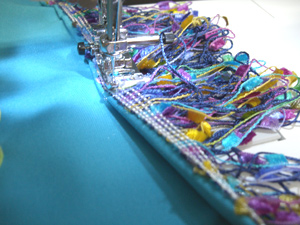
Next, we will finish the right side with a colorful trim. Fold the fabric in to the wrong side and press a 1/4" seam allowance.
Fold and press another 1/4" seam allowance. Place the edge of the trim, right side facing out, onto the seam allowance.
Secure with pins. Sew the trim and the fabric together using a straight stitch.
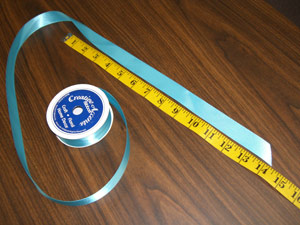
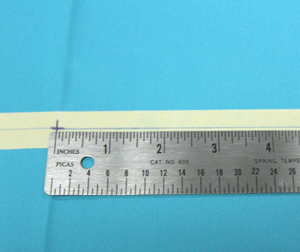
Next, the ties will be cut and sewn to the fabric. Cut four 14" strips of ribbon, with a diagonal cut on one end.
Take the straight end of one piece of ribbon and sew it to the non-fringed side, so that the ribbon extends out from the top edge of the fabric. Repeat for the fringed side.
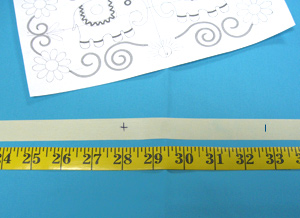
Along the top edge, measure and mark (on the wrong side) 18" in from each top corner.
At the marked points, sew the straight end of the ribbons perpendicular to the top edge of the fabric.

Finally, sew (by hand) sequins in the "crystal rings" of the embroidery. We used bangle sequins that dangle and catch the light for extra sparkle.
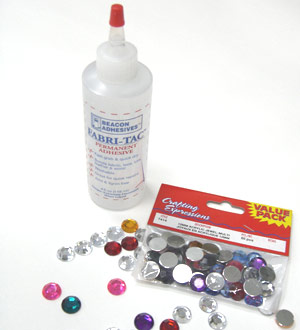
You can decorate your sarong with variety of different materials from crystals to sequins and buttons to tassels. Let your imagination run wild!
We especially liked the look of jewel crystals. They attach perfectly with Fabri-Tac.
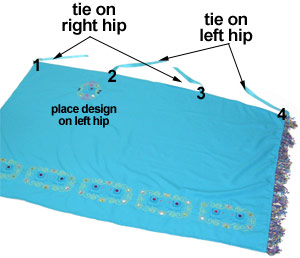
How to tie the sarong:
It's easy! Place embroidered design on left hip, and the pieces will fall right into place
- Tie the first and third ribbons together
- Tie the second and fourth ribbons in a bow


