Sunbonnet Sue and Fisherman Fred get an adorable update with these sweet stuffies -- stitched entirely in the hoop! The classic quilting icons are fabulous gifts for your crafty friends, or display in your home to show off your sewing style.
Supplies
Project Needs & Notes
- Small pieces of stiffened felt (for body; hats)
- Tear-away stabilizer
- Temporary spray adhesive (Gunold KK100)
- Polyester fiberfill
- 1/4" - 3/8" wide ribbon (for loop hanger)
- Masking tape
- Needle and thread for some hand sewing
Designs used in this tutorial include X12253, Sunbonnet Sue (In-the-Hoop) and X12255, Fisherman Fred (In-the-Hoop).
Designs Used
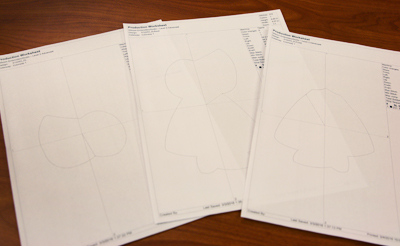
Sue or Fred stuffie designs have four files.
One is the full embroidery file, and the others are dieline files marked with the letters DL. Dielines are used to cut the fabric to the right shape and size.
Open the dielines files with embroidery software and print them.
If you do not have embroidery software, Wilcom's TrueSizer is a free program to use.
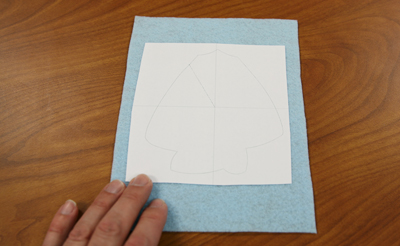
Spray the backside of the front piece dieline with temporary spray adhesive. Smooth it onto the felt.
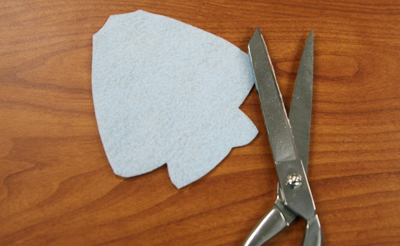
Cut out the shape. Remove the paper.
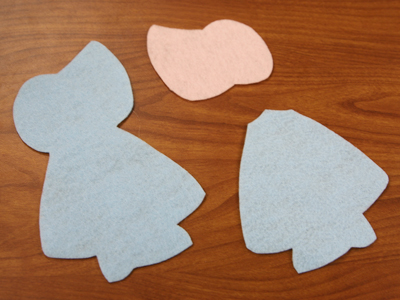
Repeat this process for the other dieline pieces.
Now that the fabric pieces are cut to the proper shape and size, it's time to embroider the design.
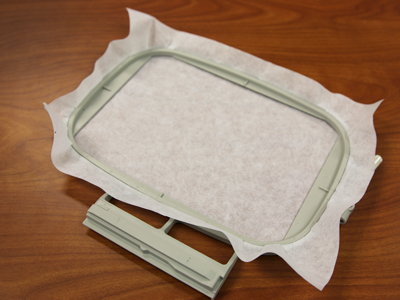
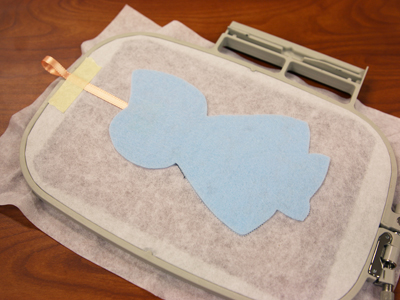
Hoop a piece of tear-away stabilizer.
Madeira E-Zee Tear 1.5 oz. or Floriani Tearaway Medium are good choices. Those brands are more fibrous, less paper-like, and will tear more cleanly.
Attach the hoop to the machine and load the full embroidery file (not the dieline files).
Use a size 11 or 75/11 sharp sewing needle, rather than an embroidery needle. A sharp sewing needle has a smaller, finer point than an embroidery needle, so that will make smaller perforations in the stabilizer.
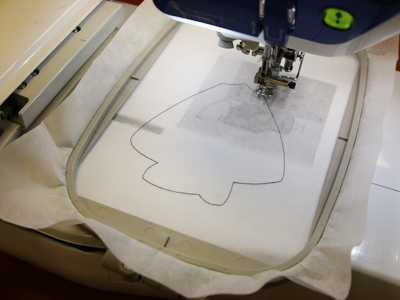
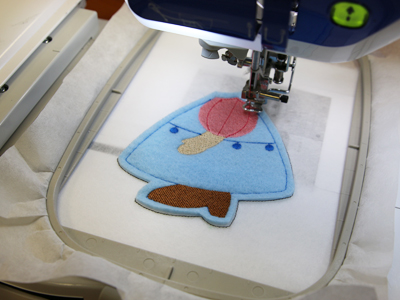
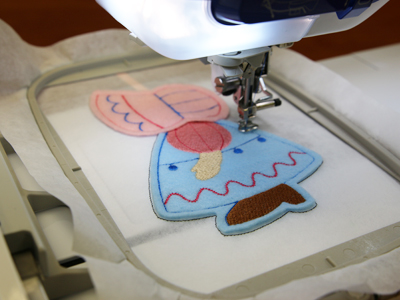
Embroider the design. The first thing to embroider will be a dieline, or outline stitch. This marks the area on the stabilizer where we'll place the front fabric piece.
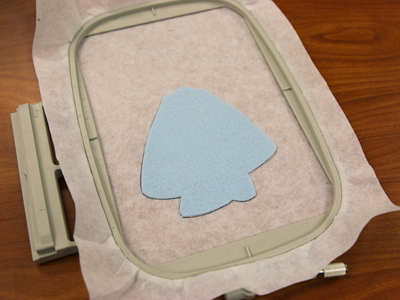
Spray the back of the front fabric piece with a quick shot of adhesive.
Remove the hoop from the machine, but do not unhoop the stabilizer. Place the fabric right inside the sewn dieline.
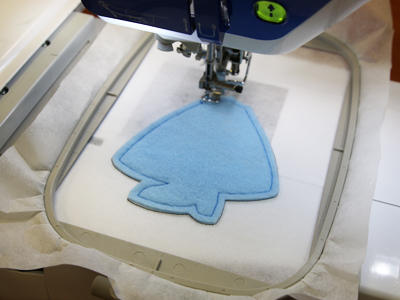
Reattach the hoop back onto the machine and continue with the design.
A running stitch tackdown will sew next. This holds the front fabric in place for the remainder of the design.
The inside elements will sew next.
On the color change sheet, look for the note that says "hat dieline."
When you get to this section, stop the machine and remove the hoop from the machine. Do not unhoop the stabilizer.
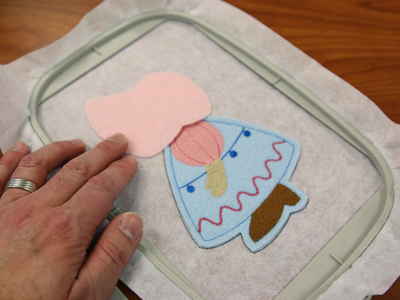
Spray the backside of the hat fabric piece with temporary adhesive and place it inside the dieline.
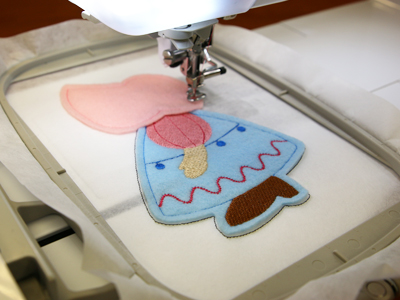
Attach the hoop back onto the machine and continue with the design. A running stitch tack down will sew next.
Then, the inside elements of the hat will sew.
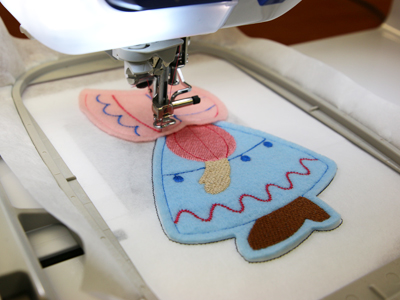
On the color change sheet, look for the note that says "hat finishing seam."
When you get to this section, stop the machine and remove the hoop from the machine but do not unhoop the stabilizer.
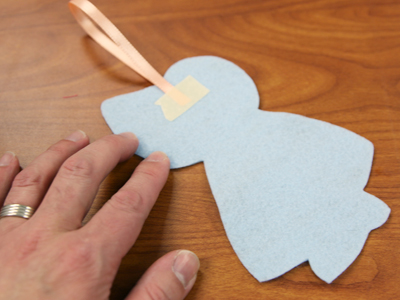
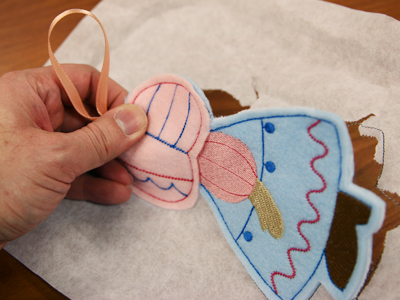
If you would like to add a ribbon hanger, cut a piece of ribbon to about 8" long.
Form the ribbon into a loop and tape it in place.
Turn the hoop over and spray just the edges of the backside of the back fabric piece with temporary adhesive.
Place the back piece right inside the shape on the backside of the embroidery.
If you've added a ribbon hanger, secure the ribbon loop in place onto the stabilizer with a piece of tape to prevent the loop from being sewn over later on.
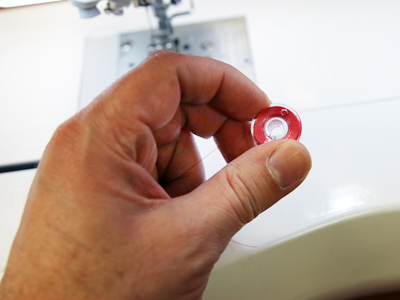
Both sides of the stuffie will be seen. For the remaining steps, wind a bobbin with the same thread used in the needle.
Attach the hoop back onto the machine and continue with the design.
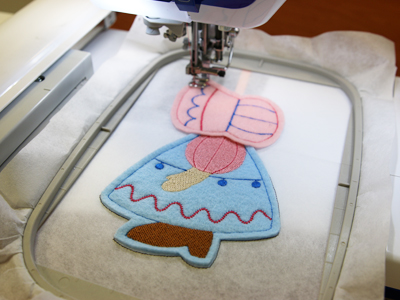
A running stitch tack down will sew around the outer edge of the hat. This binds all the layers together.
On the color change sheet, look for the note that says "finishing seams."
When you get to this section, wind a bobbin with the same thread that is used in the top thread for last color.
Continue embroidering the design. Another finishing seam will sew around the body and foot. This also binds all the layers together.
Remove the hoop from the machine.
Unhoop the stabilizer, and carefully tear it away. The dieline will be removed along with the stabilizer.
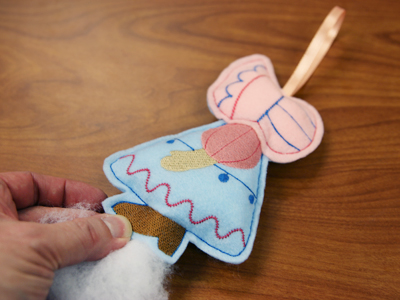
Fill the stuffie with polyester fiberfill through the opening at the bottom.

Hand-stitch the opening closed. Sew along the original tackdown seam.
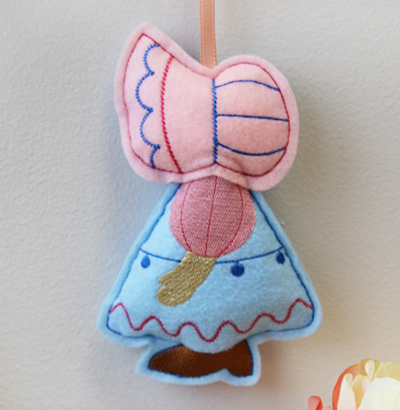
These quilting and embroidery illustrations come to life in these in-the-hoop stuffies.
Hang them in a window, from a light fixture, or make ones for everyone in your crafty group!
